


Easy DIY Vintage Tablecloth Pillowcases
I have a thing for white vintage linens.
Seriously.
Tablecloths…
Flour sacks…
Irish linen napkins….
Give me all of them!
But I don’t always use them the way they’re supposed to be used.
I’m always looking for ways to make them into something else.
Something new and different.
I’m kind of non-traditional that way.
I’ve sewn all my life and have a passion for fabrics. My favorite fabric is linen. There’s just something about it that I can’t resist.
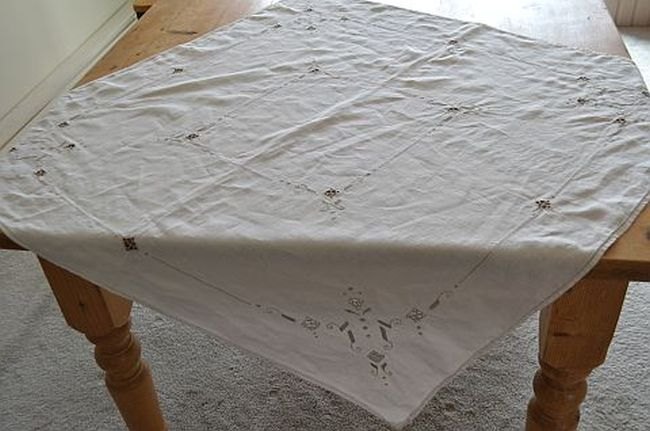
So when I saw this vintage embroidered linen tablecloth, I had to bring it home.
I found it at an Estate Sale for $4.00. The original price was $8.00. But it was Sunday afternoon so everything was half off.
I looked in my wallet. I had exactly $4.00 in cash. How perfect is that??
It was in beautiful condition except for a little yellow spot about the size of a quarter.
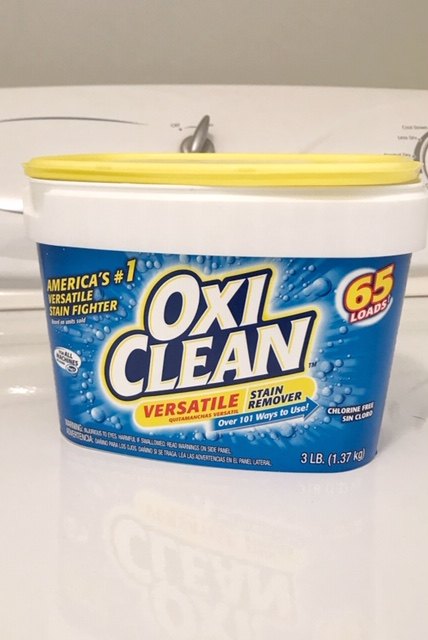
So I took it home and soaked it overnight in hot water with OxiClean. Then I ran it through a normal wash cycle. No more stain!
(Soaking in hot water with OxiClean has always worked for me for getting yellow stains out of white linens. So I’m not opposed to buying them if they have a little stain on them.)
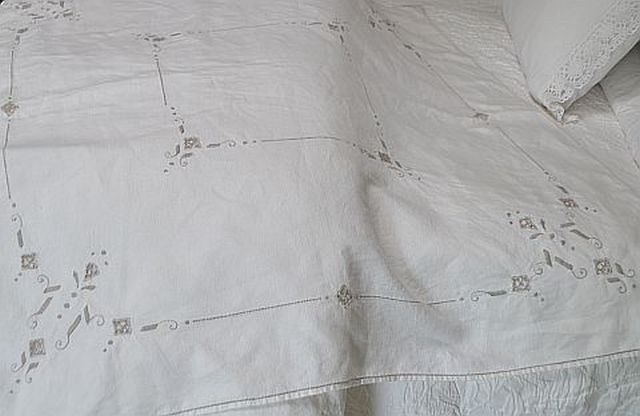
Then I took it right from the washer after the last spin and ironed it on the linen setting while it was still damp. This is the best way to iron linen if you want a smooth, crisp look.
My tablecloth was 36” square so this was the perfect size for making two standard pillowcases.
Here’s how easy they were to make:
Cut the tablecloth in half.
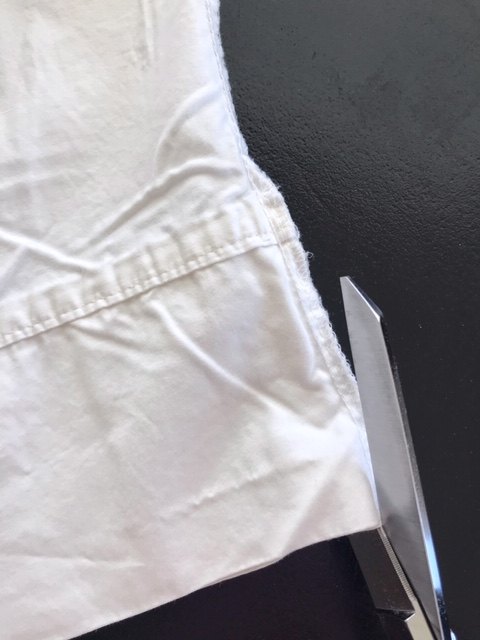
Use a regular white standard size pillowcase cut in half for the back. This will be the size you are going to want your tablecloth pieces to measure up to.
Be sure to allow for the hem on the opening side.
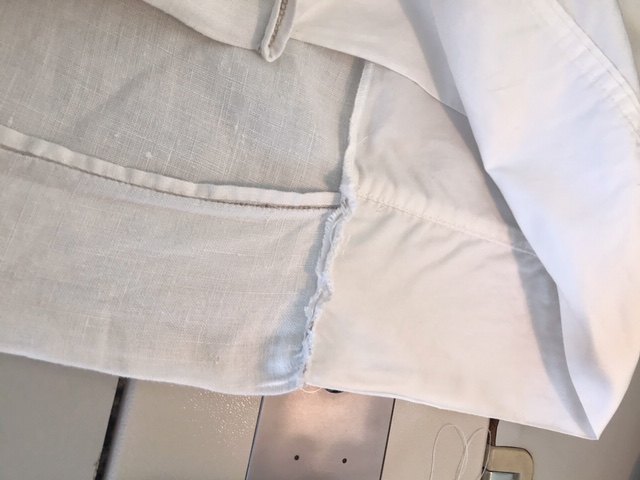
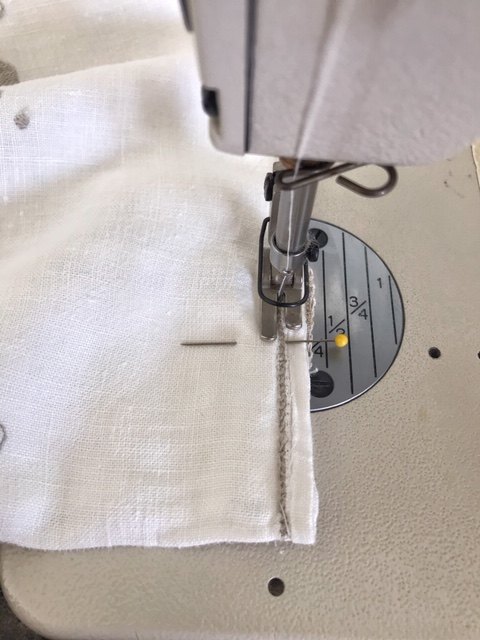
Sew the tablecloth pieces to the pillowcase backing, lining up the hems.
TIP: If you’re using a tablecloth with a pattern, be sure to make them ‘mirror images’ of each other. You are going to want your pattern on the left pillowcase to be the opposite of the pattern on the right. I learned this the hard way when I didn’t pay attention and had to rip out and re-sew….
Serge the raw edges of your inside seams so they don’t all come unraveled when you wash them.
For the top seam, I wanted the edge embroidery to show on mine so I top-stitched it to the back instead of making it a regular seam.
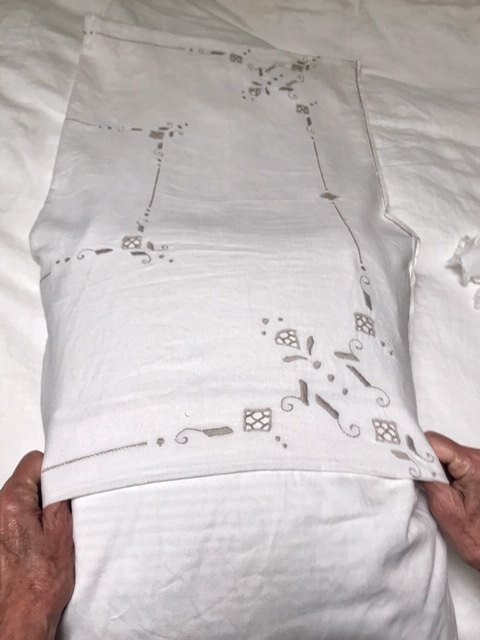
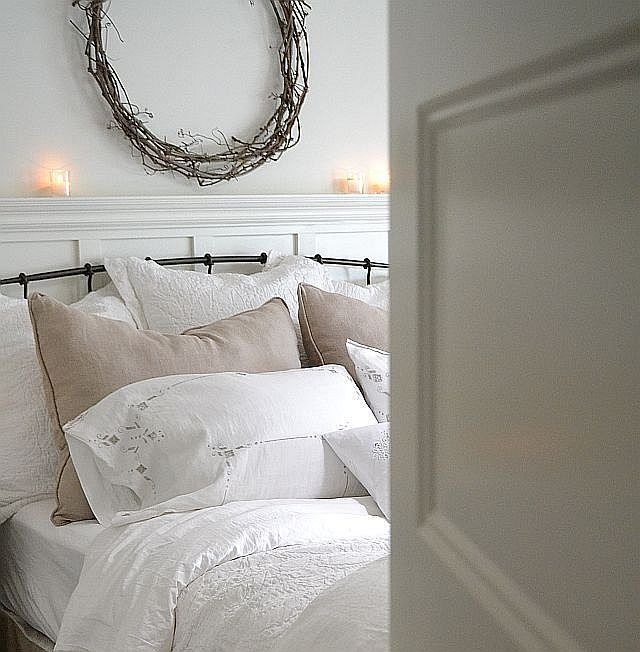
Insert your favorite down pillow into the case
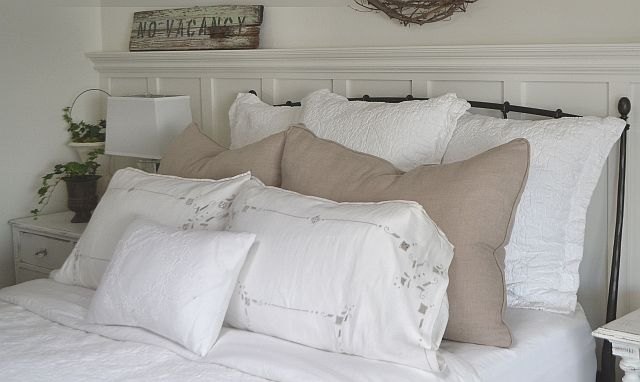
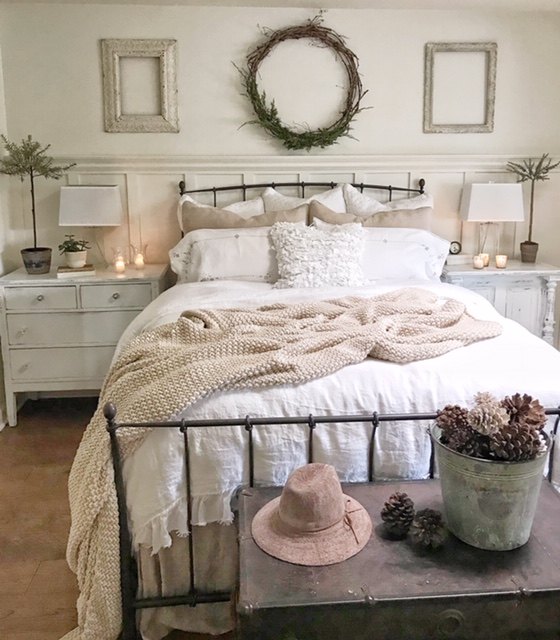
Toss them on the bed
And stand back and admire!
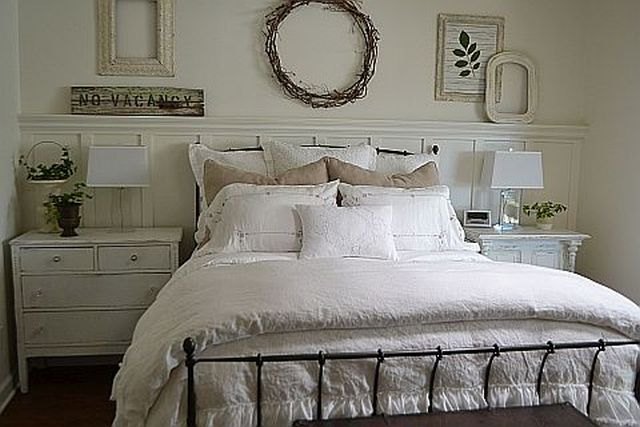
For tips on how to decorate white on white rooms click HERE
See how to make a room more cozy HERE


Comments
Join the conversation
-
Such a lovely idea and I love the bedroom. We have the same taste! :)
-
Beautiful! What a wonderful way to enjoy vintage linens. I ♥️it! And your bedroom is just lovely. Great job!


Frequently asked questions
Have a question about this project?
Great job, your room is so inviting.
Very nice! How did you attach it to the house? Currently rent but it would make such a difference! Don't think the landlord would mind.
Can you use OxiClean on colorful linens, or will it remove the color?