


DIY Accent Decor: Making Picture Frames
I’m giving my mom a smart digital picture frame for Christmas this year - it’s very plain looking and not all that attractive, so I decided to personalize it with a custom frame that matches my mom’s style and décor.
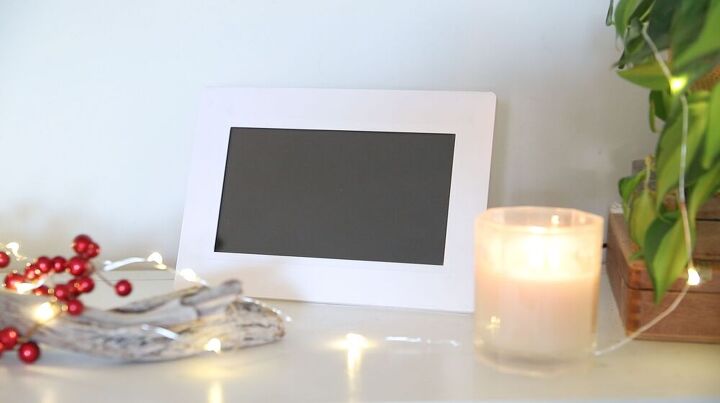
Plain Digital Picture Frame I got from Amazon, not exactly the prettiest thing to look at!
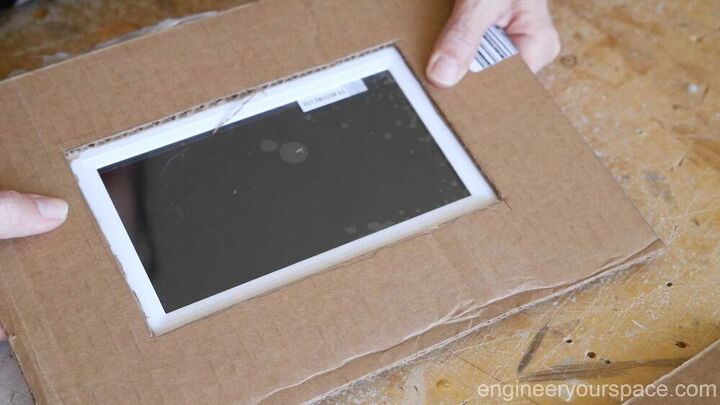
I wasn't sure if my concept for this slip on frame would work. So, I made a prototype first with cardboard to work out all the kinks and get all the dimensions figured out.
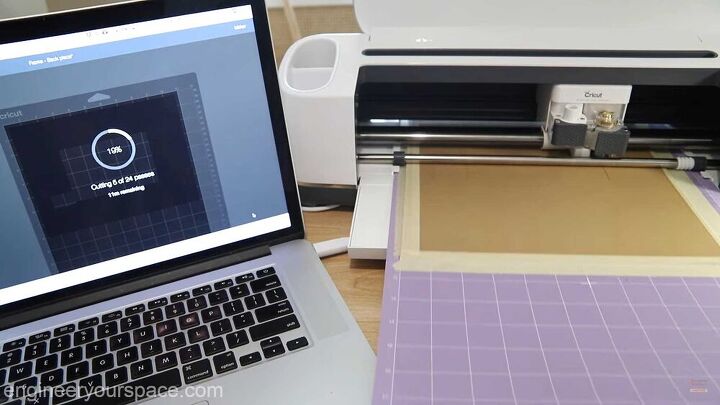
I needed a material that was rigid yet thin to build the structure. I chose a heavy chipboard from Cricut to make it. You can cut this material with an exacto knife which is great, but this project requires a lot of precisely cut components so I used my Cricut Maker machine to do all the cutting for me. it saved a lot of time and all the cuts were perfect, something I'm not sure I would have been able to do as well by hand!
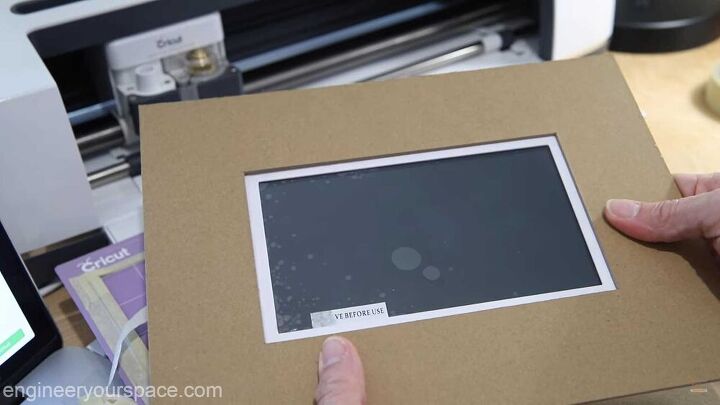
After the front piece was cut, I repeated this process for the other components of the frame structure (a spacer, the back, sides, and top pieces).
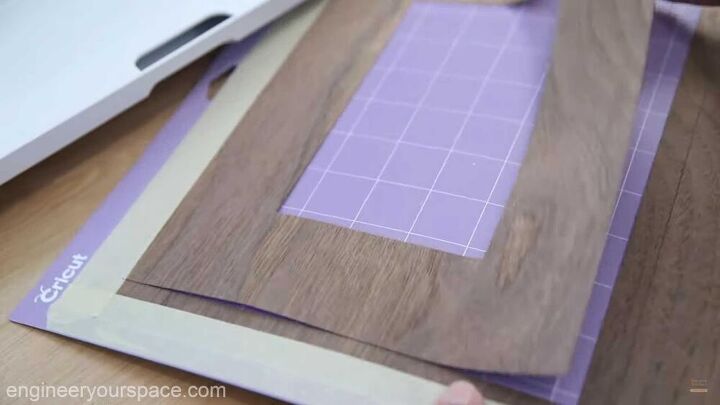
Then I moved on to cutting the wood veneer that will cover the chipboard.
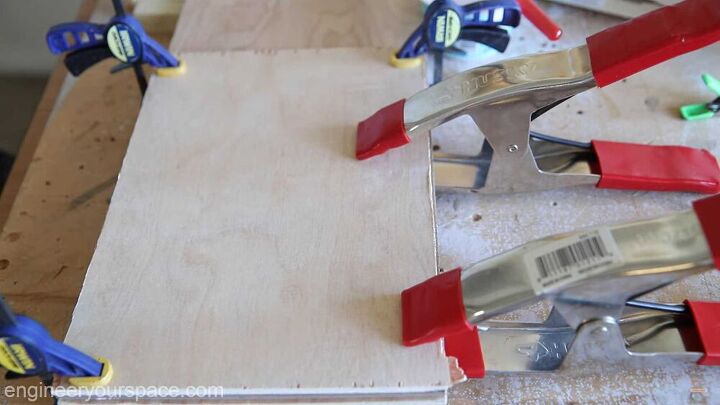
I started the assembly process by first gluing the spacer to the back with white glue. It's important to apply even pressure so that the chipboard glues evenly everywhere and stays flat. The more clamps you have for this the better.
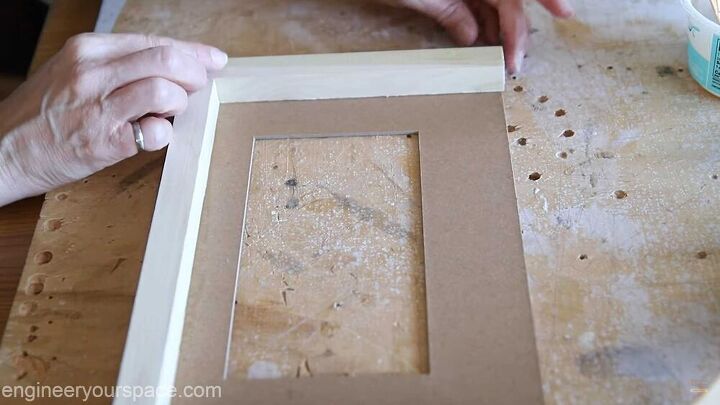
Then I glued ¾” wood dowels around the perimeter of the front piece.
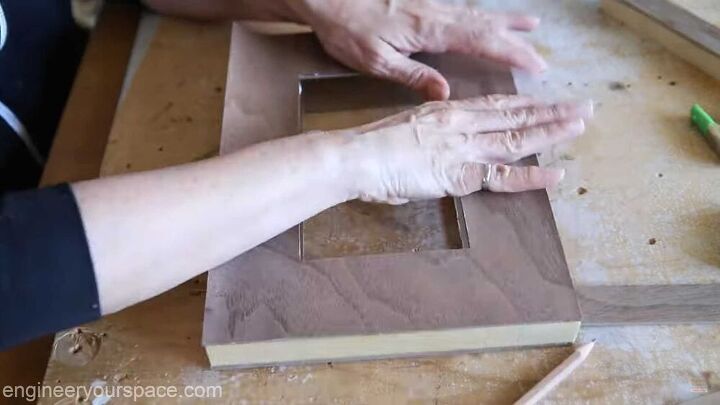
Once that was secured in place, I glued the back piece and finally I glued all the veneer. That was by far the trickiest part of this assembly because the veneer has a tendency to curl up with glue on it. Again, I had to apply a lot of pressure to make sure that it all adhered evenly everywhere.
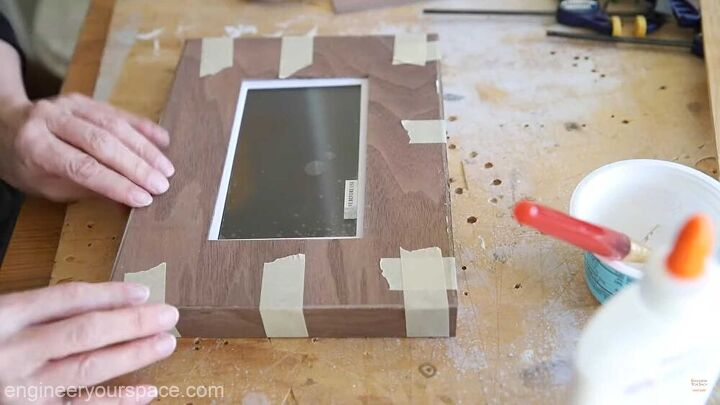
Once this was done, I moved on to covering up the sides with strips of chipboard covered with veneer.
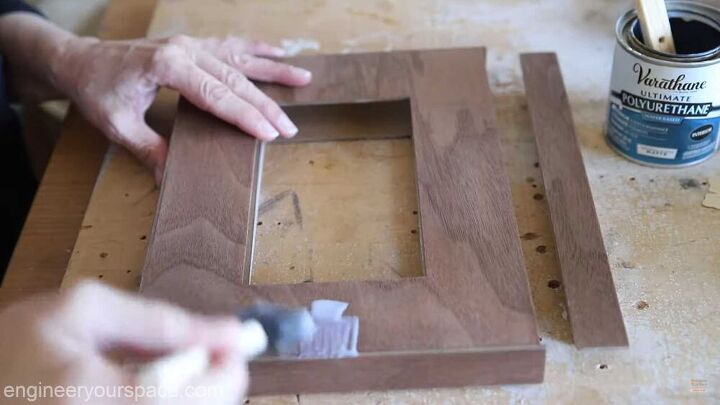
The last step was sanding and then adding a few coats of matte polyurethane.
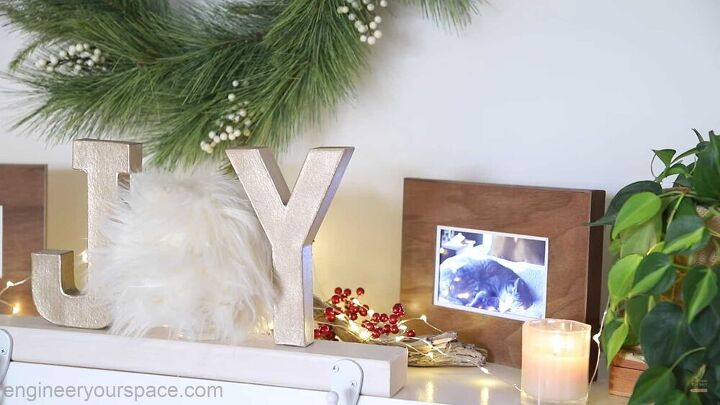
I love how this slip on frame instantly makes the digital picture frame look more substantial and elegant. As a side note, I kept the back open to allow for the heat to dissipate and to have access to the power cord connection.

I thought that this design would also make a great analog frame with a secret compartment. I built it essentially the same way that I built the other frame except that I added a pocket to the front to hold the picture and protective piece of glass. When the removable top is on it looks like any normal frame.
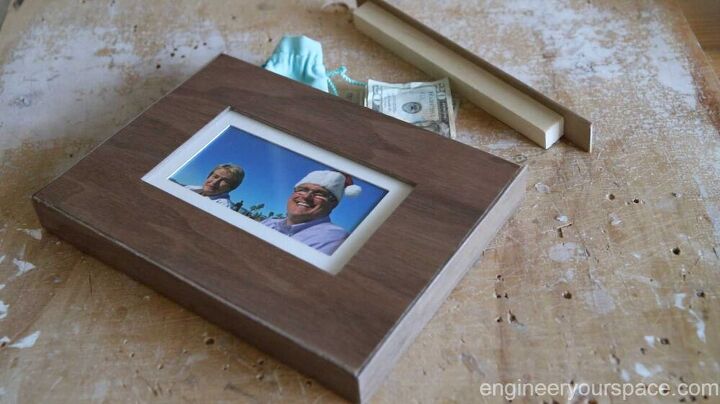
But it's easy to take off and then stash some money, jewelry or whatever other small items you want to keep a secret.
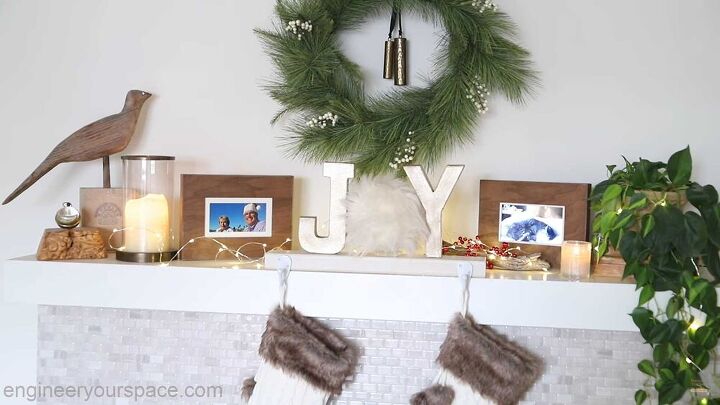
These frames look so good on my fireplace mantel, I'm so tempted to keep them! Just kidding, they will both be going to my mom so she can enjoy them. Can't wait to see what she thinks!
You can watch the whole diy picture frame building process in this video.
Resources for this project:
See all materials


Comments
Join the conversation
-
Love the secret compartment. I don't have a circuit cutter, but I can think of lots of ways to adapt the idea of this project using materials and skills I have.
-
Wow, these frames turned out real nice - good job 👏


Frequently asked questions
Have a question about this project?