


How to Make a Homemade Planter for the Wall
Some lilacs, a pothos, some succulents … or whatever you want. Brighten up any wall of the house by placing a homemade planter made with wood. It’s super practical and will brighten up any dull and boring space at home. Let’s do it!
WHAT DO YOU NEED?
Tools- Aerator
- Handheld vacuum cleaner
- Brush
- Flexometer
- Gardening gloves
- Pencil
- Shovel
- Rule
- keyhole saw
- Driver drill
- Pruning shears
- Wooden squares
- Plants
- Substratum
- Screws
1. Measure and cut the wood
The structure of this wall planter is quite simple. It is made up of five pieces of pine wood screwed together, creating a rectangular box, and a pair of squares that serve to fix it to the wall.
Start by cutting the pieces of wood to the measurements you decide on. You will need to make five pieces, three larger rectangular (base, front, and back) and two smaller square (side).
In our case, the front and side were 60 × 11 cm, the base was 56 × 11 cm, and the sides were 11 × 11 cm.
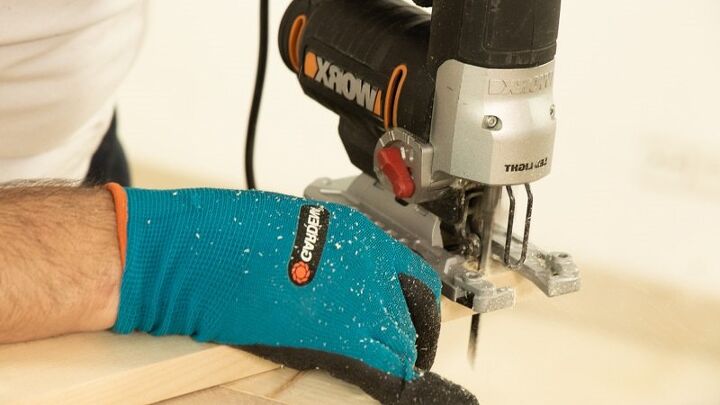
Mark the pieces on a wooden board with the help of a tape measure and cut with a jigsaw.
Once you have finished making the cuts, it is important that you sand and clean the wood well to remove any excess dust or dirt that has remained. To do this, we have used a handheld vacuum cleaner which has helped us to remove all the dust easily.
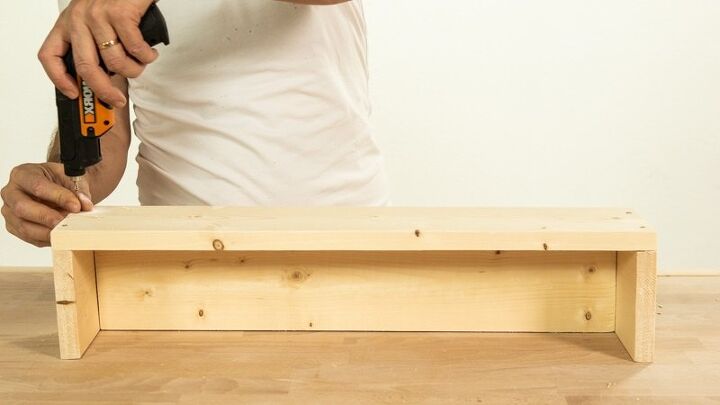
2. Screw the pieces together to form the planter
When you have the pieces of the planter cut, screw them together to build the rectangular box in which your plants will go. To do this, use wood screws and an electric screwdriver.
If you want to ensure that the screws go in perfectly and do not splinter the wood, you can make small holes with a fine drill bit before screwing.
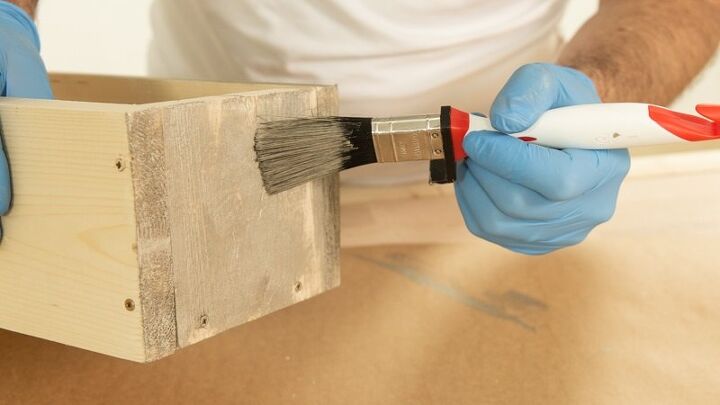
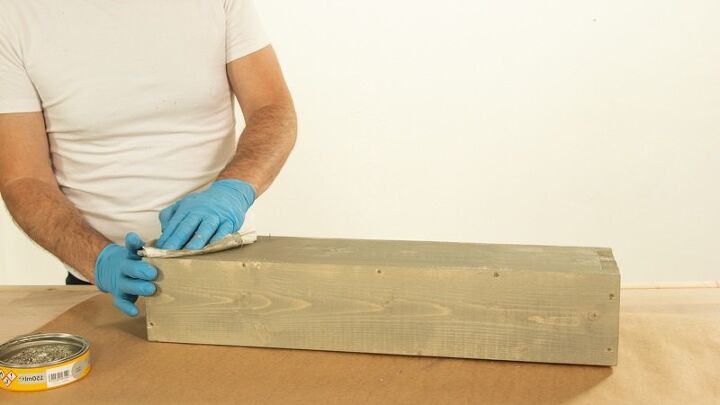
3. Decorate the wood
Have you already formed the structure of the planter? It is then time to decorate it. Apply the product with the help of a brush or a trowel, making sure that you cover the entire surface well, and remove the excess product with a cloth.
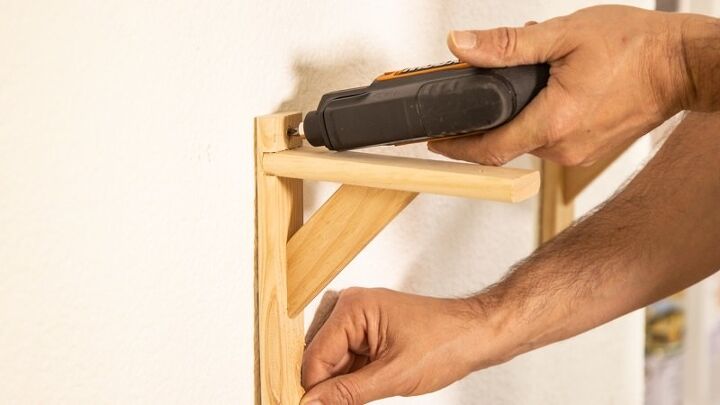
4. Hang the planter
Attach a couple of wooden brackets to the wall to finish your new planter. Start by marking its position on the wall with the help of a pencil, make the holes with a drill and screw in the squares. Use a level to make sure the squares are straight.
Next, place the rectangular box you created on top of the squares. To make sure it doesn’t move, you can fix the box to the brackets with more wood screws or a bit of mounting adhesive – although in the latter case, removing it will be a bit more complicated.
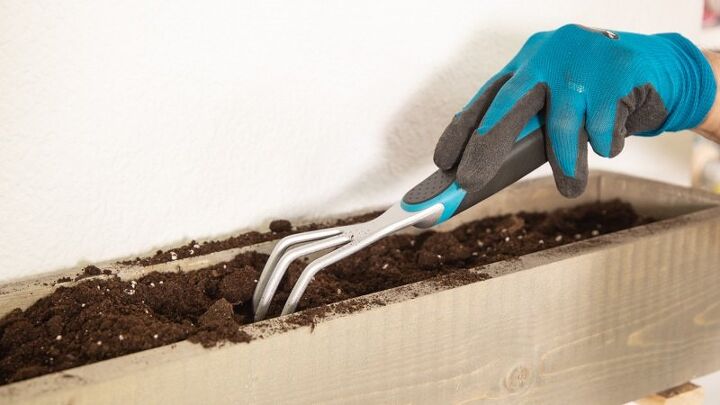
5. Place the plants
We recommend that you put a layer of some material to drain in the bottom of the pot, such as expanded clay balls. You can also staple some geotextile fabric over the wood.
Put on some gardening gloves and use a shovel to fill the pot with substrate. Afterwards, aerate the soil with the help of an aerator and plant whatever you want. Water abundantly and voila!
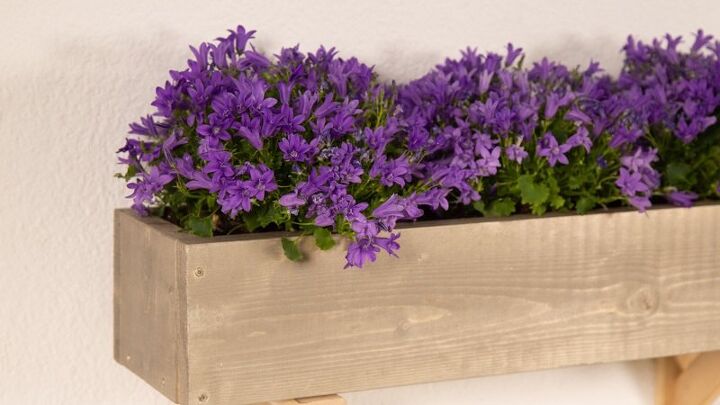
What do you think of the process? Now you know how to make a homemade planter for the wall very easily. Would you do it?


Frequently asked questions
Have a question about this project?