


Three Quick and Easy DIY Clay Crafts For Under $10

I love shopping for unique decor items for my home and for gifts to give friends to let them know I’m thinking of them, but shopping for things like these in stores can add up. I also love to create so instead of shopping I try to make my own home decor. It saves money but it also allows me to design exactly what I want in my own style. I had a free afternoon and using clay, made three easy and adorable crafts in about an hour that I can use to decorate my home or give to friends as gifts. I made clay letters for a planter, a rainbow magnet, and an amazing clay sunburst wall hanging. I saved money, enjoyed the crafting, and designed my own wonderful home decor items!
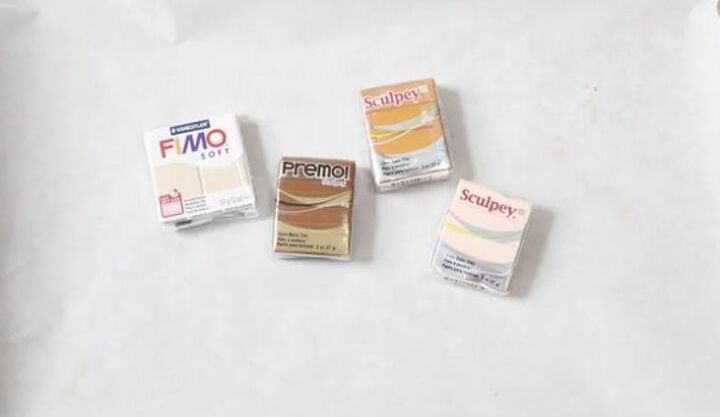
You Will Need:
- Oven bake Polymer Clay
- Air Dry Clay
- Silicone alphabet mold
- Parchment paper
- Cookie Sheet
- Dried Wheat Stalks
- Hot Glue and Permanent Craft Adhesive
- Magnets (small magnet or trimmable magnet sheet)
- Pizza Cutter
- Rolling Pin
Step 1: Work Clay
For my first quick clay craft, I used oven bake clay and before I molded my clay into the shape I wanted, I worked it a bit in my hands to make it more pliable and easier to fit into my mold.

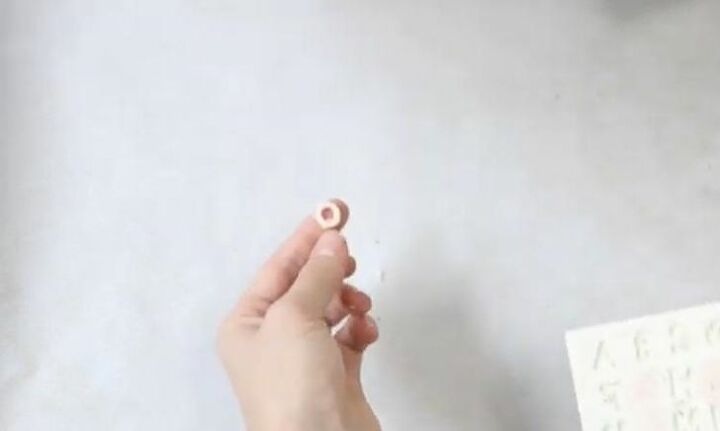
Step 2: Mold Clay
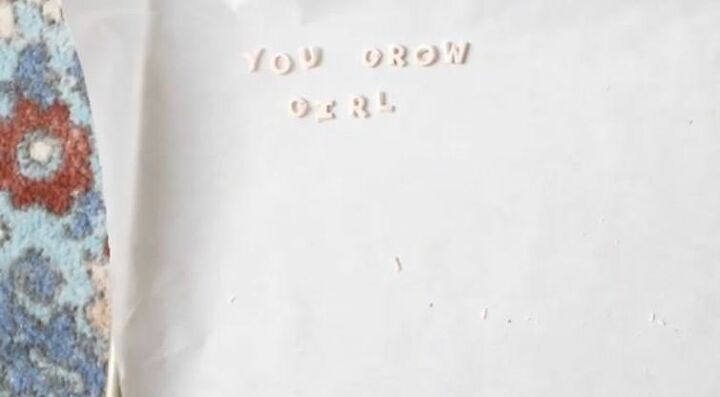
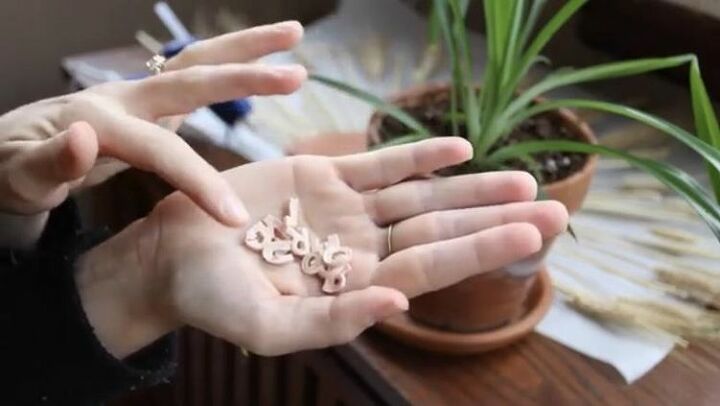
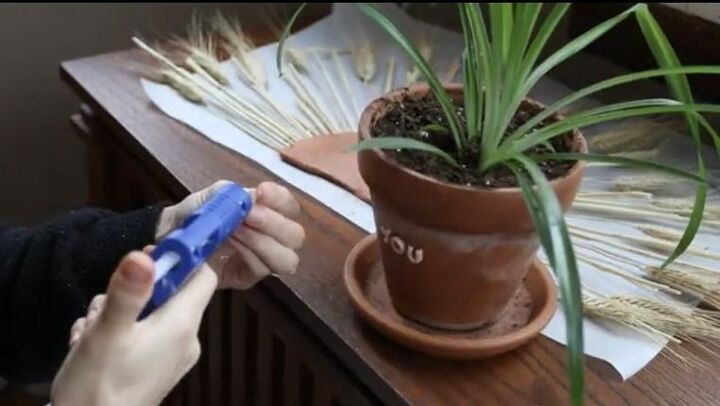
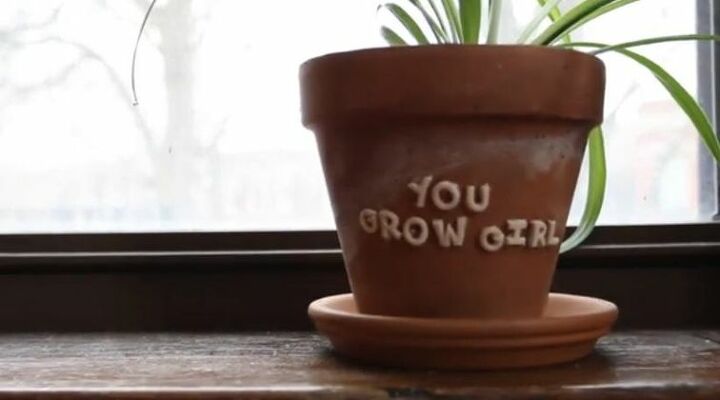
I purchased a silicone alphabet mold and used it to shape clay into letters for this project. I pressed the clay into the letters and put the mold into the freezer for about two minutes. This allowed the clay to release from the mold very easily. I made the letters I needed for the saying “You Grow Girl” and placed them on a parchment-lined cookie sheet.

Step 3: Bake and Cool
I baked the letters on a parchment paper-lined cookie sheet for about 15 minutes. Depending on how thick your clay shape is, you may need to bake the clay longer. Be sure to follow the manufacturer’s instructions on your particular brand of clay.
Step 4: Apply Letters to Pot
When the clay cooled, I used hot glue to apply the letters to create my phrase on the front of a terra-cotta pot by my window. You can get creative and make any wording you like for your pot!
Step 5: Mold Clay
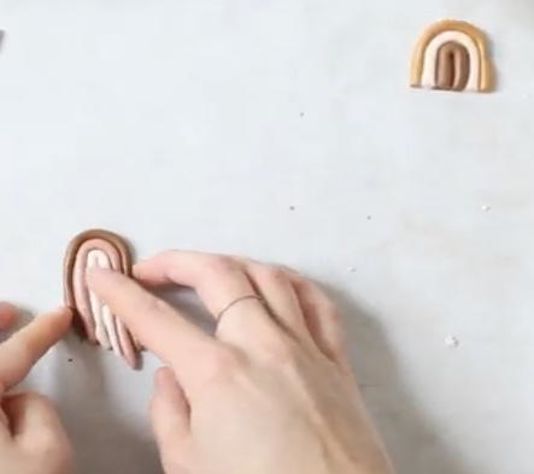
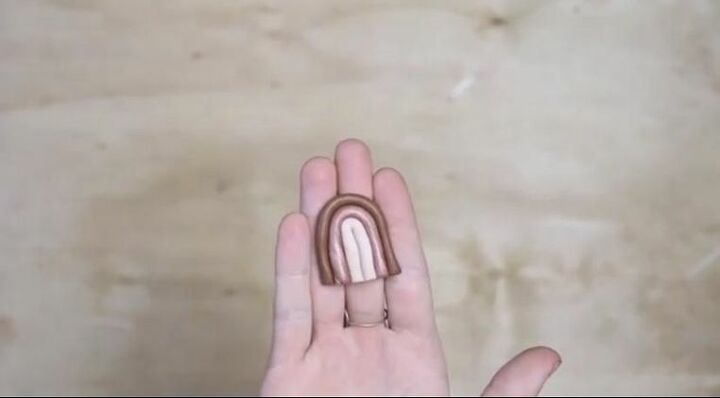
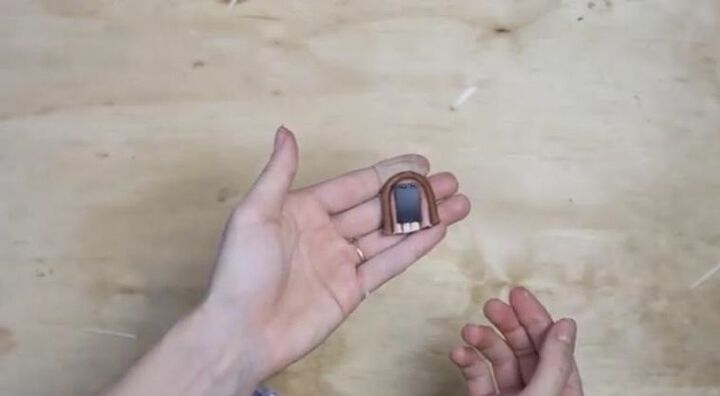
After I finished the planter lettering, I started a second craft. I used more oven bake clay to roll out several long pieces of different shades of clay between my fingers and bent them into the shape of a rainbow. I chose three shades of contrasting earth-toned clay and used a pizza cutter to slice the bottom of the rainbows in a straight line.
Step 6: Bake
I followed the instructions on the package to bake my clay based on its thickness and let it cool before adding magnets to them. I used the same parchment-lined cookie sheet for the rainbows that I had used for the letters.
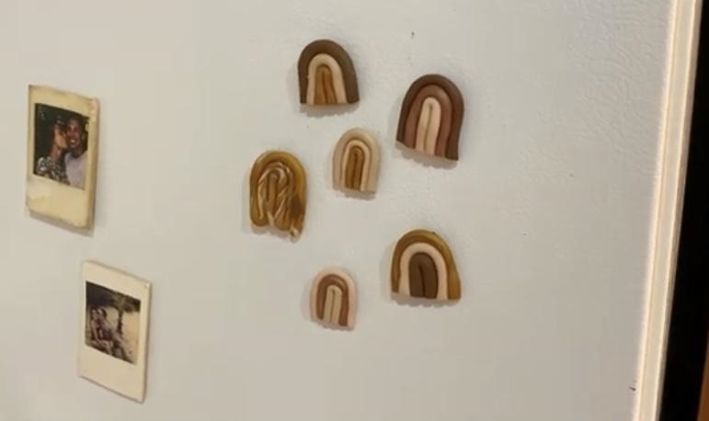
Step 7: Glue Magnets
I cut small strips of magnet to fit the back of the rainbows and attached them with permanent craft adhesive. You can purchase a strip of trimmable magnet to use for craft projects like these or just use a very thin, small magnet that you have on hand. Once the glue was dry, I added my new clay rainbow magnets to the fridge.
Step 8: Mold Clay
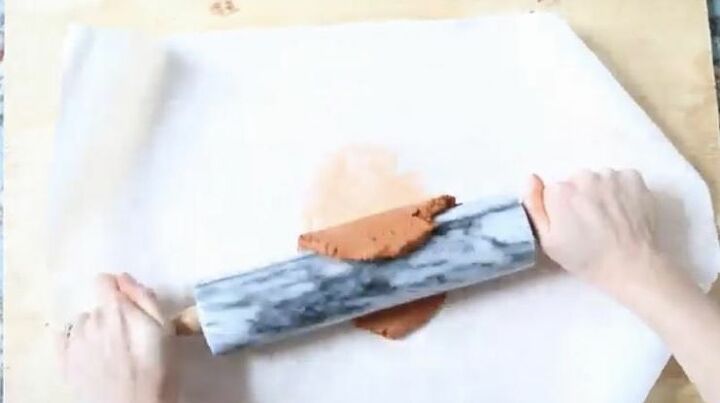
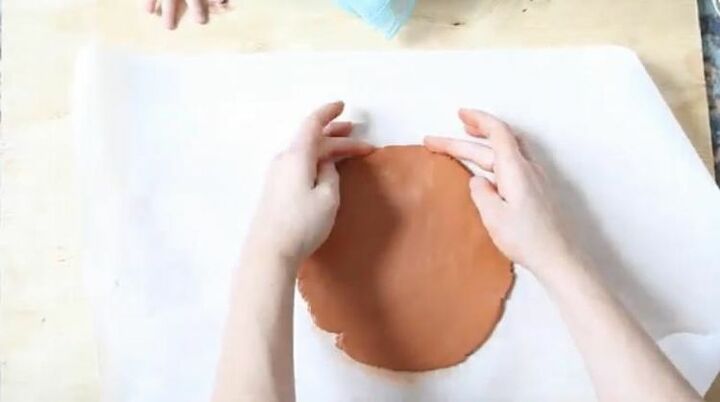
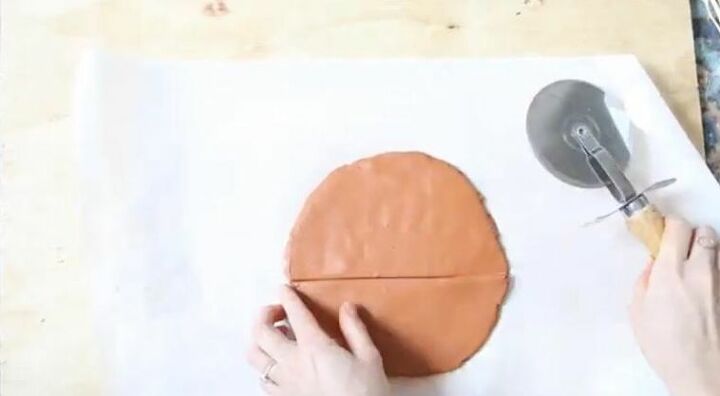
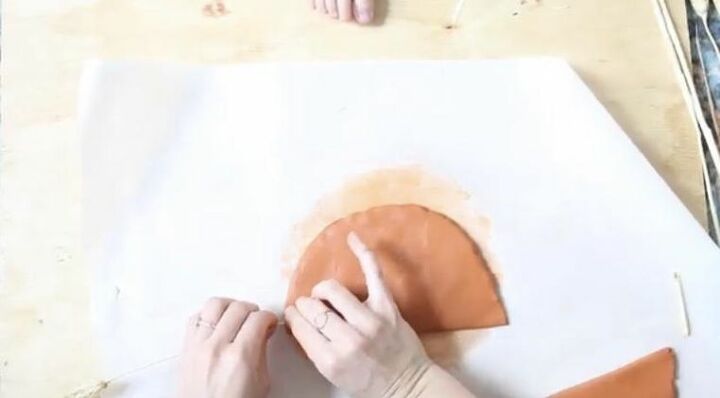
After the two oven-bake clay crafts, I decided to use air-dry clay to make a third craft. I worked the clay with my hands and then rolled with a rolling pin into a rough circle shape on a sheet of parchment paper. I used a pizza cutter to cut it straight across the bottom. The terra cotta colored clay I have is staining so be sure to work on a protected surface.
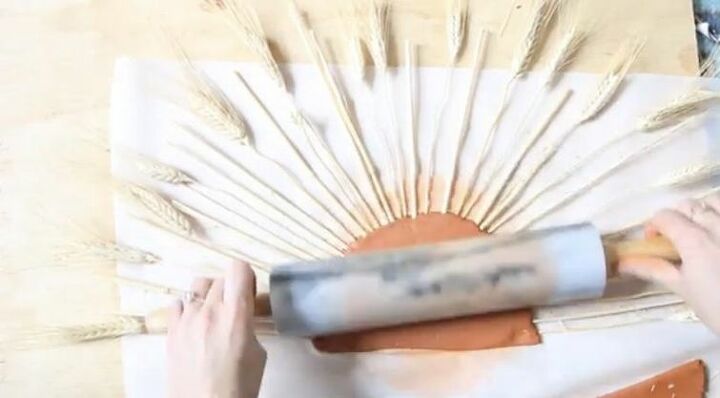
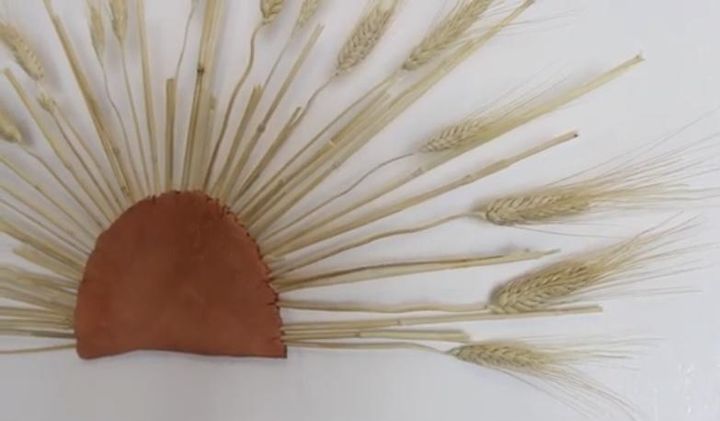
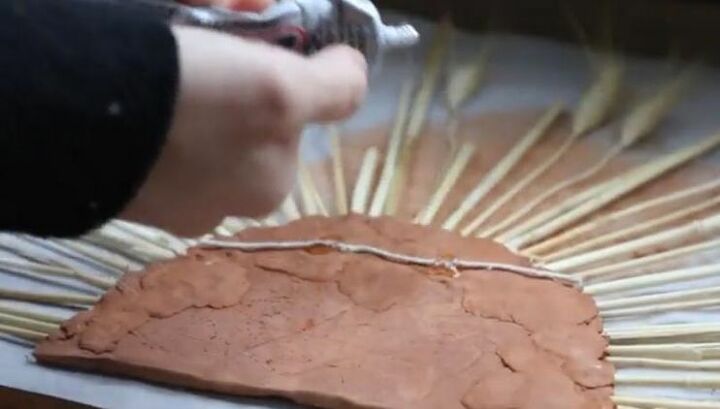
Step 9: Add Decorative Wheat
I snapped off some of the length of my dried wheat stems and stuck them into the clay to create a sunburst pattern. I inserted the sharp sticks right into the side of the clay arch all the way around and then gave a final roll with the rolling pin to smooth out any bumps in my clay that were created by the process. I chose wheat stalks because I liked the look and the contrast of their coloring with the terra-cotta clay but you could use other dried stems for a different look depending on your home’s style.
Step 10: Dry
Because I used air-dry clay for the sunburst, after inserting all of the wheat stalks, I left the sunburst to dry overnight before hanging it. If you create a very thick clay shape, your clay might require longer than 24 hours to fully dry and harden but mine was thin and fully dry.
Step 11: Add Hanging Material
After my clay was completely dry, I used permanent craft adhesive to apply a hanging string to the back of the sunburst and then hung on my wall. A heavier clay shape may require more than a string to hang so test the weight of your finished product.
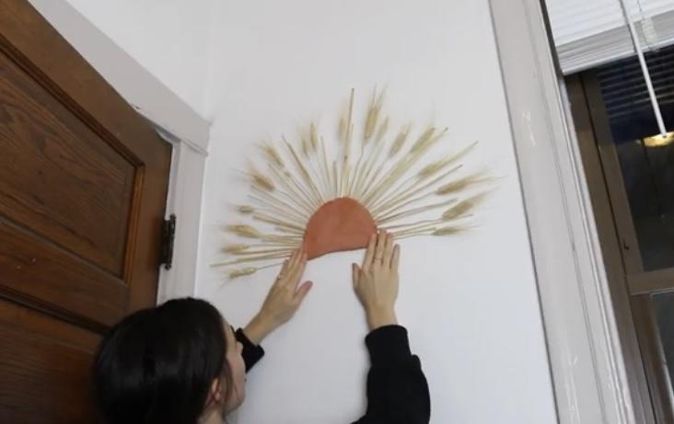
All of my clay crafts were very easy and inexpensive to make and look amazing in my home. I could not be happier with the charming finished products I made in such a short amount of time. When working with clay, especially oven-bake clay, it’s great to have a few DIY projects in mind so that you can complete and bake them all together. There are so many possibilities and ways to customize these projects and I’m already planning to create holiday sayings for some planters for Christmas gifts for next year. Use your own creativity and style and see for yourself how easy it is to work and create with clay!
Have you made DIY home decor using clay or decorated with homemade style in your own living spaces? Share your DIY decor projects and find inspiration for simple and quick projects like this on Hometalk!
Resources for this project:
See all materials


Comments
Join the conversation
-
Yes! I’d love to try playing in clay. I actually have air dry clay already. Would love more ideas using the air dry clay! Thank You for inspiring.
-
I've been inspired to do an idea I had a while ago. Love the clay! Thanks!


Frequently asked questions
Have a question about this project?
Is the air-dry clay really fragile after it dries?