


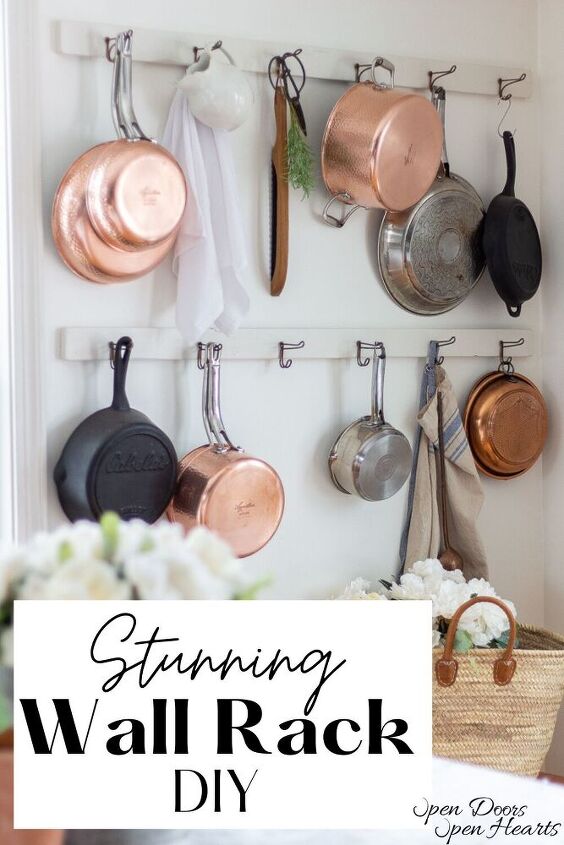
How to DIY a Stunning Wall Rack
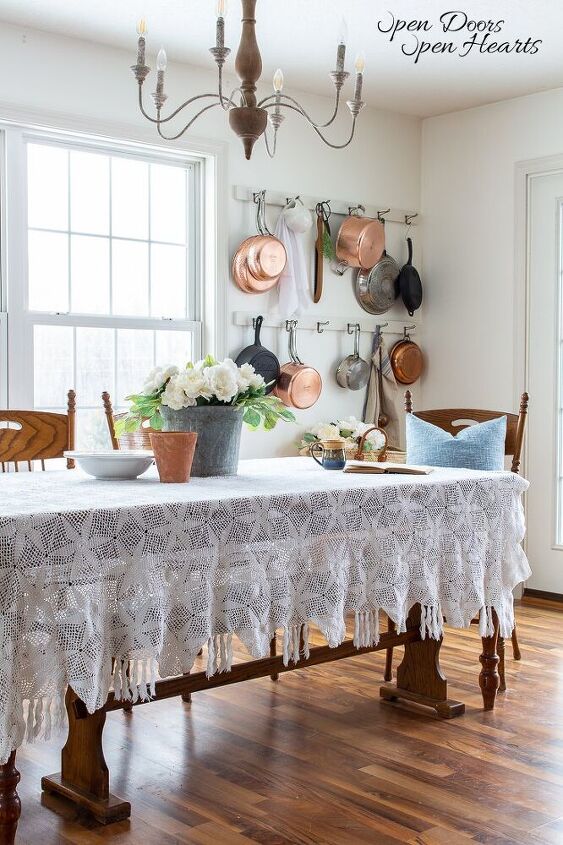
One of my favorite DIY’s in our home is the wall rack. The old-world charm inspires me and the functionality is effortless. It’s been one of the best design decisions we’ve made for our kitchen/dining space.
Why DIY a Wall Rack?
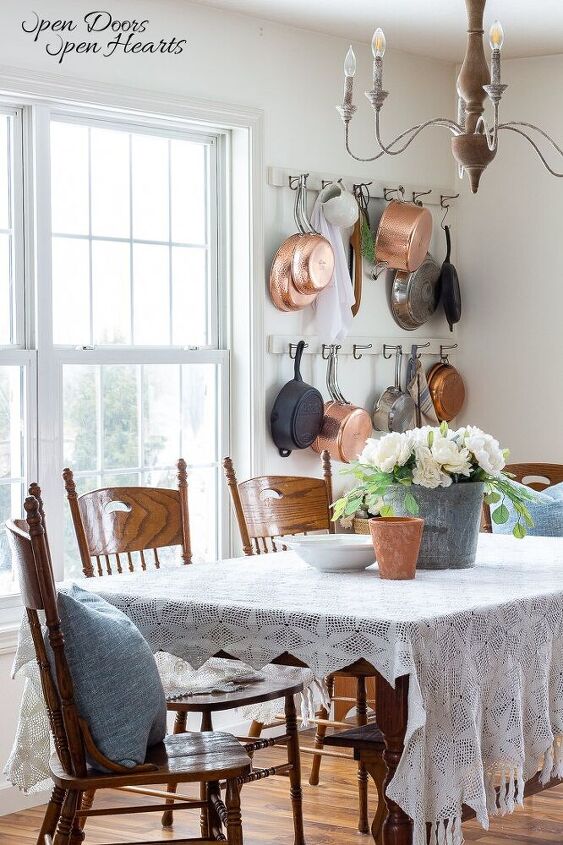
Focal Point
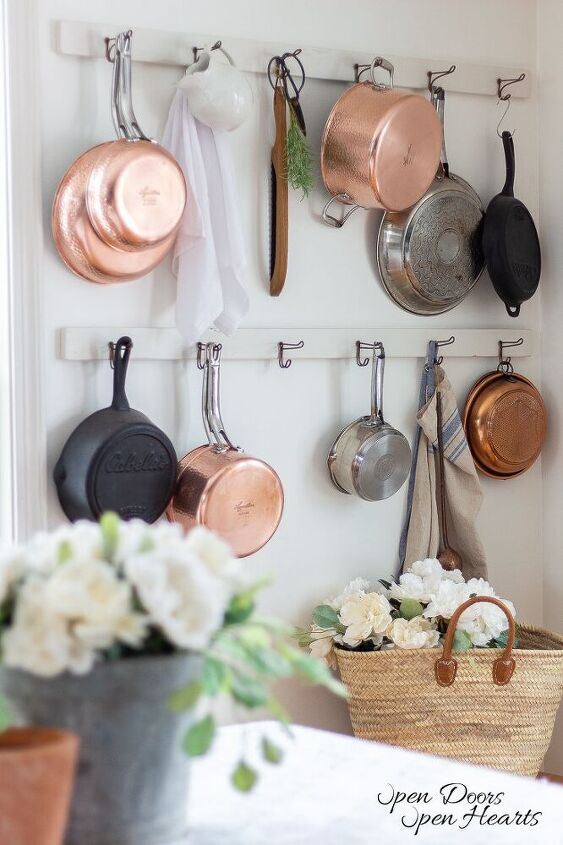
In my first post about this DIY wall rack, I told you that it accidentally became the focal point of the space. It was a happy accident. When I was working on this DIY I had no idea that it would become more than a nice storage solution.
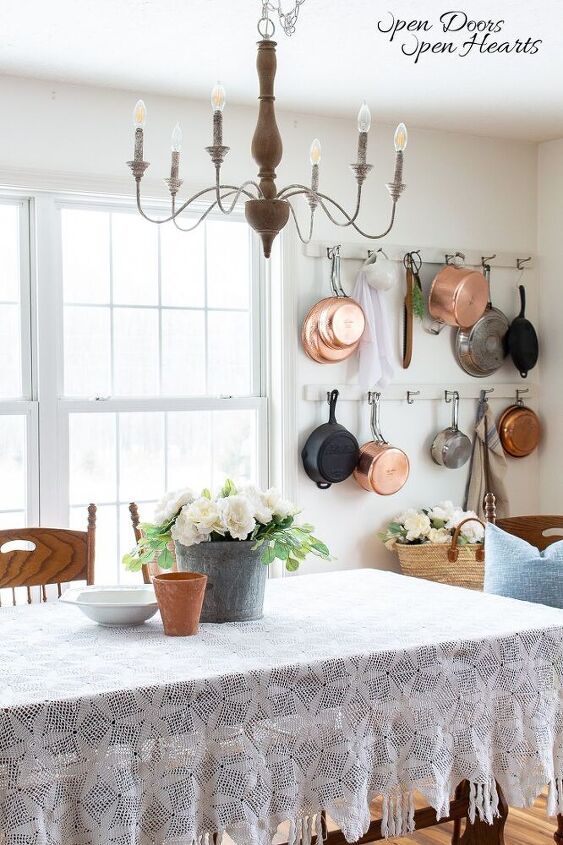
But I’m so glad that it turned out the way it did. It’s not a huge DIY. Honestly, it’s one of the most simple DIY’s I’ve ever done. But it packs a punch when you combine it with copper, stainless steel, and cast iron pots and pans.
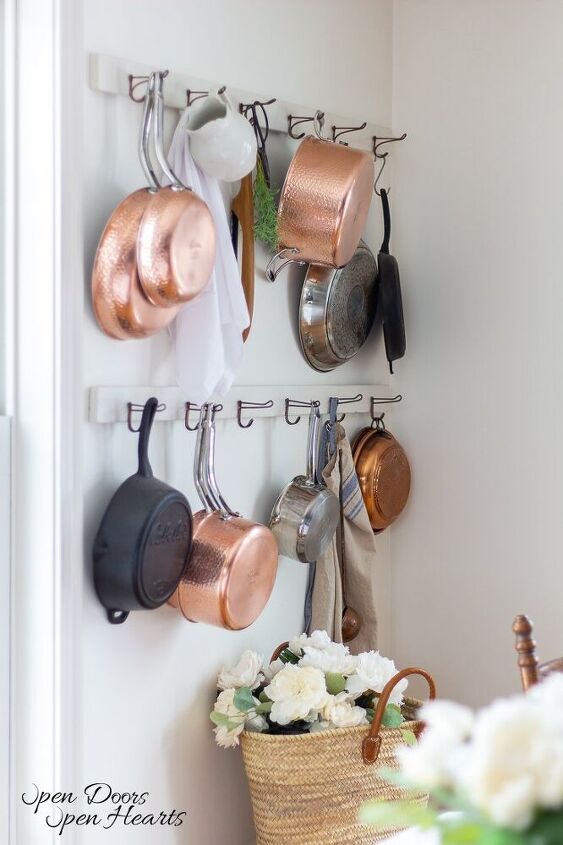
Storage
Storing the pots and pans like this has been a game-changer for me. I used to despise getting them out to start cooking. Inevitably, the one I needed was going to be in the back of the cabinet or at the bottom of the pile.
Que loud crashing noises. Ugh.
We tried multiple different storage solutions to ease these issues, but none of them lasted.They were all either too cumbersome to maintain, or they simply didn’t work.
Then, the wall rack! It’s the easiest way I’ve stored my pots and pans. It’s never a mess trying to get the pan I need and most of the time I can get it without making a sound.

I remember the days of the sleeping baby at naptime. My oldest would wake up to the smallest noises. I literally went nutty trying to get her to nap during the day. I would avoid using pots and pans during naptime because I knew the crashing pots would wake her up. Why didn’t I come up with this solution back then?!
Old-World Charm
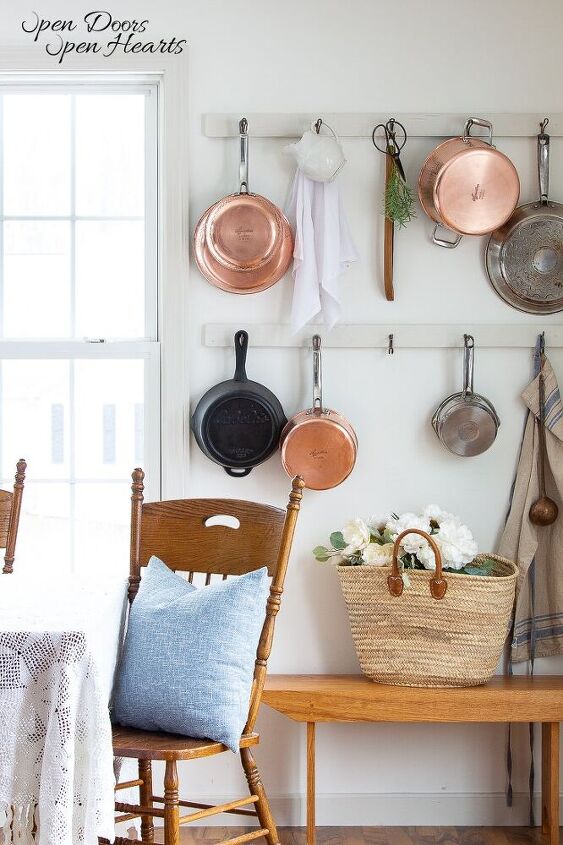
I absolutely love the functionality, and the way the wall rack steals the show in this space. But, my favorite part of our wall rack is the old world charm.
I love the simpler things in life. In fact, sometimes I think that I was born at the wrong time. Don’t get me wrong, I love indoor plumbing. But I’m drawn to the slower, simpler, and cozier things from times & cultures long ago.

The story. The history. It’s more of a feeling and less something you can put into words.
Supplies
- wood
- circular saw
- sandpaper/steel wool
- primer
- paint
- hooks
DIY Wall Rack Instructions
Step 1.
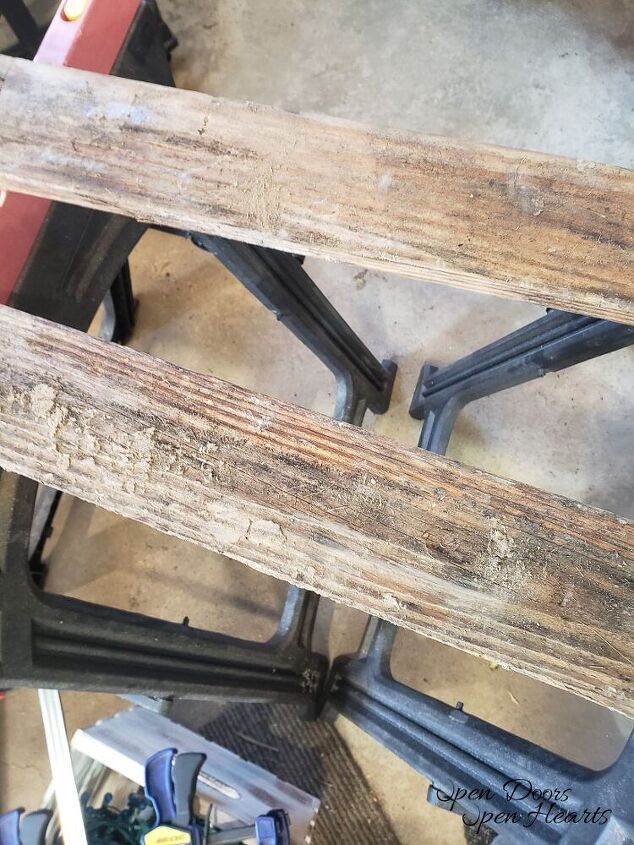
The first thing I did was select the wood I wanted. I found some wood in the woodpile and lucky for me, this wood hadn’t been claimed for any other projects!
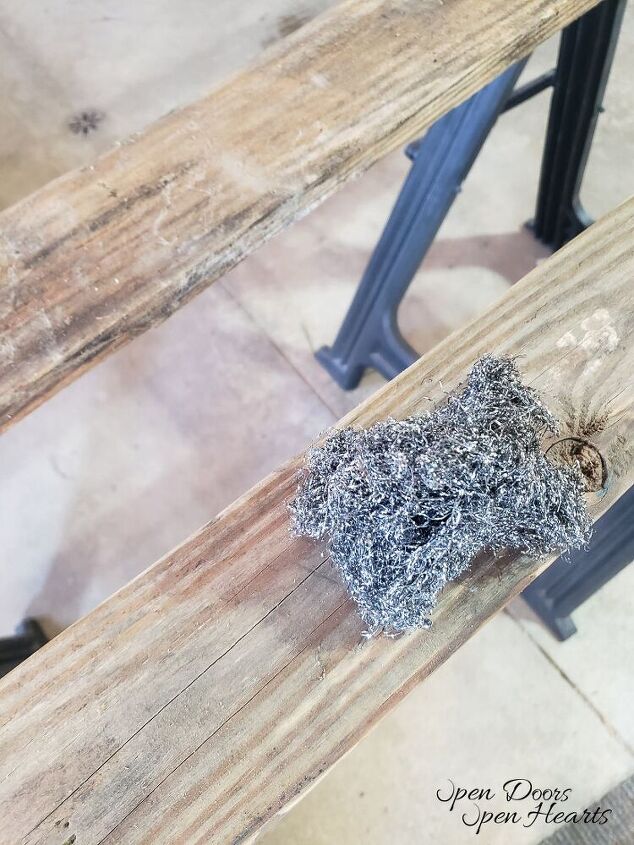
Step 2.
As you can see, the wood I selected was pretty rough. I cleaned off the big chunks of dirt with some steel wool, then I started sanding the rough edges a little. I didn’t want to sand them off completely, but I did want it to be splinter-free.
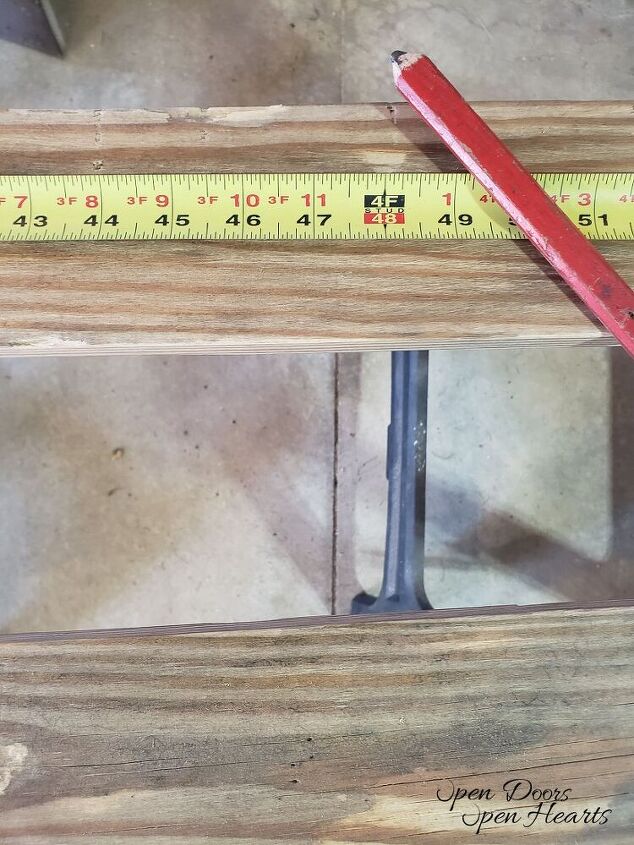
Step 3.
Now that it was cleaned up, I measured it and cut it to the appropriate length. To do this, I used the circular saw with the wood set up on a couple of sawhorses. I sanded the freshly cut portions of the wood to make sure it wasn’t rough.
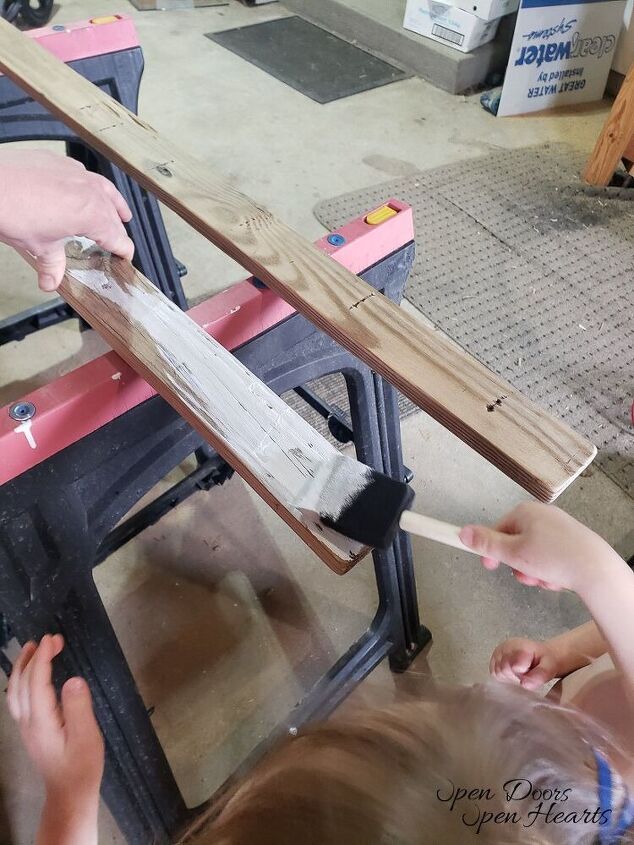
Step 4.
The next step was to prime & paint the wood.
The girls love to help us with projects. So whenever we’re able we try to involve them. It always makes the projects more meaningful and creates memories before the projects are even finished.

Step 5.
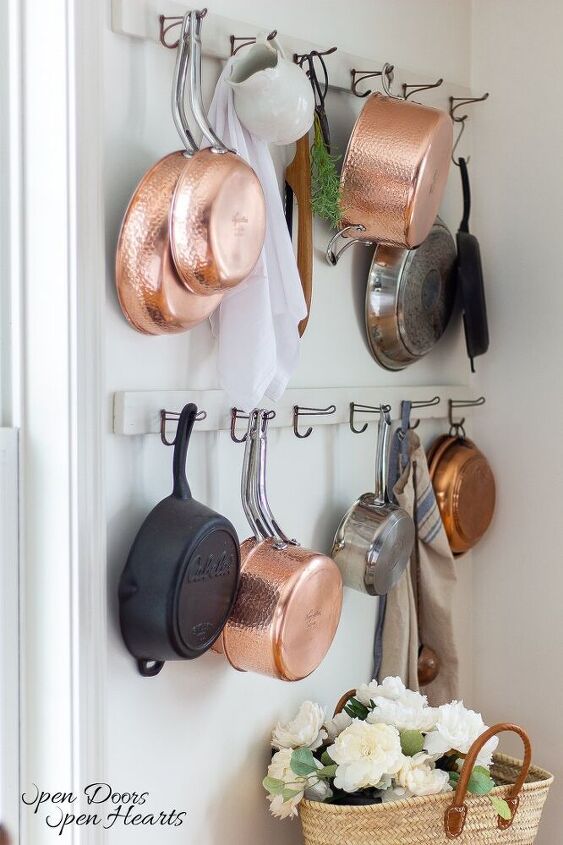
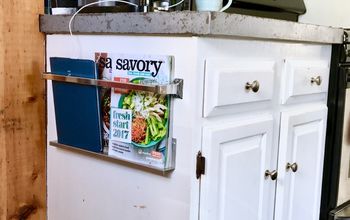
After the wood was ready to go, we measured and marked where we wanted the hooks to be. The hooks we used have screws on the backside, so we just twisted them into place.
I thought it would be best to drill little holes to twist the hooks into, and I still believe it was the proper course of action. However, my husband decided to just twist them in and it turned out okay haha!
We received these beautiful vintage hooks from my husband’s family. They are so good at finding awesome vintage pieces!

If you want to learn how to hang this on the wall and keep the screws out of sight head over to the blog post. Over there I've shared the tips and tricks we used. They are so simple!
That’s it! It’s seriously that simple! If you’re looking to add character to your home and also create some storage I absolutely recommend a wall rack.
You can do pots and pans in the kitchen, coats, and bags in an entryway, or towels, and robes in the bathroom. I’m currently dreaming of putting one in the basement for all my gardening things.
The possibilities are endless.

Thanks so much for stopping by! Make sure you follow along on Pinterest, Facebook and Instagram so we can stay connected in between posts!
Also, join the mailing list and never miss a thing!Have a great week! XoXo
Open Your Doors,
Aliya
Resources for this project:
See all materials


Comments
Join the conversation
-
Very nice. Really adds to the room. The mix of copper is beautiful.
-
Great job!! Love your room


Frequently asked questions
Have a question about this project?
Are these hooks strong enough to hang cast iron?
Why is the pot rack in the dining room instead of in the kitchen near the range?
how far away from your kitchen are the pots located