


Much to Do With A Hutch

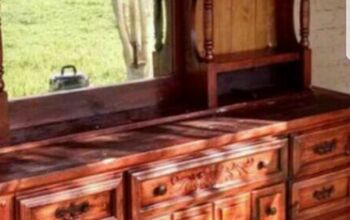
I loved the lines and curves of this beauty. This cabinet popped up on Marketplace and I nabbed it knowing that adding color would be the right thing.
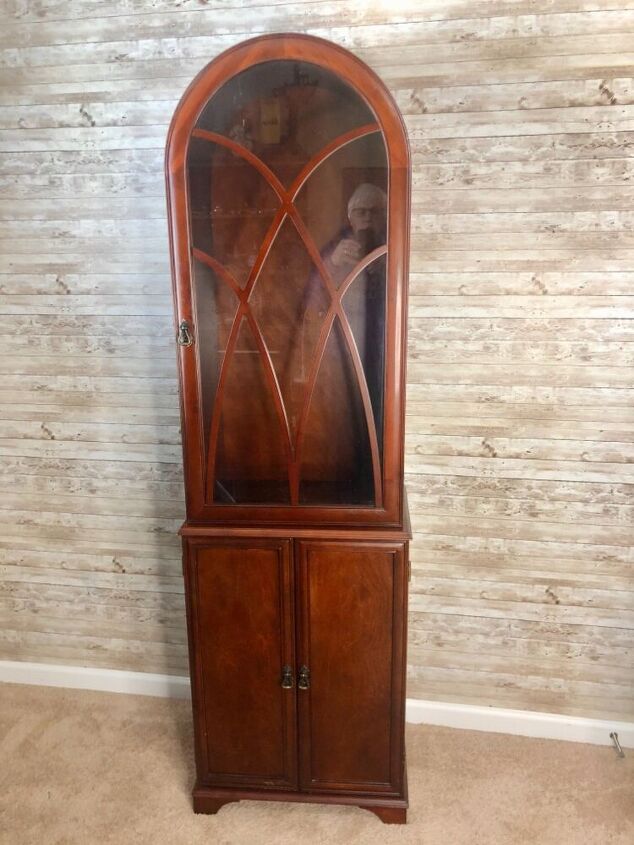
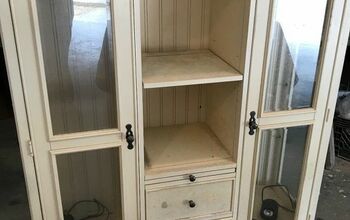
The first step was to disassemble, clean and repair 4 holes in the back where the screws were misaligned and popped through . To repair I used handy Durhams Water Putty. I then removed the back and painted the inside with General Finishes Alabaster.
Adding a vintage bulb and cord will lite up the inside even more. I drilled a hole, fished the cord through, reassembled the socket and added a vintage look bulb.
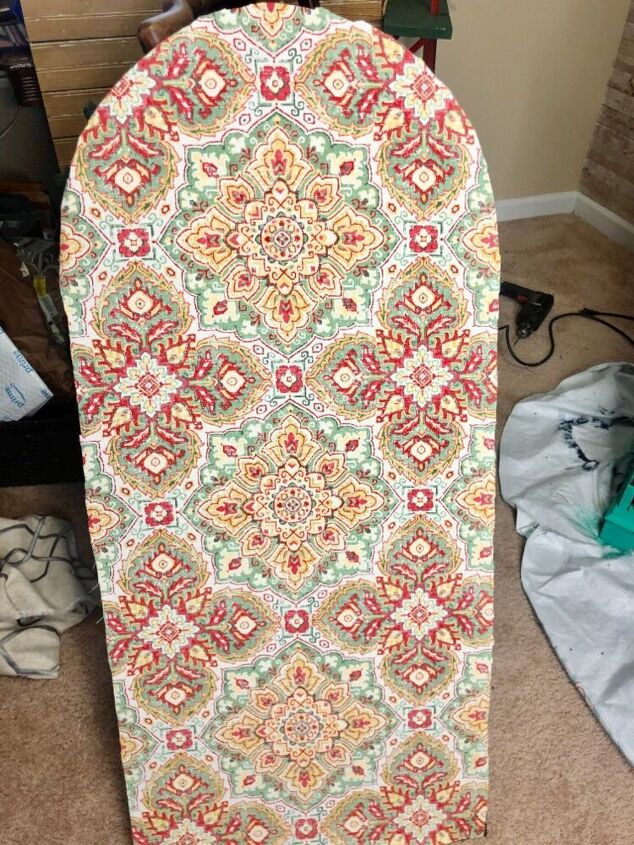
The back was covered with Waverley material by spraying the back with Locktite spray adhesive. I attached the material in 3 sections. Anchoring the top, then spraying and adhering the material about 10 inches at a time, smoothing it down as I went.
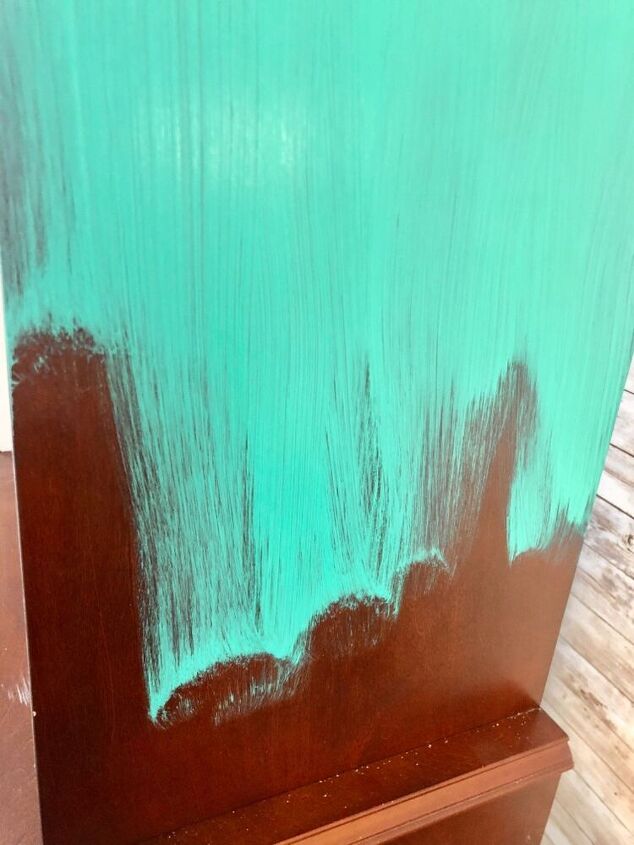
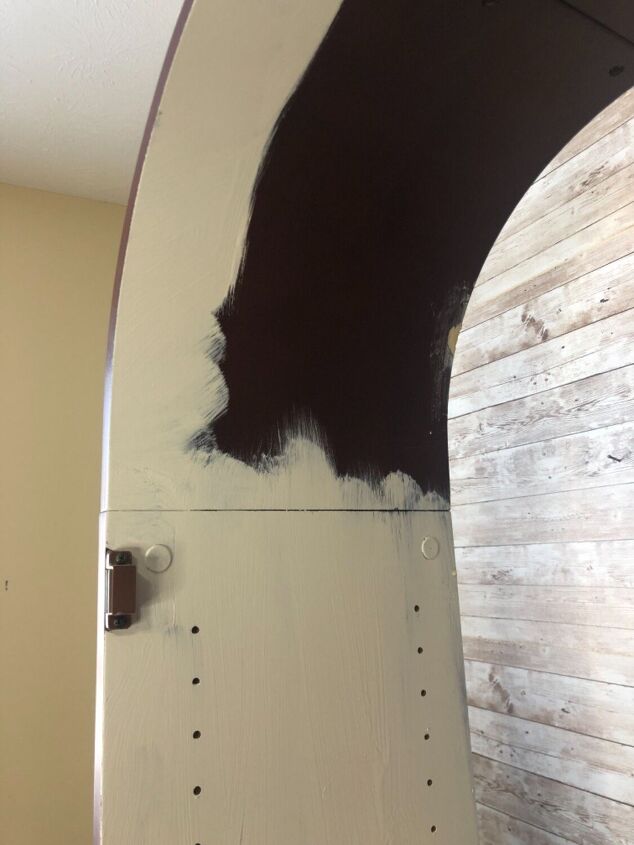
The fun part was adding General Finishes Heirloom paint. It truly brightened up the whole piece. I then sealed it with Min Wax Matte Clear and put the whole thing back together.

The project took two intense days to finish. I am very pleased with the outcome.
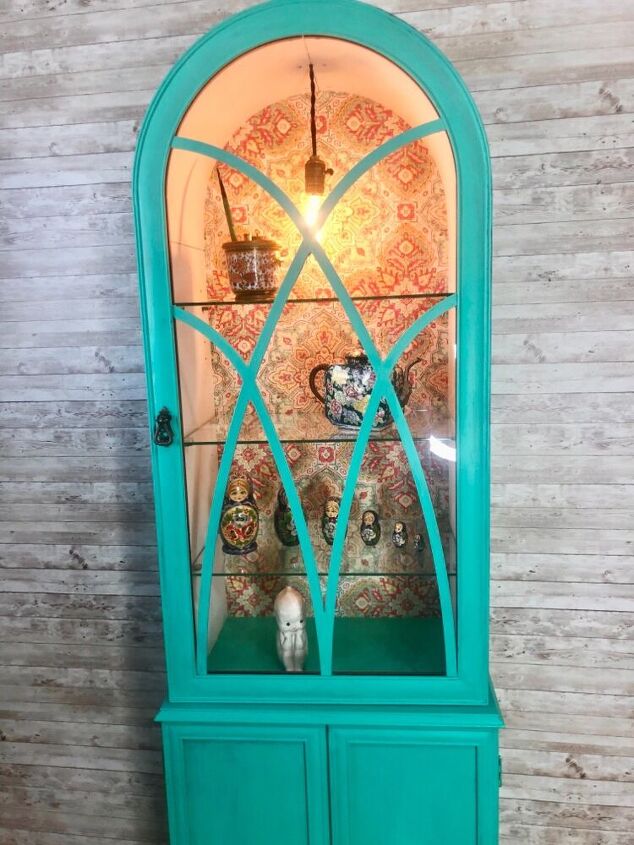
It is now a great home for some of our treasured possessions.
Resources for this project:
See all materials


Comments
Join the conversation
-
This is fantastic! Love it!
-
Except for the unadorned exposed light bulb, this is just gorgeous. Inspiring.


Frequently asked questions
Have a question about this project?
Is there glass in the door ? if so do you remove to paint door.?