


DIY Painted Sparrow Chargers for a Spring Table
Here’s another dollar store Spring decor project! You know those plastic gold chargers Dollar Tree sells? I gave them a makeover for Spring!
When I was planning for my Spring table this time, I wanted to change things up a little. I usually just do white plates and concentrate on the
centerpiece. Here is the Yellow and Green Spring Tablescape I used these chargers in.
But then I thought...
Let’s play with the plates this time!
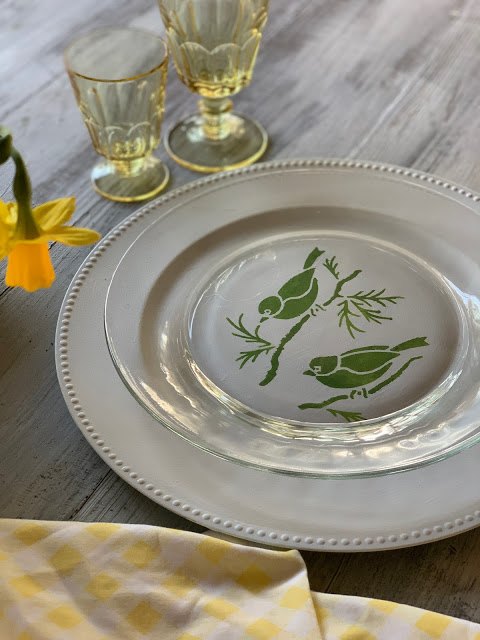
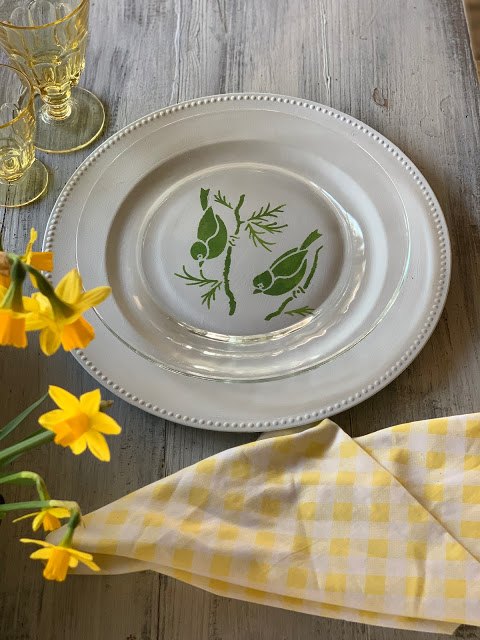
I was in the dollar store and saw their gold chargers and clear plates. And I had a vision of painting the chargers with a design that could be seen through the clear plate.
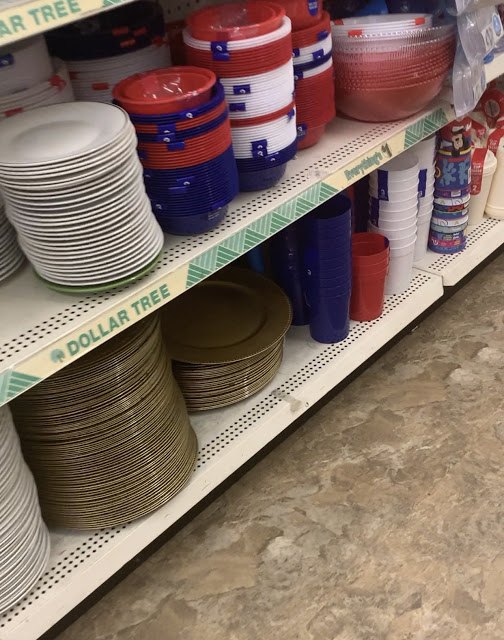
Yep, those plastic gold chargers.
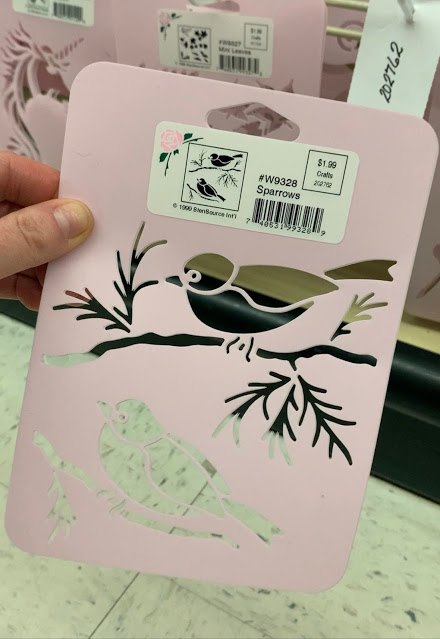
So I headed over to the craft aisle to look for a stencil or transfer design. They usually have something cute.
This time nothing jumped out at me that I wanted to use for this project. That was disappointing because I didn’t want to spend a lot of money on this project.
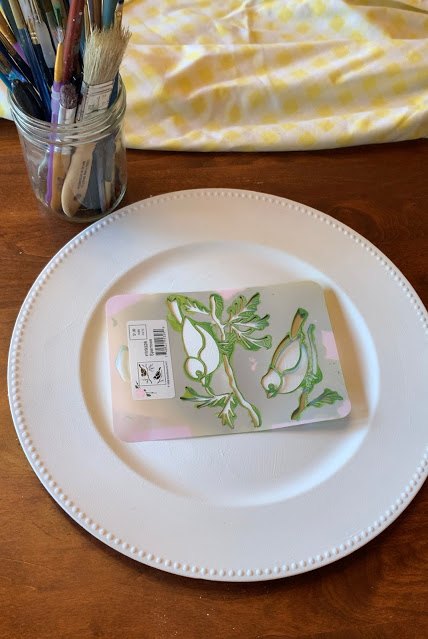
Thankfully, Hobby Lobby came to the rescue with this super cute sparrow stencil for only $1.99!
Here's Everything I Used:
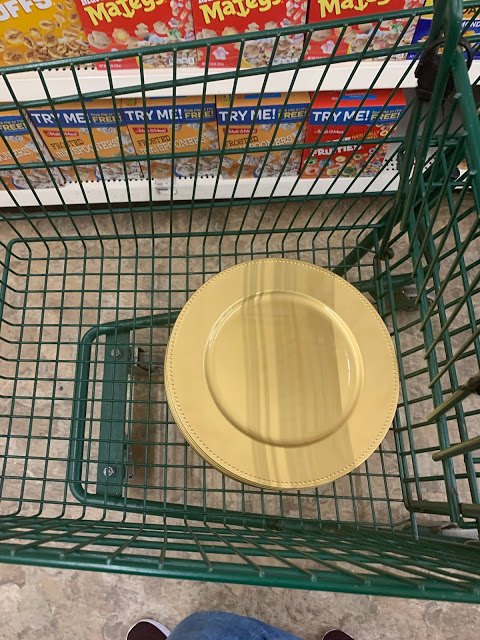
- Gold chargers (from Dollar Tree)
- White chalk paint (from Walmart)
- Sparrow stencil (from Hobby Lobby)
- Paint brushes
- Green acrylic craft paint
Here's How I did it:
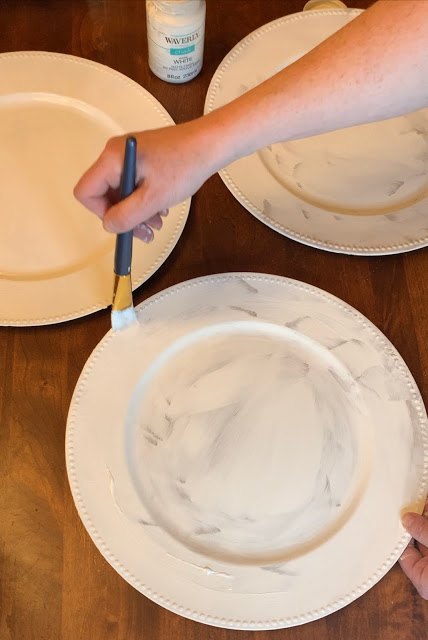
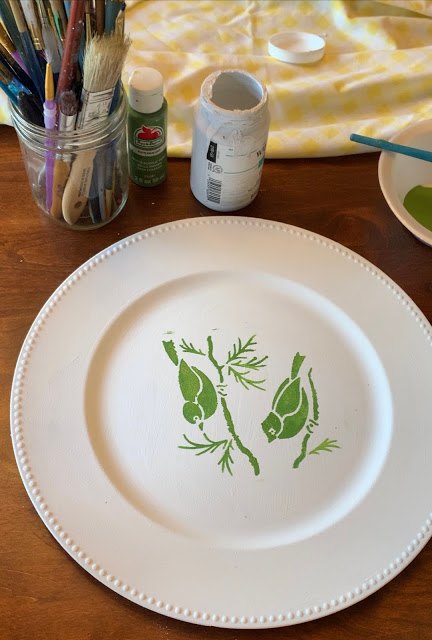
First, I gave the chargers two coats of chalk paint.
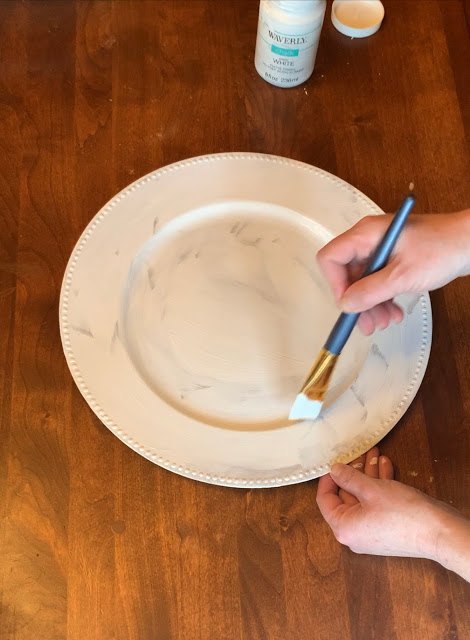
To get the paint all around the decorative edge of the charger, I
brushed from the edge toward the middle.
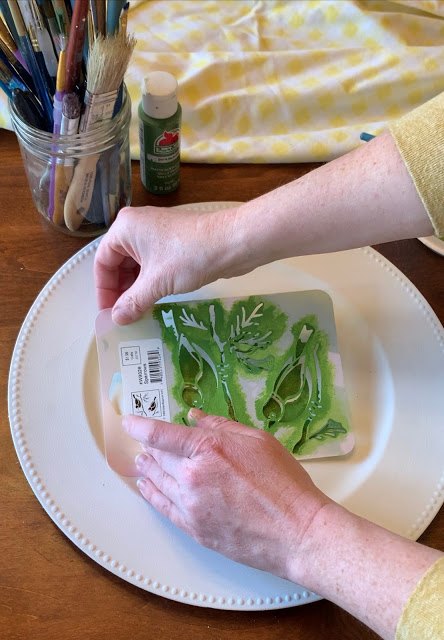
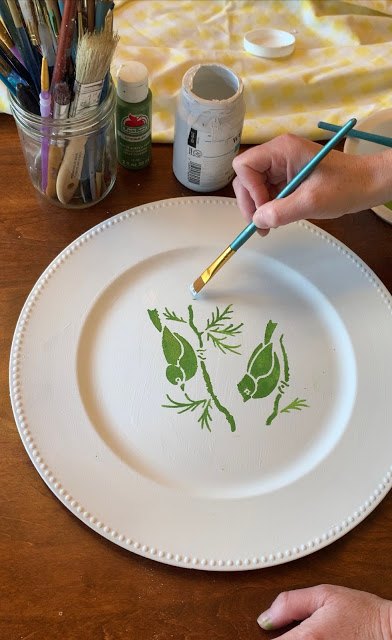
That dried quickly. Then I placed the stencil in the center of the charger. I eyeballed its placement.
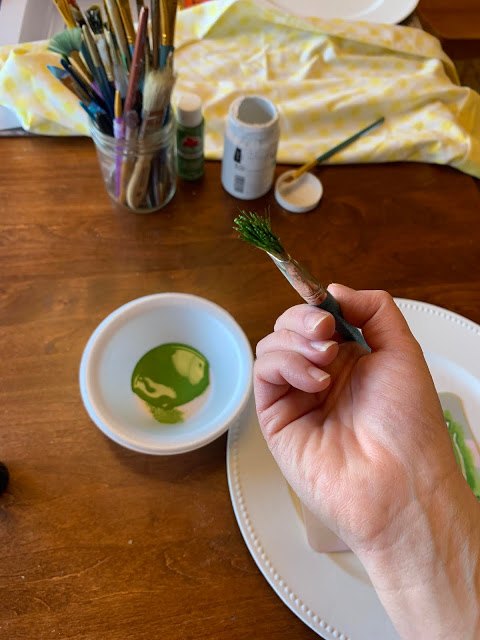
I used this pretty Spring green acrylic craft paint that I already had to paint the stencil, but any color that speaks to you can be used.
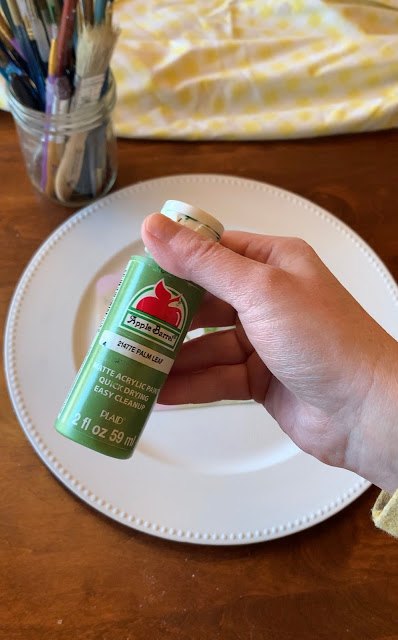
I used just a small amount of paint on the brush, almost a dry
brush. If the brush has too much paint on it, the paint will run under the stencil and ruin the design.
I held the stencil down with one hand and lightly pounced the paint into the stencil.
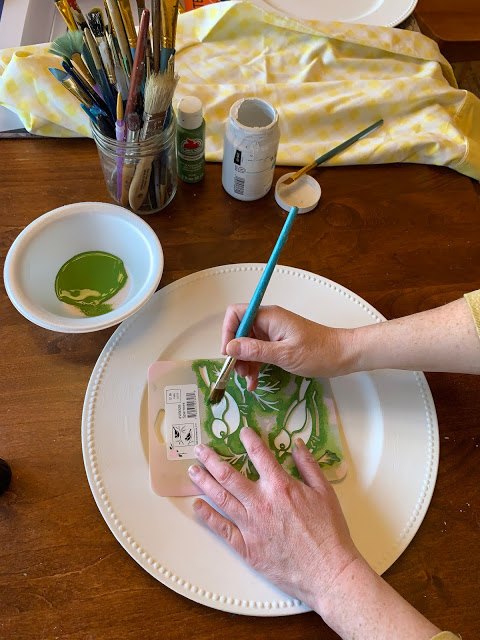
Since it was such a light coat of green paint, I went back over it with a second light coat right away without moving the stencil.
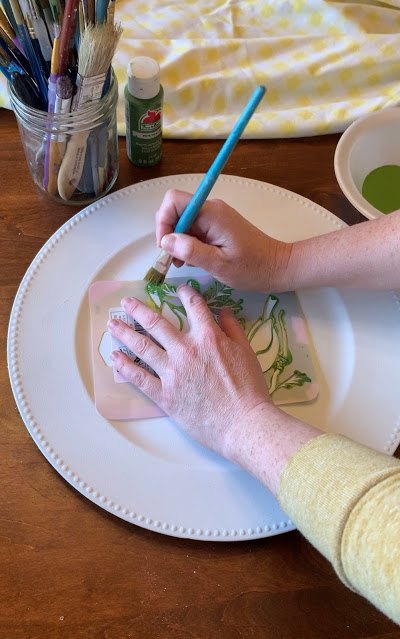
Then I carefully pulled up the stencil.
If there was wet paint on either side of the stencil after that, I wiped
it off before moving to the next charger to avoid any smears.
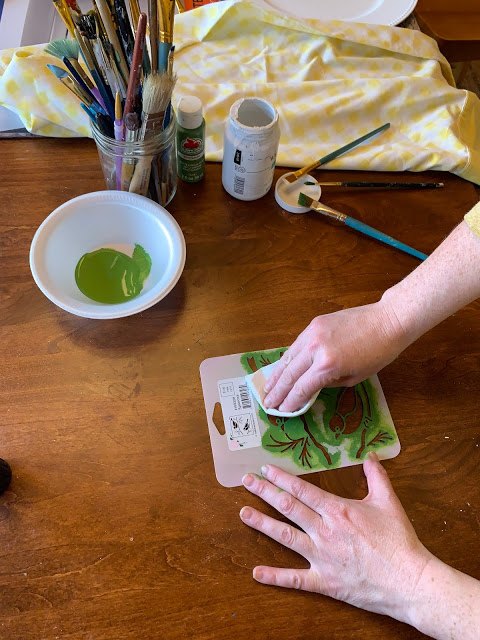
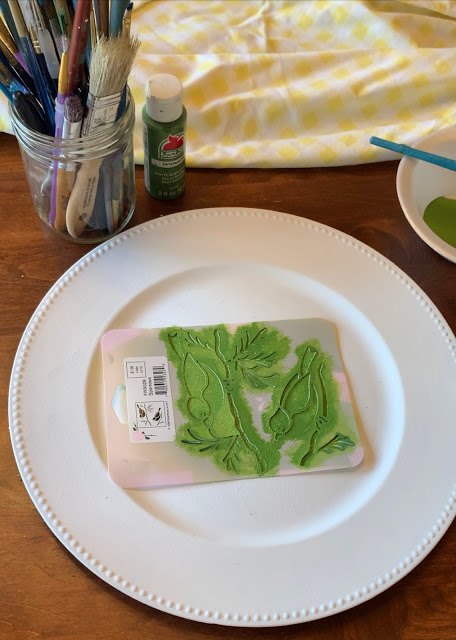
If there were any little smears or smudges of green, I just touched it up
with a little bit of the white chalk paint.
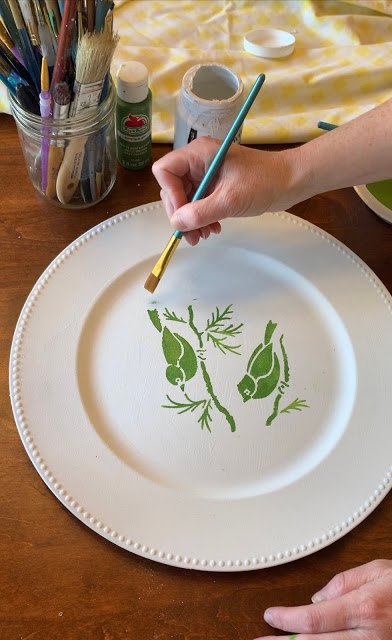
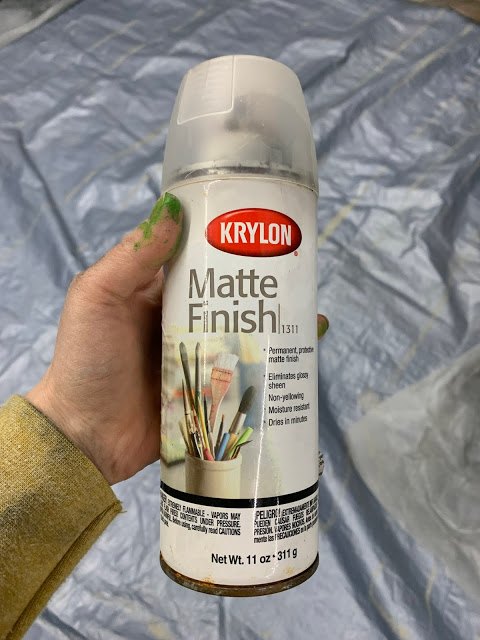
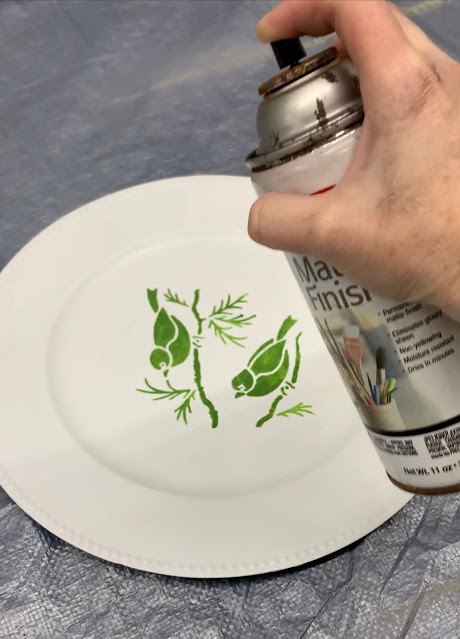
After all of the paint was dry, which didn’t take long at all, I gave each charger two coats of matte clear finish spray.
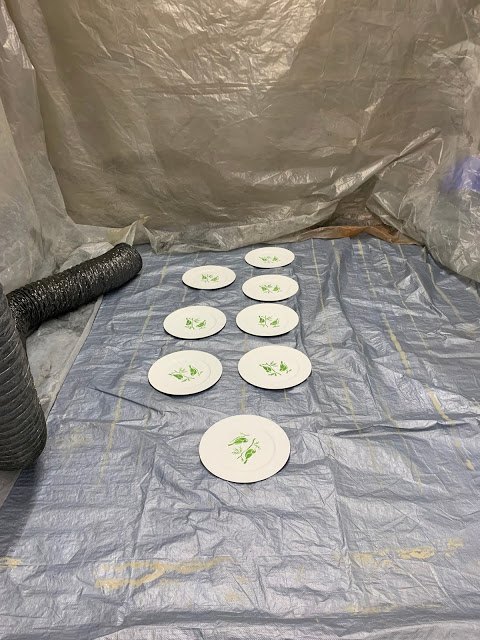
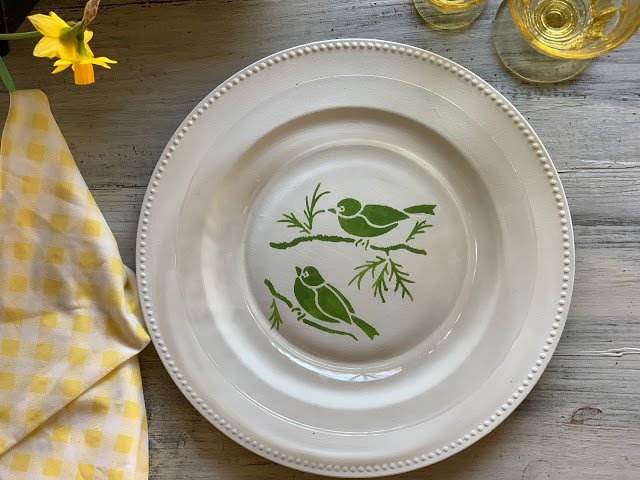
The chargers look so cute topped with a clear plate! I was really happy
with how they turned out. Now my wheels are turning for what colors and designs to paint on chargers next for every season! I have so many ideas!

What design would you paint on dollar store chargers? Let me know what your ideas are in the comments!
If you like my projects, I'd love for you to sign up for my newsletter here! You'll get my blog posts emailed to you!
As always, thanks so much for stopping by!
Resources for this project:
See all materials


Comments
Join the conversation
-
Love it!
It would be interesting to see the green paint on the beaded edge. Just an extra detail to add to the design.
-
Just beautiful. Lots of possibilities!


Frequently asked questions
Have a question about this project?
why is the plate called a Charger? What is its function?
This gave me an additional idea. After spray painting the charger? I'd mod podge a pre-painted spring napkins or rice paper to the center. I'm terrible @ stenciling. You did a wonderful job!
Do you have your own diy paint booth? If so, I would like to see instructions on that. What is the gray tube coming in for - ventilation, heat, exhaust?