


Rain Boot Makeover

Well spring has finally sprung here in Ontario, Canada. It's a balmy 9 degrees celsius. Lol ! But the sun is shining, the birds chirping and my creative juices flowing. I love making arrangements for my door every spring and this year I was inspired by a tiny pair of rubber rain boots.
Best faux tulips!
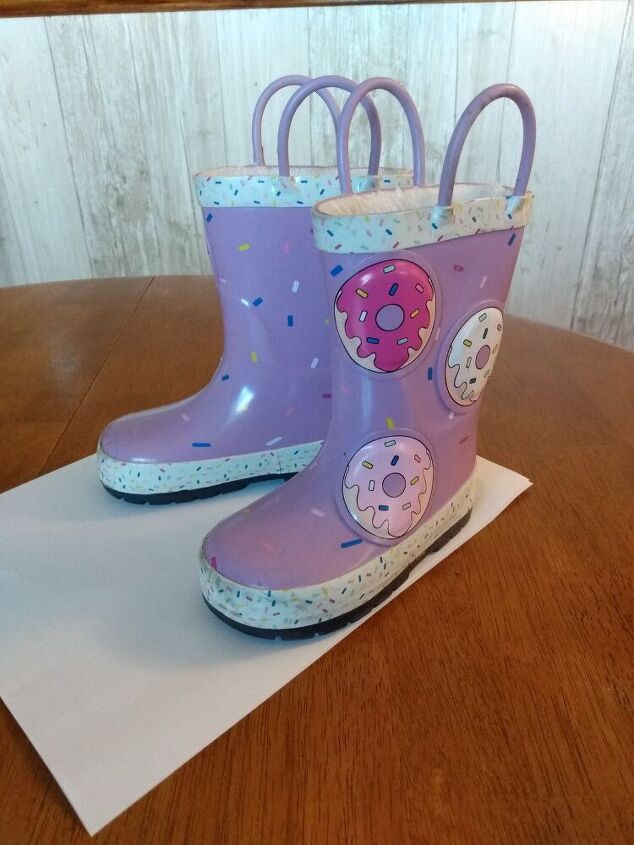
So here are my rain boots. I purchased them at a second hand store for $3.00. I brought them home and washed them with soap and water.
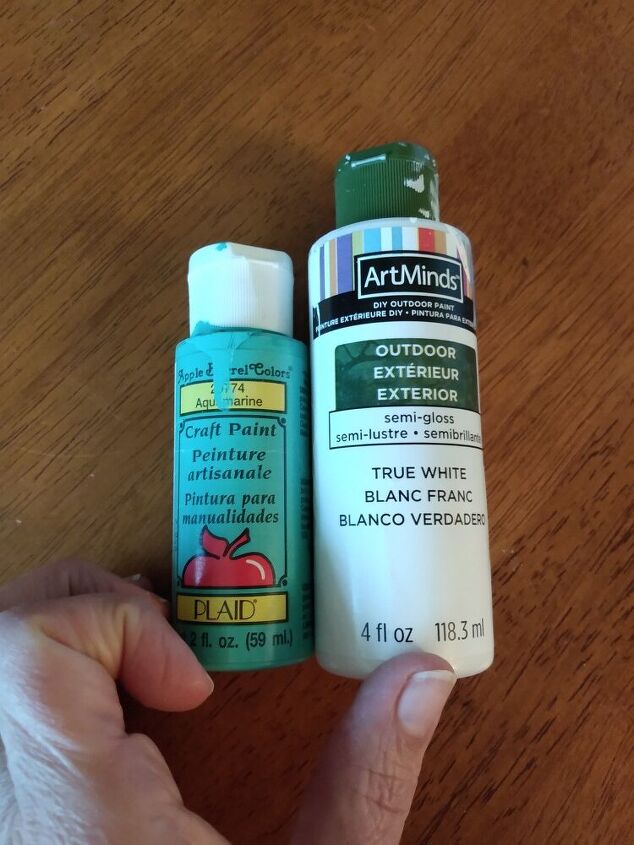
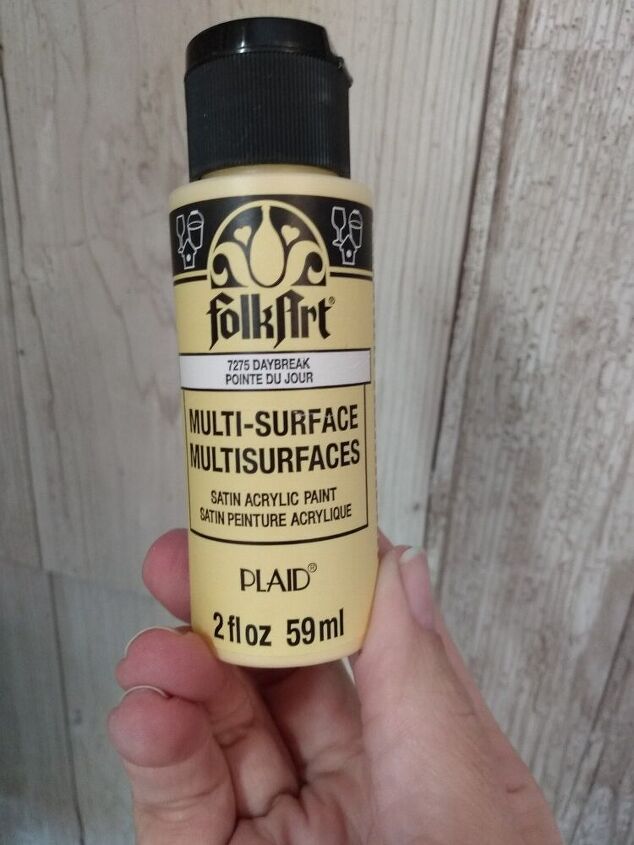
I wanted a bright color for my boots. I went digging in my paint stash and found this aquamarine color but it was a bit too dark so I opted to add some white just to soften it abit.

So I added the two colors together and mixed with my brush.
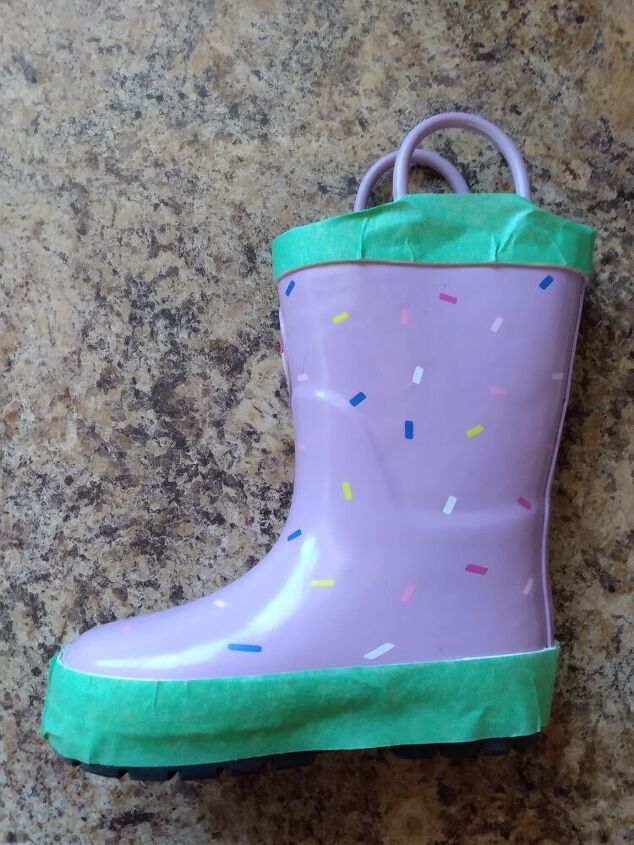
Before I began painting I took some painters tape and covered the top and bottom of the boot which was a white color.
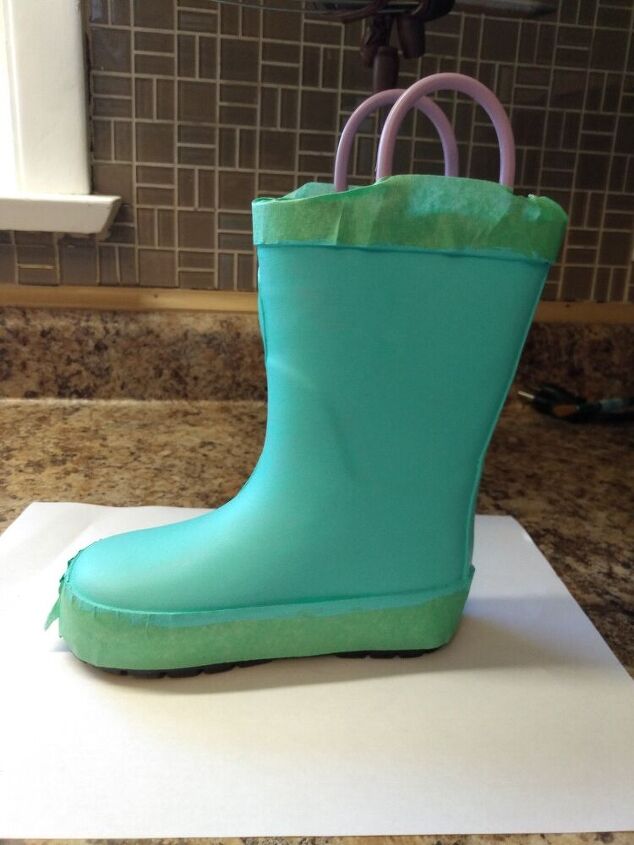
Next I started painting my boots. You will need to do a couple of coats. If the temperature was warmer I would have spray painted them .
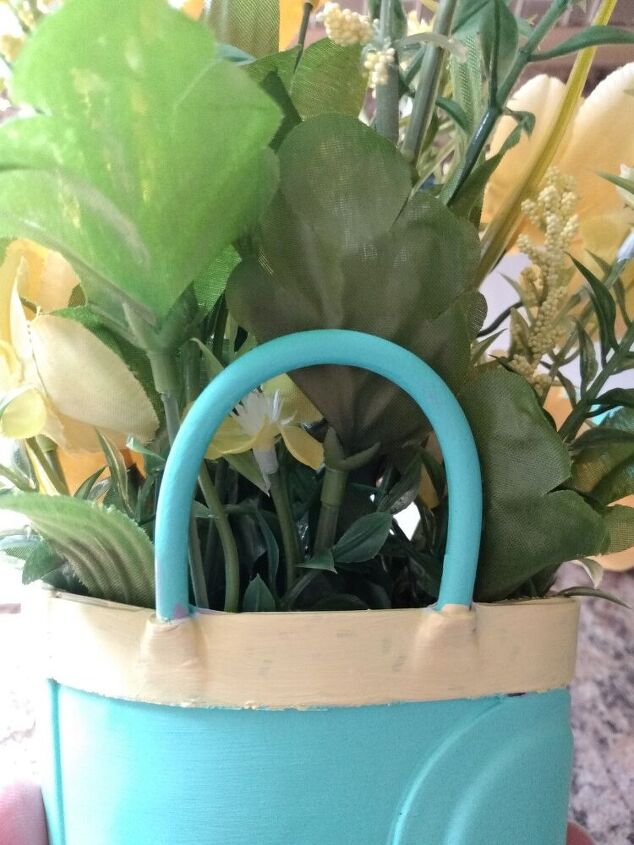
So once my boots were dry I removed the painters tape and chose this yellow to paint the top and bottom of my boots.
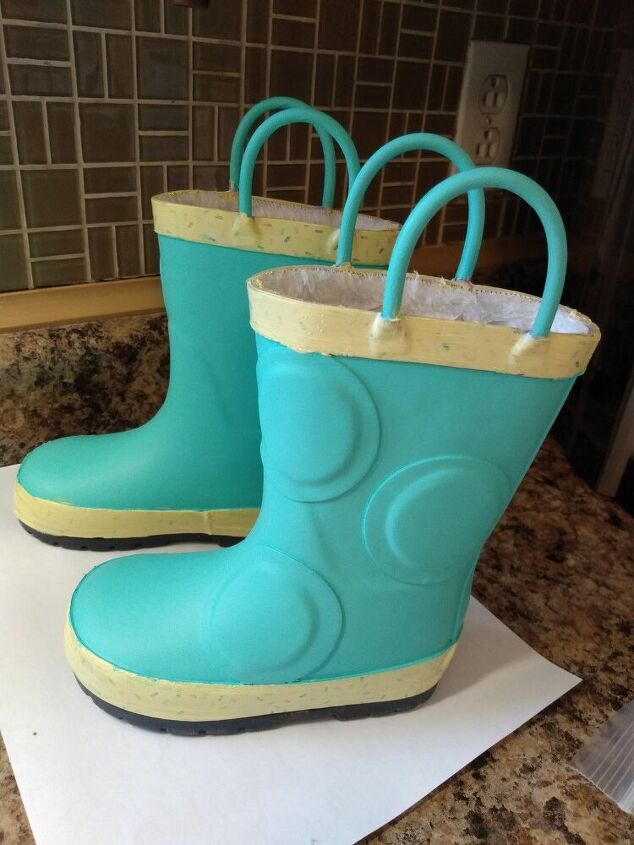
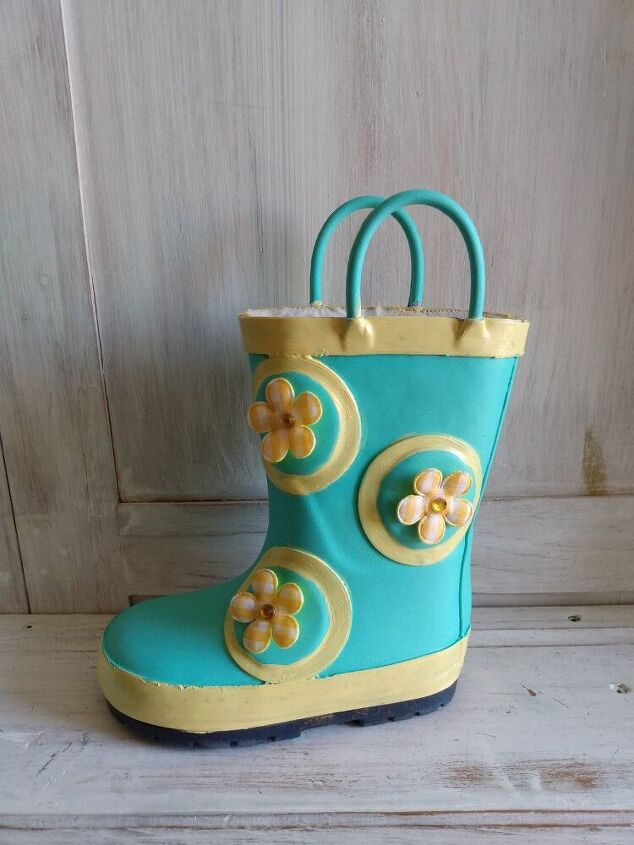
Here they are painted. You will notice the boot in front has raised circles. Using my brush and yellow paint I painted the outside of the circle.
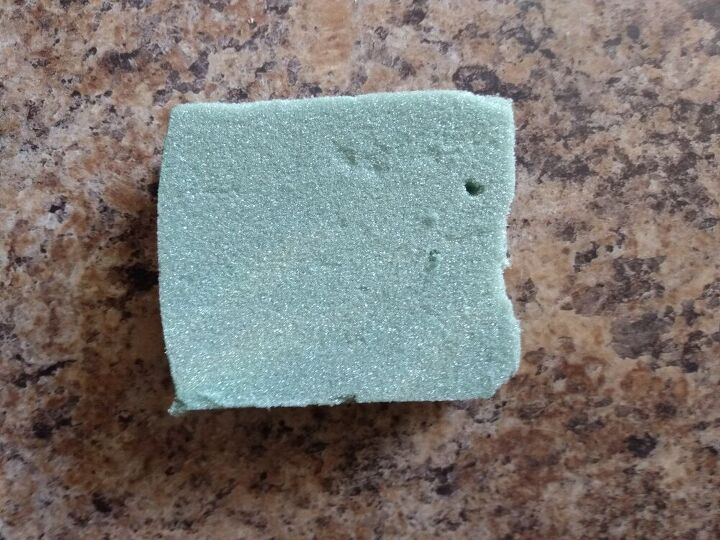
Next I had some pieces of foam left over from a previous project. I took them and stuck them down inside the boot.

Here is the foam in the boot.
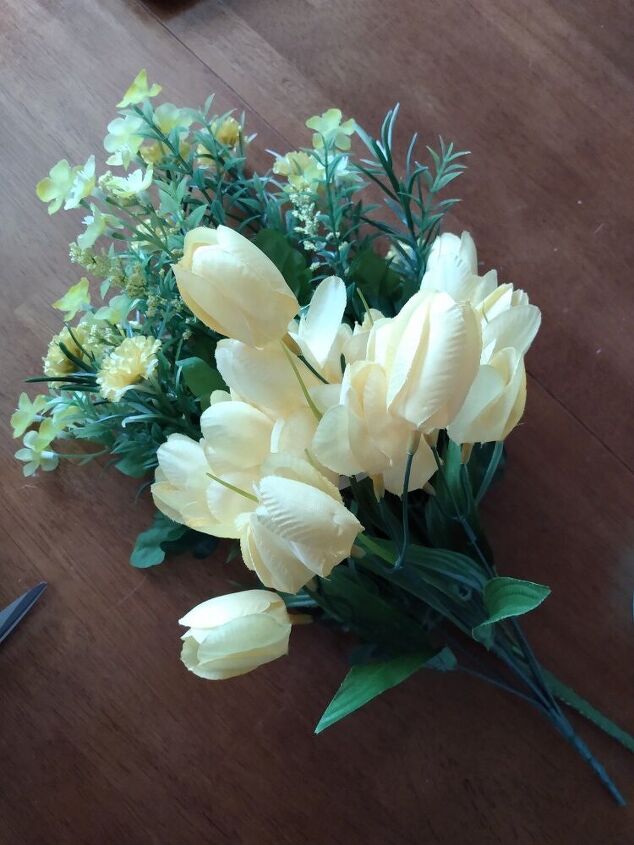
Next step is to add your flowers. Nothing says spring to me than yellow flowers. These are tulips and a mixed spring bouquet. Dollar stores have lots of spring flowers right now. Using wire cutters I started cutting different lengths and arranging inside my boot.
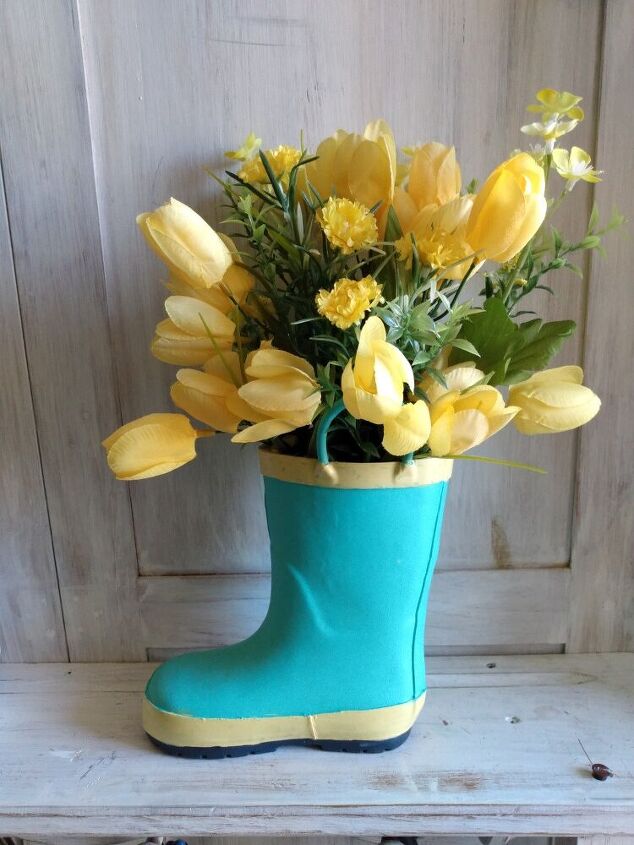
So here is one boot finished.
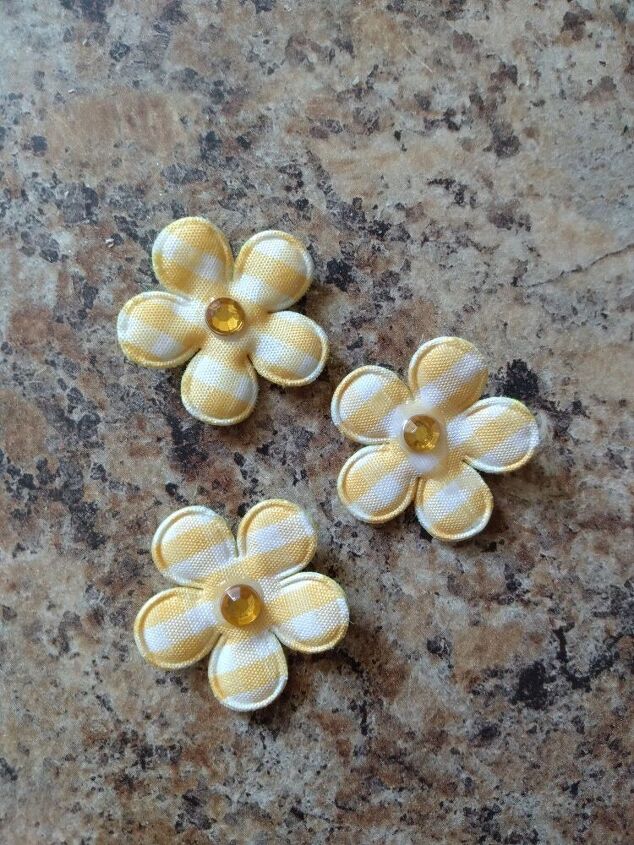
Remember the one boot that had the circles that I outlined in yellow? I had these little yellow self adhesive flowers in my craft box that I added inside the circle.
Next step is to finish the boot off by adding my flowers. These look great just as they are and could be used as table arrangements.
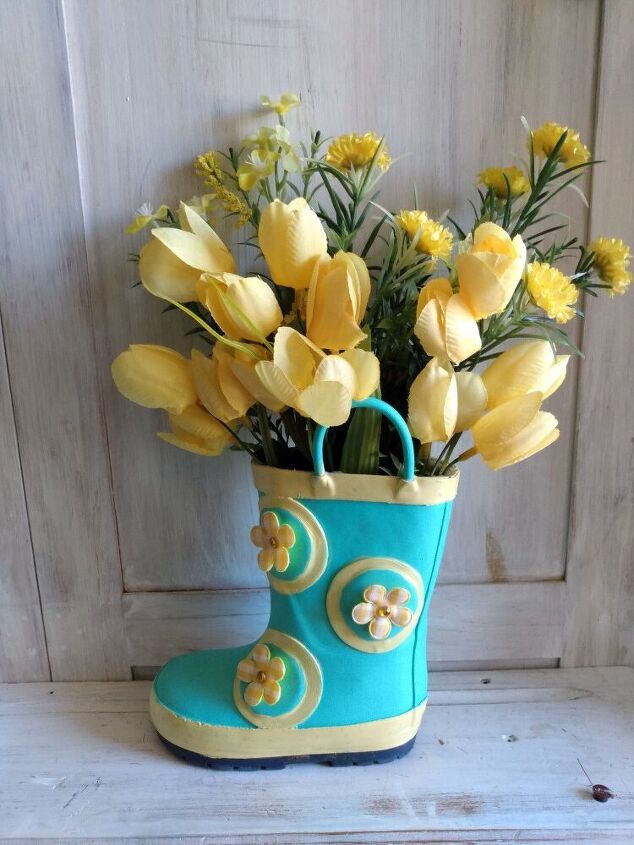
As I mentioned I wanted to use them on my front door.
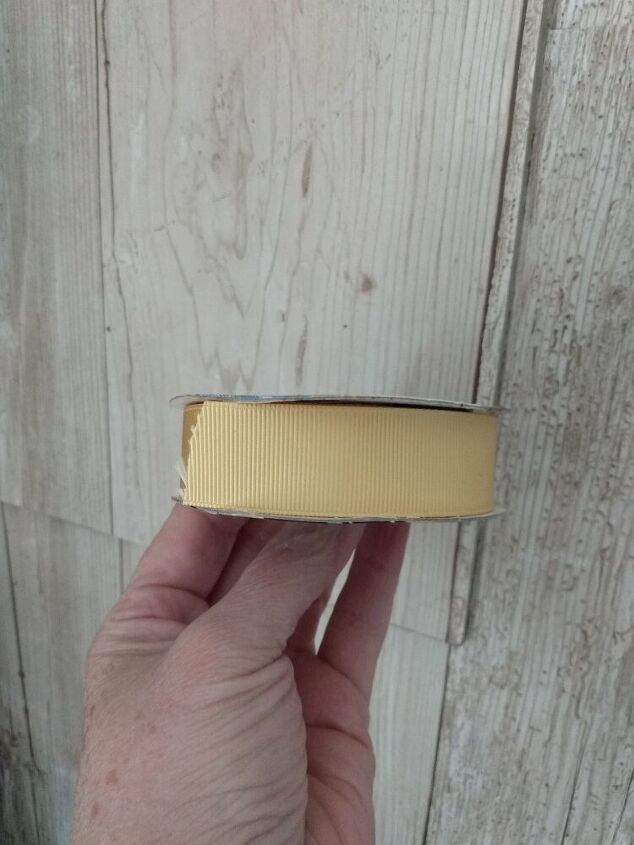
I will be using some yellow ribbon to join my boots together.
After cutting my ribbon I tied it to the back side of the boot on the handle. Repeating on other boot.
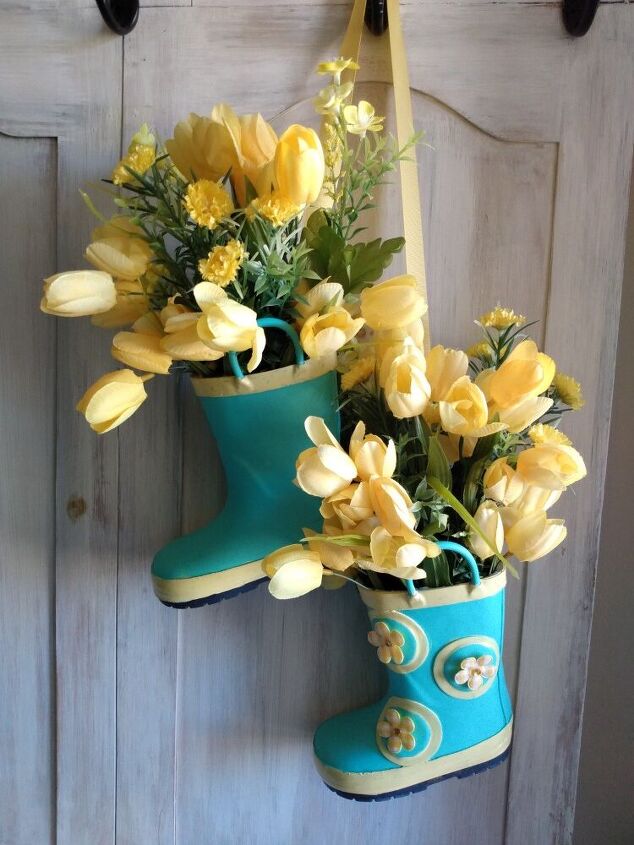
Here are my boots complete. This was a super easy and cheap project.

And here they are on my front door. I just love how they turned out. Hello Spring!!
Resources for this project:
See all materials


Comments
Join the conversation
-
Absolutely gorgeous! Such ashame can't trust anyone.
-
Awesome idea! I don’t think I would try to make them boots! If I do I will post them! They look beautiful on you doors!


Frequently asked questions
Have a question about this project?