


DIY Miniature Dreamcatcher

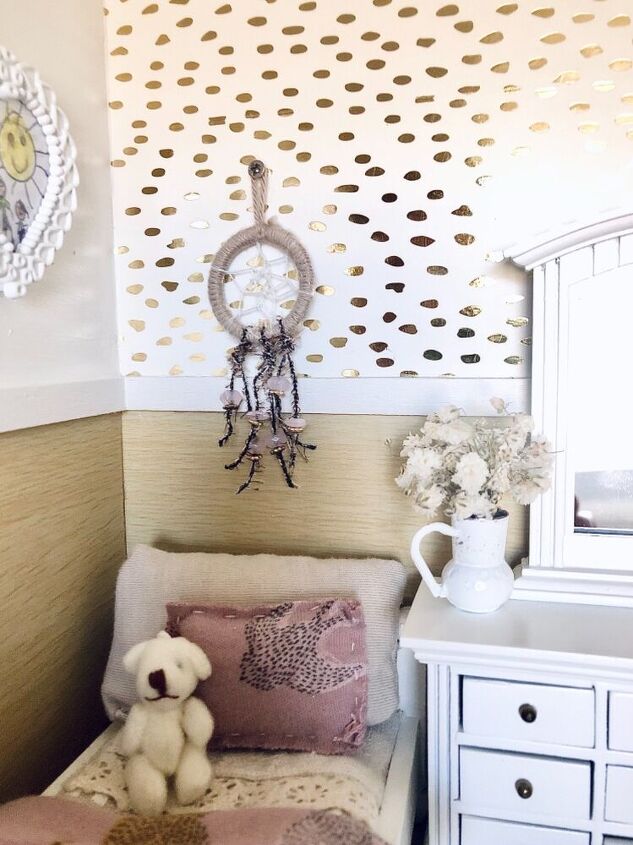
I’ve just finished building a 1:12 scale dollhouse and have just been making a few little accessories to finish it off. I’ve made a few real size dream catchers before so I decided to try and make a miniature one.

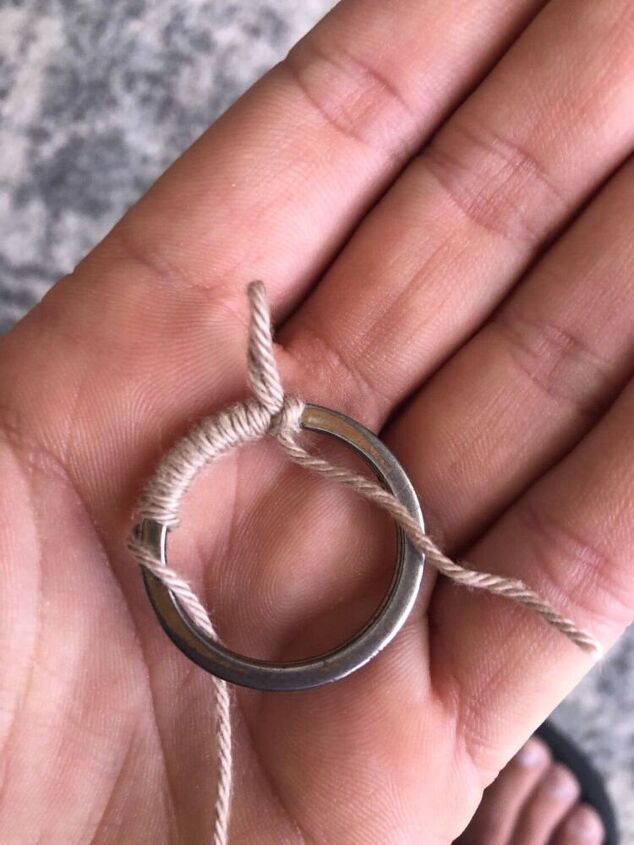
I started by gathering some materials I had around the house and in my craft supplies. I found a key ring that was the perfect size to use as the hoop.
I grabbed some yarn and tied a small loop and knot onto the ring. I then wrapped the yarn around the entire ring.

Once I reached the end I tied a little knot at the top and then cut the excess yarn.
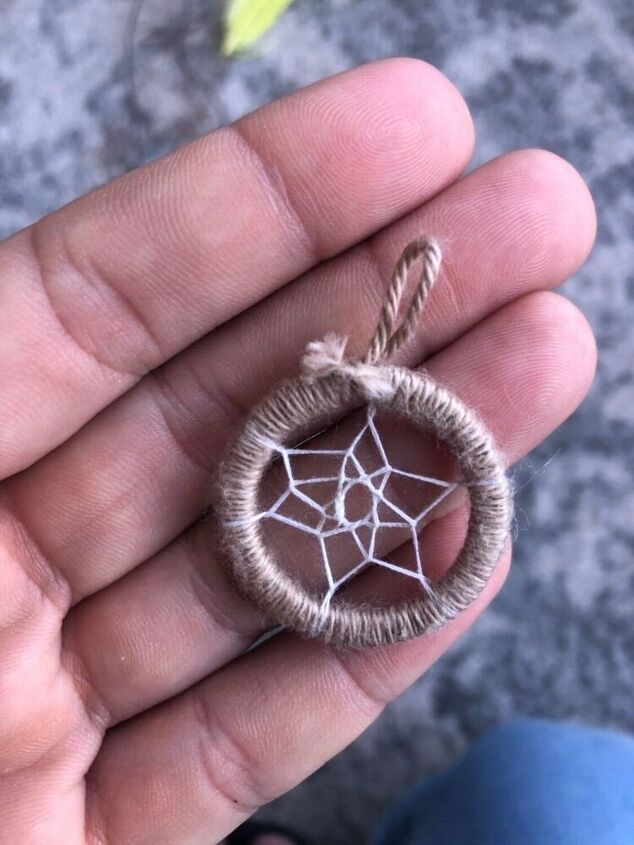
Next I used some sewing thread and tied a knot at the top again.
I then looped the thread along 5 points of the ring (6 including the starting point).
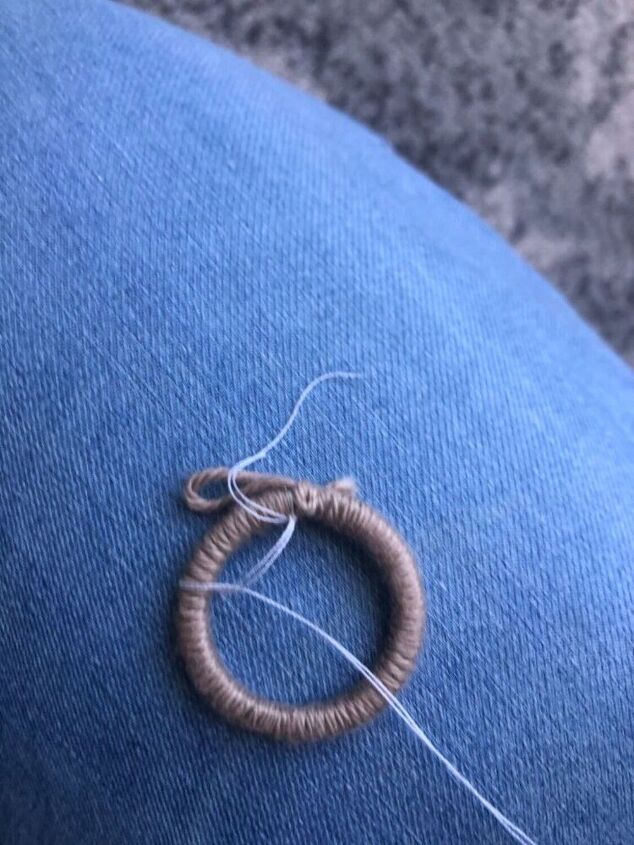
Once I reached the end I used the excess thread from the start and end to tie a knot in the middle of the two points.
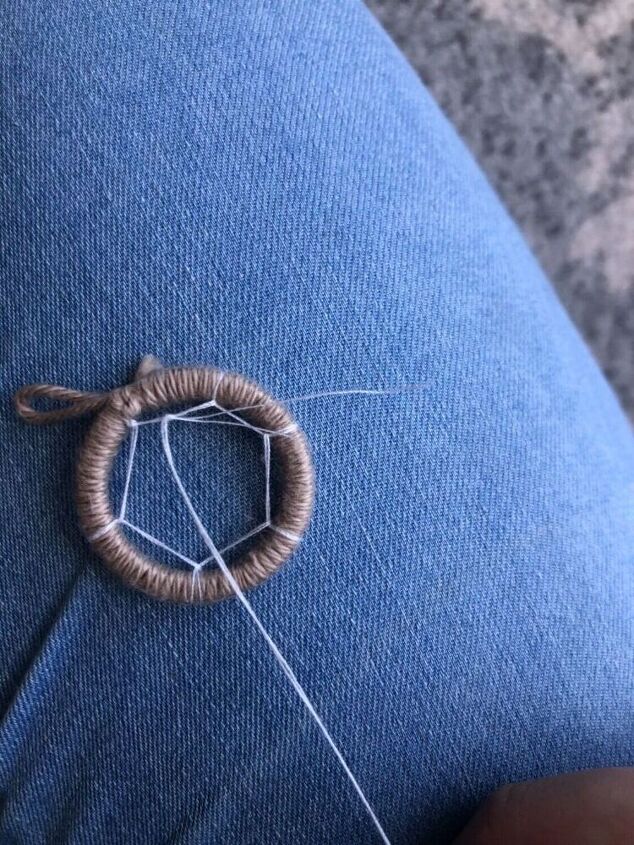
I then continued on using the long piece and looping it over the thread in the middle of each point.
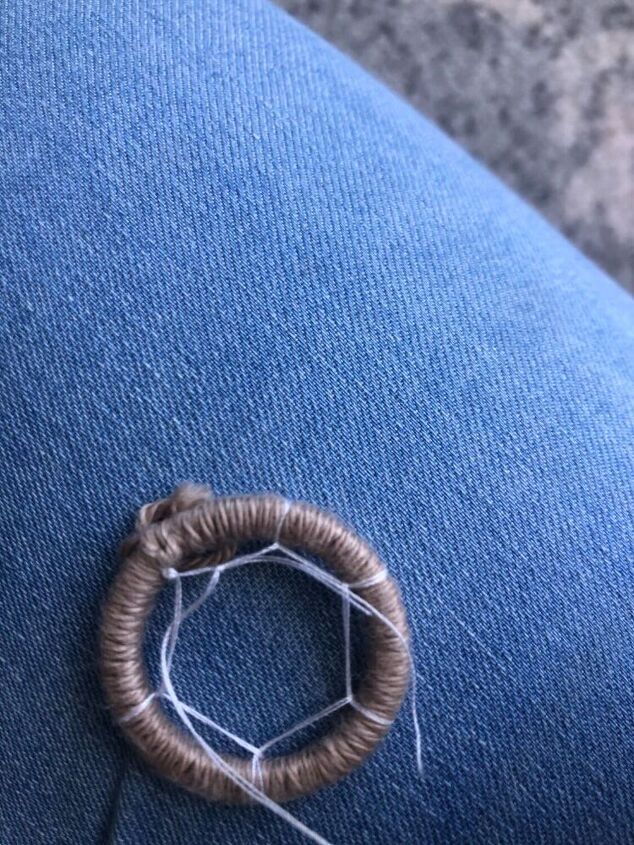
I made sure to keep pulling it tight after each loop so it started forming the “web”. When I got to the end I just repeated the steps, tieing a knot inbetween the inner points and then looping the next lot.
I did this until I reached the middle and then I just tied a knot & cut the excess.
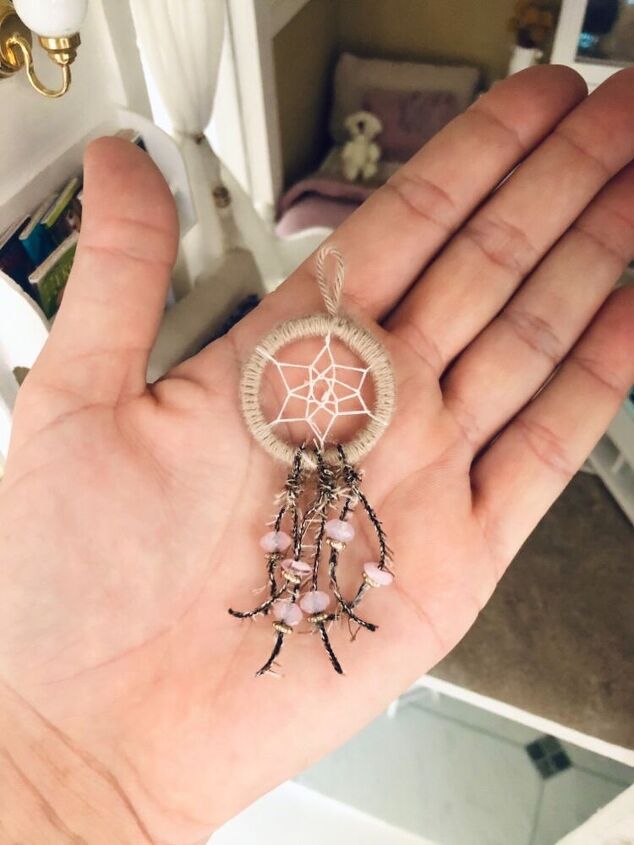
Lastly I tied some novelty yarn from my craft supplies around the bottom of the ring and then added some little beads for some extra detail.
I put some glue underneath the beads to keep them in place.
Im pretty happy with how it turned out. It finished of the room in the dollhouse perfectly.
For more of my projects including the dollhouse I have just finished, please check out my Instagram page @_prettyliving


Frequently asked questions
Have a question about this project?