


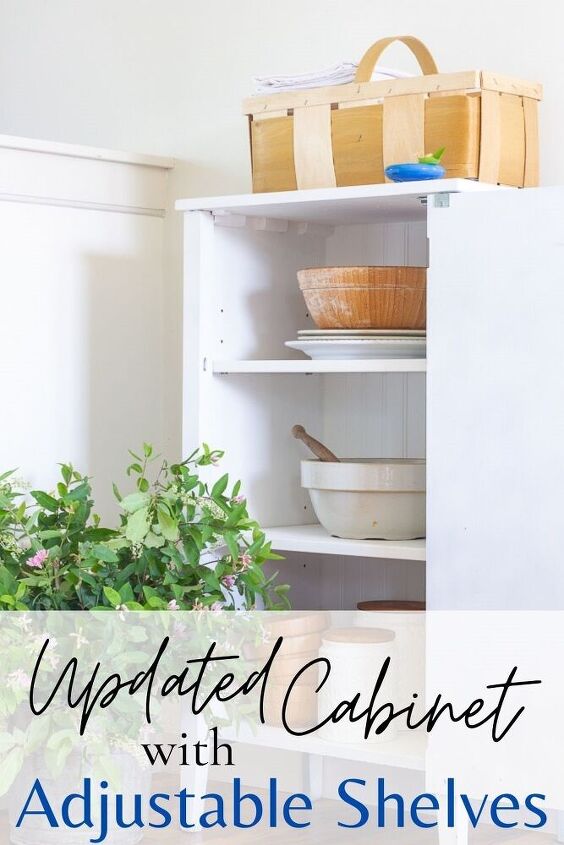
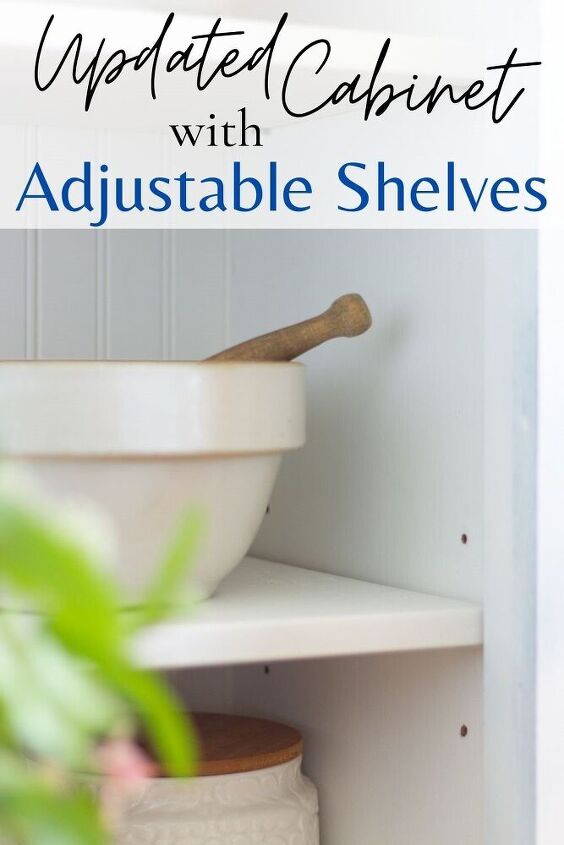
How to Update Cabinets With Adjustable Shelves
Recently I realized this awesome cabinet was lacking in function. So I decided I needed to learn how to update cabinets with shelves.
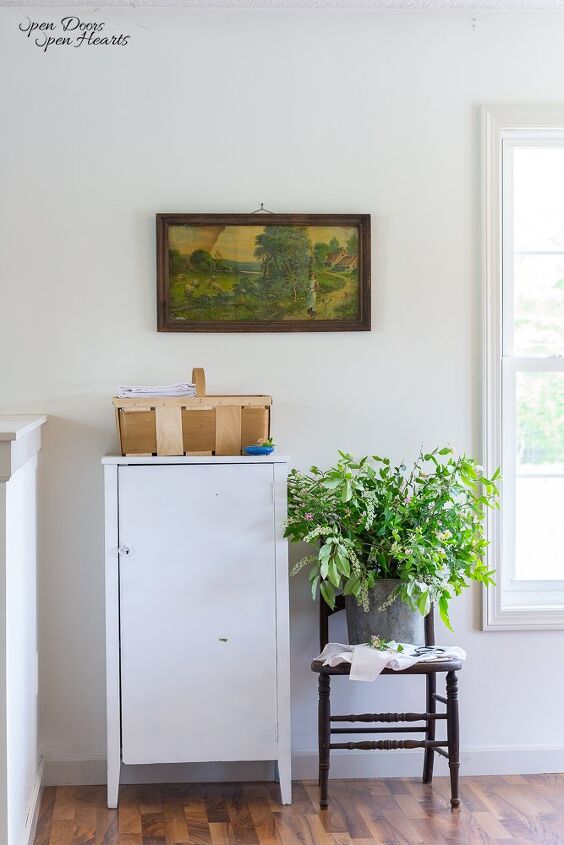
This is that cabinet I bought at my favorite vintage shop in town a few weeks ago. When I first brought it home I shared a post about what we think it is and why I love it so much.
If you missed that you can check it out HERE.
Originally, I figured I’d just install permanent shelves and that would be it. But because we are nearing the end of the built-in bookcase project in the girls’ room my husband suggested doing adjustable shelves in this cabinet too.
I decided that was a perfect idea! (I got so lucky because he is full of good ideas!)
By doing adjustable shelves I will have more versatility with what I can store inside of the cabinet. This will help me be able to store bigger items in it if I ever need to.
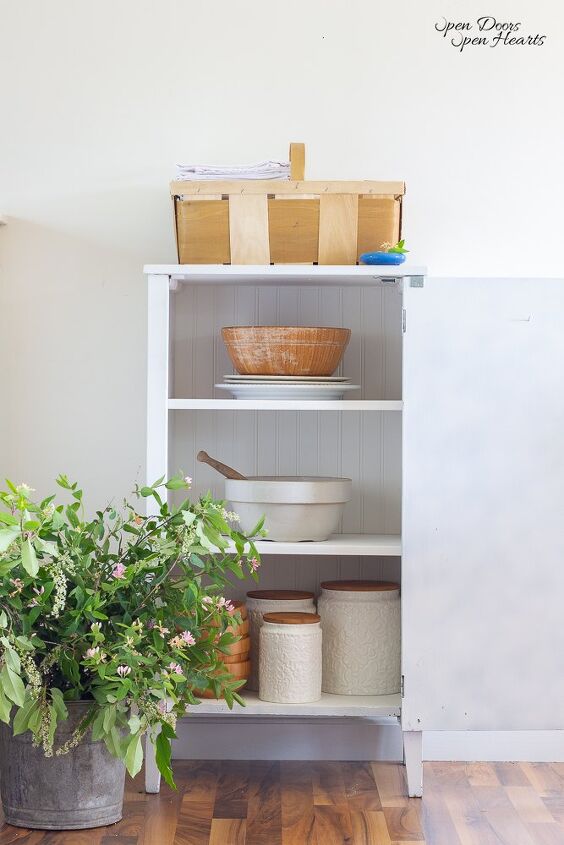
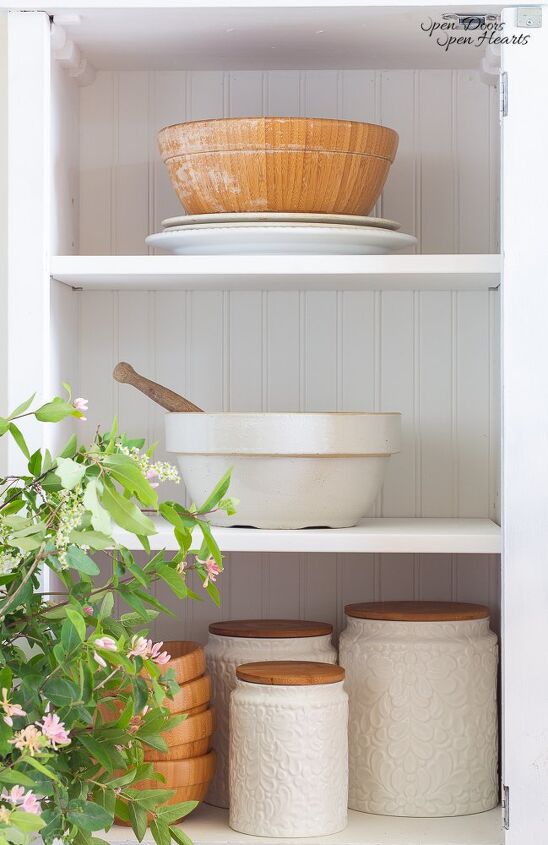
Right now I’m planning on storing some of our baking supplies in it.
That’s what I had on the old pie safe before we moved it to the girls’ room for toy storage.
Ever since we moved the pie safe we have had a bit of a struggle in the pantry and lazy Susan. That’s where I put those items and they simply didn’t fit very well with our other pantry and lazy Susan items.
When Justin asked me about adjustable shelves it reminded me that our vintage pie safe had permanent shelves and one of them really bothered me.
I’m sure for storing pies and other baked goods it worked fine, but the middle shelf was never big enough for me and I ended up building a dutch tulip tray specifically for it haha!
What I’m trying to say is adjustable shelves offer so much more functionality and that’s what I need in my life haha!
Things to Consider When Installing Adjustable Shelves
Hole Spacing
It’s important for the holes to be evenly and consistently spaced when you decided to update cabinets with adjustable shelves. If the holes aren’t properly placed then you may end up with a wabbly shelf.
The other thing you need to decide is if you want to have adjustable shelves up the entire height of the cabinet.
I didn’t want that for this piece.
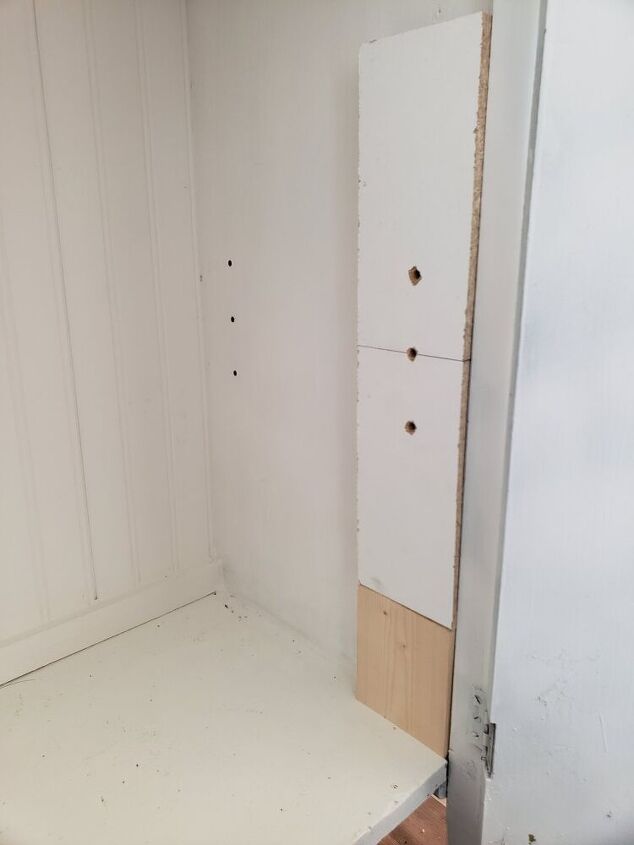
I’m not against little holes all the way up the cabinet, but since I didn’t have to have it I decided to just do 3 sets of holes per shelf.
I also knew that I wanted the bottom shelf to have the greatest height.
I tend to store my bigger items on the bottom shelves.
In order to do that my husband created a spacer out of scrap wood.
By using this spacer we were able to give the bottom shelf more height AND make sure the holes were even and consistent.

Hacks to Make this Project Cheaper
Before I get into the how-to portion of this, I wanted to take a minute and let you know that for this project you can do what we did, or you can purchase a couple of items.
We have talked about purchasing both of these items I’m about to share with you, but we just haven’t done it yet.
In the meantime, these are a couple of hacks we used for how to update cabinets with adjustable shelves.
- You could buy a shelf pin jig
This will give you the perfect spacing between the holes for all 4 location.
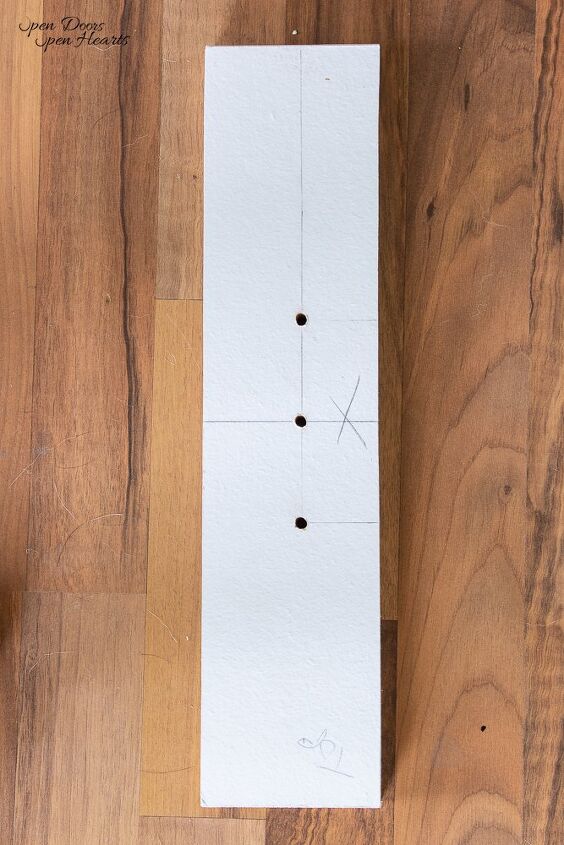
We didn’t buy it. We made our own out of scrap wood we had sitting around.
2. You can buy a stop collar to make sure you don’t drill too deep
We didn’t buy this either. We simply measured how deep we needed the holes to be, based on the pins we purchased. Then we wrapped electrical tape around the drill bit a few times so we knew not to drill further than that.
Doing both of these things gave us the same result as it would have if we had purchased the shelf pin jig and the stop collar. But it did require a little bit more work and planning.
Anyone else thinking FATHERS DAY!! He is always wanting new tools and gadgets for them.
Adjustable Shelf Supplies
- Shelf pin jig (or DIY’d jig)
- Stop collar
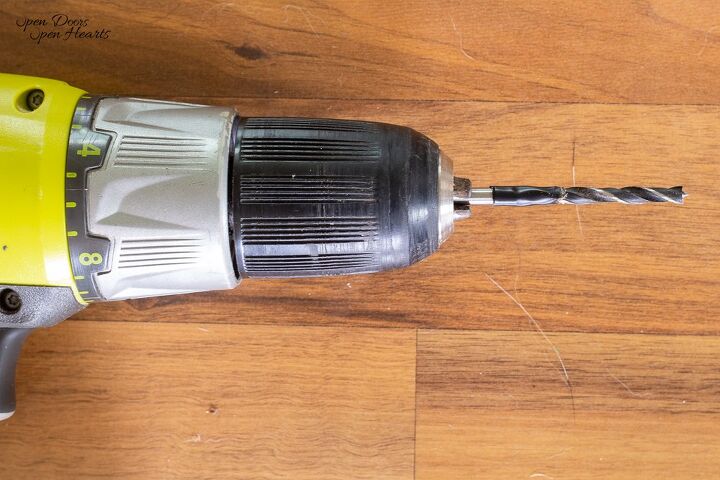
- Drill and drill bit
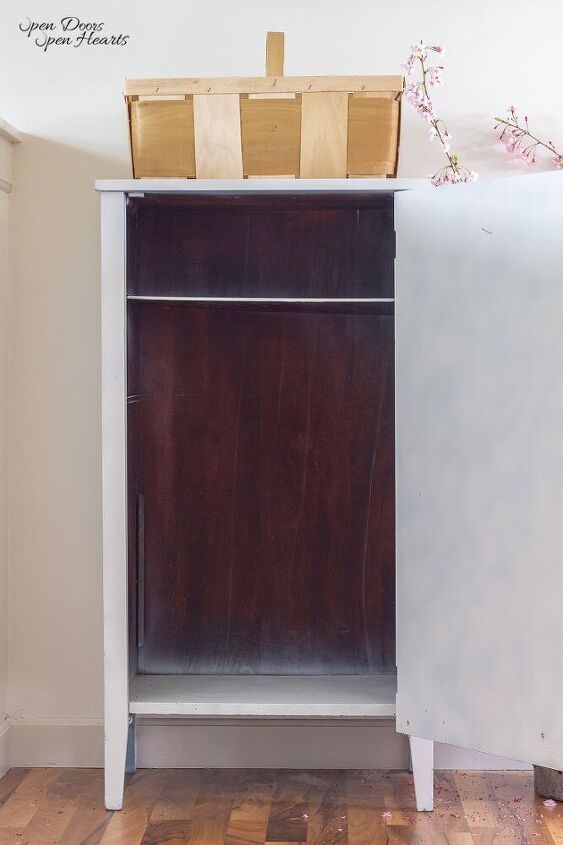
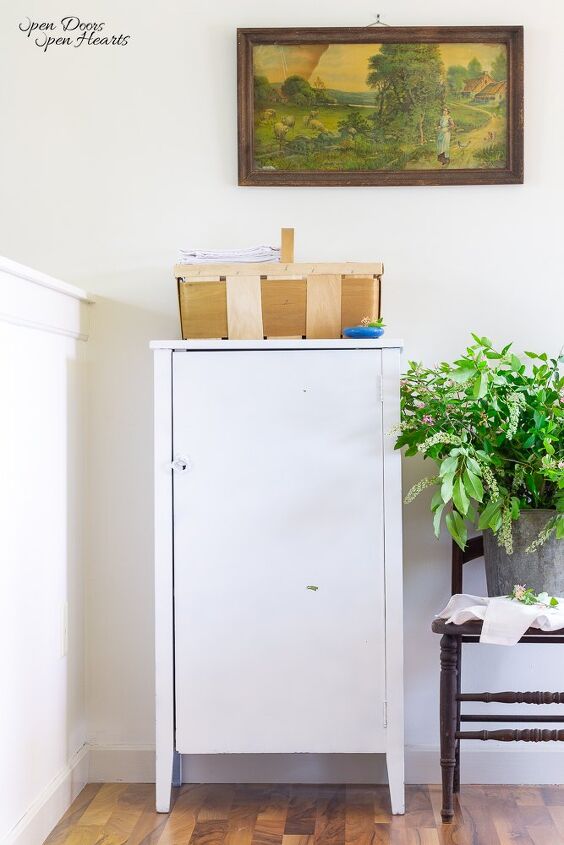
This is a before just in case you missed my first post.
Adjustable Shelves Instructions
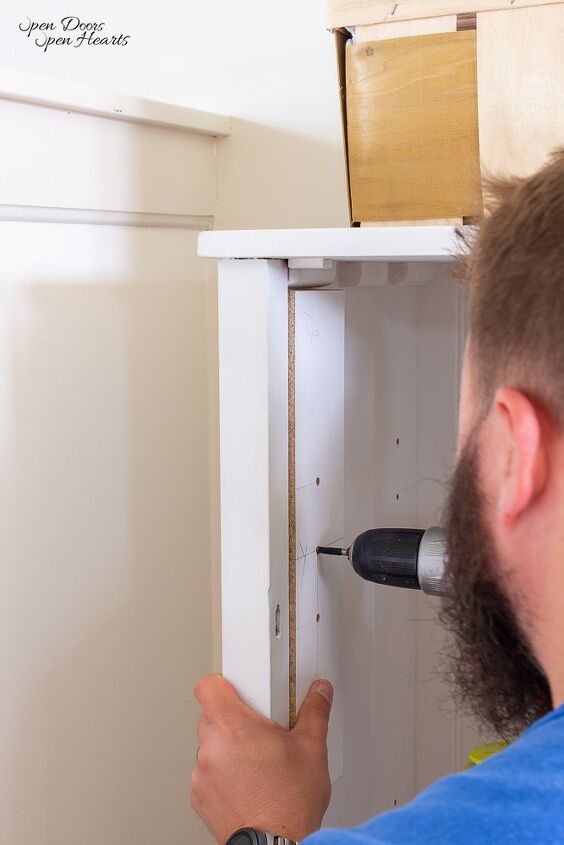
Step 1.
We placed the jig on top of the spacer and ensured that the jig was flush with the side of the cabinet.
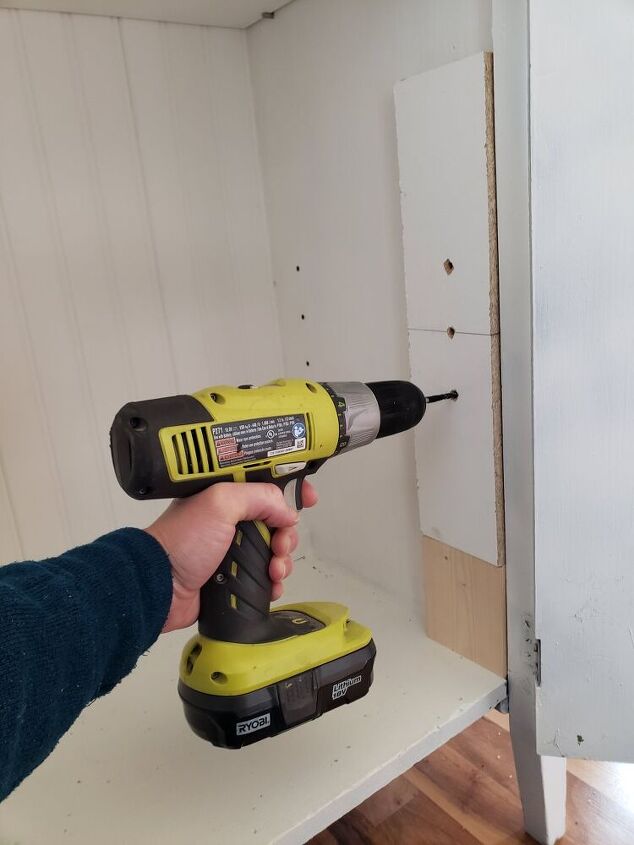
Step 2.
Grab your drill and begin drilling holes through the pre-drilled holes in the jig. Make sure you put your stop collar (or electrical tape) on the drill to prevent drilling too deep.
Step 3.
Once you finish the first set of holes move the jig and spacer to the next location and repeat the process.
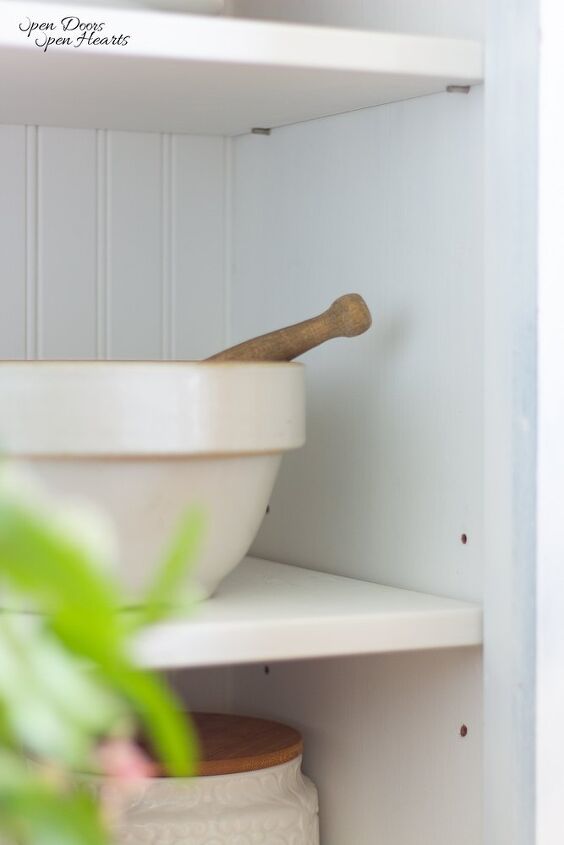
I love my Adjustable Shelves
That’s seriously how simple this project is! One of the easiest projects we’ve done to date!
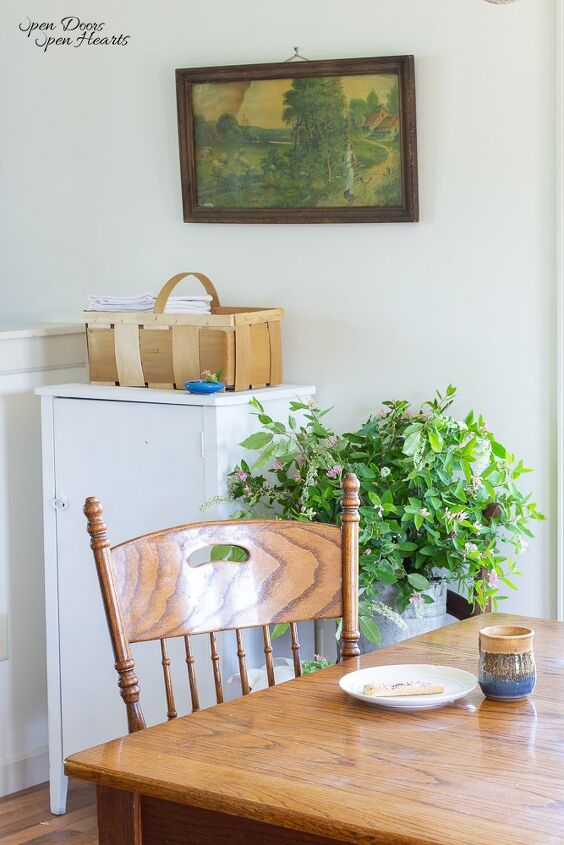
But the amazing thing is even though it was so simple, and took less than 30 minutes it has been a game-changer for our kitchen organization.
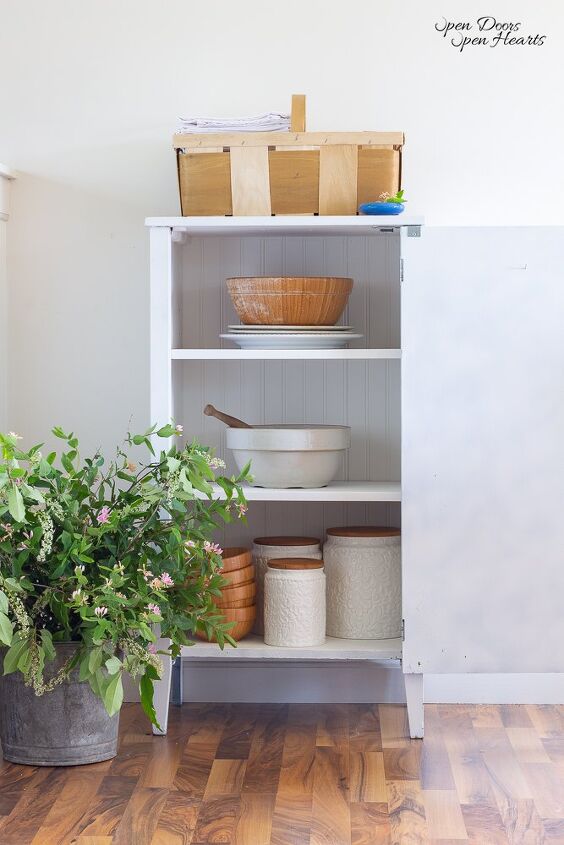
I immediately brought it into the house and began moving my baking supplies over.
I’ll be honest, I haven’t reorganized the pantry or the lazy susan since I moved stuff out of them, but I’ll do that soon. (At least that’s the goal haha!)
A Question You May Be Wondering
How can I update my kitchen cheaply?
I know I didn’t do this with a kitchen cabinet.
But by doing this project and finding out how simple it was, I did open my kitchen cabinets and take a peek at the situation.
My kitchen cabinets are adjustable, but they don’t adjust all the way up and down the cabinets.
For these I’m thinking it might be nice to have more than 3 holes of adjustment per shelf.
So if you’re wondering how to update cabinets cheaply then this might be just the thing for you!
Who knows, maybe when you’re done adding the pinholes you might want to build an additional shelf!
Pin for Later!
Thanks so much for stopping by! Don’t forget to follow along on Pinterest, Facebook, and Instagram! Also, sign up to be a part of our newsletter at the bottom of this post so you never miss a thing!
Now the question is, how to update cabinets with paint. Keep it? Milk paint? Chalk paint?
Next week I’m thinking about finally sharing something very near and dear to my heart. We are working on an adoption to grow our family, and we received some really exciting news that I want to share with you!
Have a great week! XoXo
Open Your Doors,
Aliya
Popular Posts:
- Functional Storage for Copper Pots and Pans
- My First Milk Paint Experience – Faux Fireplace Mantel
- Create an Inviting Dining Room: Mixing Vintage and New
- How to Create A Simple Boho Table From Pallets
- Barn Finds – How to Style Vintage Glass Bottles
Resources for this project:
See all materials


Comments
Join the conversation
-
Well done. Adjustable shelves are great. Not everything is the same height. I use a strip of peg board for a shelf pin jig. 1/4" holes are perfect for shelf pins. I also have a habit of drilling holes every six inches the whole height of the cabinet. Allows for more adjustability.


Frequently asked questions
Have a question about this project?