


How to Plant a Container Garden in 7 Easy Steps
(This post was written in collaboration with H Potter but all thoughts and opinions are my own.) Are you looking for planting ideas for a container garden? Wait until you see how to plant these GORGEOUS containers.
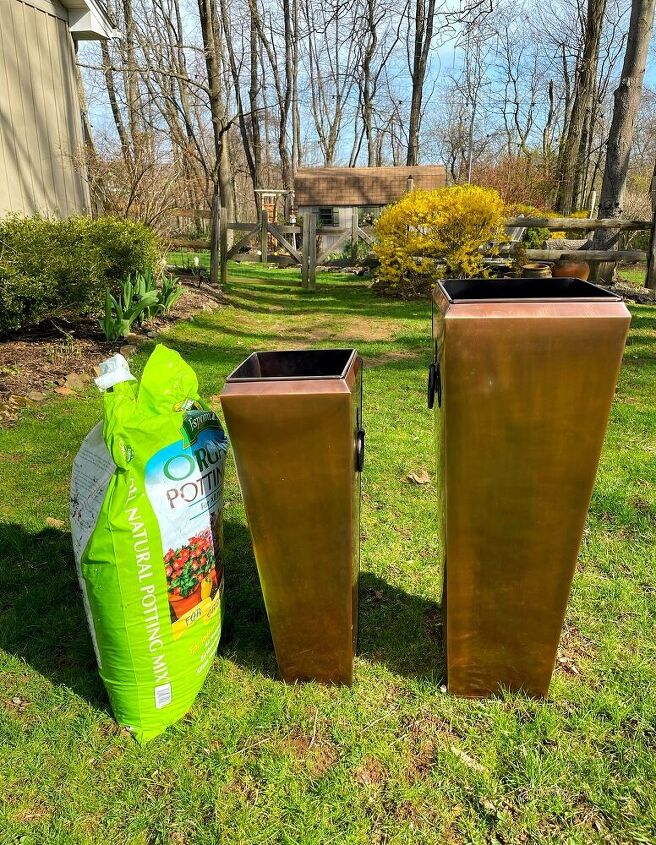
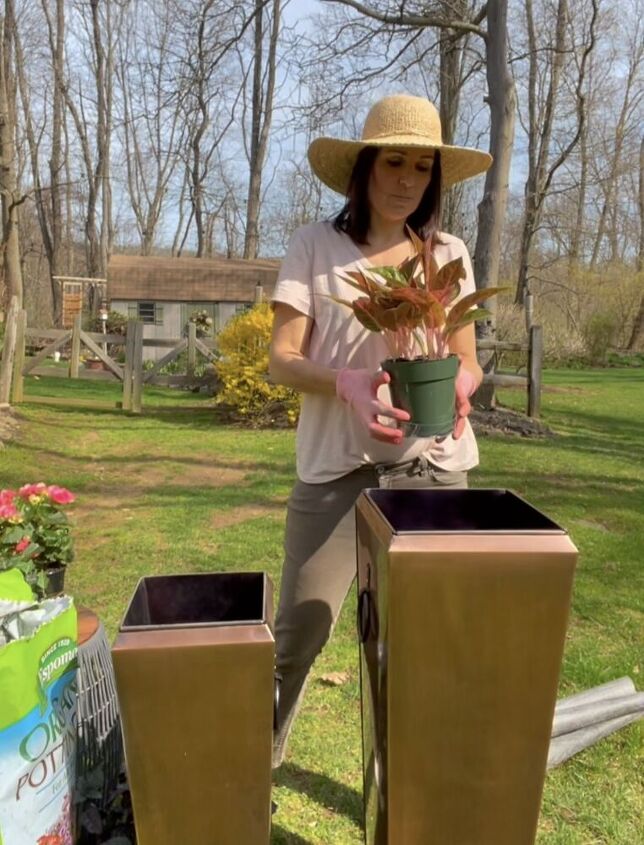
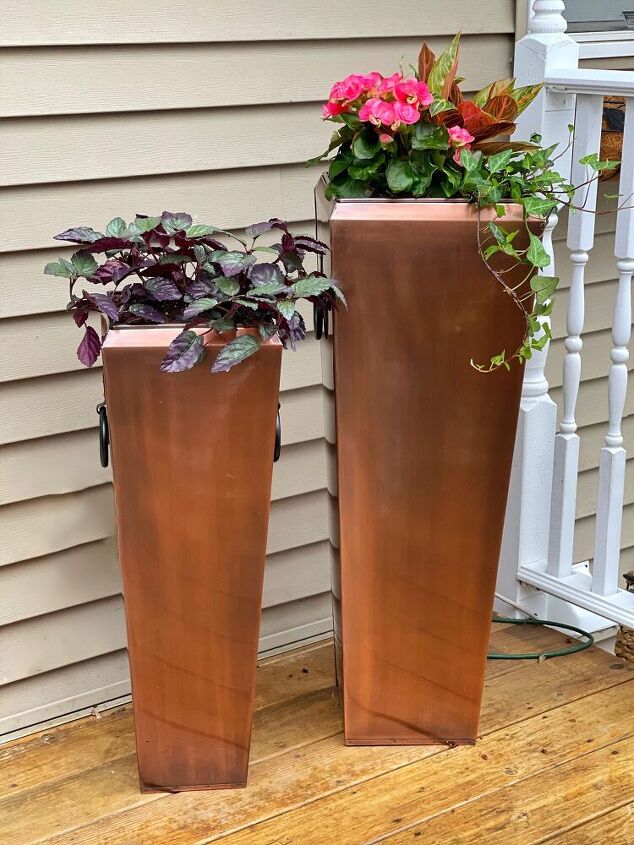
When I first saw these stainless steel planters with an antique copper finish, it was love at first sight.
I mean…wow!
And I have to tell you, they are even more beautiful in person than they are online.
About H Potter
H Potter sells absolutely gorgeous garden decor and accessories. I’ve received a few items from them, and by far these copper planters are my favorite!
H Potter is a family-owned business that has been accenting homes and gardens nationwide for over 20 years with distinctive items that can be used indoors and out. Their product line includes terrariums, lanterns, trellises, window boxes, planters, and torches, handmade by artisans using high-quality materials from stainless steel to copper to hand-blown glass.
And let me tell you, from my experience, they are built to last and are just gorgeous!
How to Plant a Container Garden
Today, we are working with these beautiful planters that are even more gorgeous in person.
These planters were easy to assemble, are lightweight and very well made.
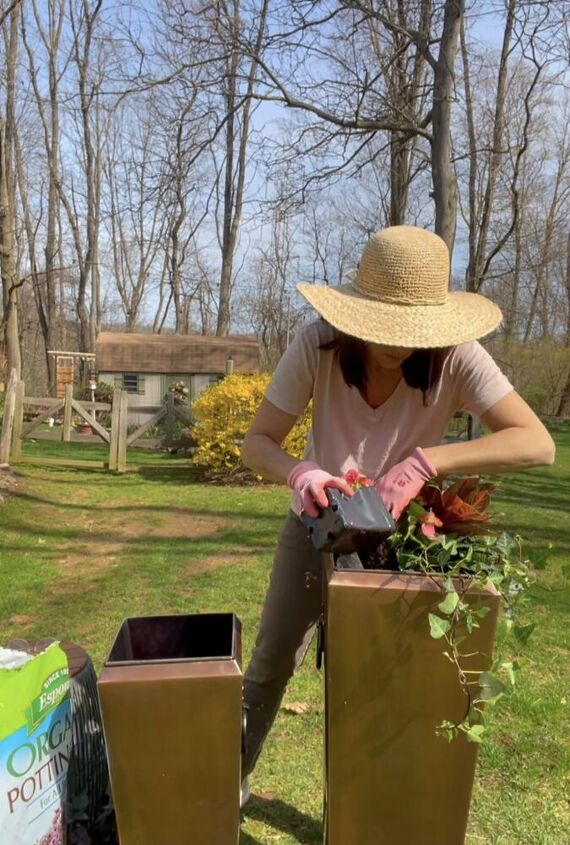
Since it’s a little early here to plant annuals in them, I decided to pot them up with some pretty houseplants that would accentuate the beauty of the copper planters.
Supplies Needed to Plant a Container Garden
- plants
- container
- potting soil
- weed fabric
- gloves
- scissors
- plant food
- shovel or cup
For this project, the plants I chose are:
- anglomena
- ivy
- begonia
- waffle plant red flame
Determine Location
The first step is to determine where the container garden will be maintained. Does the area receive full sun, part sun or shade?
Understanding the location will help you choose the right plants.
Choose Container Garden Plants
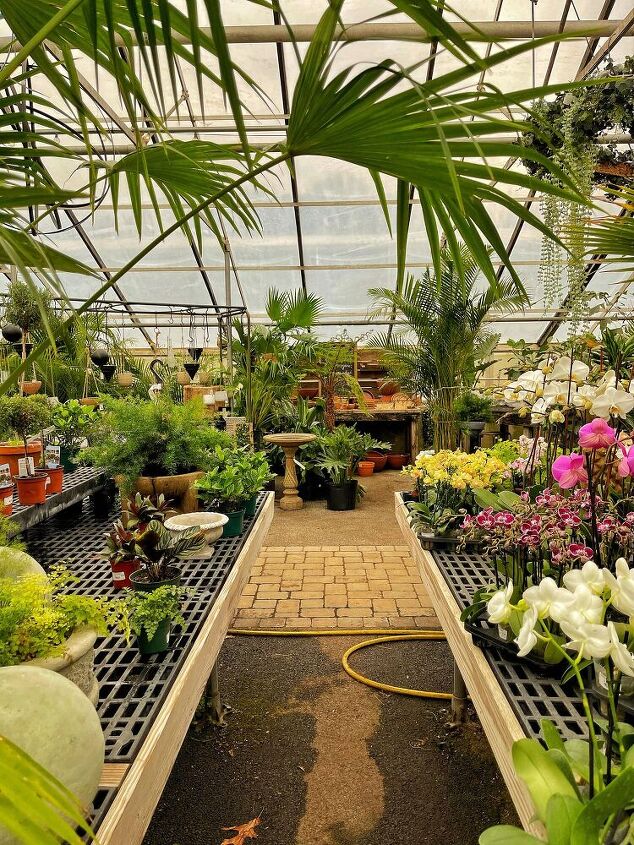
Once the location is determined, it’s time to shop for plants.
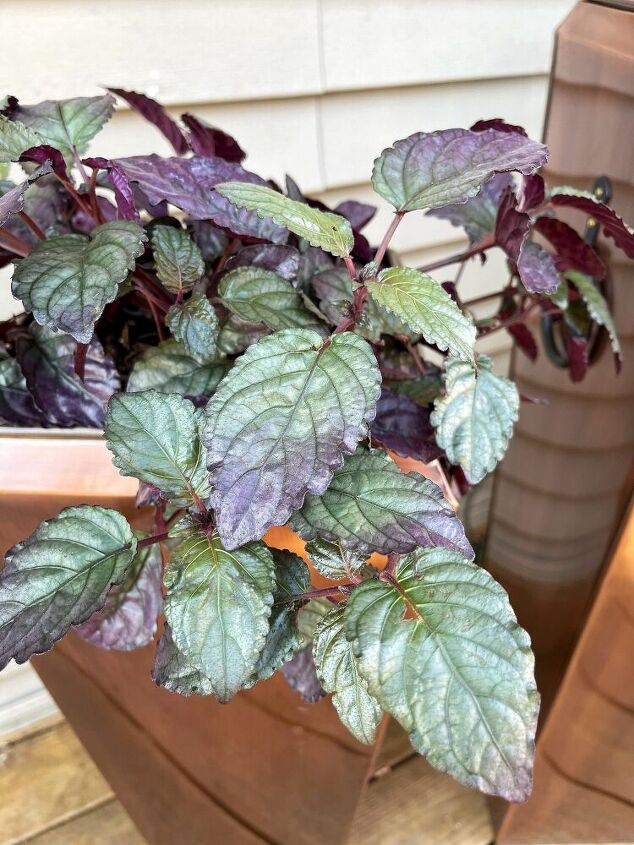
To play up the size differences in the planters, I wanted to plant the smaller container with one trailing plant and the taller planter with a few plants.
If choosing to create a container design with a few plants, it’s important to make sure that they each have the same or similar light conditions as well as water conditions.
So read the plant tags.
Understanding light and water conditions will help you take better care of your plants after the container garden is finished.
How to Design a Container Garden
While shopping around the nursery, I was looking for plants that would accentuate the planters and could handle lower light conditions.
One of the things I like to do is group my plants together in the nursery to see how they look together.
Are they aesthetically pleasing?
I look at foliage, blooms, plant size, and the overall plant habit.
Because when designing a container garden, it’s important to use the thriller, filler and spiller method of design.
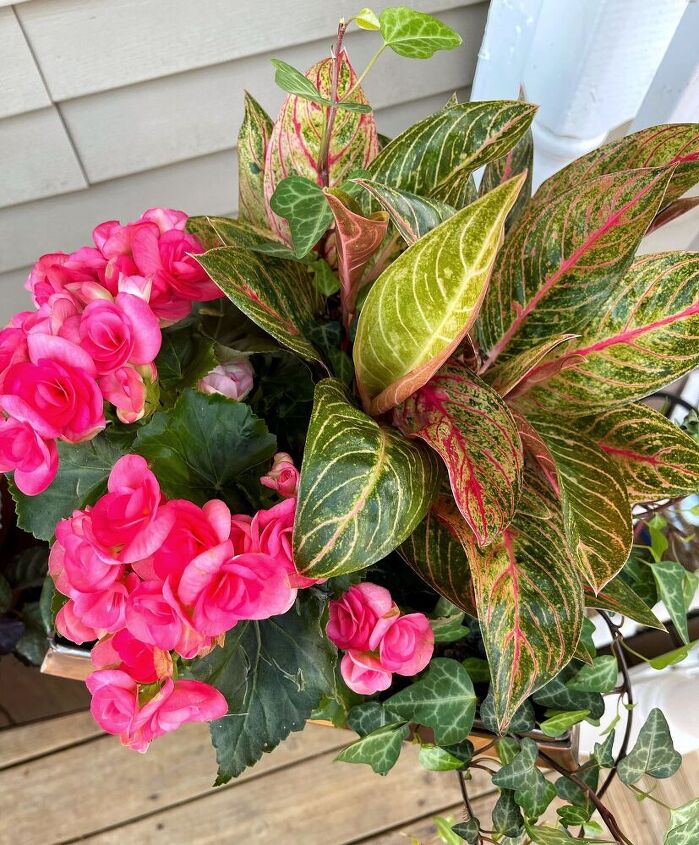
For the larger planter, I bought this gorgeous houseplant, anglomena as the height or the thriller of the container.
I just love the details of the foliage with those pink veins, don’t you?

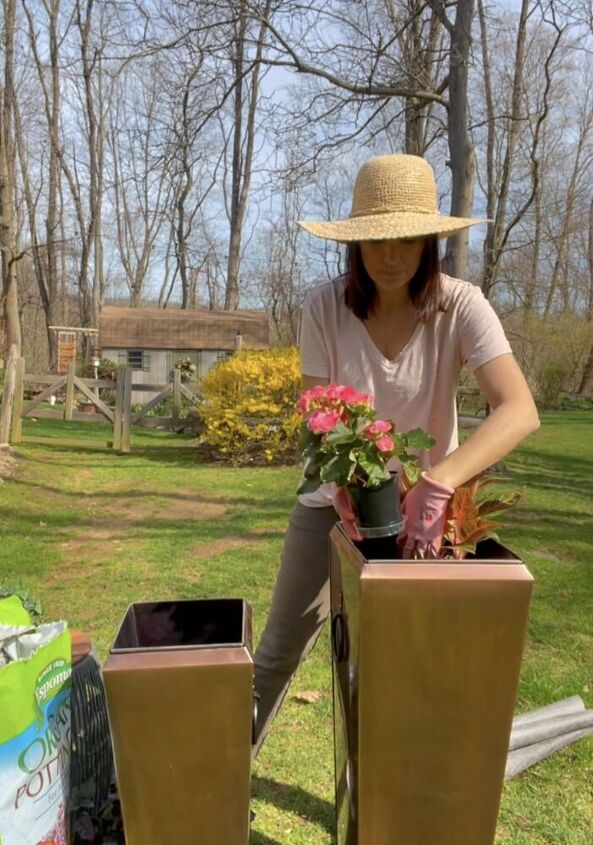
The filler is this pretty pink begonia.
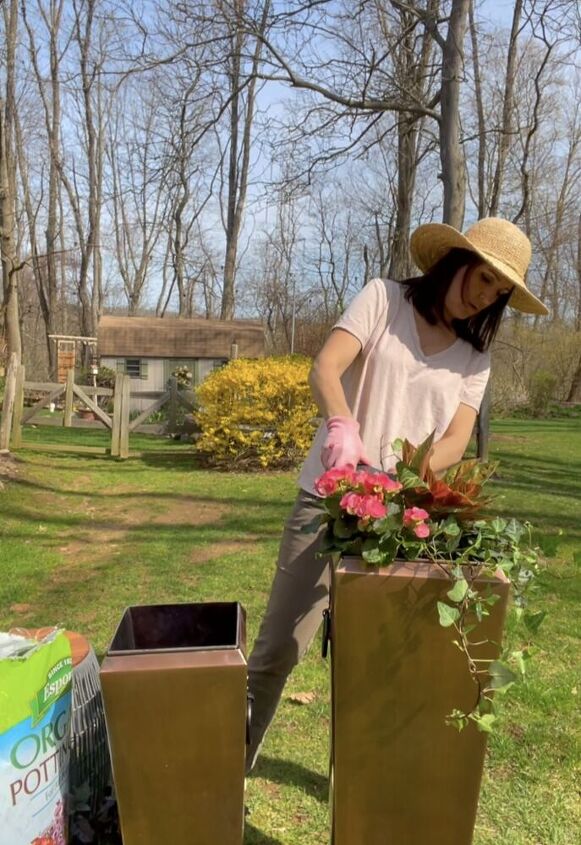
And to keep things simple, I used ivy for the spiller plant that trails over the container.
Don’t you love the color combination of these plants? They play off the copper real nice too.

How to Plant a Container Garden in 7 Easy Steps
- Gather supplies.
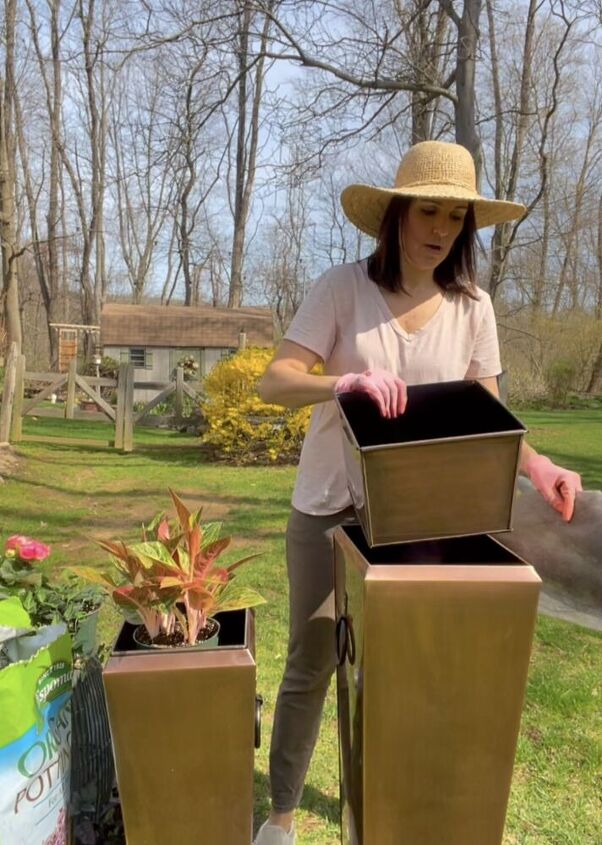
- Cut weed fabric to size to fit inside the planter.
- Add some potting soil with a hand trowel or cup so the plants have some soil to sit in.
- Check the planting depth by adding your plants while still in their plastic nursery pots. You want the soil line to match up with about an inch down from the top of the container. If more soil is needed to get the right depth, add more.
- Remove plants from plastic pots and fan out the roots before setting in the container. This encourages the roots to grow out into the potting soil.
- Back fill with potting soil, tamping it down as you go to remove the air pockets.
- Add a slow-release fertilizer to the container, water and enjoy!
And that’s it!
Didn’t they turn out beautiful?
Since these planters are so tall, it is advised to weigh the inside down with stones or brick so they don’t blow over outdoors.
Subscribe and Watch It on YouTube!
For more gardening tips, tricks and inspiration, CLICK HERE.

Subscribe to the blog and gain access to information not available to the general public.
Thanks for stopping by the blog today!
Enjoy your day! xoxo

If you like this post, please follow me @bricksnblooms on Pinterest, Facebook, Instagram, and Tik Tok. Subscribe to my YouTube Channel. Or join my Facebook Group.

Comments
Join the conversation
-
Thriller, filler, spiller is a good rule of thumb!
-
Hi Stacy, lovely planters and a good job planting them. I especially like the smaller container with the purple waffle plant. Will look gorgeous against the copper when it takes hold fills out and starts to trail. I hope you don't mind but I have a suggestion for those that like the look but do not or cannot spend the money during this period of recession and high prices. If you have a tall plastic planter or can find a few at garage sales or thrift shops sand down and you can either paint straight away with copper paint OR take spackle, wall mud or the like and cover the container. you can use your thumb or finger or spoon or whatever to make a hammered copper look or give a textured appearance. Spray on a primer coat and then when dry use copper spray paint to give the look of copper.


Frequently asked questions
Have a question about this project?
Why do u use weed fabric in a container? They look gorgeous by the way.
What do you do to add something to the tall containers so you're not using all planting soil from the bottom to the top?