


Pine Dresser Transformation | Rustic Farmhouse

This piece was close to my heart! Growing up one of my best friends Grampa had past away when we were in grade 9, he was an incredible carpenter…. Fast forward 12 years later, I was asked if I knew how to refinish a dresser HANDMADE by his Grampa. 🥺 so of course I felt close to it! I was so happy I was able to do this for the family.
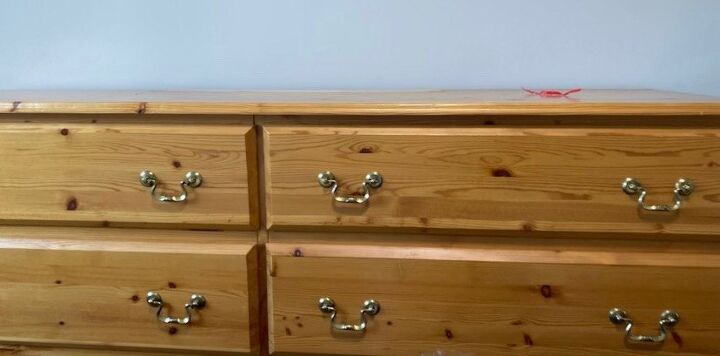
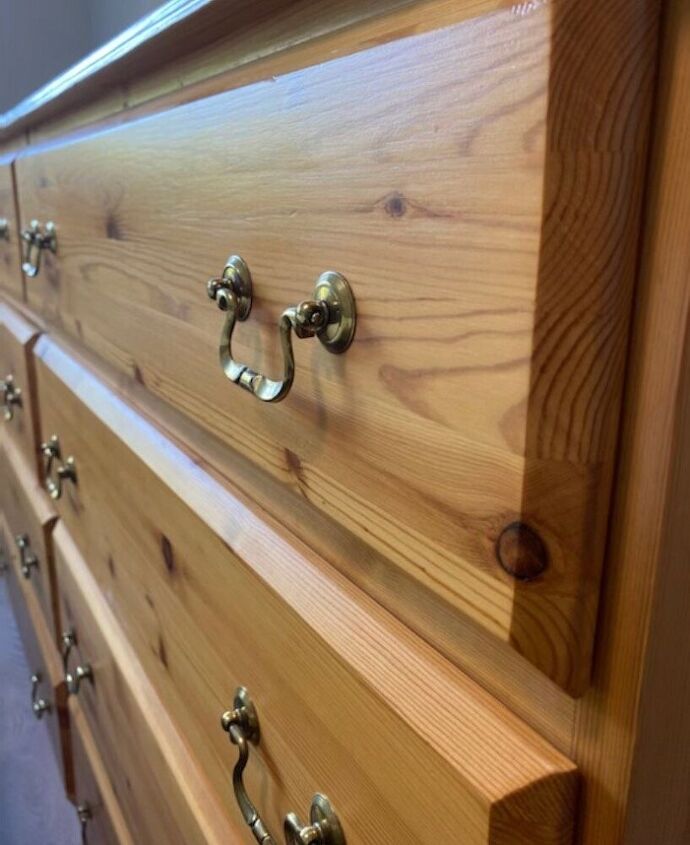
It was handmade a long time ago, but still in SUCH GOOD SHAPE. this shows you the quality!
step 1. was to remove the hardware
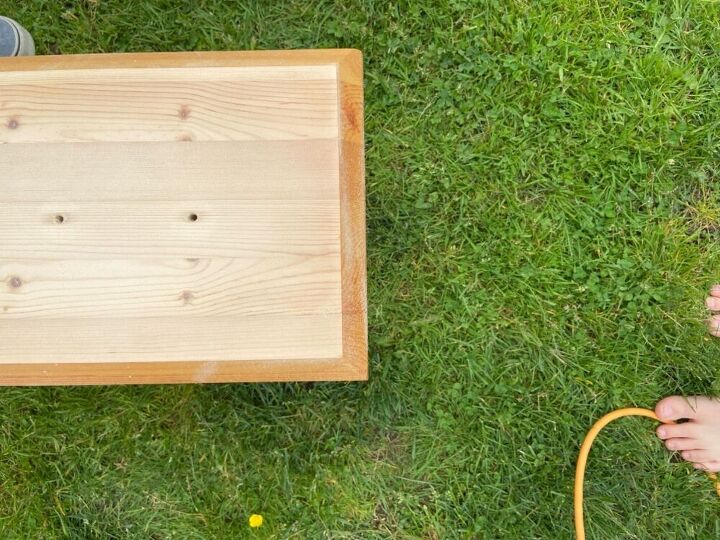
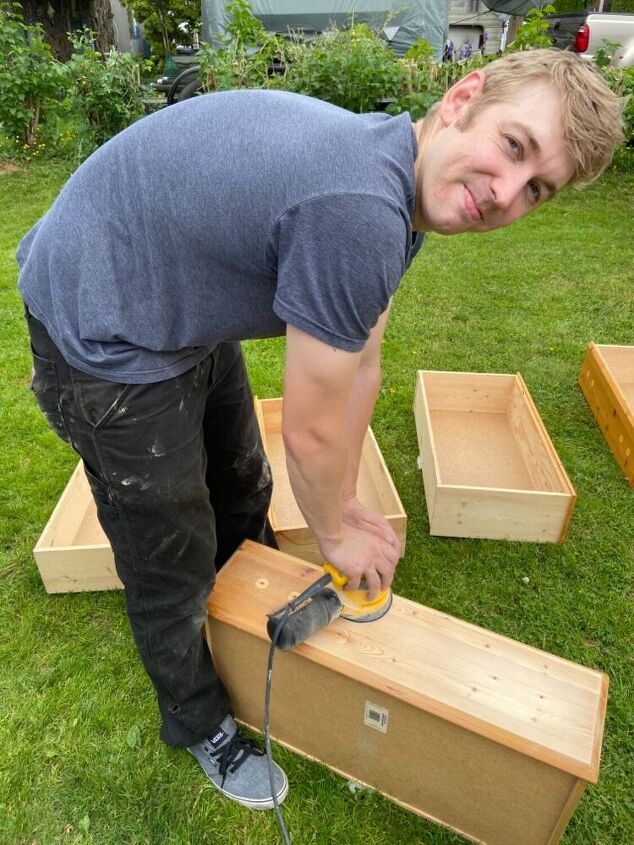
step 2. Sand down. Even tho this dresser wasn’t painted, we were re staining the drawers and painting the frame. So sanding took about 3 hours. Thank you hubby!
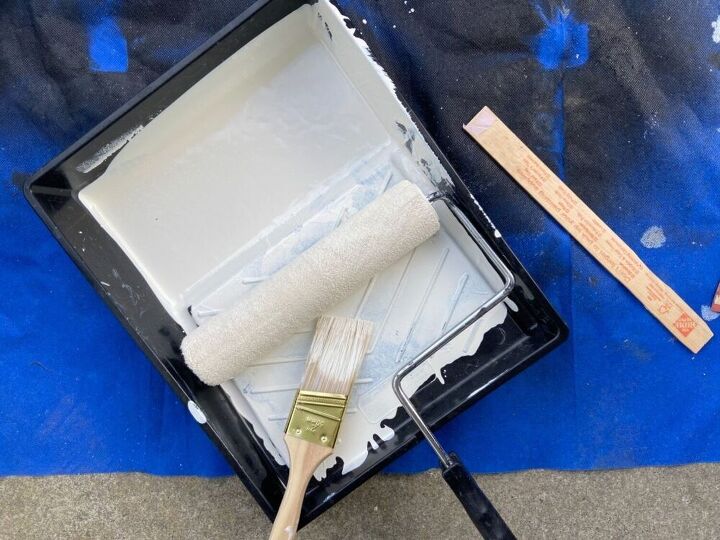
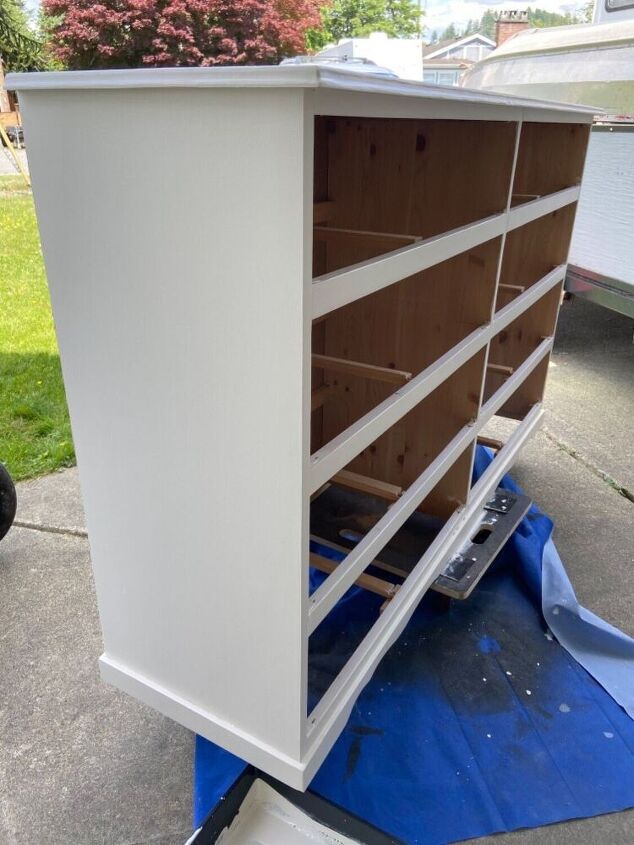
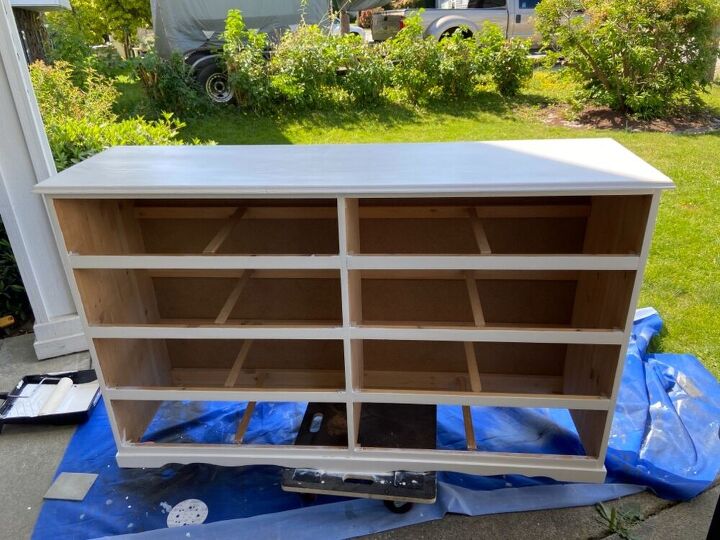
srep 3. Prime, when I have a wide piece that I can use a full sized roller I take advantage because it makes the job that much faster!
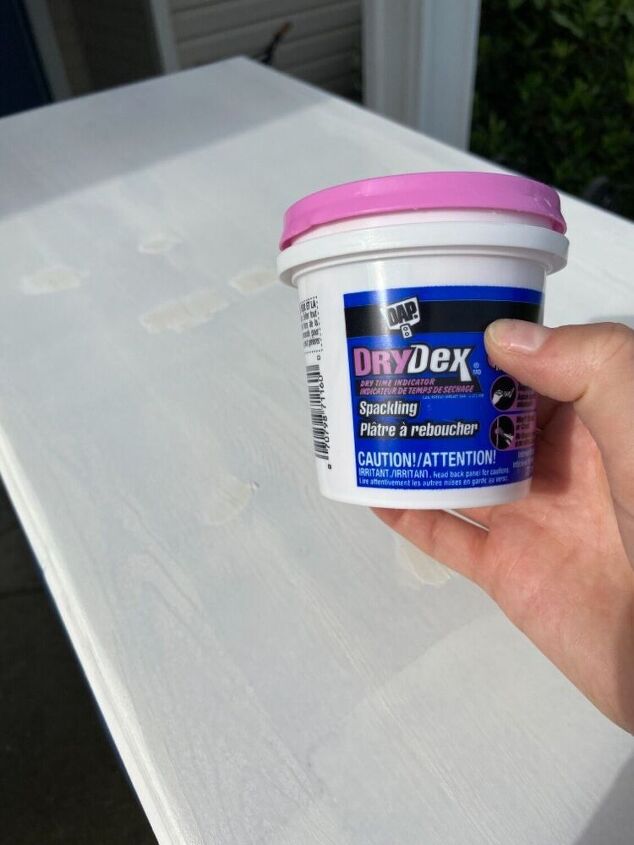
Step 4. After the dresser was primed I sparkled some spots that needed some fixing. I used drywall spackle

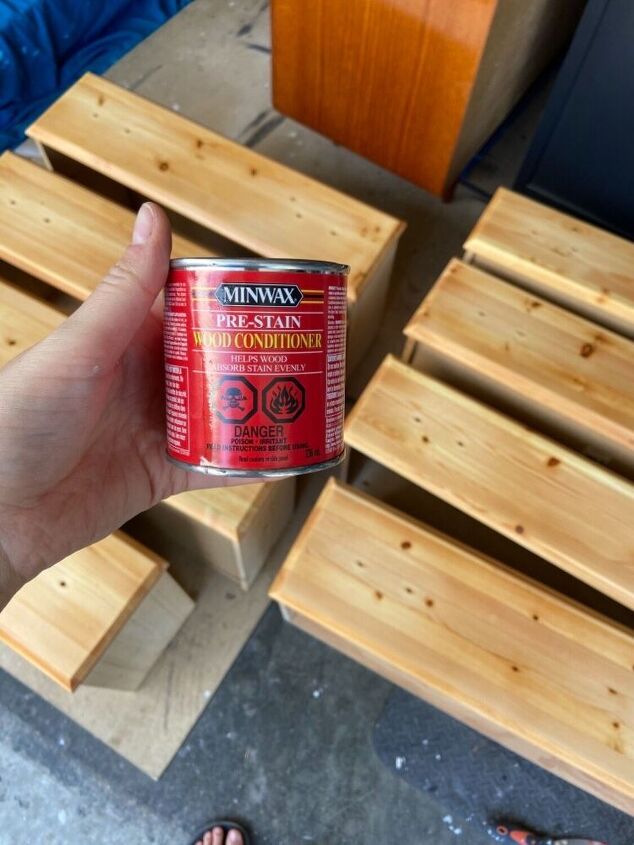
Step 5. I then pre conditioned the drawers. This helps not allow the pine to absorb as much stain. A wood like this shows so many man made lines. So this helps level the stain.
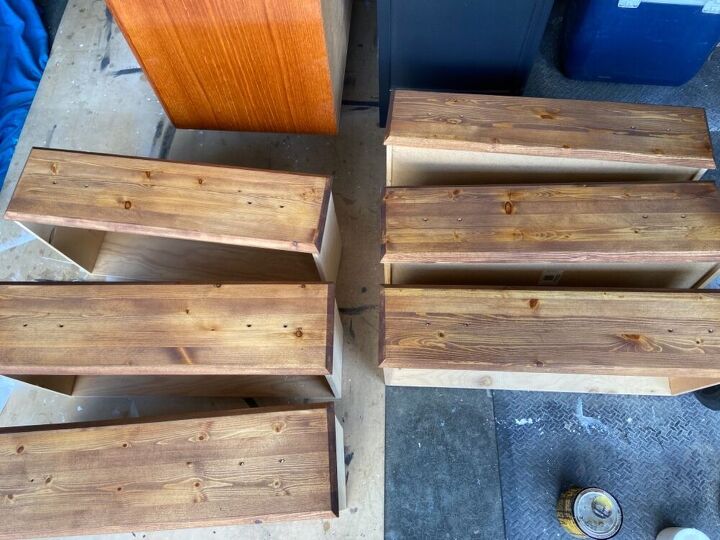
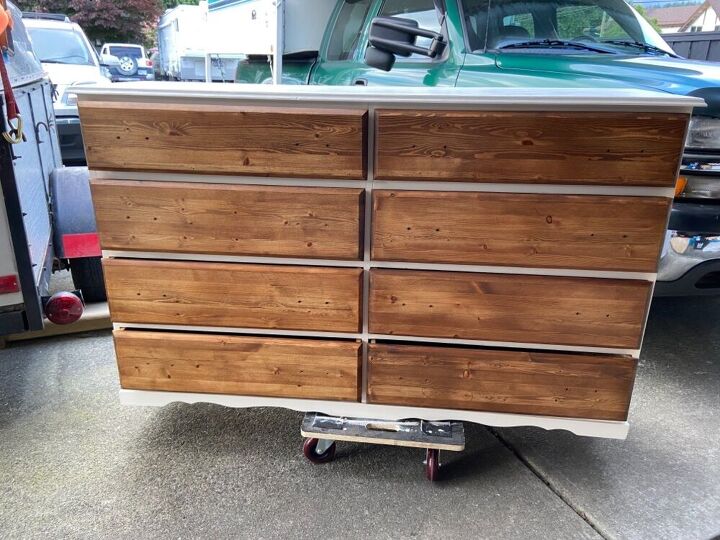
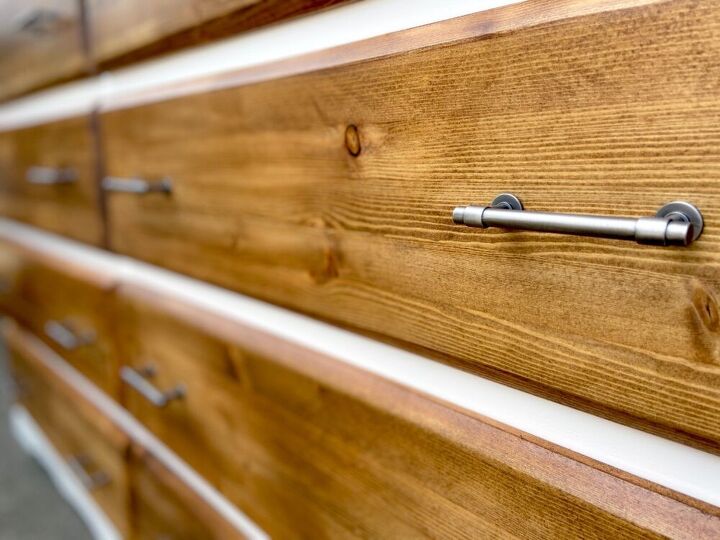
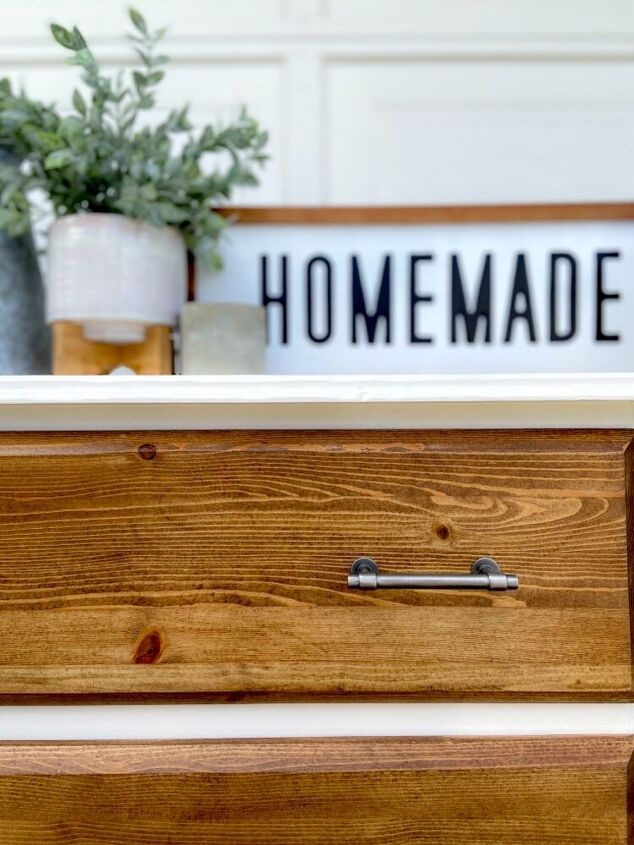
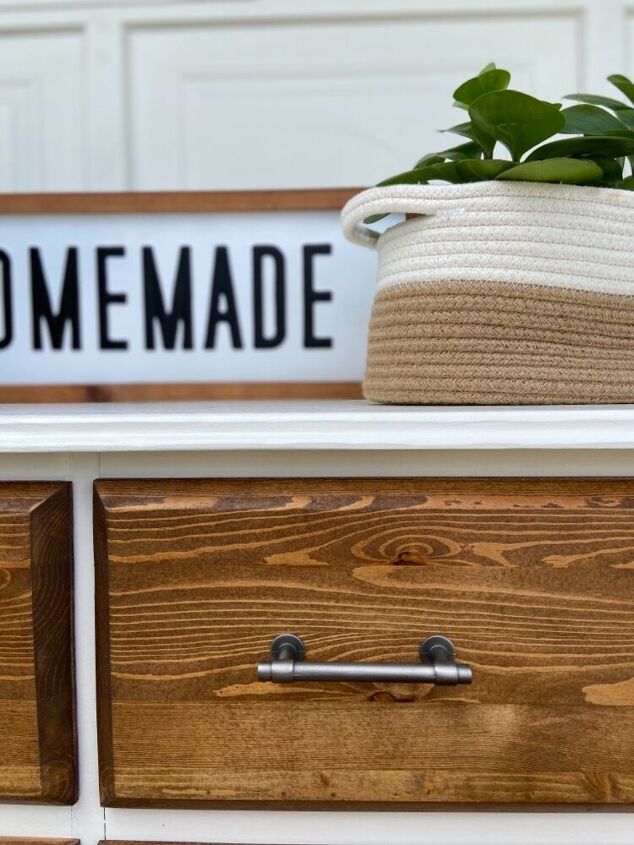
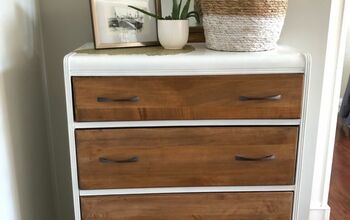
Step 6. I then stained the drawers
Step 7. I then painted 3 coats of white paint on the frame
step 8. I used varathane poly satin finish to top coat everything about 4 times
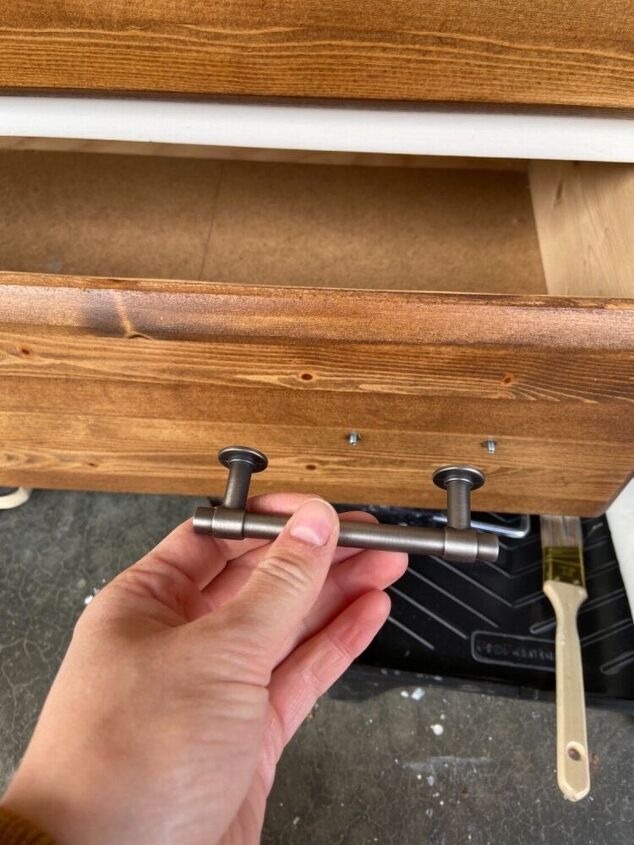
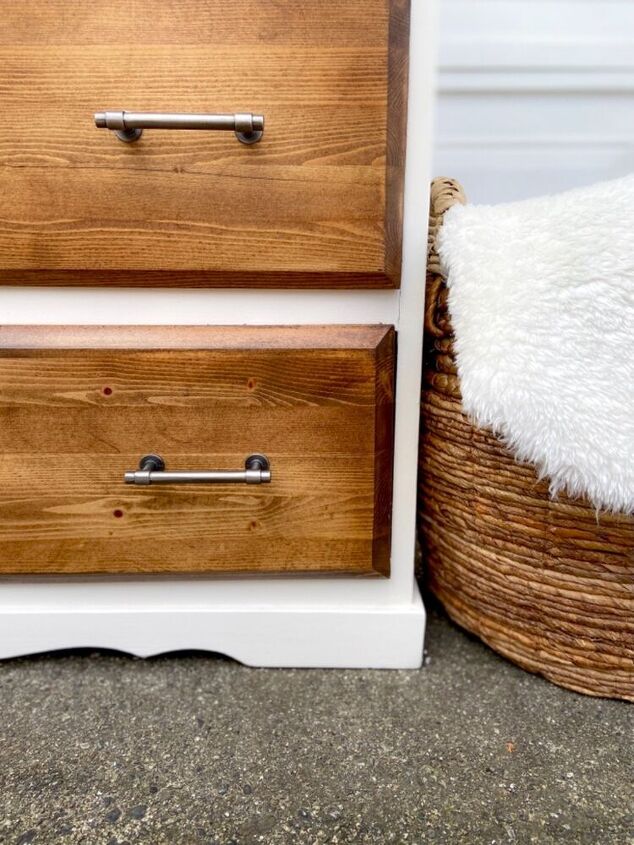
Step 9. time to add hardware!
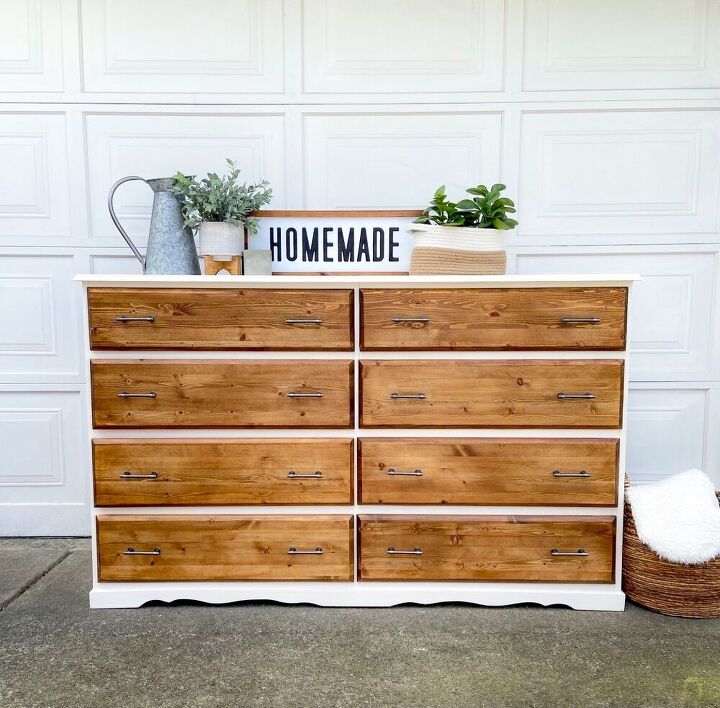
I am VERY happy with the outcome! Exactly what the client wanted :)
Resources for this project:
See all materials


Comments
Join the conversation
-
Love it!!!
-
Not for me as I am a lover of wood. I would have tried sanding and staining the chest a darker walnut wood stain and changed the hardware. But if I had needed to paint it, I would have done it ALL white. Thanks for ideas. Love to see them.


Frequently asked questions
Have a question about this project?
Why did you prime before you used the spackle?
May I ask why you used spackle instead of wood filler? Makes no sense to me.
Still trying to figure out what that sticker/label was on the bottom of that drawer... Still, nicely done .