


DIY Laundry Room Sign

After doing a few small upgrades in my laundry room recently, there was wall space behind the washer that looked like it needed something to jazz it up. I didn’t want to buy anything, so I came up with a solution using items I found in my garage.

Hometalk Recommends!
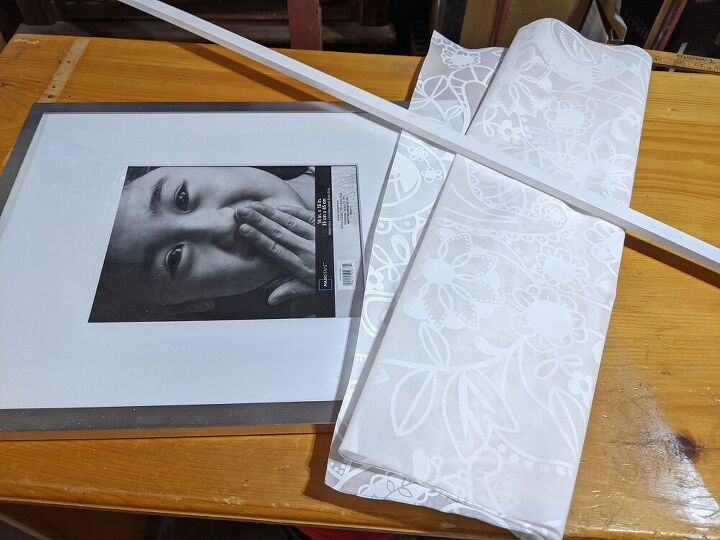
I found an 8 x 10” picture frame, with a 14 x 18” frame. I felt it would be too small scale for the wall space, so I came up with a way to give it the illusion of being larger.
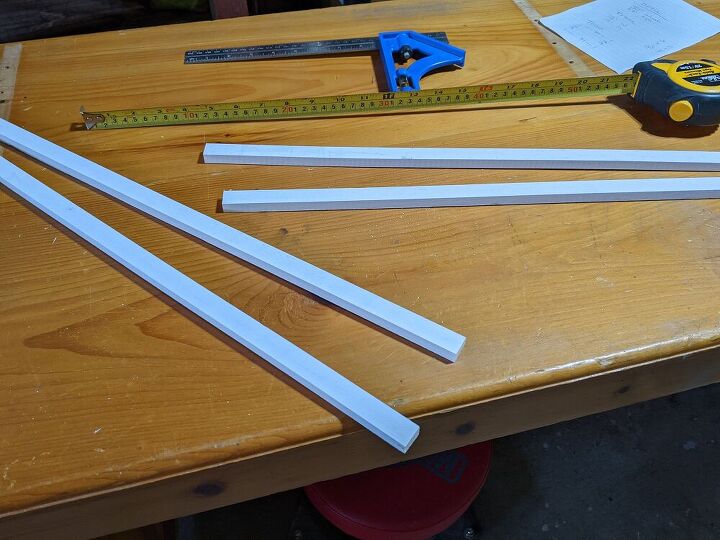
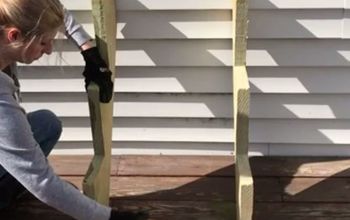
I found a piece of 8’ trim and cut that in four pieces to create a rectangle shaped frame. I cut two pieces at 27” and two at 21”.
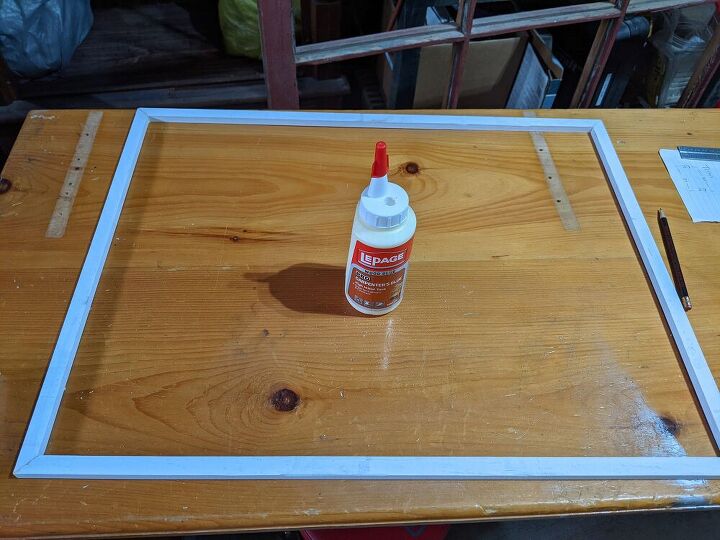
I mitered the corners at 45 degree angles and glued the frame together, using wood glue.
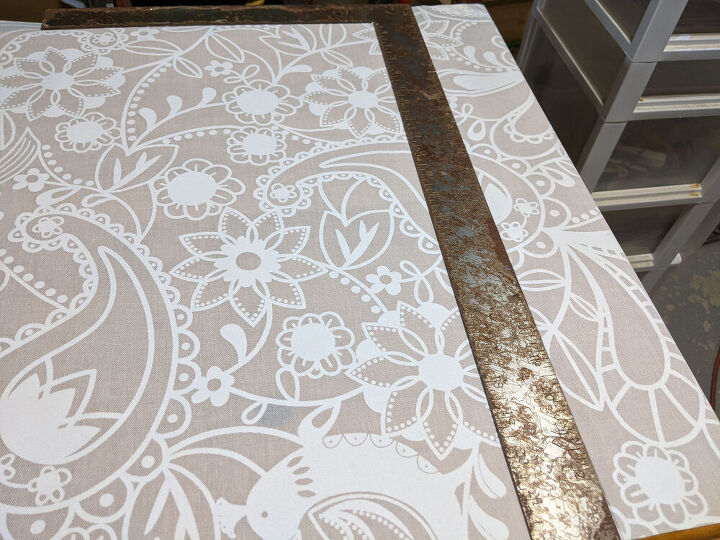
I had a piece of fabric that came from a broken roller shade. I loved the pattern so I used this as a backdrop for the picture frame. I cut out a piece that would line up behind my trim.
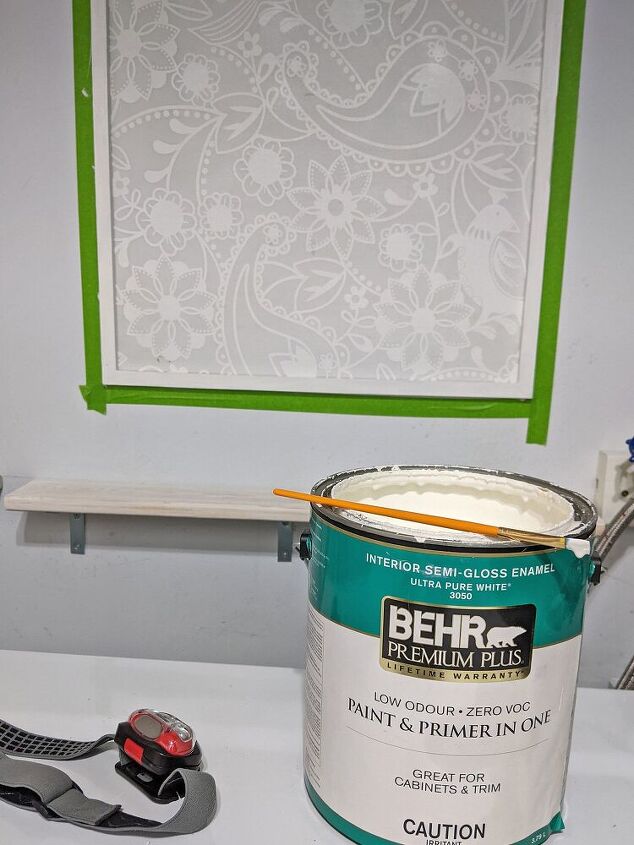
I spray painted the picture frame black. And spray painted the trim white, as it was pretty scuffed up from kicking around my garage. (In hindsight, I REALLY wish I had done that in reverse - black trim / white picture frame.)
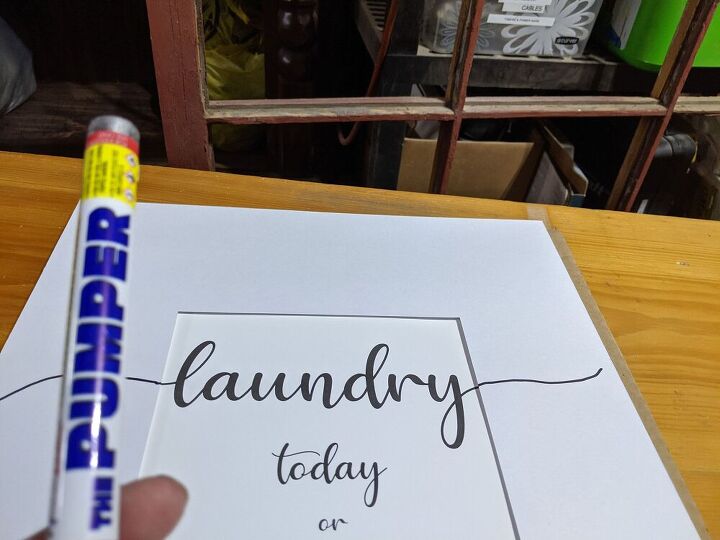
While waiting for the paint to dry I went to my computer and wrote up my laundry sign. I made it so the word ‘laundry’ would be as large as possible, but still be inside the 8” width of my frame. I printed it out on standard 8.5 x 11” cardstock paper.

I taped the printout behind the frame mat. Then I used a black paint pen and extended the curly ends of the word ‘laundry’ over the mat.
Attaching everything to the wall
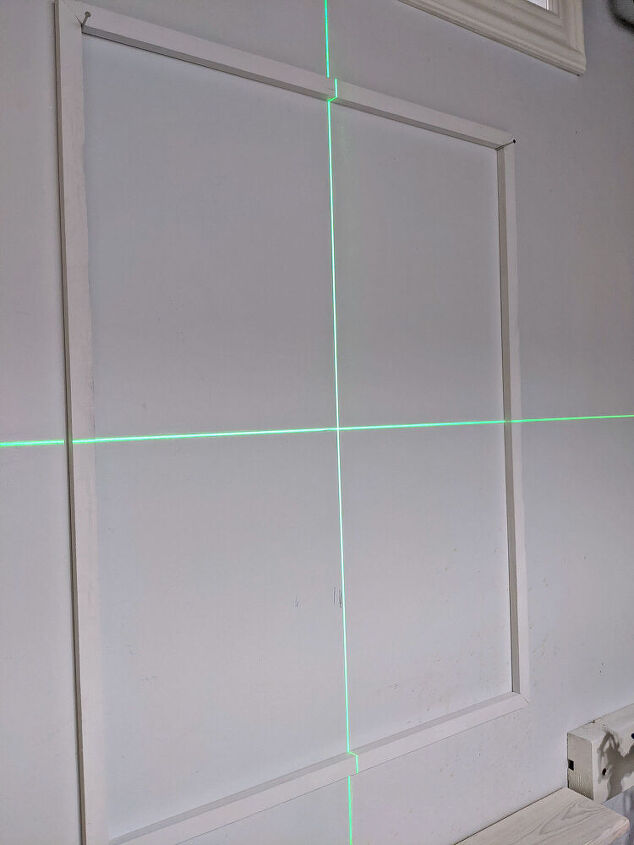
I lined up my trim where I wanted it on the wall. I used finishing nails on the two top corners and made a pencil line on the inside of the frame, on the wall.
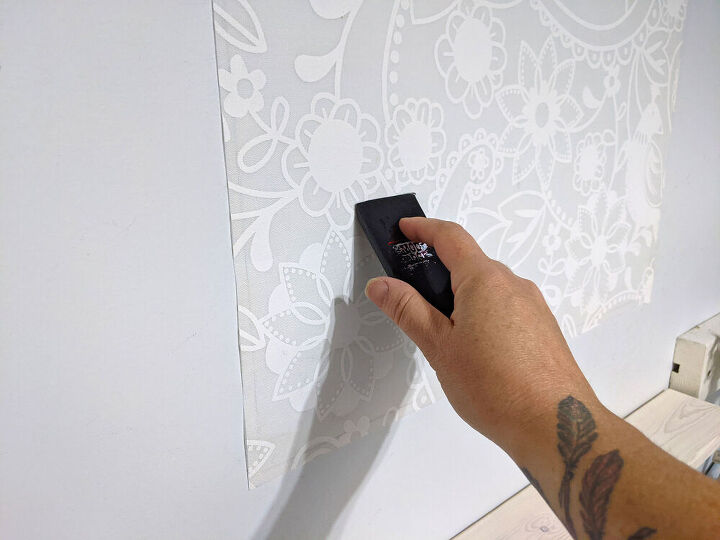
I removed the trim and the nails and applied mod-podge to the wall using a brush, going just slightly outside the pencil line. Then I placed my fabric on top and used the mod podge squeegee to make sure it was nice and flat.
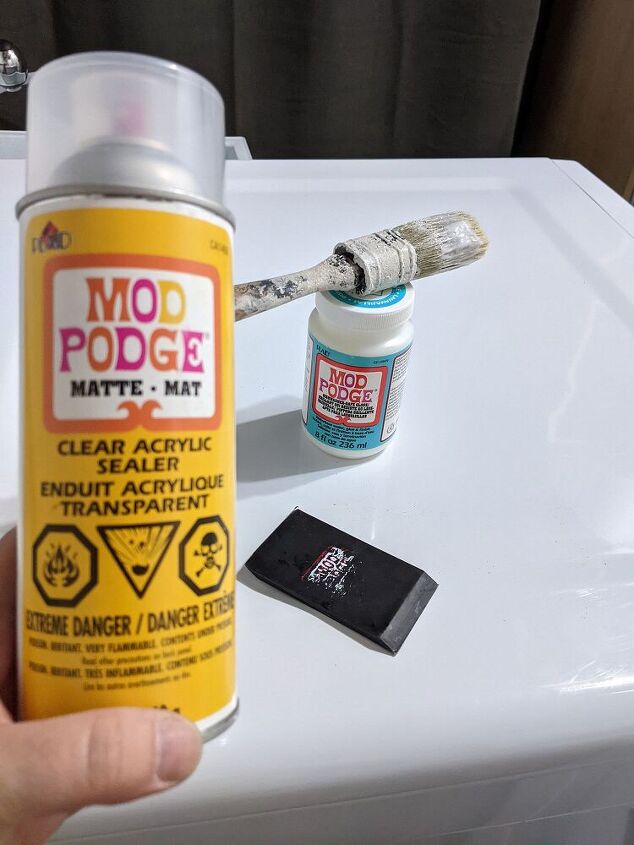
I applied a second coat of mod podge on top of the fabric. Then I sprayed it with Mod Podge matte clear acrylic sealer. Not sure if it needed this, but I had it left over from another project so I figured it wouldn’t hurt.
I attached the trim over the fabric, using a brad nailer.
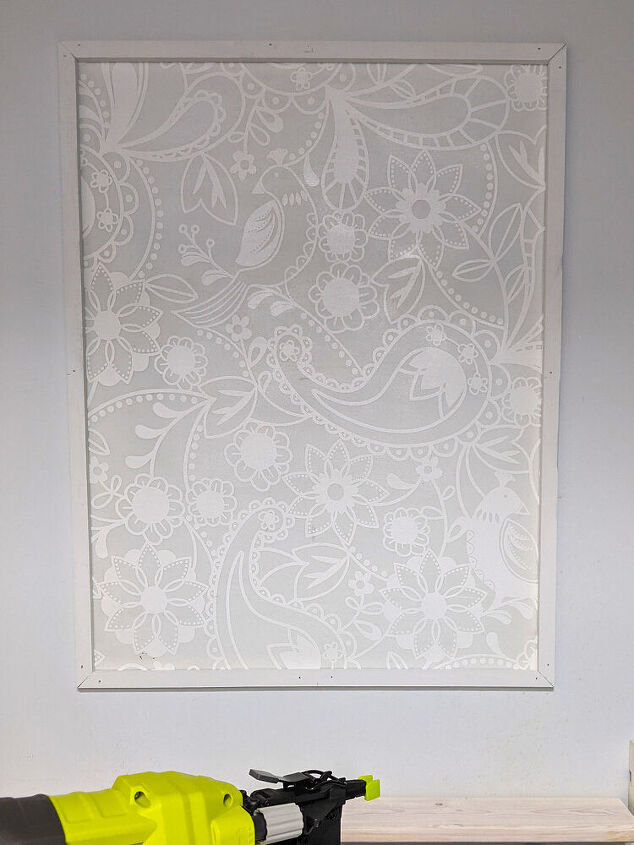
I was so focused on the nailer (because I had just gotten it and never used one before) that I accidentally attached my trim with the freshly painted side against the wall. LOL Oh well, nothing a little painters tape and an artist brush couldn’t fix. I dapped the nail holes and corners and repainted the frame.
I added hanging wire to the frame and hung it in the center, using two little nails.
And done!
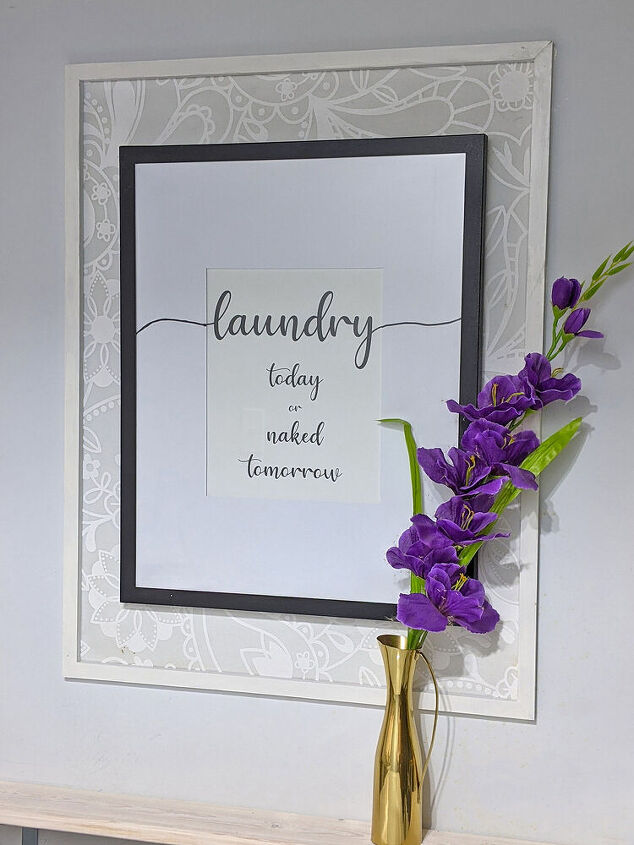
Or is it done?
I couldn’t help but think I should have painted the trim black and the pic frame white, to make it appear larger. I contemplated if I should just leave it, or spend the 20 minutes to switch them.
In the end, I decided Netflix could wait. I took the pic frame apart and spray painted the frame white. Then I taped off and painted the trim black. Well, it's actually more of a charcoal because I didn't have black.
And done!!
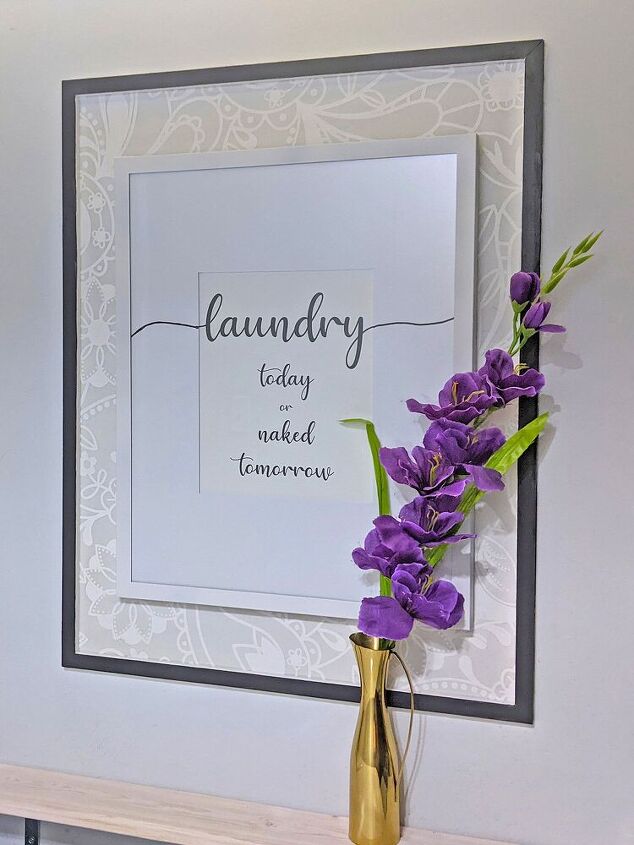

Even though I made a few boo-boos during this project, I’m pretty happy with the way it turned out. I think the scale of the sign works well in the space. And the best part of all, it was free. 😊

Resources for this project:
See all materials


Comments
Join the conversation
-
Great project and if I had a blank wall anywhere in my hose, I'd try this...lol!! Very pretty looking laundry room!
-
Either way they both look very nice


Frequently asked questions
Have a question about this project?
Love the font you used for your sign! What is it called?