


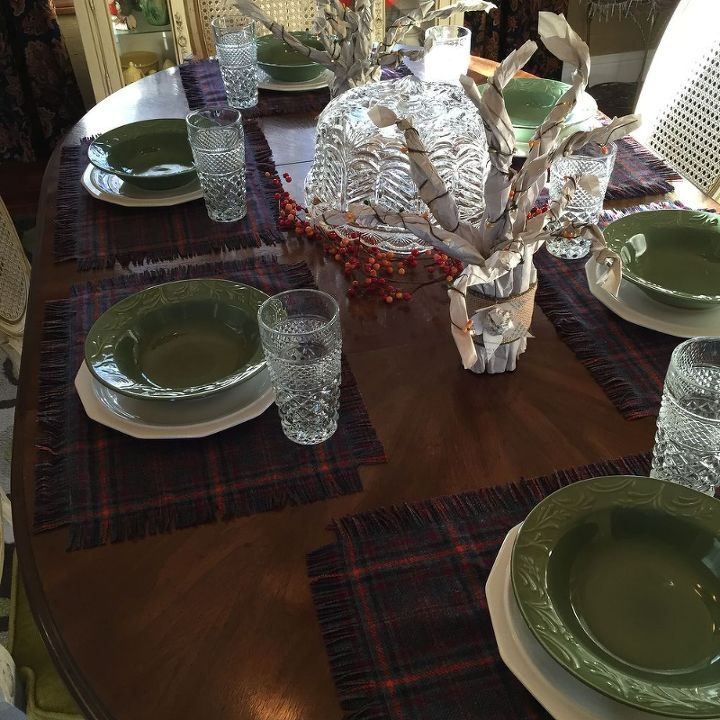
Easy DIY Placemats
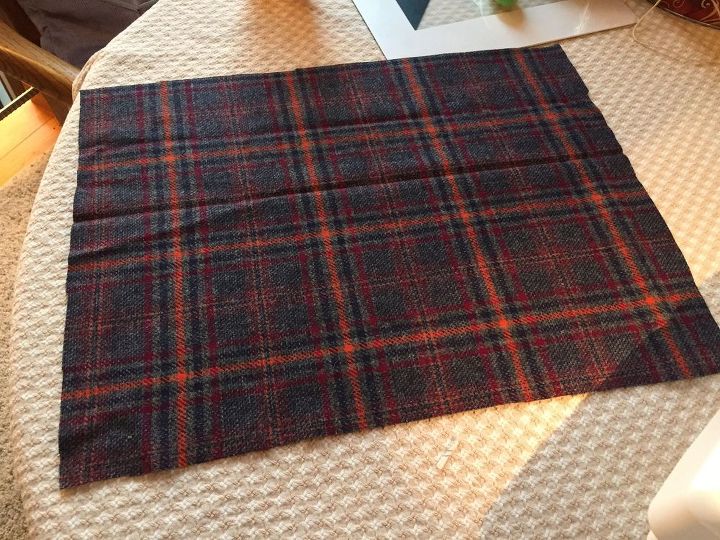
A couple months ago my grandmother gave me some fabric scraps from various projects she's made over the years. I loved the colors of this plaid so decided maybe it'd work for something around the house. This is what I came up with.
Placemats measure roughly 14" x 9" so I cut 6 pieces to that size to get me started. I am going to finish them with a fringe so I don't need any seam allowances.
Placemats measure roughly 14" x 9" so I cut 6 pieces to that size to get me started. I am going to finish them with a fringe so I don't need any seam allowances.
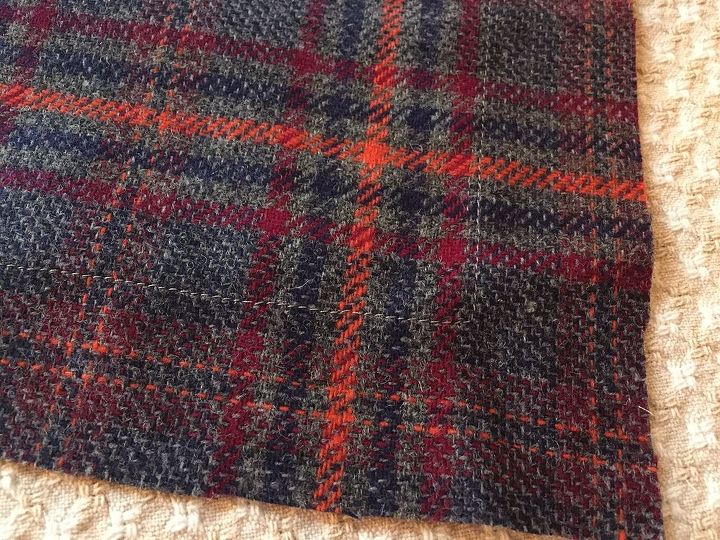
I used the baseplate of my sewing machine to stitch a line roughly 1 1/2" in from the edge on all four sides of the fabric, backstitching where I began and ended. You could mark this but I just eye-balled it.
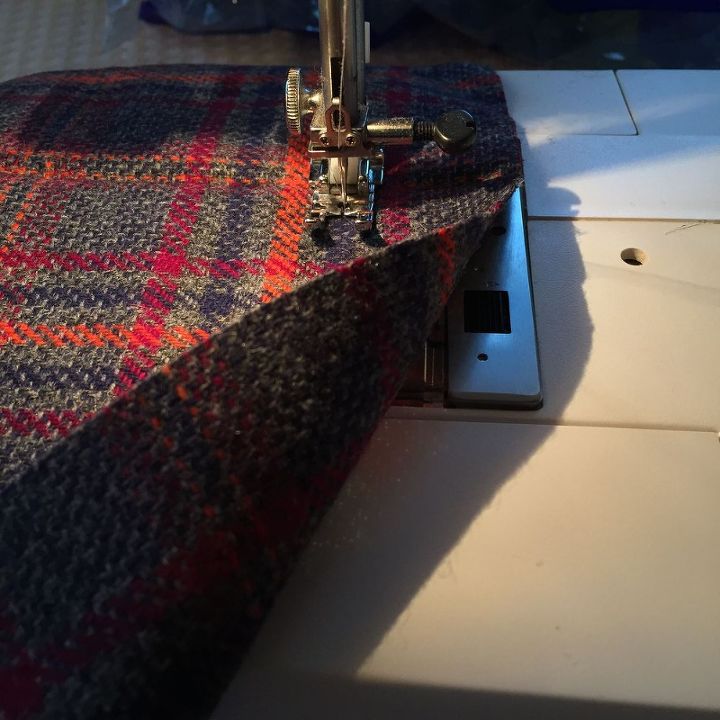
I used a grey thread and continued stitching all the way around.
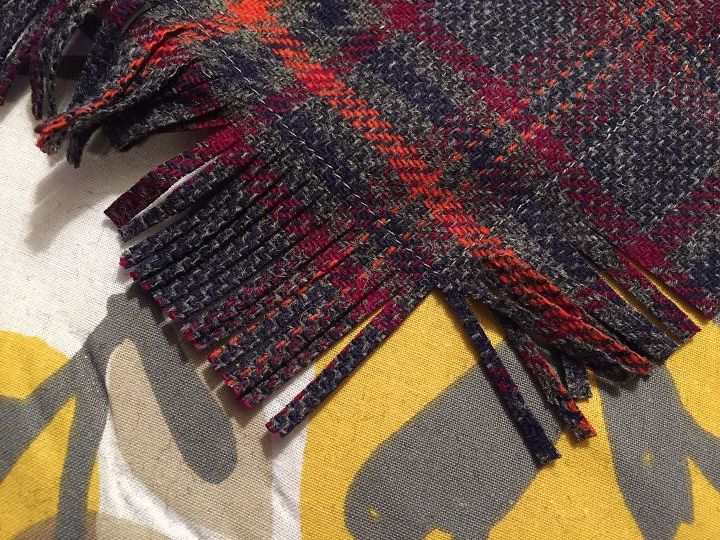
Now, the real fun begins. With a sharp pair of scissors cut in to your stitch line being careful not to knick it. Again, I just eye-balled this, they don't have to be perfect just try to keep them fairly even. You'll end up loosing your corners as shown below.
Here they are ready for use. So quick and easy to make.
I still have more fabric left, I'm thinking some throw pillows. This would make a cute base with some type of applique (snowman, flower, etc.).

Want more details about this and other DIY projects? Check out my blog post!
Comments
Join the conversation
2 of 32 comments
-
I can't tell you how many times I have fringed something that is a loosely woven fabric. I also learned it in 4-H.
-
If you are planning to duplicate this project, to ensure that your placemats are not askew or warped looking, I would recommend using the 'thread pulling' method to establish the straight grain.
v=DCi7Vz3pOREhttps://www.youtube.com/watch?v=KF60qVY83j4
{ "id": "6506233", "alt": "", "title": "", "video_link": "https://www.youtube.com/embed/KF60qVY83j4", "youtube_video_id": "KF60qVY83j4" }{ "width": 634, "height": 357, "showRelated": false }


Frequently asked questions
Have a question about this project?