


How to Wrap a Beautiful Present.
Wrapping beautiful presents is so fun to me. Once I am finished, I just sit back and stare at them sitting under my tree.
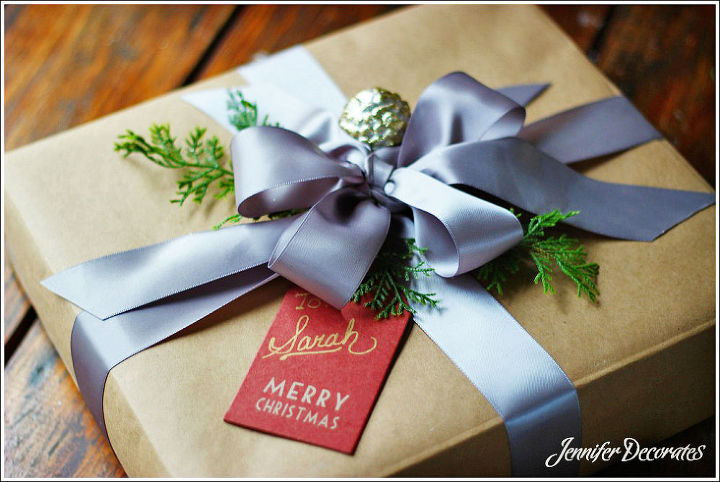
Sometimes the simplest wrapped presents are the prettiest.
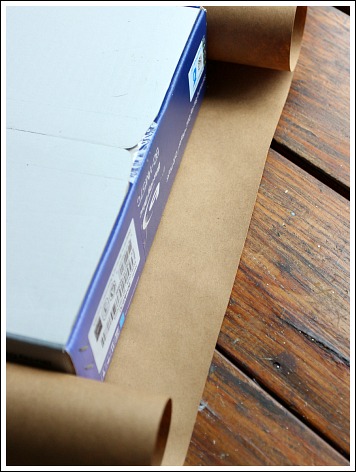
One of the most important steps in how to wrap a present beautifully is cutting the paper correctly to fit the present. If your paper is cut much larger than needed, it really creates a sloppy mess.
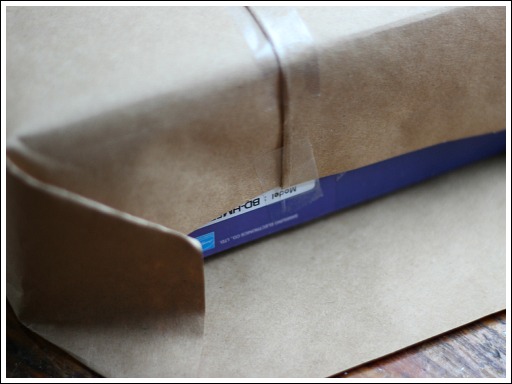
Creasing the edges of every folded piece with your fingernail, is an easy trick that makes your present look professionally wrapped!

I even crease the edges of the entire present once it is completely wrapped.
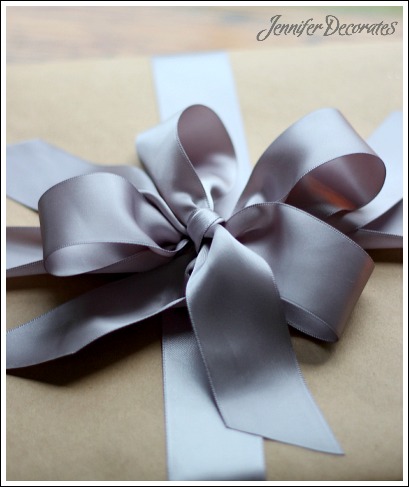
I tie my bows a little different then most people. I begin by cutting ribbon long enough to tie a bow in the middle with about six inches left over for the bow tails. Then, I cut another piece of ribbon, run it under the first bow, pull it up and tie another bow right on top! This makes for easy unwrapping, because all you have to do is pull on two tails to untie the entire bow.
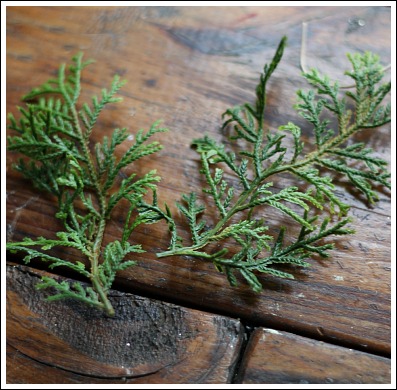
The little details are my favorite to add to a present. A touch of Christmas greenery and a small ornament are my favorite!
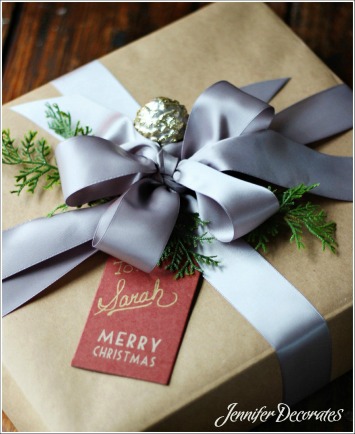
I wrote on my gift tag with a gold Sharpie pen. There you go, easy and fun! For a more detail photo tutorial of how to wrap a present neatly, just click on the link below. Merry Christmas!

Comments
Join the conversation
-
Hi Hannah. Where can I find those red striped buffet lamps I saw on Pinterest? I want them!!
-
I found them at T.J. Maxx


Frequently asked questions
Have a question about this project?
Where's the link for the project you mention?