


Fairy Garden

by
Sarah M
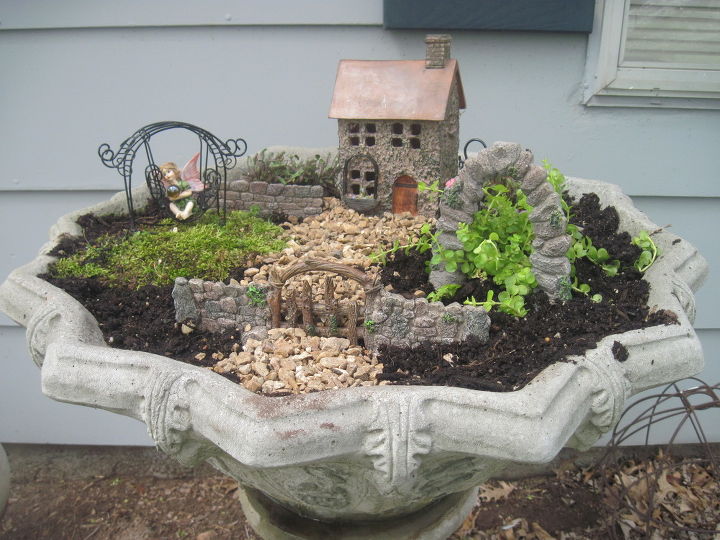
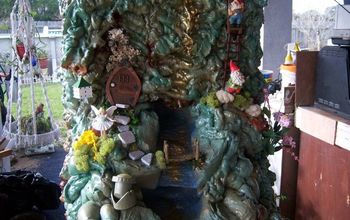
Here is the Fairy Garden I completed this morning. This is the same fairy house that I used for my first Fairy Garden. I love to "recycle" Fairy Houses. Its cheaper too!
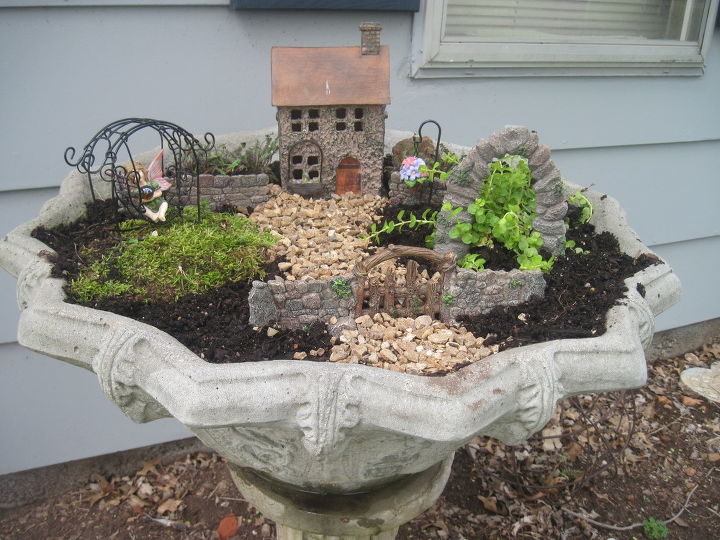
This is the same fairy house that I used for my first Fairy Garden. I love to "recycle" Fairy Houses. Its cheaper too!
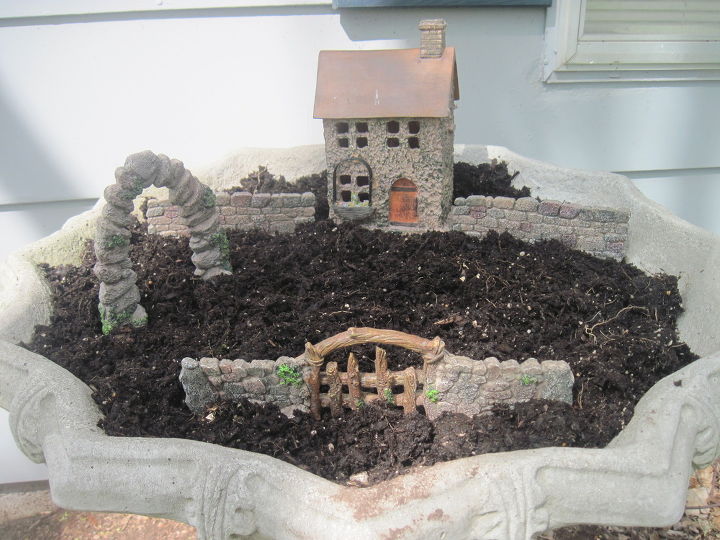
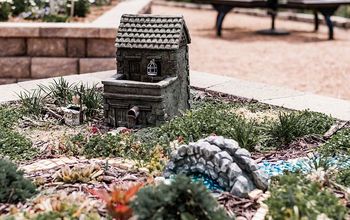
This is a fun part for me...moving the fairy garden pieces around until you are happy with it. Before this Fairy Garden was completed, I moved the rock arch to the other side of the garden.
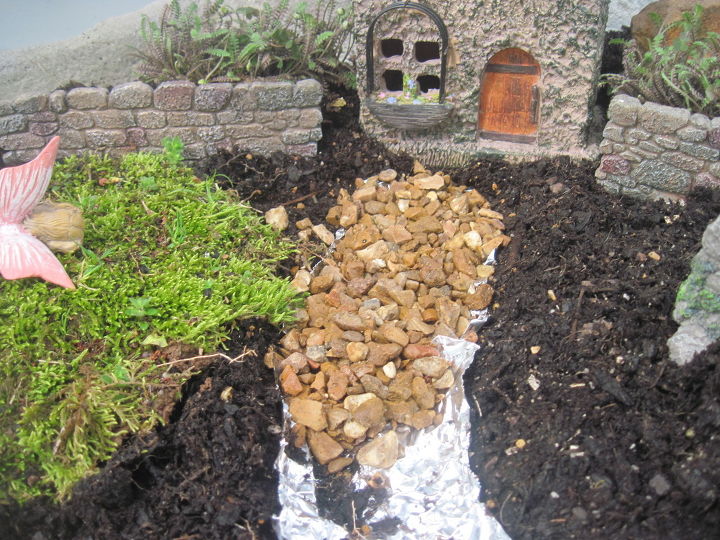
I used a piece of moss from my yard for the "play area" of the Fairy Garden, and using Pea Gravel for my pathway. I place tin foil along the pathway for easy removal when I want to change out the Fairy garden.
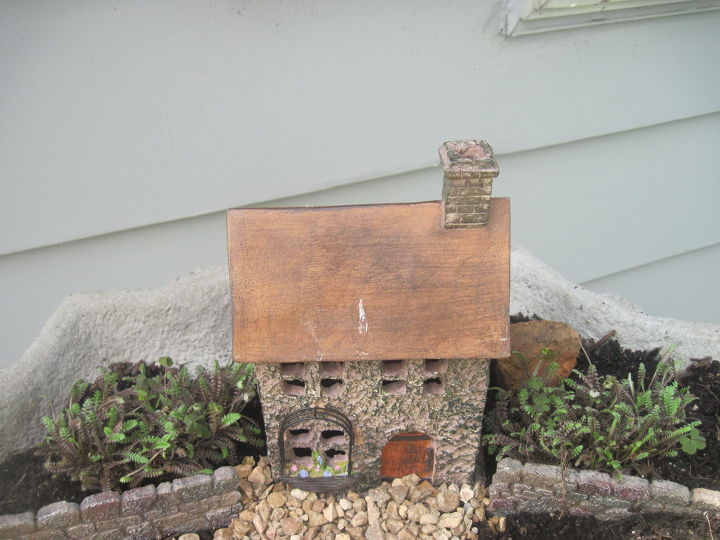
I cut a fern ground cover into to plant on each side of the house.
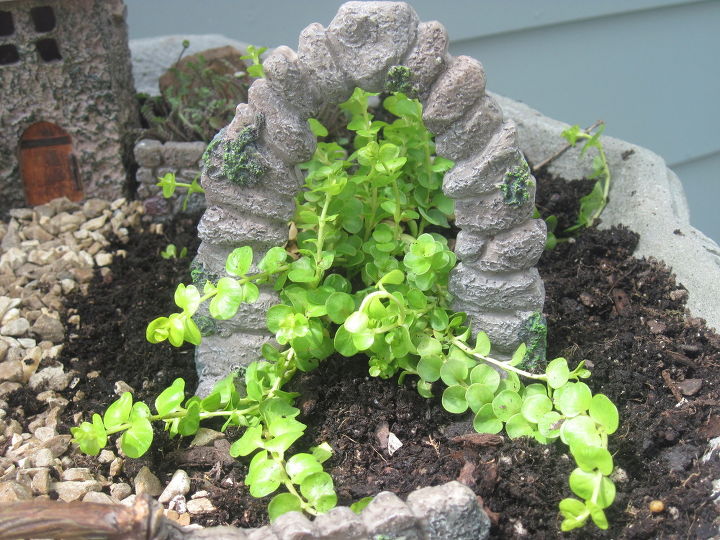
Using a ground cover called Moneywort in this area of the garden. Baby's Tear ground cover will be planted in its place When this plant out growns the Fairy Garden. After watering the plant, I placed the rock arch accent in front of the plant.
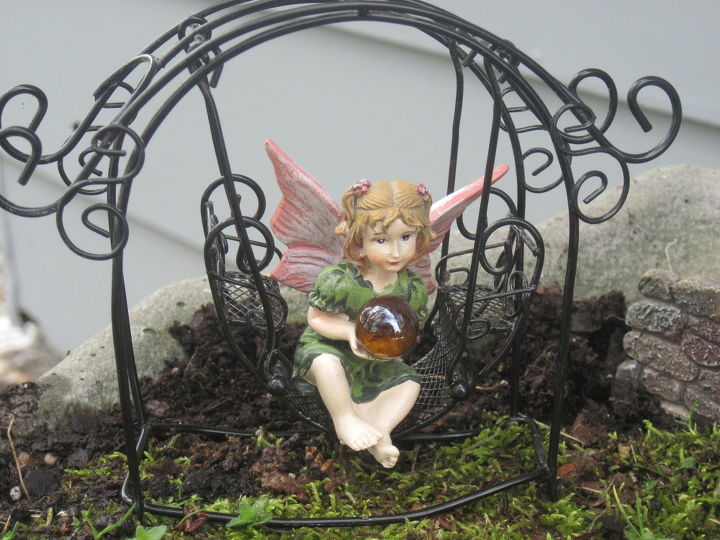
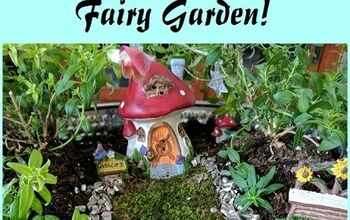
Time to add the Fairy Garden Accents. What a cute little Fairy she is too!
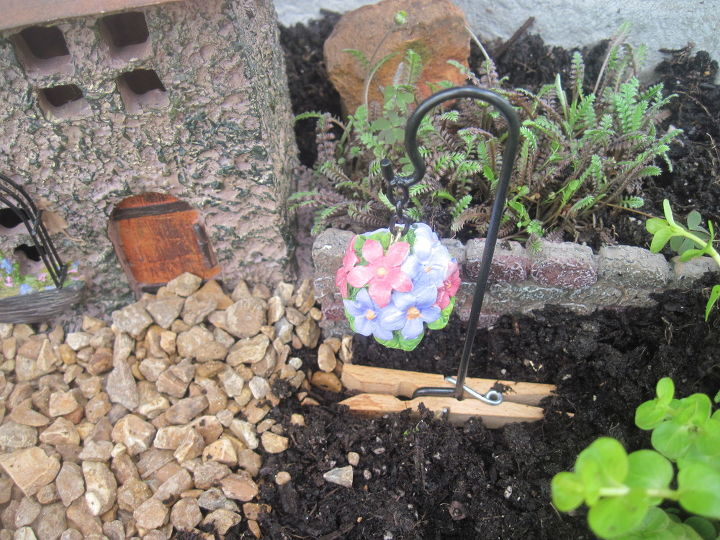
When I use a staked accent in a Fairy Garden, I attach a clothes pin and then bury it to add stability. I use plastic clothes pins,but was out, but will be replacing this one with a plastic clothes pin.
Now let the fun begin!
Comments
Join the conversation
5 of 15 comments
-
Found it- so cute! You are a master of all things fairy garden!
- See 2 previous
-
Thanks for the hint about the clothes pin. Great idea for the stability.


Frequently asked questions
Have a question about this project?