


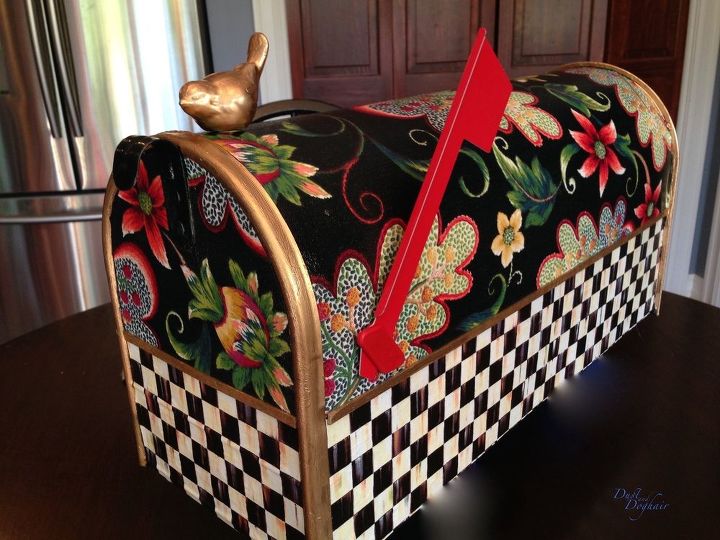
Decorative Mailbox
Set the street side tone for your home and add some simple DIY curb appeal with a decorative mailbox using ModPodge and fabric or special papers.
Mine features Mackenzie-Childs giftwrap and Richloom outdoor fabric on an oversized rural-sized mailbox.
Mine features Mackenzie-Childs giftwrap and Richloom outdoor fabric on an oversized rural-sized mailbox.
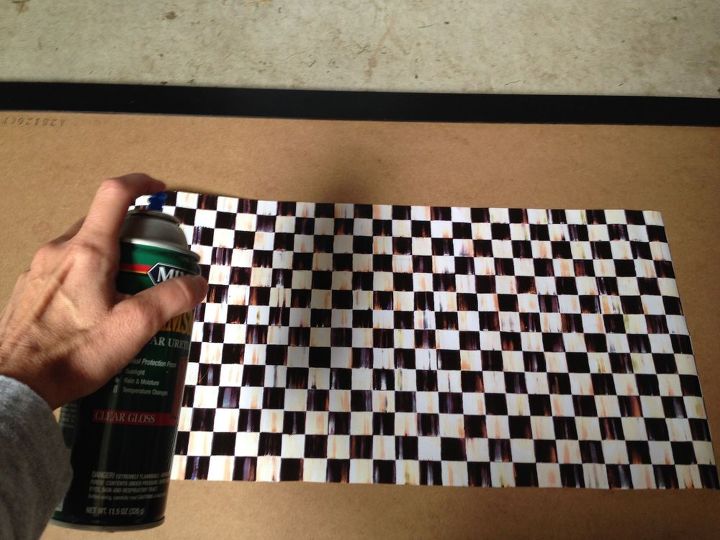
Select your cover materials and cut to size, paying attention to the pattern for best placement. If you're using paper, spray each side with a couple of light coats of varnish to add body and minimize wrinkles. Let dry between coats. It will still wrinkle, but this will help!
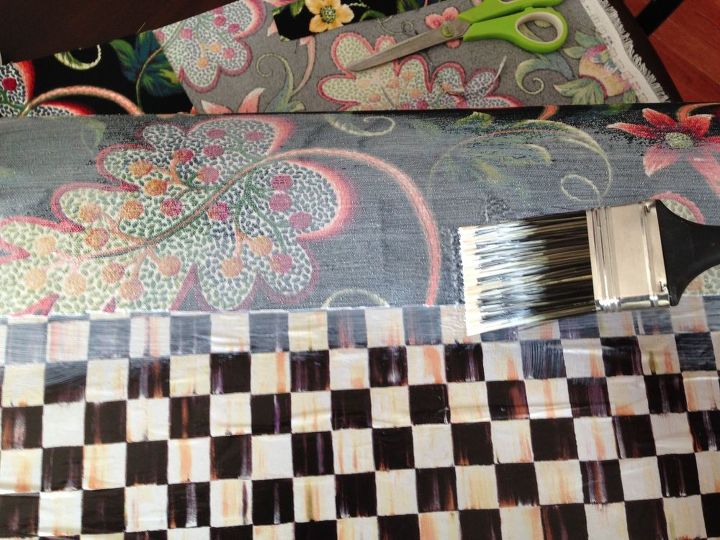
Apply the decoupage medium, and carefully place your fabric or paper, smoothing as you go. Let dry.
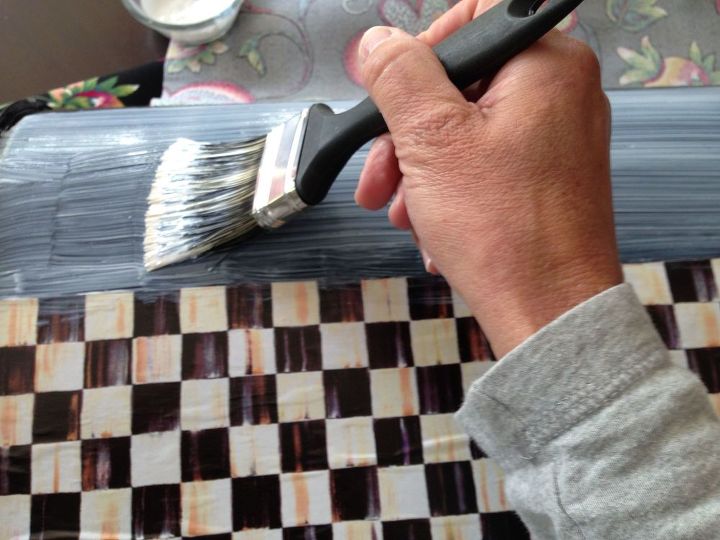
Give everything a good coat of Outdoor ModPodge. Let dry.
Add trim or other accents as desired. Let dry for 72 hours.

Want more details about this and other DIY projects? Check out my blog post!
Comments
Join the conversation
2 of 129 comments
-
Adorable!
-
Love this Mailbox! It's Beautiful!


Frequently asked questions
Have a question about this project?
I want to do this so much, yes! I just need to be sure does the post office have any regulations about decorating like this technique? Don't want to have them make me change it, ugh. Also how could / where should I put the numbers - and what is a good suggestion for numbering on this sort of decorative idea? I love it!!!