


How to Make a Wine Barrel Table With Built in Wine Bucket
10 Materials
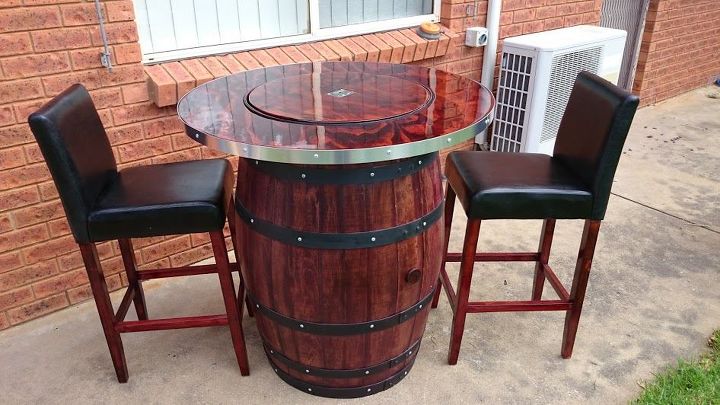
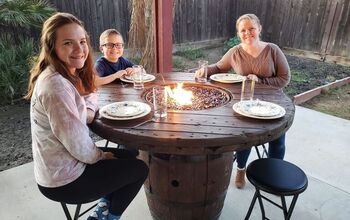
I wanted to make a Wine Barrel Table that would look good inside and outside the house. I have made a few of these and the results were great.
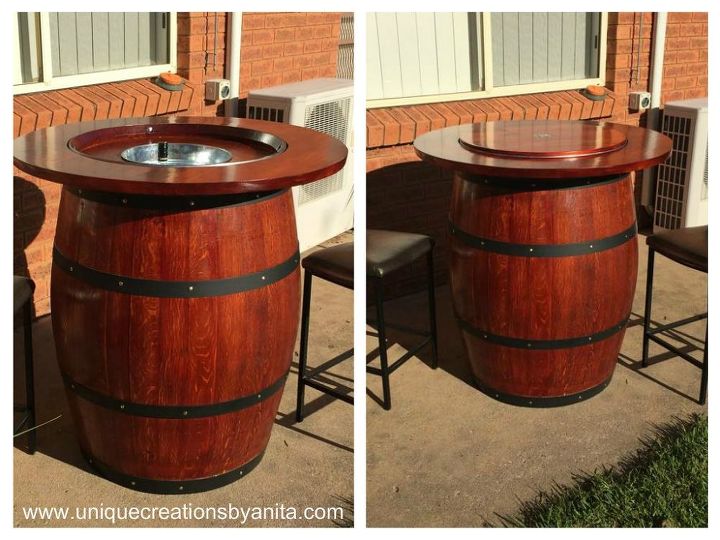
Wine Barrel Table
I started by putting screws in all the stave’s in the top and the bottom of the barrel. From experience with barrels I have noticed that the stave’s move either from lots of moving or from the barrel drying out and the wood contracting. So this helped to keep them in place. I removed all the bands in the middle using a piece of wood and a hammer to knock them off. I cleaned the bands up and sprayed them with black matt spray paint.
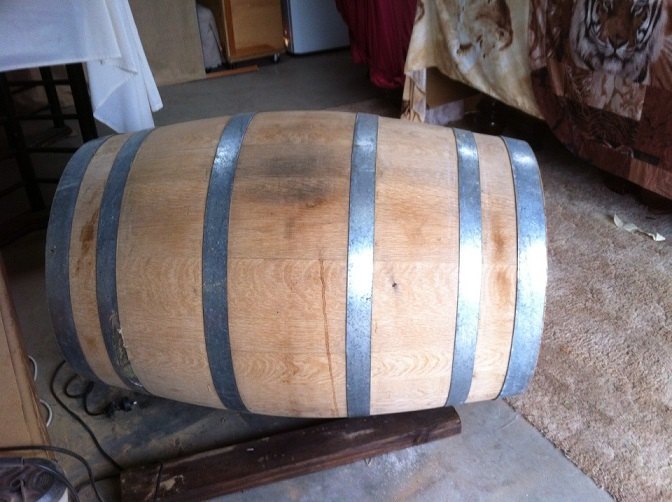
Wine barrel
I sanded the barrel starting with 120grit to remove all the rough surface and the wine stains. And gave a final sand using 240grit. I stained the barrel and added 2 coats of satin varnish. I replaced all the bands and added screws in all the stave’s to keep them in place and to give it a decorative look.
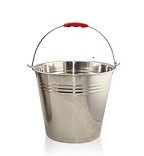
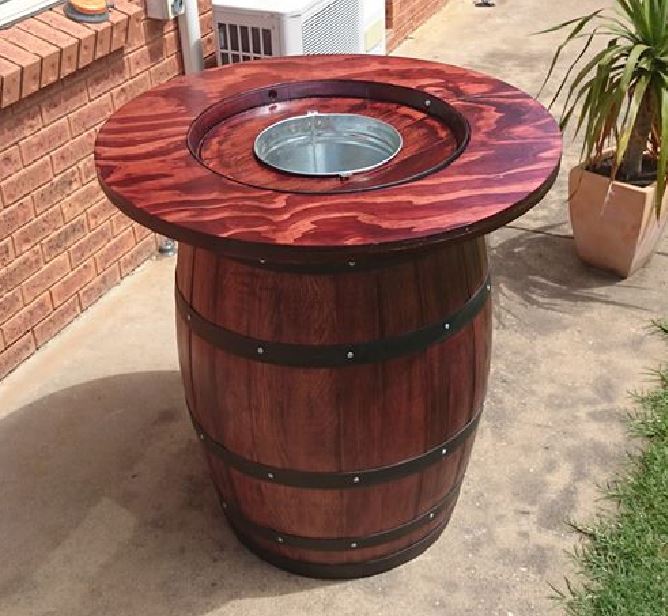
I bought a 25l bucket (which must have a lip to prevent it from falling through the hole). I removed the handle. I found the centre of my wine barrel and cut a circle the size of the top wine bucket under the lip. I drilled a pilot hole and used a jig saw to cut this out.
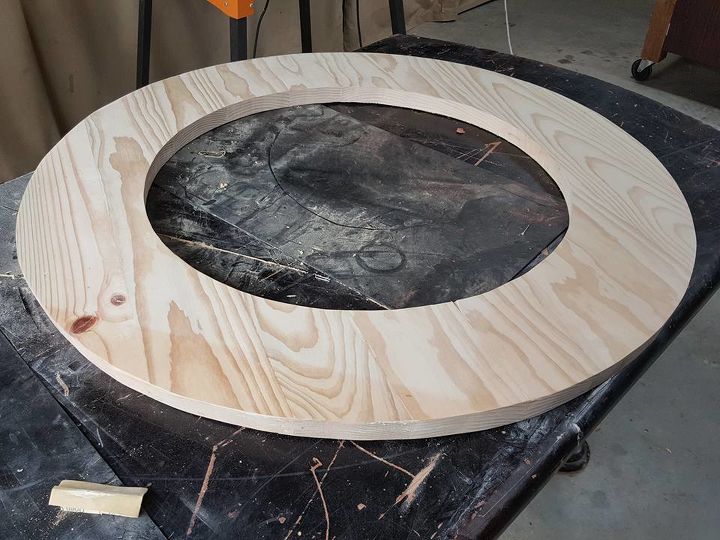
The top of my wine barrels tables are usually made from old table tops which I recycle and reinforce using Plywood underneath to add some strength to the top. My average table top is 1.2m, and I try to build them with a thickness of 60mm. The top I have shown above in this post was cut using a jig saw, but for some reason I ended up with a edge that was sloped , so it was unsuitable for my project. I don’t know why this happened and would love any feedback.
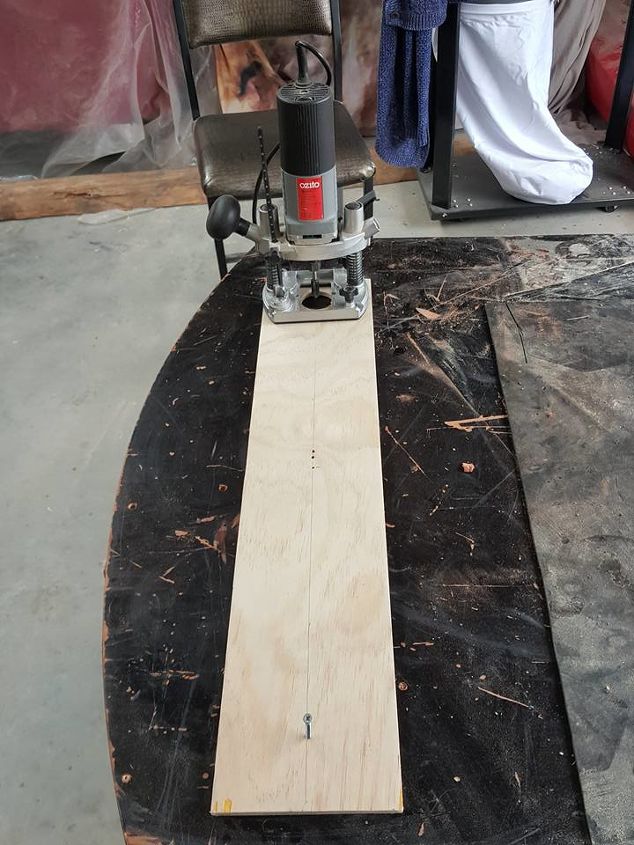
So I came up with another plan and used my router attached to a piece of plywood. I found the center point of my piece of wood and screwed my plywood into the centre of my wood and routered the circles. This does take some time but have found this is the best way to end up with a good clean circle. The inside circle proved more difficult because the top of the barrel was not a perfect circle so did have to use the grinder with a sanding disc on it to get a good fit.
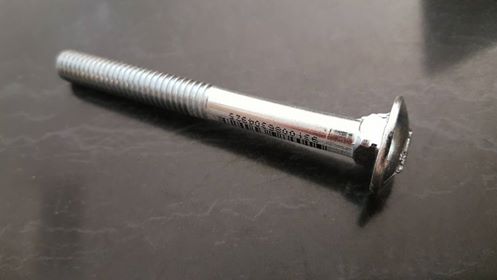
3 inch bolt
To secure the top to the barrel, I lined up the table top up with the barrel and drilled a hole through the barrel and into the inner circle of the table top and inserted large bolts to prevent the top from moving.
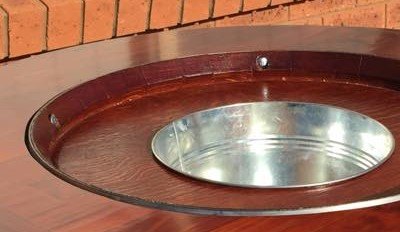
I used the router to remove part of the underneath surface so that the lid balanced on the rim of the barrel and not on the surface of the inside which was not level on any of my barrels. I have made a few of these tables and found this to be the best way. The picture below was a nice fit and looked more proffessional.
Lids Balances on rim of the wine barrel
The wine barrel lid on this one had had a slight wobbly because the inside of the barrel was warped.
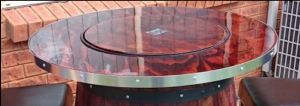
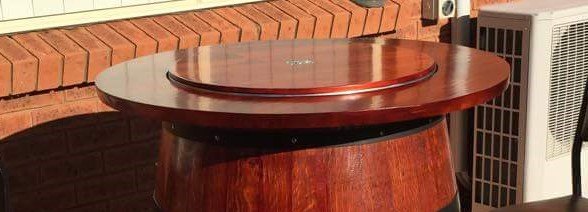
I chiselled out the centre of the lid so that I could add a pull latch. I sanded the surface ending with 320grit, stained it and added 3 coats of satin varnish. And to finish off I added I strip of aluminium cut to size to finish off the edge. Which had a beautiful effect
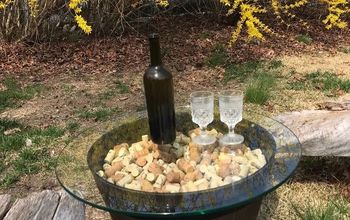
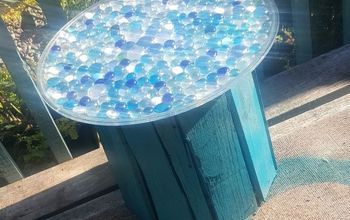
On one of my tables I used a veneer instead of solid wood because the pattern on the wood was nicer but found the surface was not very durable. So I decided to try coating the top with Norton Liquid glass which gave a stunning effect. (picture below)
Another sample of one I have made.

Want more details about this and other DIY projects? Check out my blog post!
Comments
Join the conversation
4 of 33 comments
-
Very Clever love this :)
-
I love this!!


Frequently asked questions
Have a question about this project?