


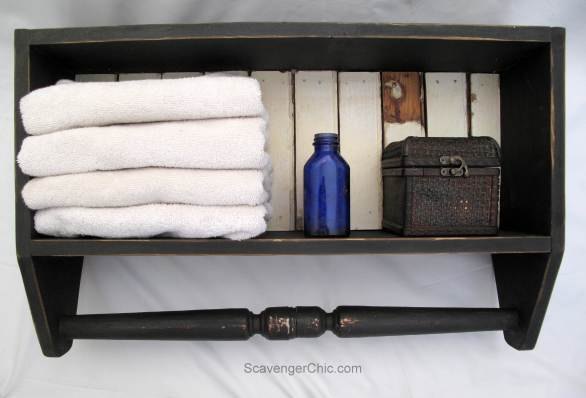
Build an Easy Bathroom Shelf Diy
If you've always wanted to create something out of wood but the directions seemed too intimidating, I've got the project for you. Today I have a super easy bathroom shelf that is put together just like a toolbox with the exception that the opening is in front instead of on top.
This project came about because I’m still using up a pile of spindles that my brother gave me. It may look like I only used one spindle, but I actually used two. You'll see why in just a second.
This project came about because I’m still using up a pile of spindles that my brother gave me. It may look like I only used one spindle, but I actually used two. You'll see why in just a second.
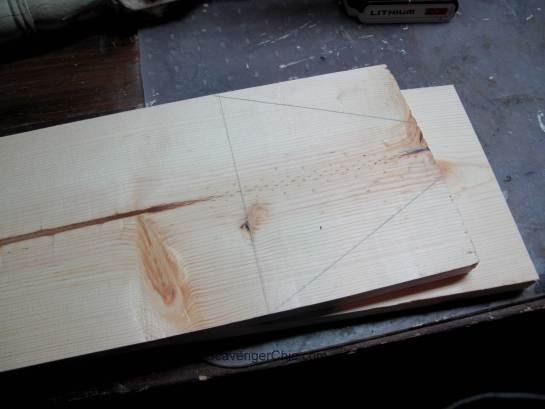
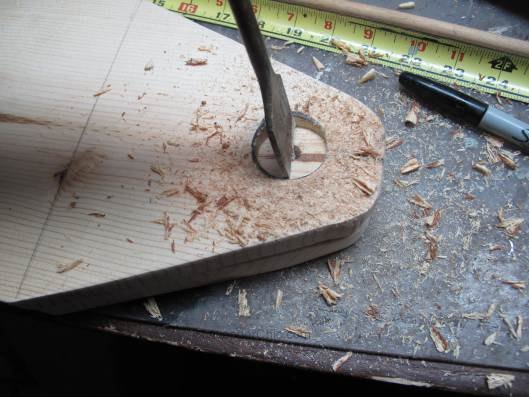
For the shelf, cut 3 equal pieces of a 1×8, 25″ in length.
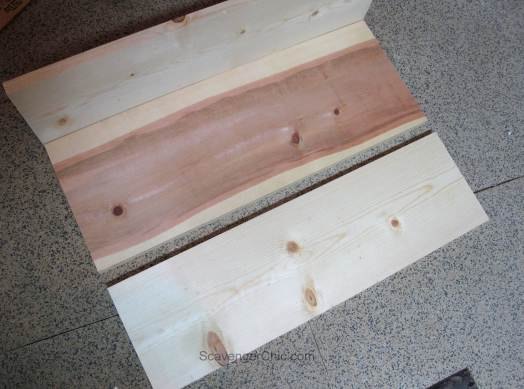
From the same 1×8, cut two more pieces 17″ in length. These will be your ends.
For the spindle rod, I ended up using 2 spindles so that I could center the decorative part of the spindle on the shelf. The spindle also tapers down on one side; by using two, both ends will look exactly the same.
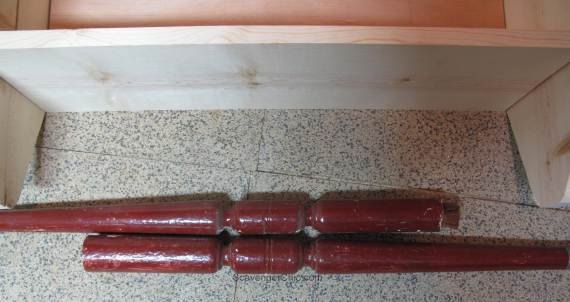
Cut the spindles in half at the decorative part. On one side I left the ridge, and on the other side it was cut off. Drilled a hole and inserted a dowel in both sides for extra strength.
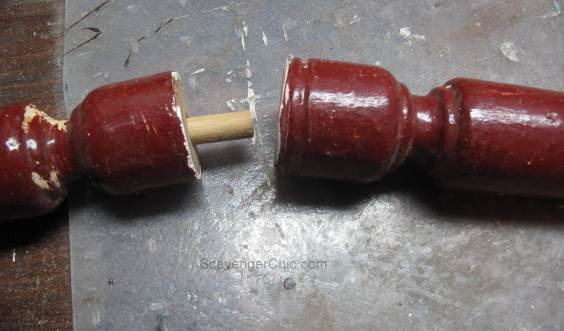
Once the glue on the spindles was dry, cut the dowel to the measurement of the outside of the shelf which should be about 26 1/2 inches. You’ll probably have to trim a bit off of both ends to ensure that the decorative part of the dowel remains in the center.
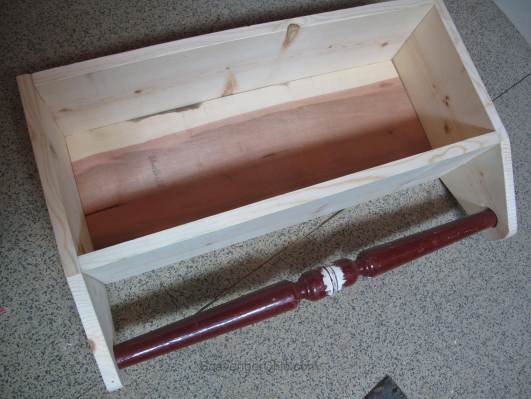
Finally, start to assemble the box. All of the pieces should be attached with finish nails and wood glue. Make sure you insert the dowel before attaching the last end piece.
The entire box was finished with a coat of black chalk paint.
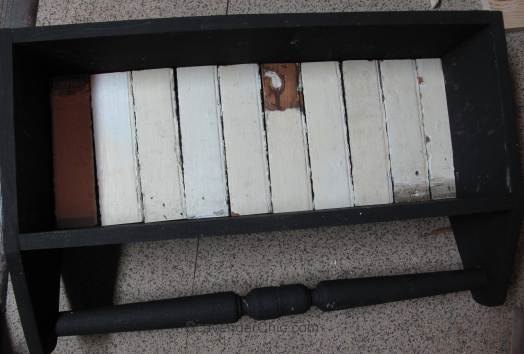
Shelf was sanded down again to reveal some edges, then finished with a coat of dark wax. The white beadboard got a coat of clear wax to seal in some of that old paint.

This is a great project for someone just beginning to do woodworking (or me). Straight cuts all around and super easy to paint to match your own decor.

Want more details about this and other DIY projects? Check out my blog post!
Comments
Join the conversation
2 of 32 comments
-
What are those white pieces of wood,.is that the headboard pieces you mentioned, I think it looked better with the dark brown shown in the pic above.maybe I'm a little confused, but still love it, great job
-
Adorable!
i just have one major problem......... I can’t draw a straight line to save my life!!!
I use a ruler and it has never been straight!
😞


Frequently asked questions
Have a question about this project?
Baby oil to clean with