


Painted Shower Tile

Hi, I'm Amber Oliver! I hope if you enjoy this project you'll also stop by my blog!
Tearing and replacing the tile in your shower is expensive, difficult, and time consuming! Not to mention the tools required to cut tile are pretty pricey too! While I wouldn't recommend a tile project for a beginner DIYer, this project is one you can do no matter your skill level! If you can read and follow directions, you can transform your dated tile shower with a little bit of PAINT!
I teamed up with a Hometalker in my community who had wanted to transform her bathroom for a while but needed a bit of help and guidance. With my help, we created a space she loved!
If you're in the Houston area, I can help you create this look for your home! Click here to see how I can help you & send me a message to get started!
Hometalk Recommends!
Want to save?
Get your 30-day free trial of Amazon Prime today before Prime big deal days on October 8-9th!
*Be sure to read the product instructions in their entirety; but here's the run down!*
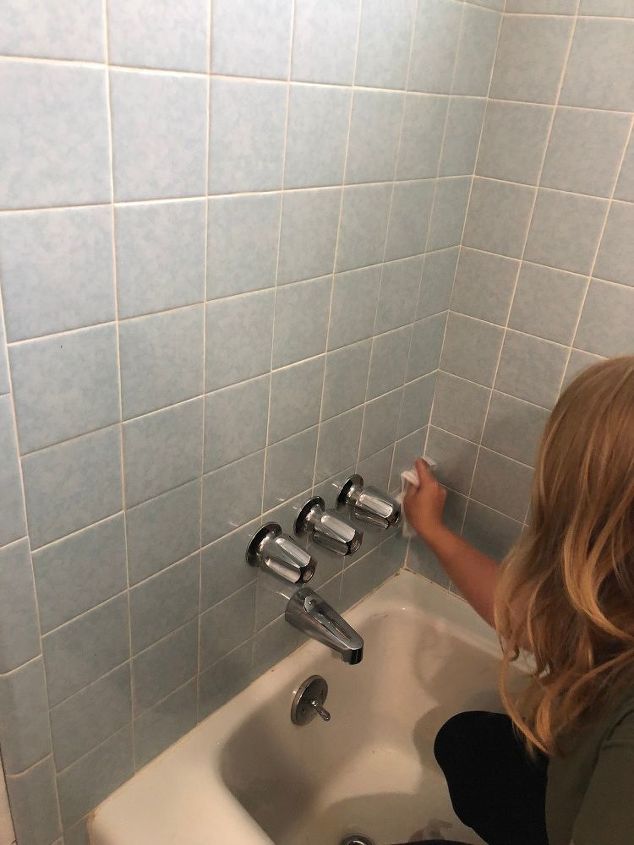
The first thing you need to do is clean the tile. Start with soap and water then use alcohol to remove any residual residue.
Next you'll scour the tile with the steel wool or 400 grit sandpaper
Now mesure out and mix up the cleaner then throughly clean the entire surface area with TSP
You'll repeat this process twice.
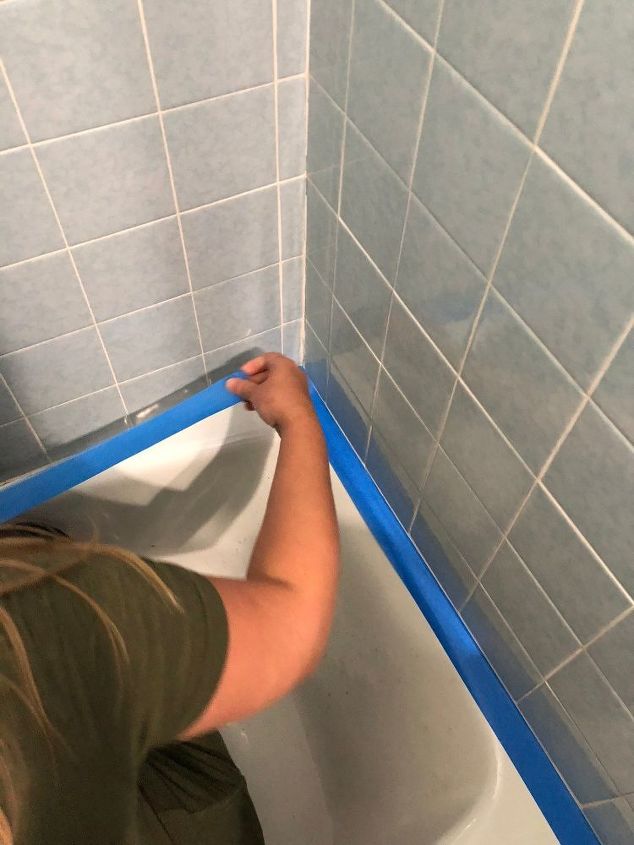
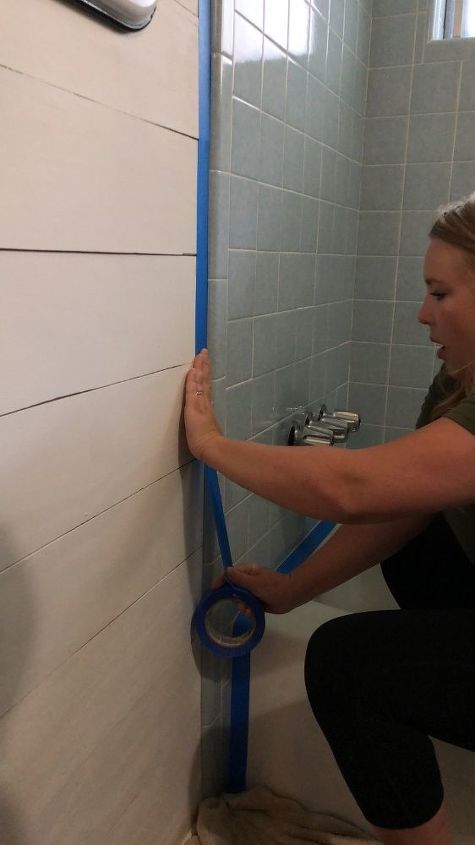
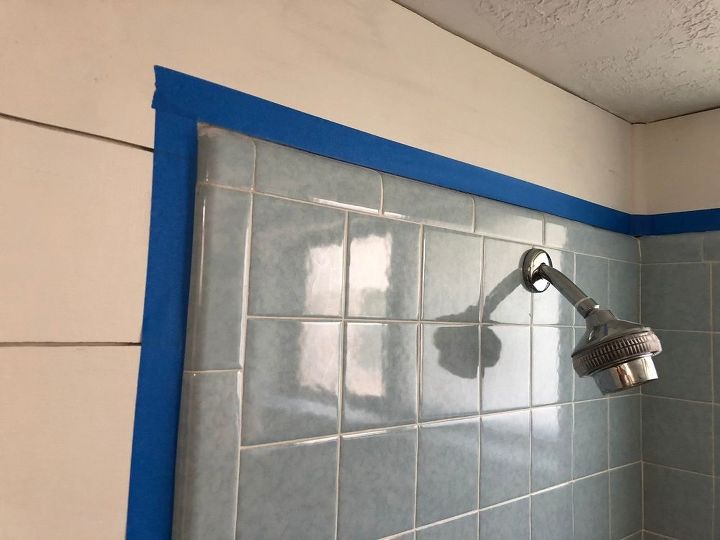
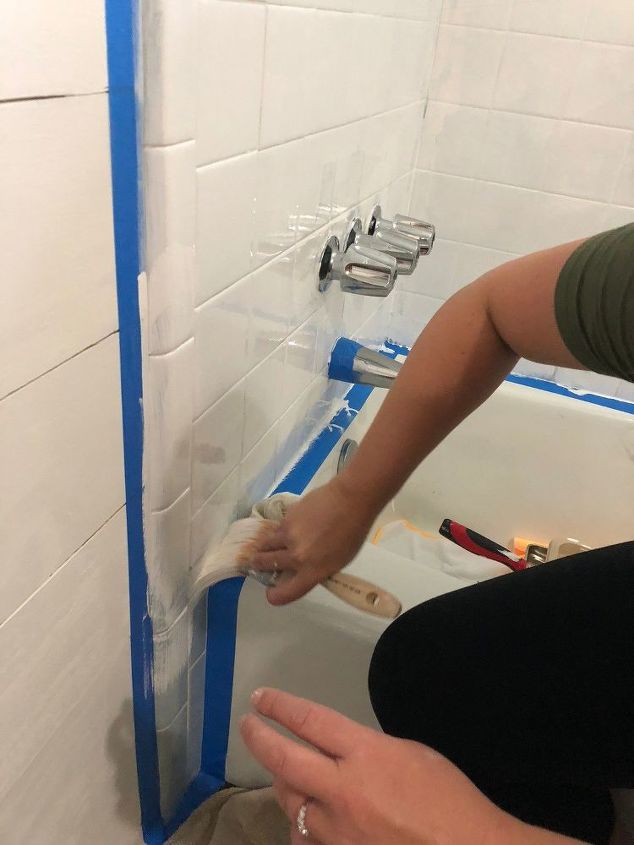
After the surface dries, you can tape off using painters tape. don't forget around your faucets!
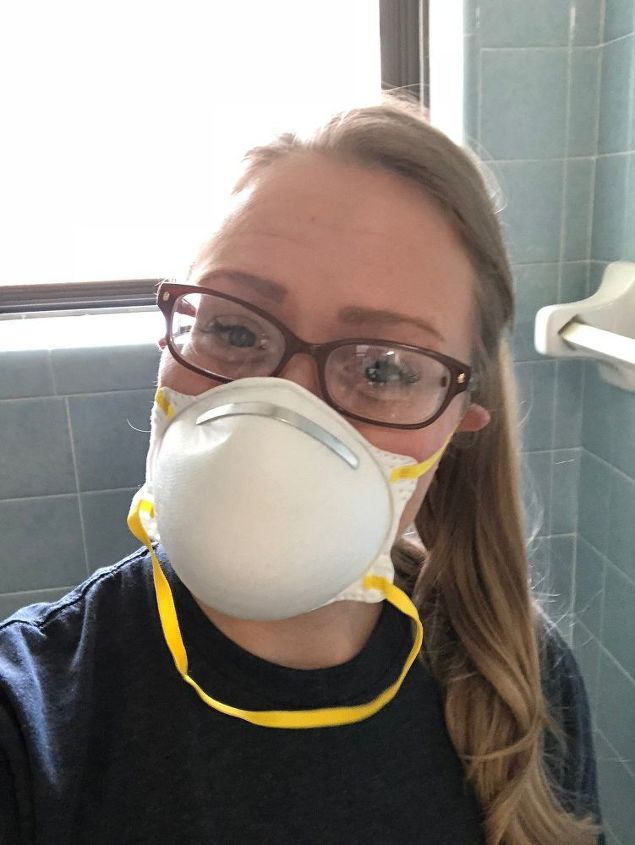
Safety first! The epoxy has a strong odor so be sure you have plenty of ventilation and wear proper safety gear!
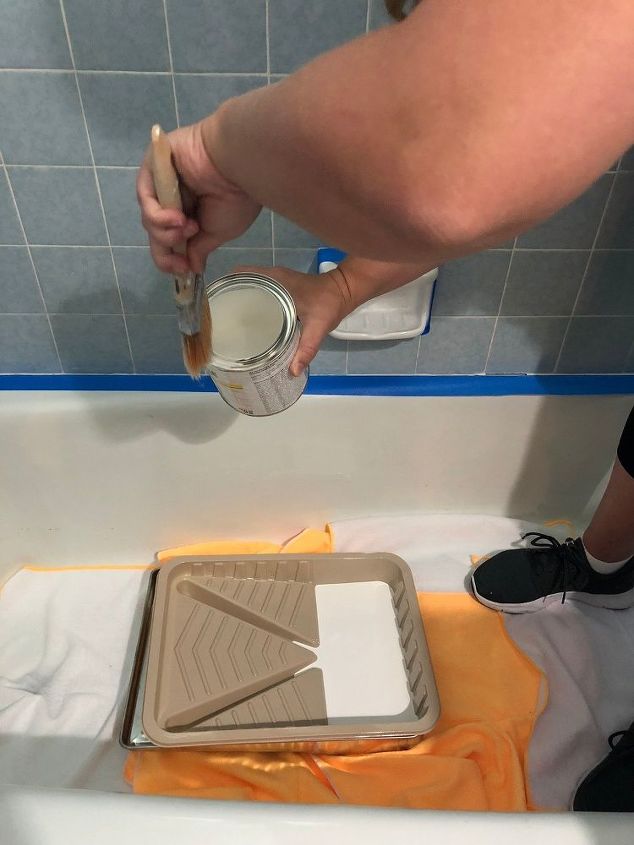
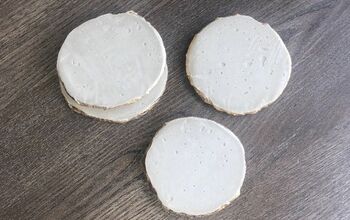
Now it's time to paint!
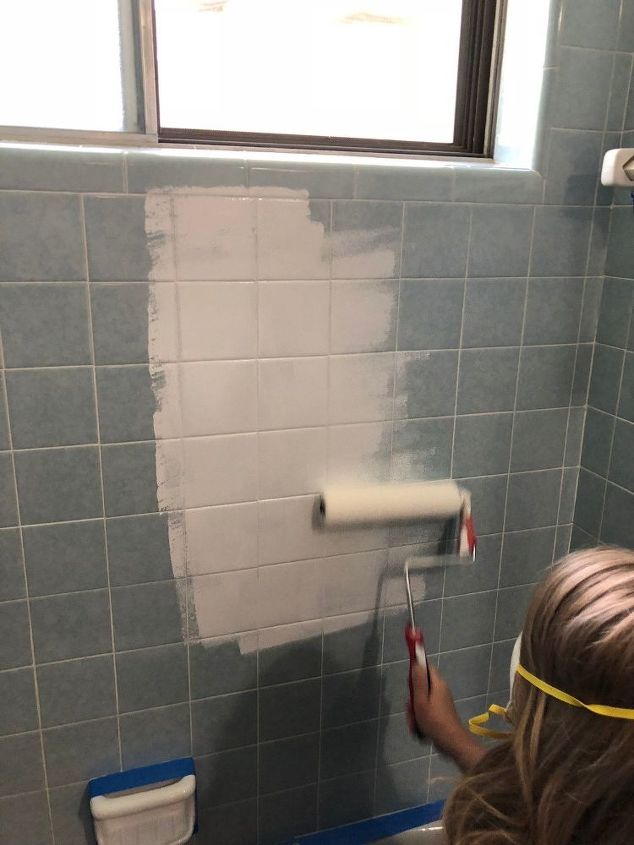
Use a roller to cover large sections of the tile, and a smaller paint brush to cut in around the edges.
Brush marks will start to level out and disappear after a few minutes.
Your first coat serves as a base so don't try to get full coverage just yet!
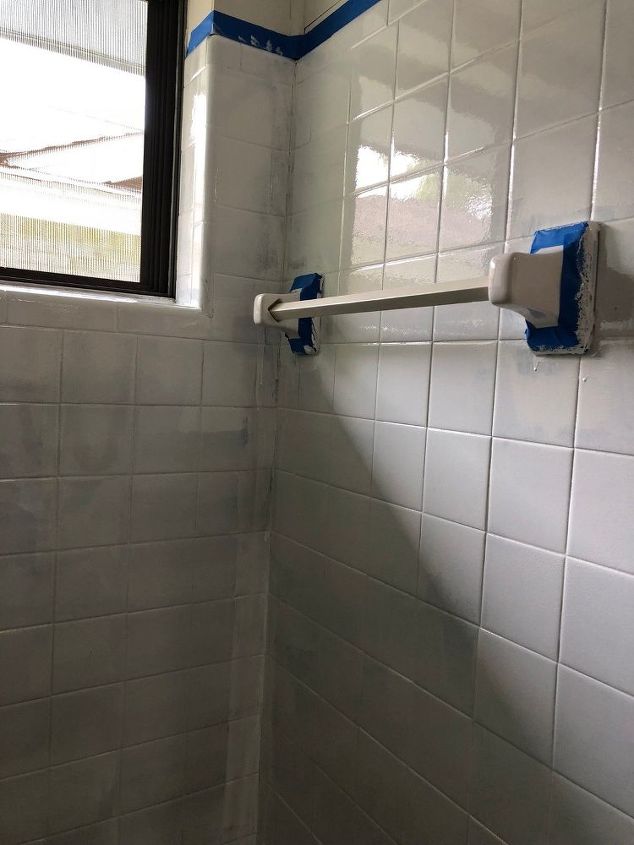
Your first coat must sit for 3 hours, then you immediately apply the second coat. If you don't get the 2nd coat applied within 1 hour of letting it set, you must wait 72 hours for the 2nd coat. You repeat the same time line for a 3rd coat if needed.
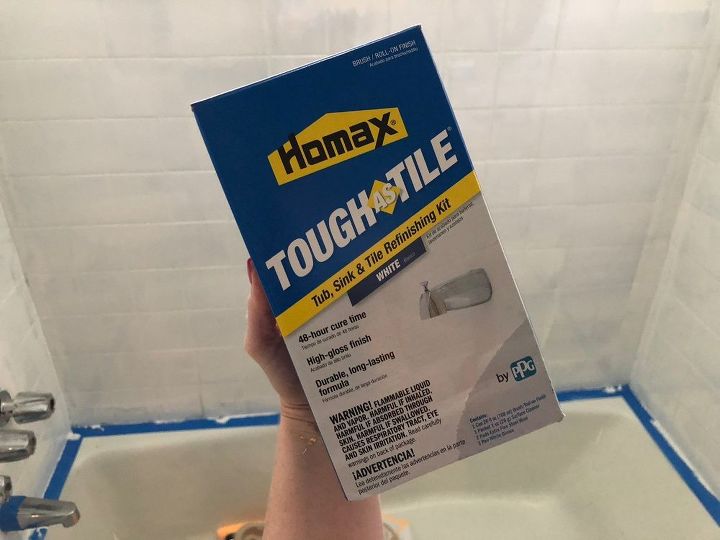
Here's the product we used!
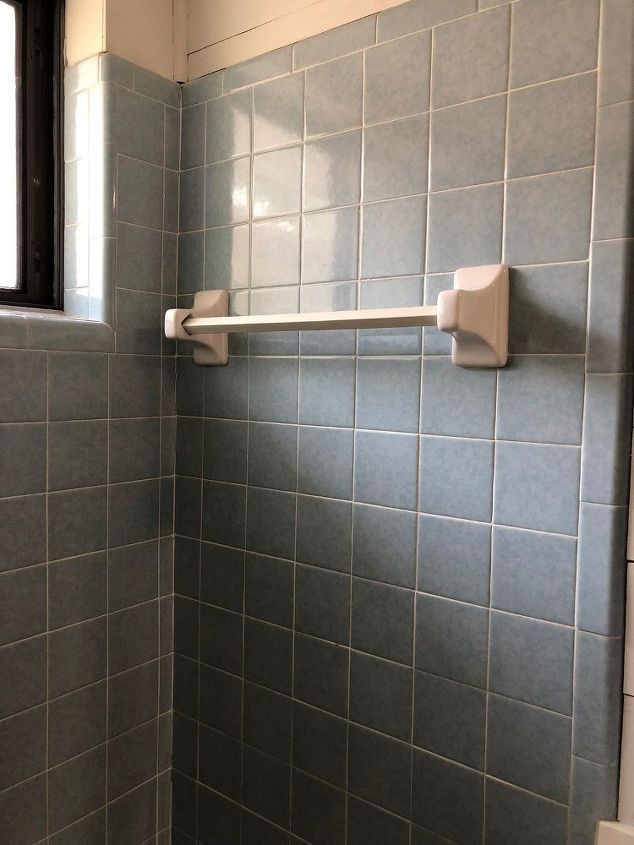
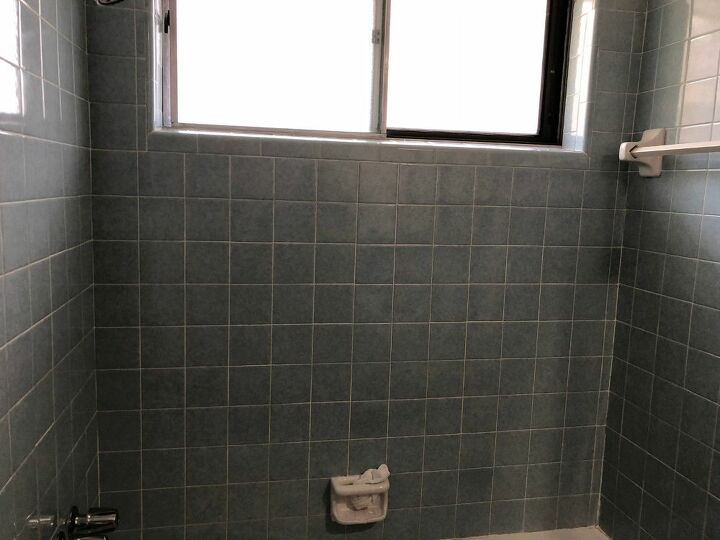
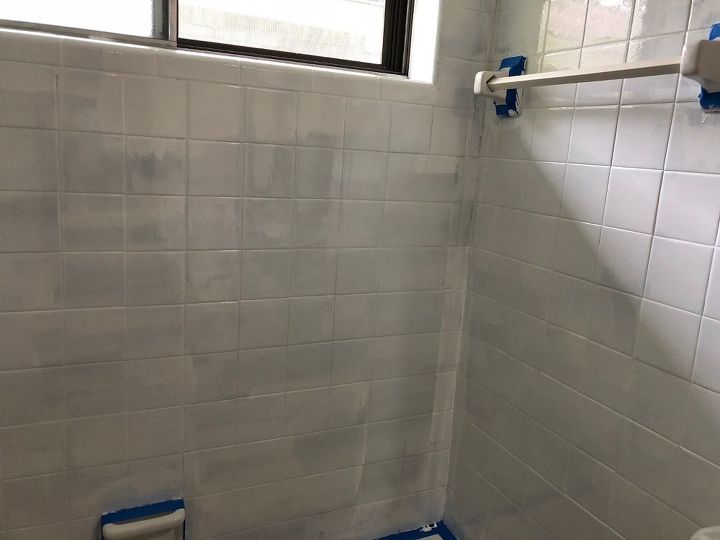
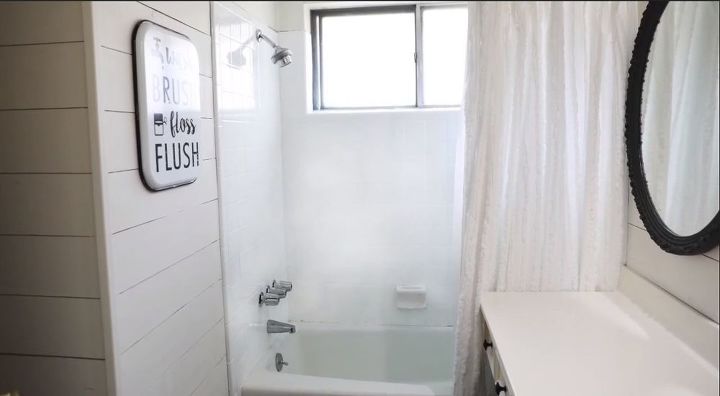
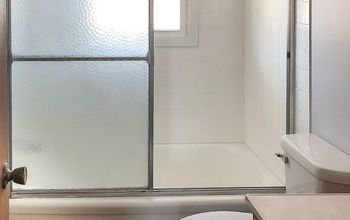
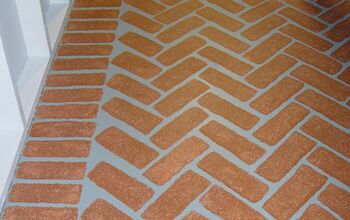
The finished project totally transformed this dated blue tile!

Resources for this project:
See all materials


Comments
Join the conversation
-
Stunning! Looks so much brighter and new. Great job. Thanks for posting.
-
Painting over old tiles is a wonderful idea!!! Our kitchen had old ugly yellow tiles on the upper part of the walls. I lightly sanded them and painted them a soft pale color (Compatible Cream from Sherwin Williams). Changed the entire look of the kitchen!!


Frequently asked questions
Have a question about this project?
I am wondering if the paint will peel off and also what kind of paint should you use? Thanks.
Can you use this on the bathtub as well?
What kind of paint did you use