


How to Hide a Laundry Utility Tub Sink
We've all seen 'em, the boring white plastic sinks. Why not dress it up with inexpensive wood lath for a cool, hip look?
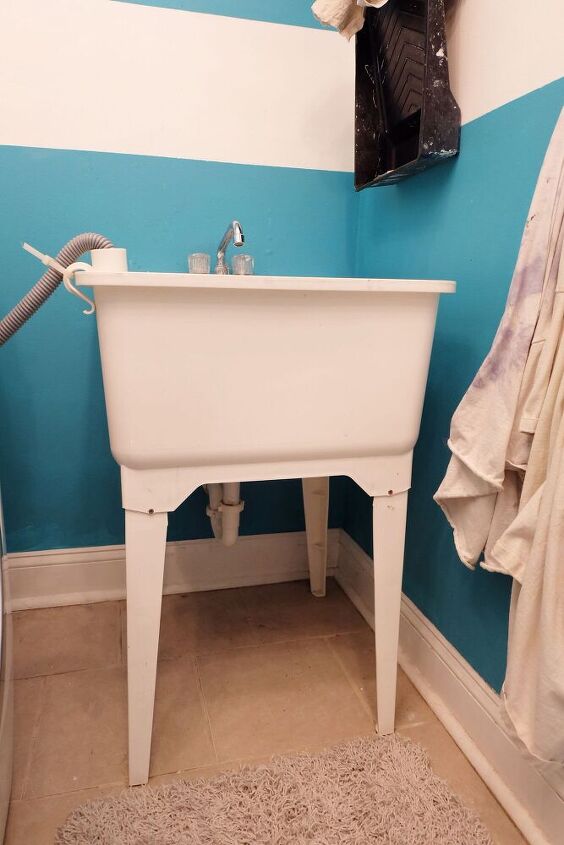
Right? We've either all got these sinks or have seen them and to be honest, they are not the most attractive items.
Ours, courtesy of our oh so special flipper, was a particular extra mess of hacked up joy.
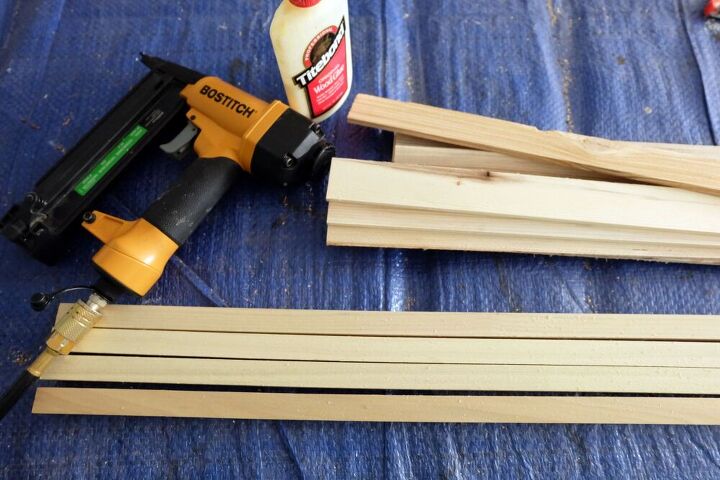
So with some wood lath I had laying around (I swear, I truly am not trying to be the Crazy Wood Lath Lady, I'm just trying to use it up!) and some 3/4" square dowels, I set out to improve the sink as one part of my laundry room overhaul.
Did some thinking, did some staring, and then took some measurements. For this sink, for the front panel, I went with 23" wide by 9 wood lath slats tall, by a height of 32.5" for the square dowel legs.
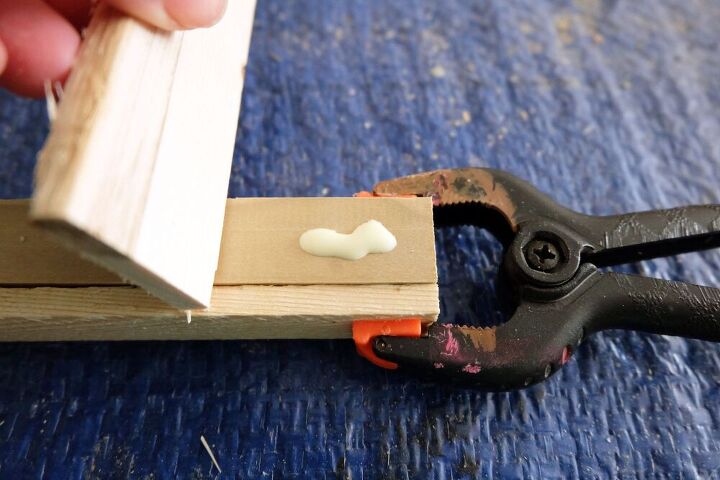
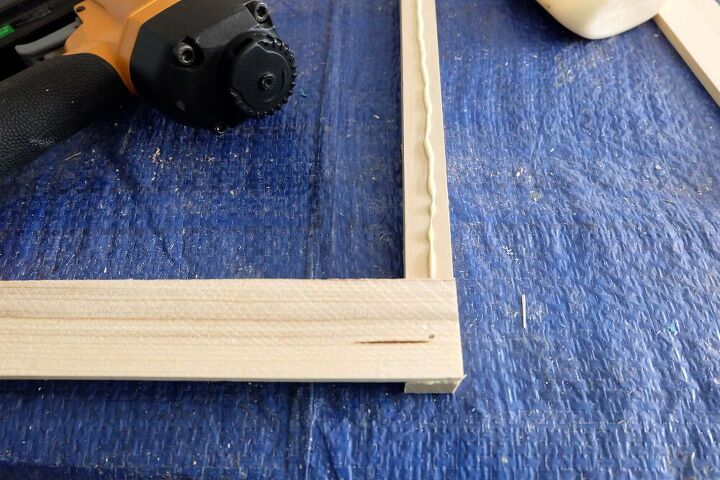
To get a nice, seamless front without seeing the side panel edges, overhang your cut lath pieces by 1/4" -- use a strip of scrap clamped to the side to easily guide you.
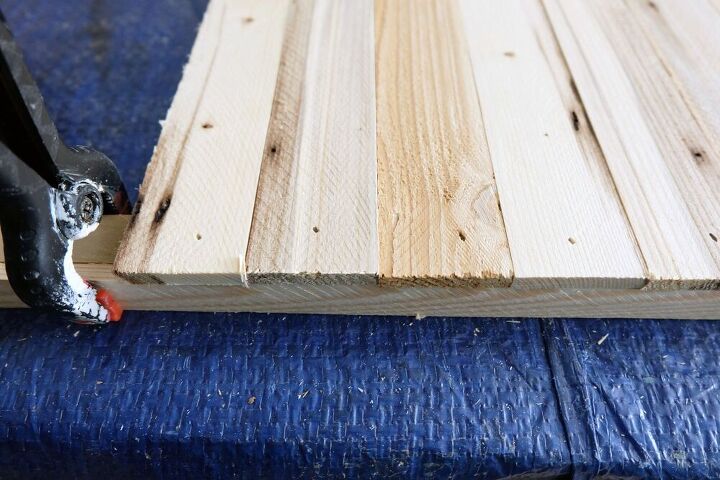
I used 3/4" brad nails to tack the lath strips onto the square dowel.
Very key when doing the side panels, which mine were 24" wide, be sure to lay out the left side and right sides as each will only get one leg.
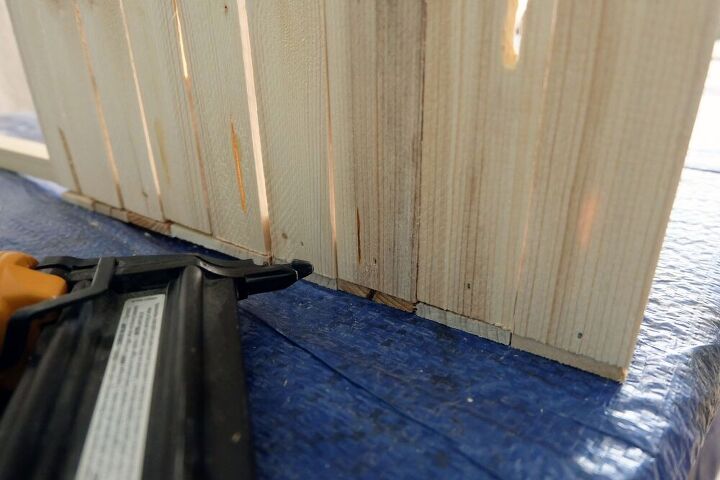
With my sides done, I nestled one on top of the overhanging wood lath of the front panel and tacked the ends of the side into the square dowel leg.
Lots of details and tips on this project along with a whole slew more excellent projects, so be sure to swing on by for the full read here!

Cutting some leftover wood dowel scrap, I made tiny little corner braces which I tacked in through the front with the nail gun.
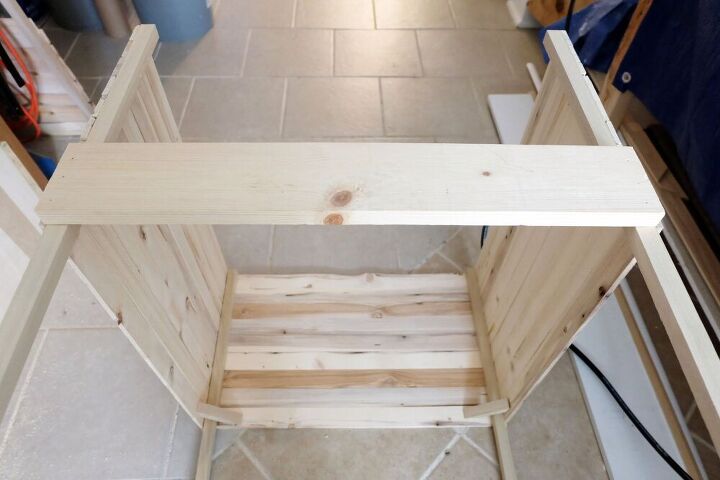
Final bit of assembly now....a piece of 1x4 along the back. This would serve me 3 purposes which you can read about fully over on the blog.
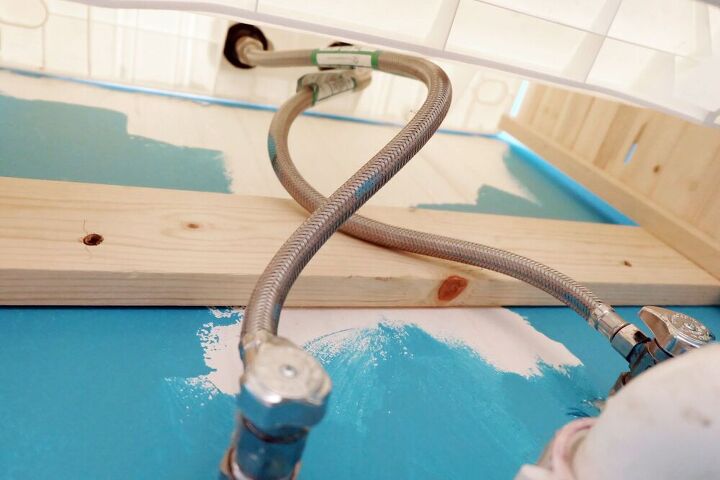
And now time to install! Removing the legs of the sink tub thingie, unhooking the water lines and disassembling the drain a bit (details in the blog post), skootching up and under and around, in went my wood lath sink cover. A few screws into the studs, and.....
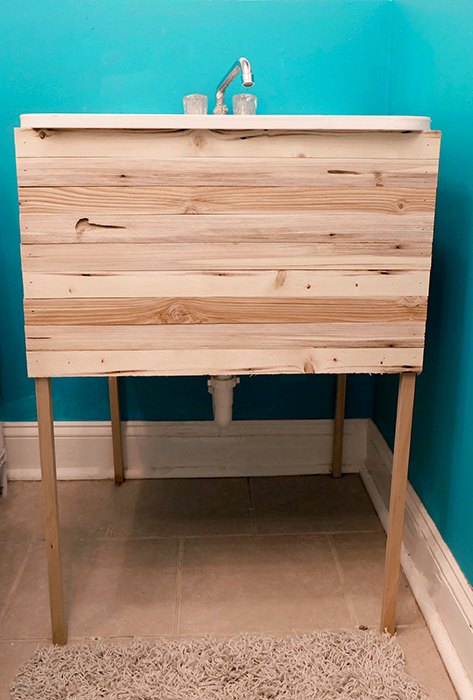
.....voila! Ha! For winging it, not too bad, eh?
Finish it however you see fit and tada, no more bland boring white plastic laundry sink!
Be sure to click the link below and swing on by Flipping the Flip for more on this project and so many other great ones around the house!
Resources for this project:
See all materials


Comments
Join the conversation
-
Really looks nice. I've got an old porcelain sink/drain board in the basement. It's attached to the wall. I want to put some boards up for the sides and part of the front. Put in a tension rod for a skirt front. It's on my to-do list. You've inspired me! I might even be able to use up some of the leftover wood in the garage...
-
So much better! And you could even slip in a basket of flowers underneath or a basket for extra storage, if you wanted to.


Frequently asked questions
Have a question about this project?
Why would you not board it up all the way down or at least enough to cover all the piping?