


How I Painted and Re-stained the Bathroom Vanity

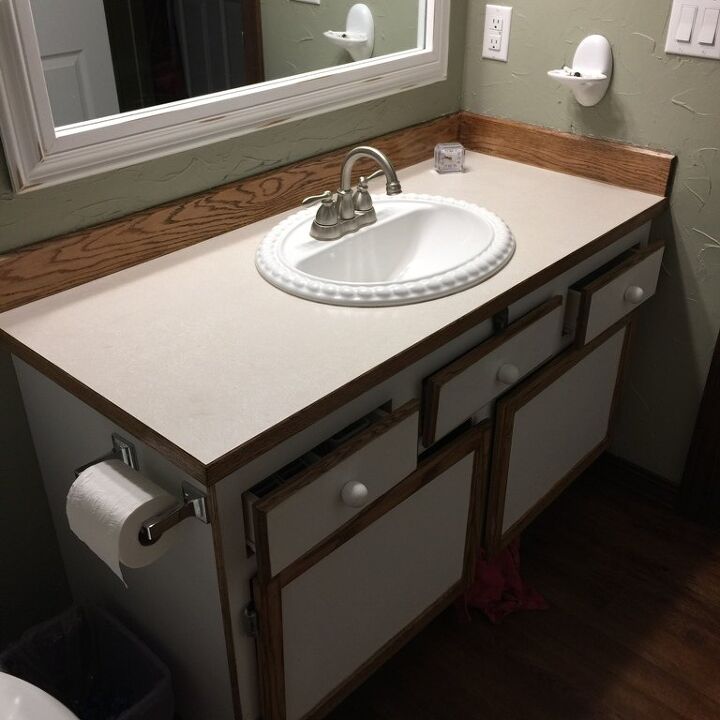
Our vanity in our bathroom is contractor oak. Over the years, I have been replacing or painting the trim, doors, and cabinets to update the look. Although I've done so occasionally, I have a hard time painting good wood, but this wood gave me no pause.
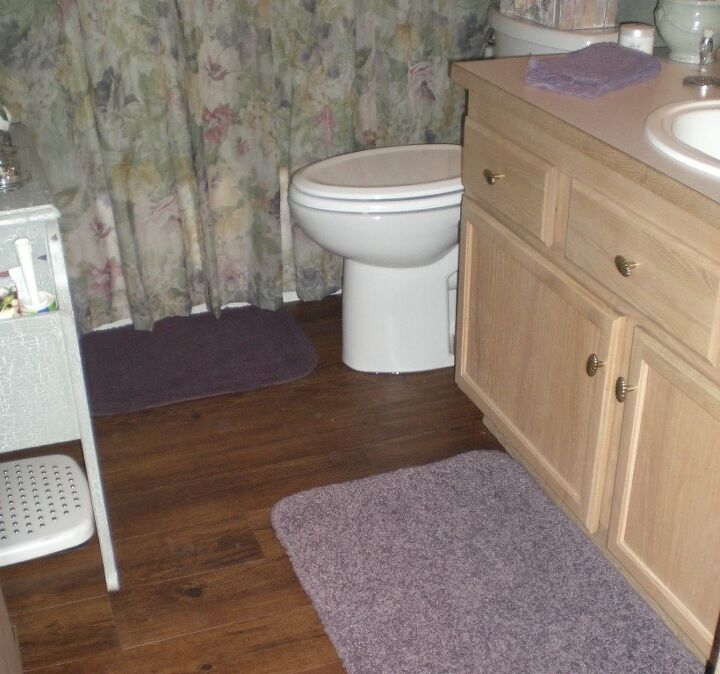
This bathroom....well, both of our bathrooms....has no window. While the vanity is light oak, I thought that painting it white might help brighten the room.
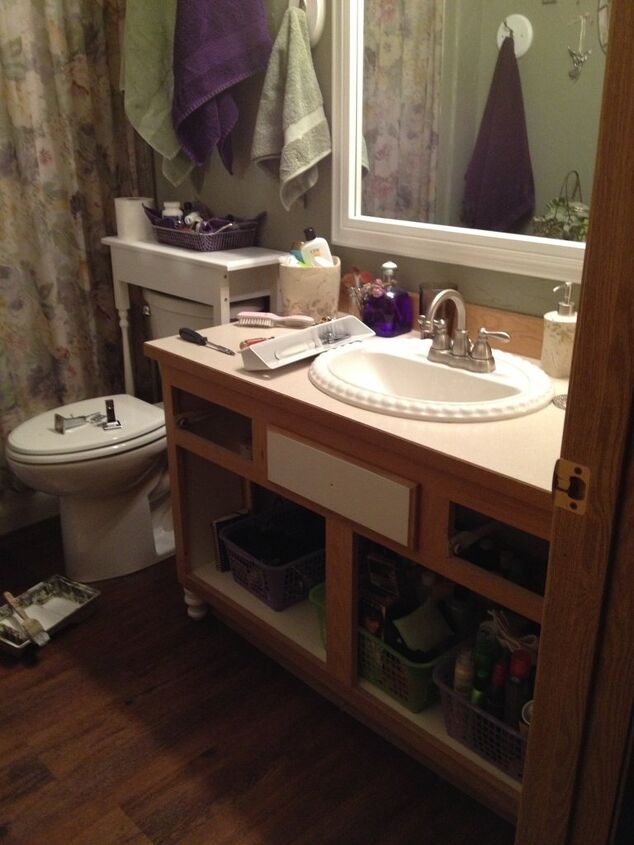
To prepare for painting, I started with a light sanding using a sanding block. After that quick sand, I wiped down all the wood with a slightly damp cloth to remove the dust and then let it dry.
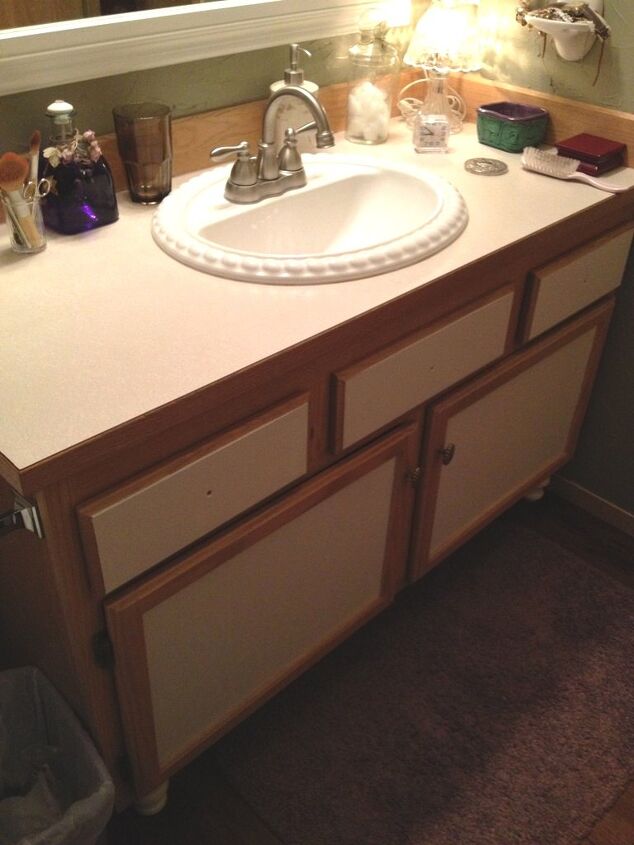
To add a little contrast, I left the wood trim around the doors and drawers, and along the top of the vanity unpainted. The paint I used was Behr interior water-based paint in satin.
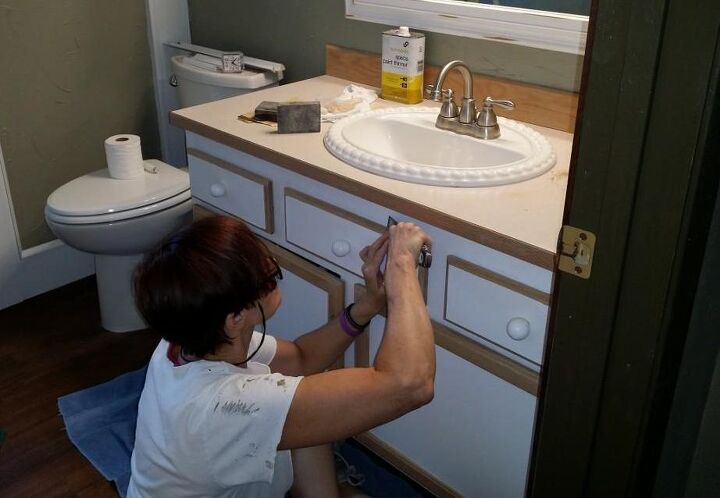
While working on this vanity, I decided to change the knobs on the drawers and doors. I removed the antique brass knobs and bought small wooden balls at Michaels, painted them white, and screwed them into place using the same screws that were there from the original knobs.
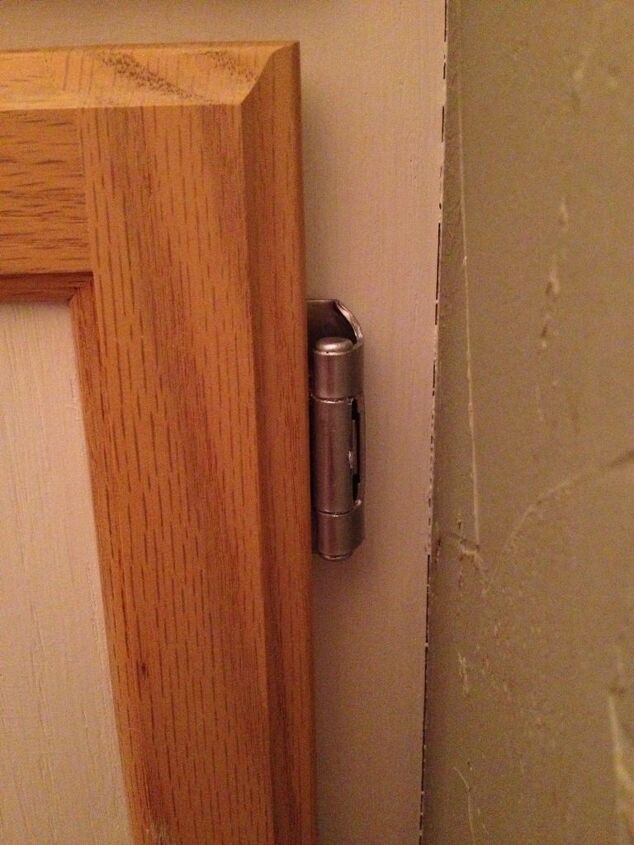
I also painted the hinges a brushed silver color to coordinate with the faucet. They were also originally antique gold. The paint I used was some craft paint that I had on hand. To apply the paint, I used a small artist brush.
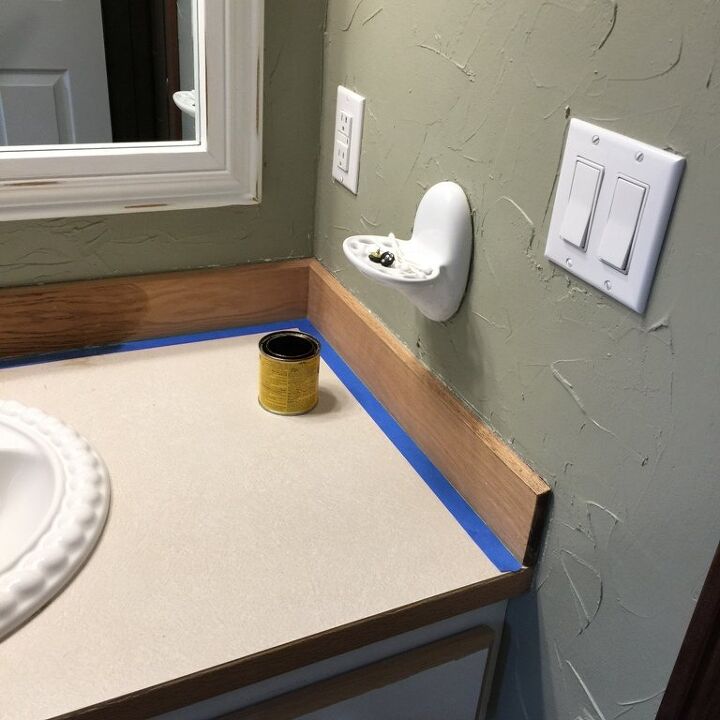
As I mentioned, the wood is light oak and I have been slowly replacing that color in the house with the Provincial stain which is a darker brown. I decided to strip off the polyurethane finish and then stain the wood with the Provincial color to help it coordinate better with the new trim. I figured that would be a quick job, but, alas, it was not. I carefully brushed the stripper on the wood using a small artist brush then just as carefully removed it with a rag as I needed to prevent dripping it on the countertop and flooring. Stripper is always messy and this project was no different.
When the stripped had softened the poly, I scraped it off with a putty knife and then wiped it down with paper towels. After the stripper had been removed and the wood dried, I gave all the sections a light sanding and then applied the new stain.
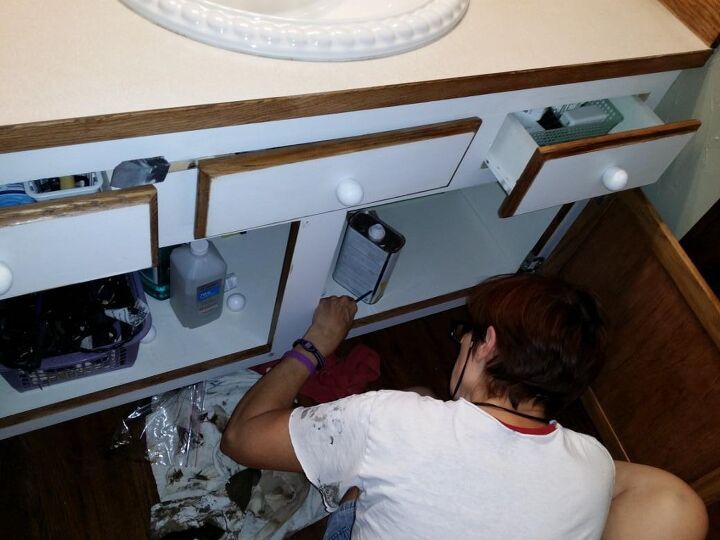
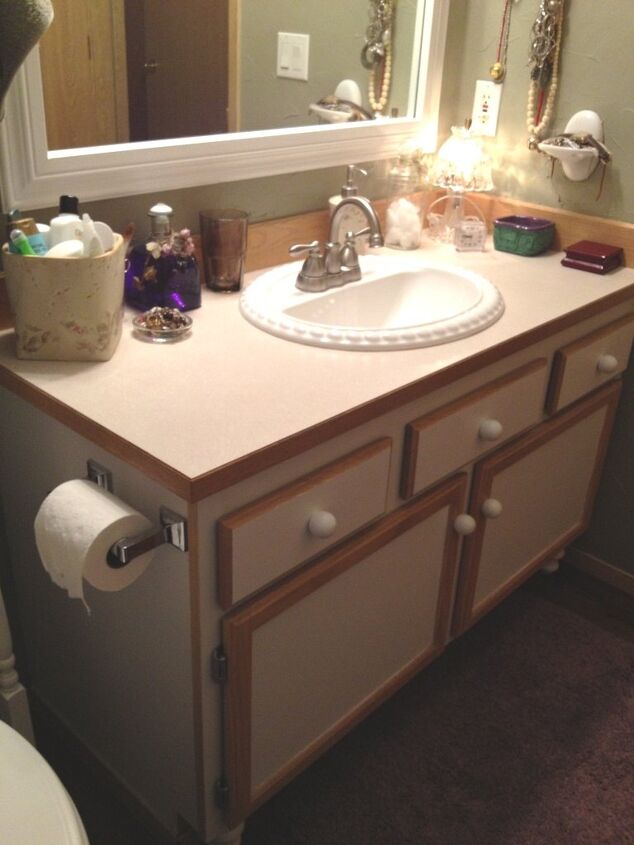
I applied Provencial, the stain I have been using on the trim and baseboards in the rest of the house, and followed up with a couple of thin coats of polyurethane.
The darker wood accent on the vanity is not as dark as the trim, but it complements it well. After the woodwork was dry, I did some touch-ups on the white paint. The new stain color matches the flooring nicely.
I had all of the products on hand with the exception of the little wooden balls, so it's hard to calculate how much it would cost to paint & restain the vanity.
Supplies:
White water-based Behr paint
Silver craft paint
Painting pad & artist brush
Sanding block
Minwax Provincial Stain
Minwax Polyurethane
Five small wooden balls
Putty knife
Painters tape
Comments
Join the conversation
-
You did a beautiful job. Looks like a brand new vanity.
-
I too am in the process of updating my bathroom vanity, so this couldn't have come at a better time.
What I'm wanting to know is where did you get your sink? I love what you did with the vanity and the sink is like the crown. Great job!


Frequently asked questions
Have a question about this project?