


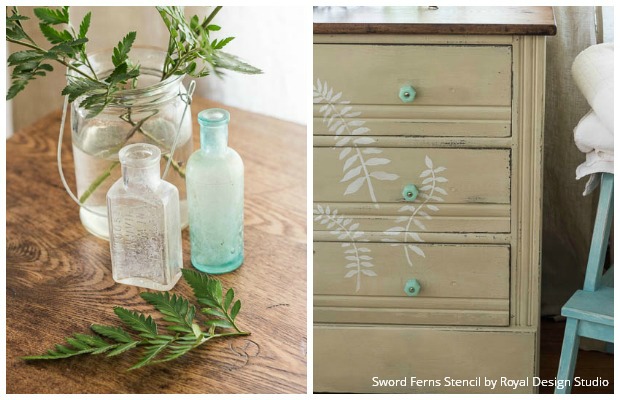
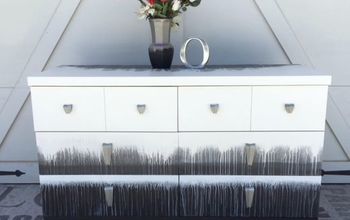
Feathery Fern Stencils for a Chalk Paint(R) Dresser

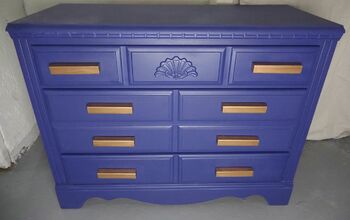
There is something so soft and appealing about ferns, their soft green fronds and Feather-like stems. The perfect bit of nature to bring into your home for spring! I found this sweet dresser at a local antique shop and it was just calling out for a little paint + pattern! Read on to see how I transformed this piece from dark and dreary to bright and airy!
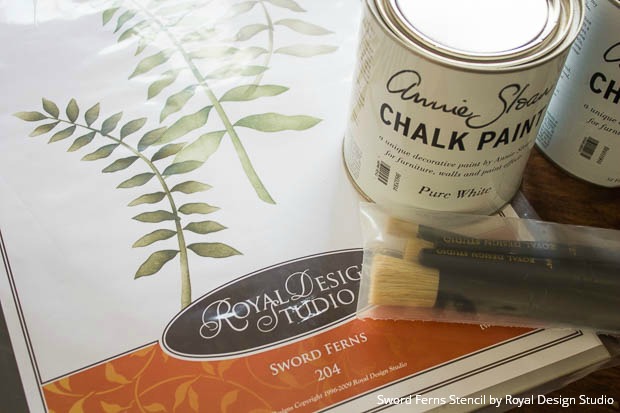
Stencil Supplies for this Project:
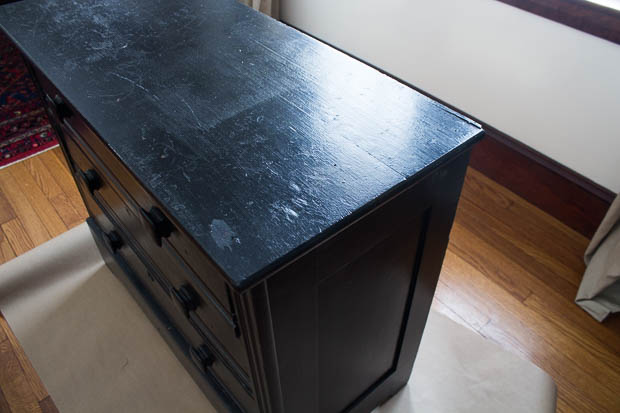
It is an oak dresser, probably from the 1920s. It had been painted black (I think spray painted) and the finish was starting to peel off. I really love the look of wood surfaces mixed with painted surfaces and thought it would be nice to strip and stain just the top before painting the rest of the piece with Chalk Paint(R). For me, the addition of a natural wood surface can make painted furniture feel a little warmer.
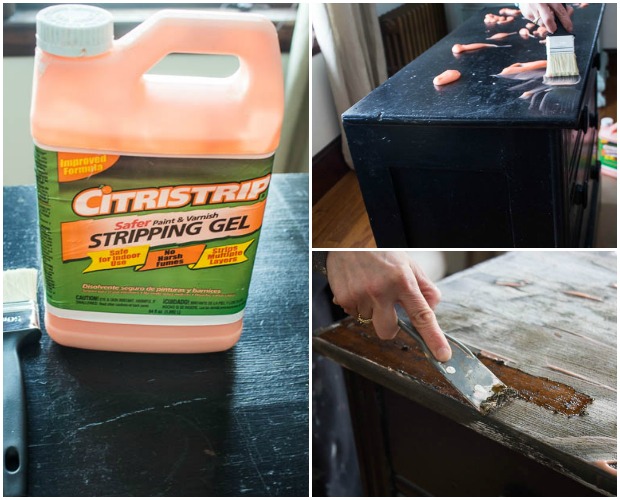
Step 1: I like using Citristrip for stripping furniture. It is natural and has a nice orange Scent, and you can do it inside (I worked on this in our living room). To apply, simply shake the bottle up and squeeze the product onto your surface. I use a cheap brush to spread evenly all over the top of the dresser. Allow it to sit for a good amount of time. Check back in 30 minutes to see if the paint is ready to strip. The paint should look like it is shriveling up or pulling away.
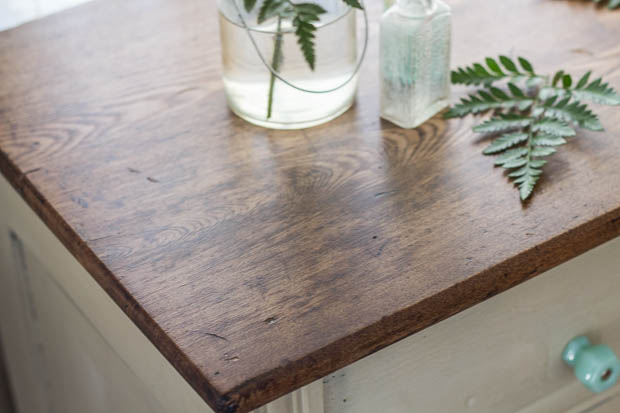
I LOVED the aged and distressed patina of this wood so I decided after stripping it to just use a clear top coat of General Finishes High Perfomance Top Coat (flat) to protect it.
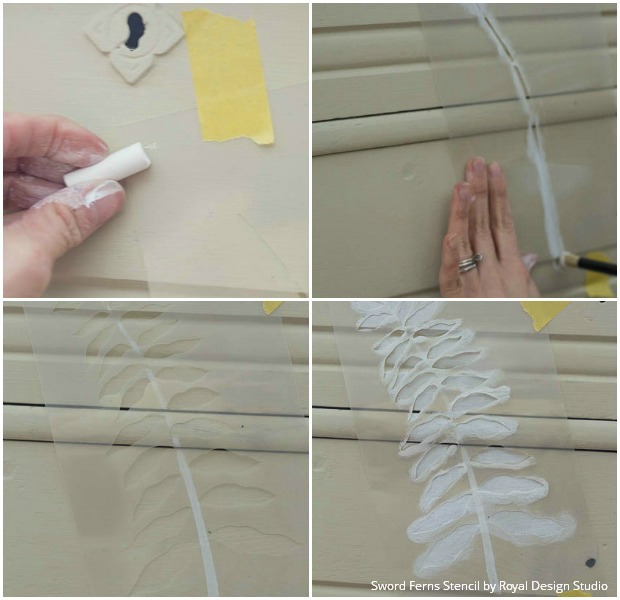
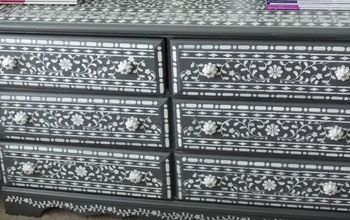
Step 4: Now the fun begins with the stenciling! The Sword Ferns stencil is great because each of the 3 ferns is slightly different and has two layers. So, I could have done ferns all over the front or I could have just chosen one. I chose to use all 3, but wanted to keep it very simple. I first held up the stencils and decided where I wanted to place them. I decided I wanted to spread them across the three drawers on the right hand side only . I taped the stencil in place with delicate surface tape and marked the stencil guides with chalk.
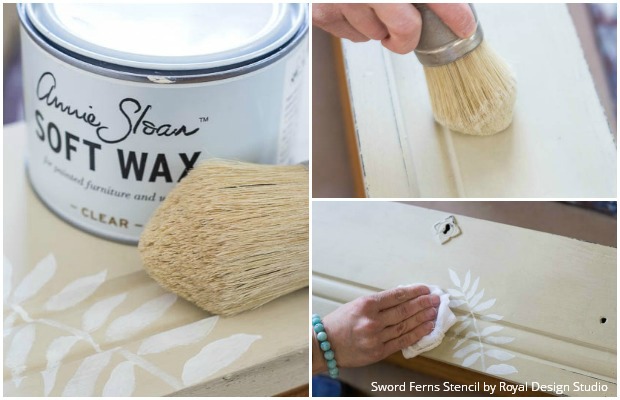
Step 6: I like using clear wax to protect my painted surfaces.


Frequently asked questions
Have a question about this project?