


Bulding a Small Chest of Drawers

So a while back I decided I needed somewhere to keep my more delicate tools, as well as aiding in the general organization of the shop.
Being as that I was a complete novice to this sort of cabinetry I decided to take the opportunity to explore with some design and construction techniques.
There are quite a few details I couldn't fit into the 15 steps so I recommend watching the condensed video I made covering the construction.
If you are curious to see my other work, please check out & subscribe to my DIY YouTube channel "ZH Fabrications", as that really helps me out! https://www.youtube.com/channel/UCDdZMJDDpyvI9WJyY7IZP7w
{
"id": "3670158",
"alt": "",
"title": "",
"video_link": "https://www.youtube.com/embed/RWJJpAcMcAE",
"youtube_video_id": "RWJJpAcMcAE"
}
{
"width": 634,
"height": 357,
"showRelated": true
}
Here is the video!
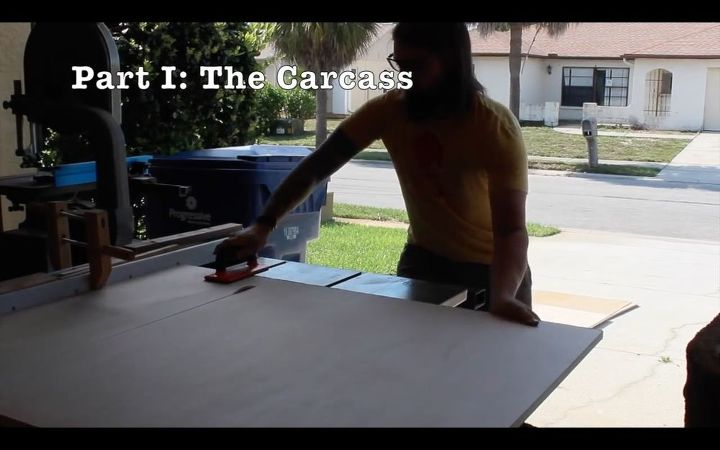
The first step was to cut out the panels for the carcass. I used 3/4" maple plywood.
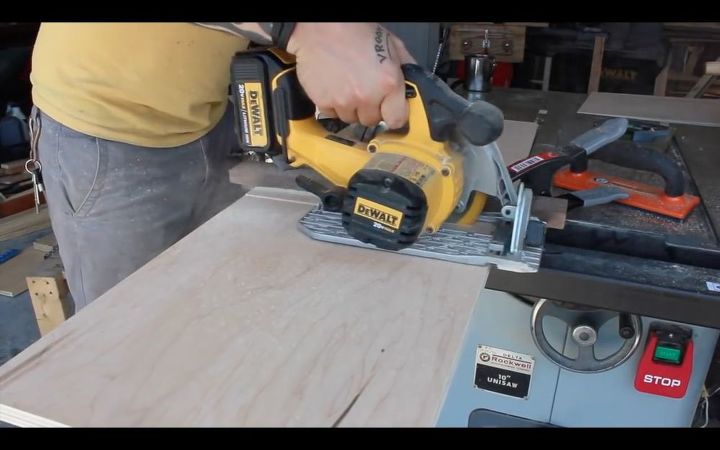
Rule of keeping thumbs: Never cut a board wider than it is long on the table saw, it can bind and cause kick back. Here I'm using a cordless circular saw to crosscut the back to length.
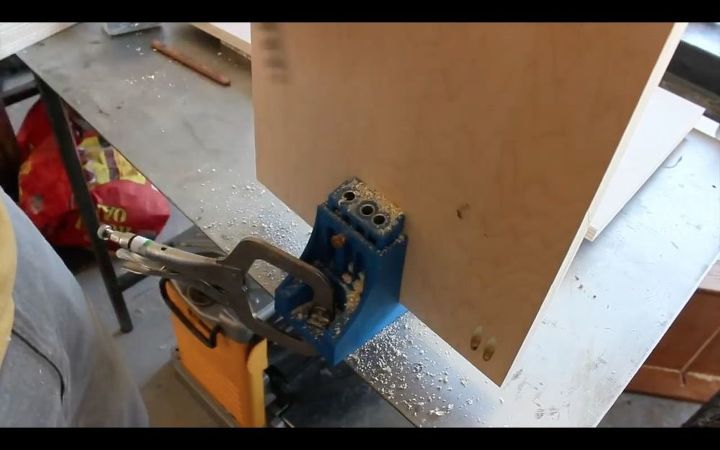
Kreg pocket hole jig. I'm using the coarse fasteners for 1.5" material.
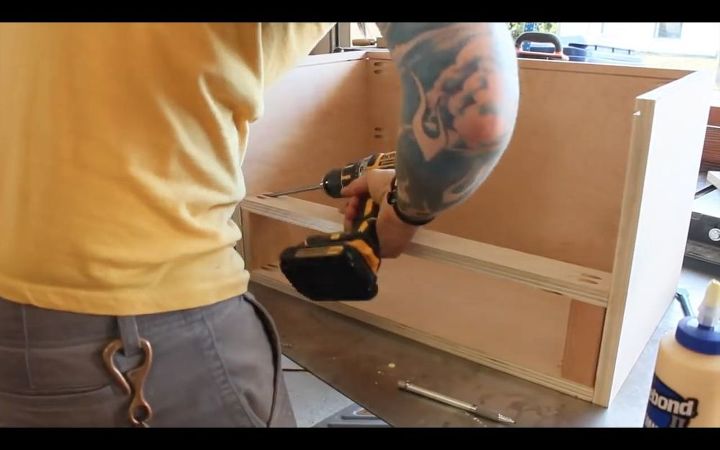
Installing the rails, using a spacer block on both sides to keep them level.
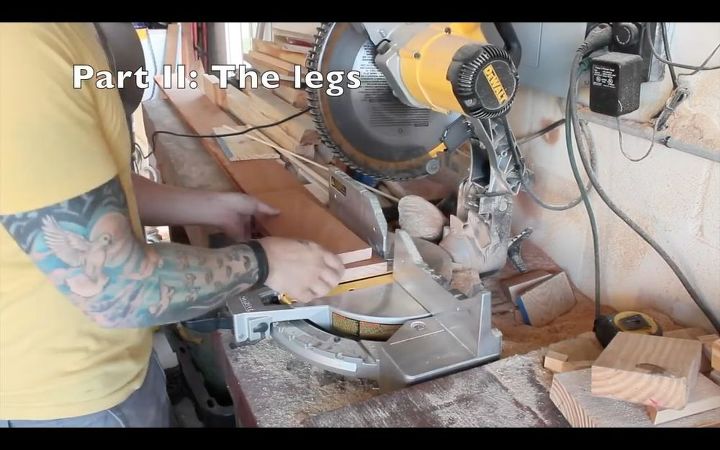
I used 3/4" Mahogany for the legs, but I had to laminate two pieces together to get the thickness I needed.
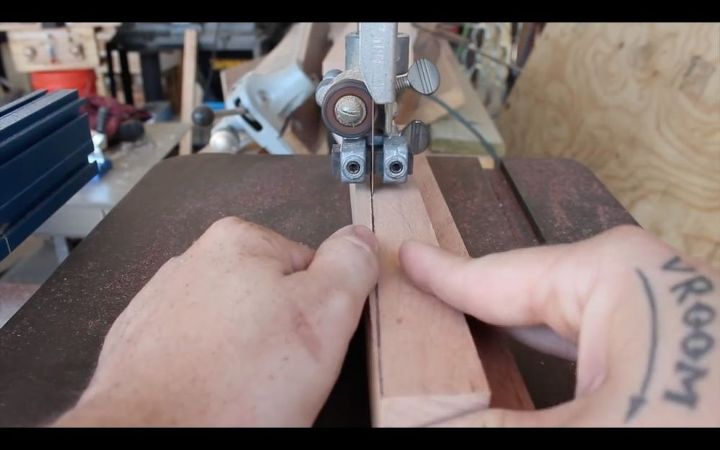
Using a bandsaw to cut the taper in the legs.

Glueing the legs to the carcass...Note it is upside down--as the legs extend beyond the frame.

Assembling the drawers--pocket holes are quick, strong, and simple.
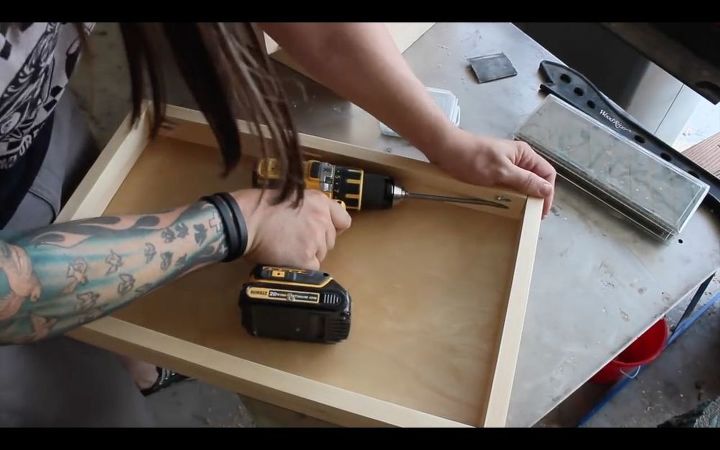
More pocket holes. I cut a dado in the bottom of the drawer frame to accept the drawer bottom.
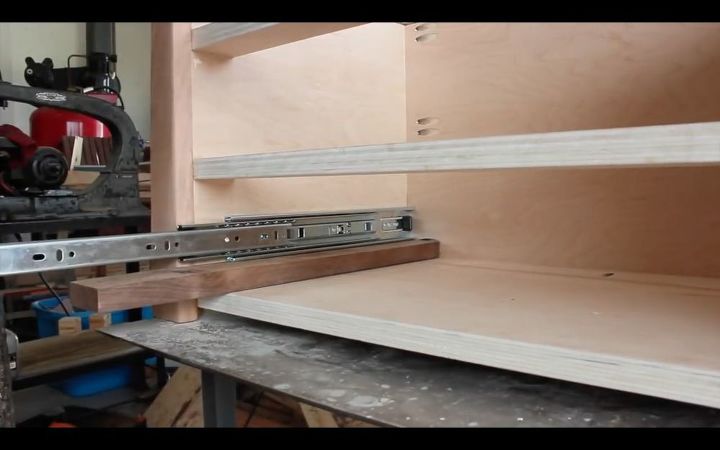
Installing the drawer slides. These are Blom full extensions.

So I had to skip a few details--namely cutting the drawer fronts and frame rails. If you are curious--check out the video :)
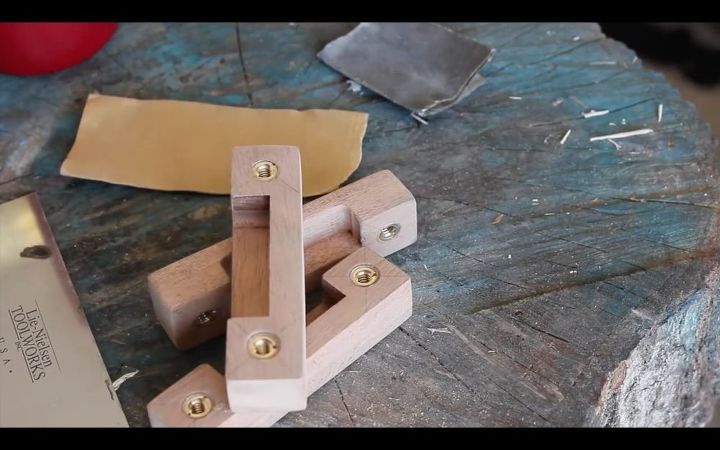
These are the mahogany drawer pulls I made, with some threaded inserts.
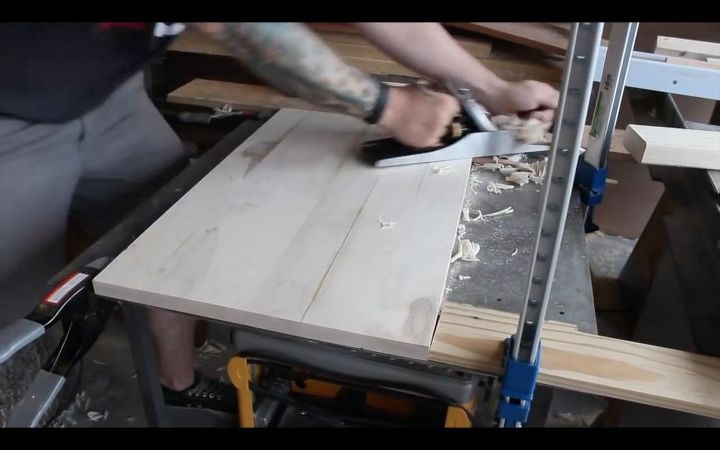
Here I am flattening the maple top after the glue up.
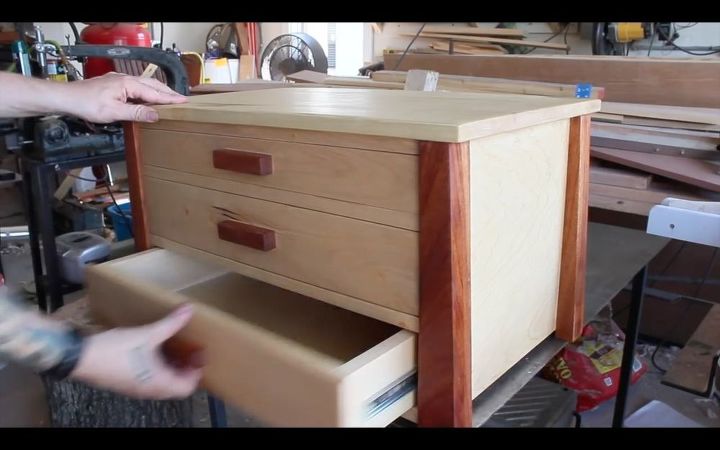
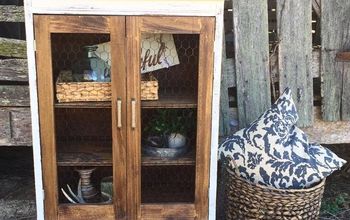
All finished! I used about 5 applications of Boiled Linseed Oil for the finish.
Comments
Join the conversation
2 comments
-
Beautiful cabinet. Would work well in any room of the house,
-
:) Thanks--this one is relegated to the garage.


Frequently asked questions
Have a question about this project?