


Re-purposed ...maybe Dr's Office Tables?

by
Clay
4 Materials
Bought these for 2.00 each at local Habitat for Humanity. I had been looking for tables, with a good frame, and preferably interesting legs.
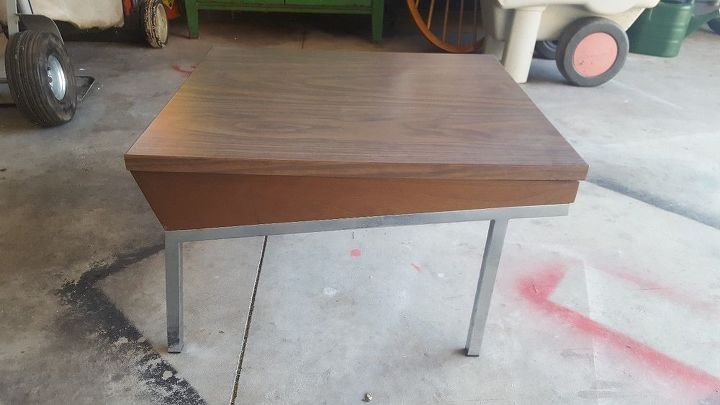
The legs, frame, and top were all connected by screws, underneath. I was really grateful that while the top was, pressed wood veneer..... the frame was actually pine. As my intention from the get go was to cover, and existing surface.
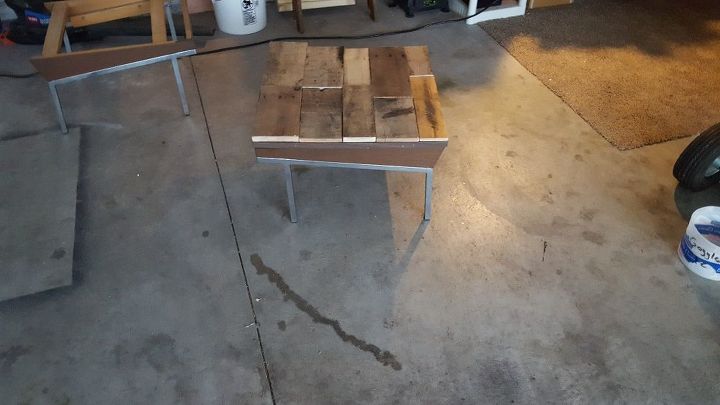
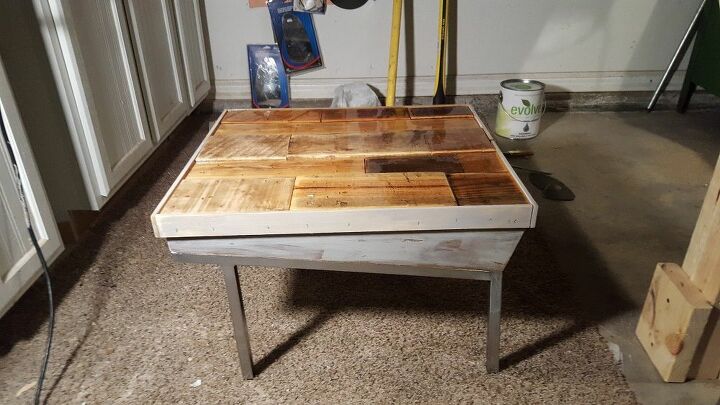
Then I acquired 2 pallets. The more stained, and weathered the better. With a square, and pencil I cut various straps to randomly assemble. With an 18 Guage staple gun, I attached them. If you don't have this, you could hand nail with finish nails.
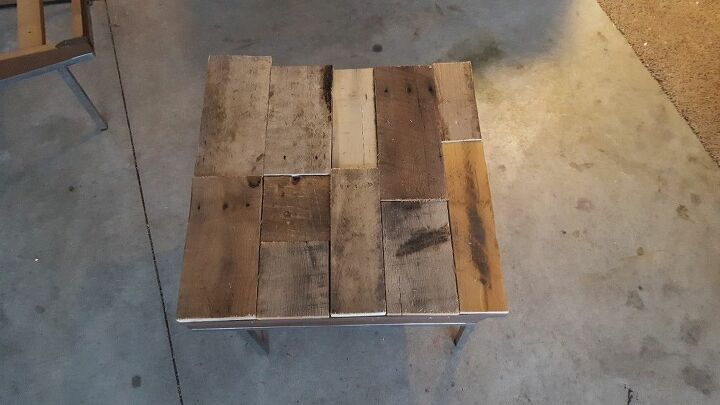
I purposely arranged them in varying depths. This creates depth to the eye when they're sealed. I used the miter saw to get true edges. But it could be done with a circular saw, as this is an imprecise look.
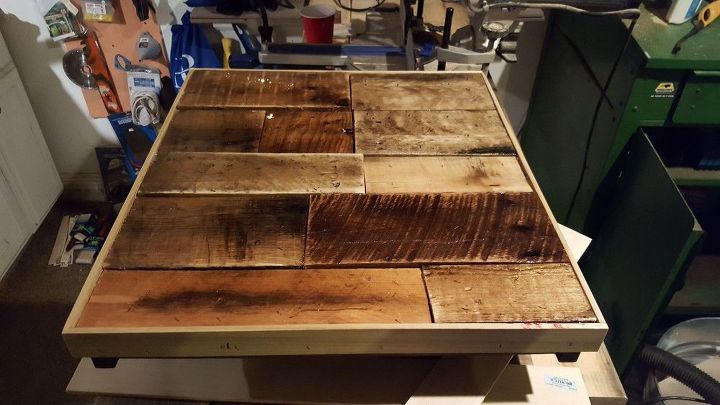
Then I sanded, and affixed these quarter inch 2ft presanded pieces from Lowes. This creates a great edge, to hide edges, but also holds in epoxy. The epoxy is very thick, and self leveling pour epoxy. This is how you achieve a level surface while retaining depth.
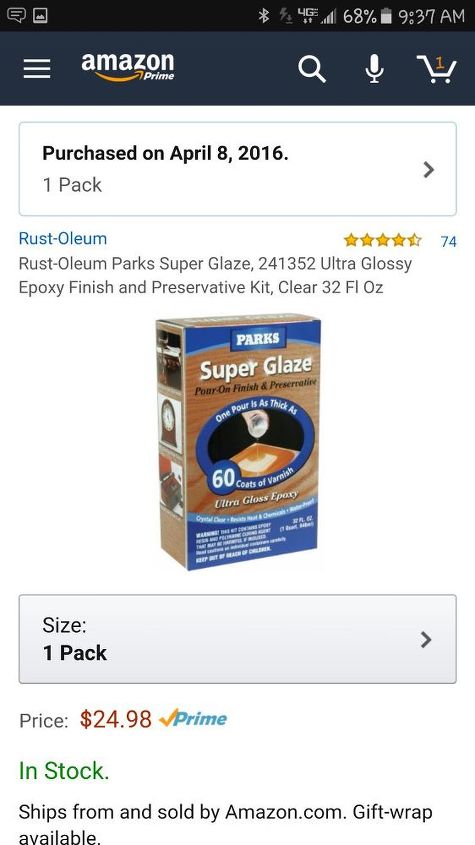
I used this product, but there are many similar. This is why it's important to really save on the tables. As it took 2 of these to achieve a level surface. I recommend 24 hours in between each, in case you end up with rough spots ( I did).
The final step using old paint we had, and a can of polyurethane sealant. I used 80, and 120 grit to weather the painted frame. I used 50 grit on the legs, that added a brushed metal look. Then I went over all of it with polyurethane sealant (5.00 at Lowes)
Comments
Join the conversation
3 of 4 comments
-
You're welcome that's my 1st post, and you're the 1st to respond to my 1st. So, thank you!
-
Great Job! The glaze adds the pop! Looks great!


Frequently asked questions
Have a question about this project?