


Framing Our Garage, Stage Two of Adding Another Stall
Framing out our new garage stall. In my last post about our new garage addition Lodi prepped with a skid steer and then levelled it, framed it out, set the rebar and got the slab poured. With our slab set we are moving on to the first step of framing out the new stall! Being a little army of one for so long I always plan things in stages and, fortunately, Lodi is on board with me. It sure does help us out mentally and physically than putting pressure on us to do GIANT projects in only one weekend.
Stages also means we’re not forcing ourselves to get all of the material for such a big project in one trip. This is great for two reasons: I don’t like loading down our truck and trailer to the max. And I hate putting that much on credit cards at one time.
Stages means we can get one stage paid off without incurring interest before moving on to the next stage!
I planned this stage so all we had to pick up was the lumber – that’s it.
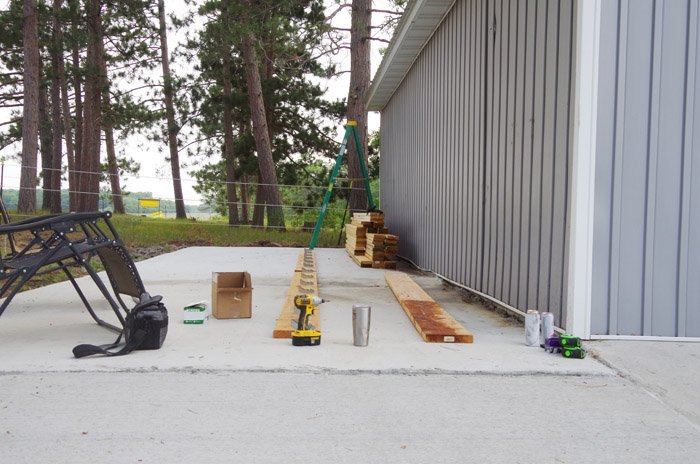
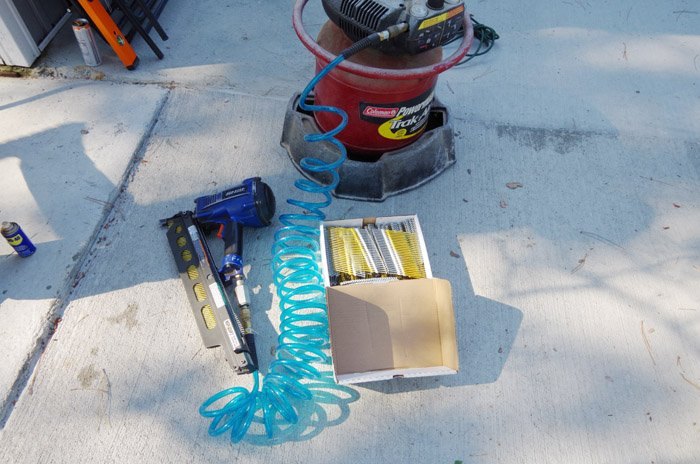
We’ll have the stick building built and ready for plywood and then siding and steel roofing at the end of this step. I rented a framing nail gun for this weekend – that cost was around $170 including the nails and will save us a ton of time. (And we have plenty of nails left for plywood later on.)
I also picked up joist hangers and 3″ torque screws off of Amazon.
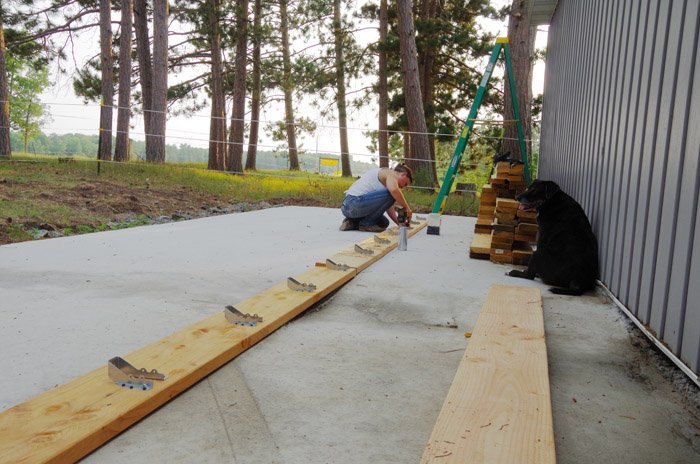
We opted to do our ledger board first which we used 2x10x12s for.
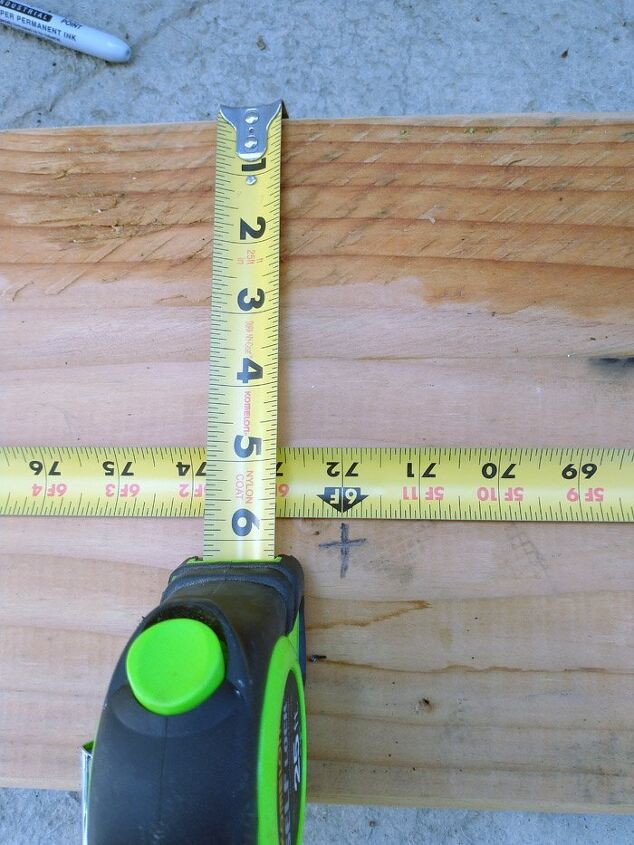
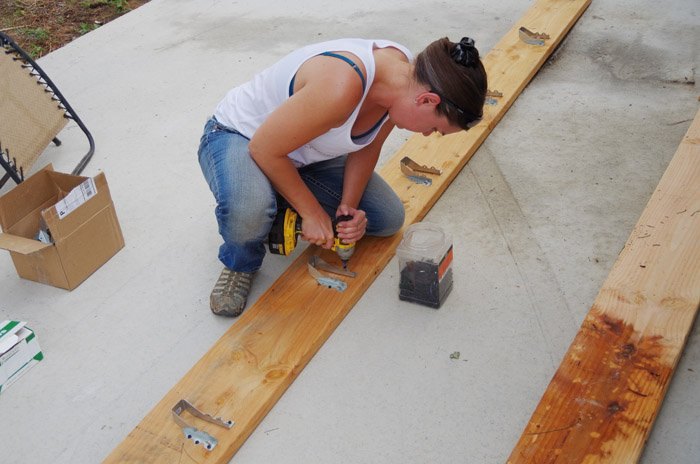
Going along each board with a measuring tape I marked every 24 inches and marked down at 6 inches and then we screwed the joist hangers at every mark.

Next up I found our studs along the side of the building by taking a long drill bit and screwing out from inside of the garage right beside one stud – giving me a little hole that I could see for measuring.
Than I went along and marked every stud along the entire side of the building.
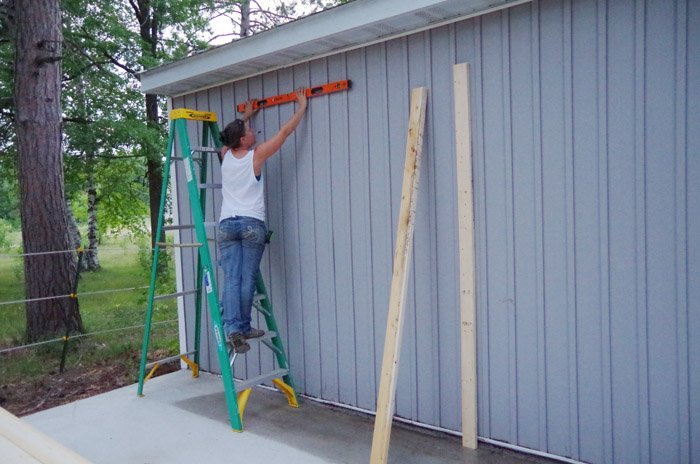
We then added six 2x4s standing up along the whole outside wall using 3″ torque screws. Each 2×4 had to be cut at a different measurement because nothing is ever perfect lol. The 2x4s are not evenly spaced because I wanted to be absolutely sure each of our 2×10 ledger boards would have two 2x4s under them for support.
Doing this prep work made our lives about 100 times easier getting that big board up there because we had something to set it on that guaranteed it was exactly where we wanted it and level! Not to mention the added support of the 2x4s for the roof is awesome.
We put a torque screw in our ledger at every stud along the way.
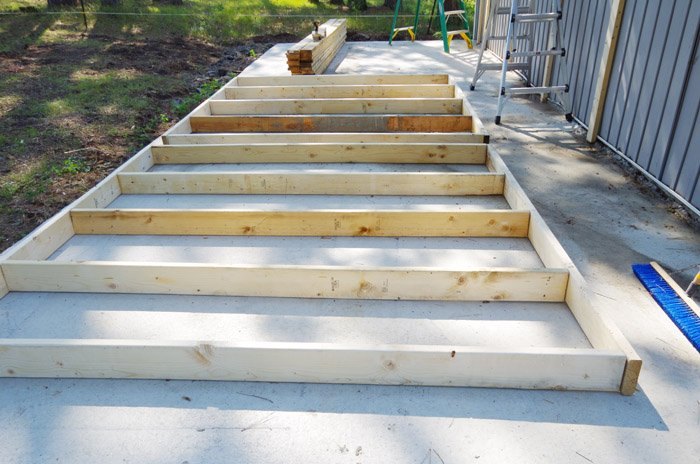
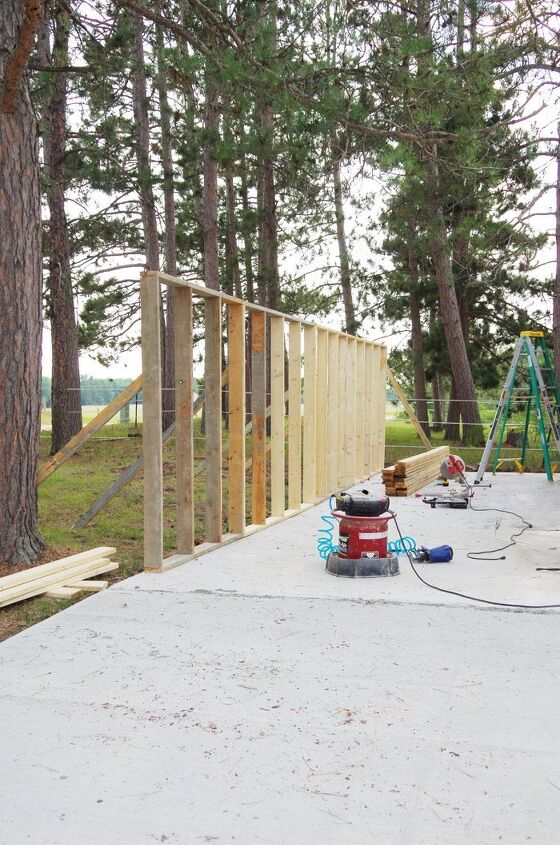
Next it was time to do the framing for the walls. First we cut our vertical 2x6s all at seven feet and then we laid our walls out on the slab and tacked them together with the nail gun.
We put all of our studs and joists at 24 inches on center.
We picked up the wall and secured it with a couple of kicked out leftover boards. I would have absolutely preferred a concrete nailer to just tack our walls down to the slab but our little town rental didn’t have one available…
(MAJOR BUMMER)
(A friend of ours let us borrow theirs so we were able to secure our walls fully down to the slab a couple of weeks later.)
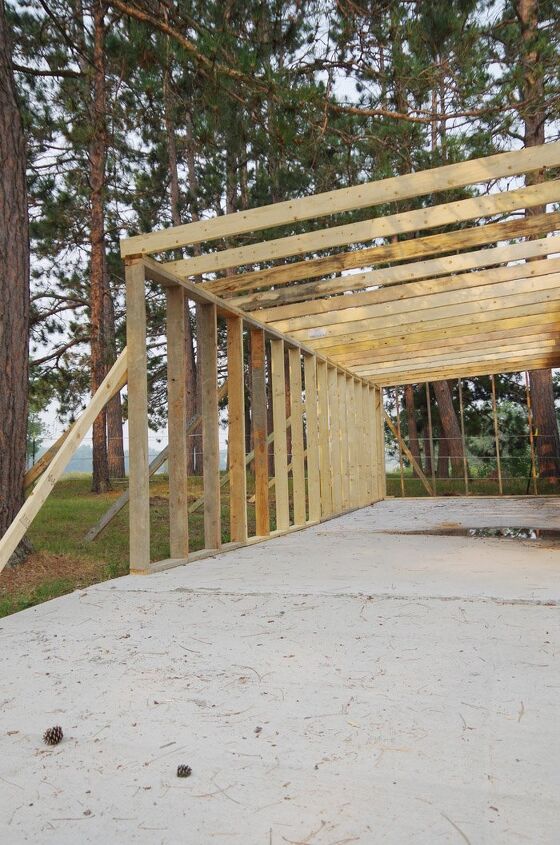
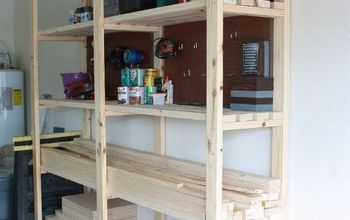
We continued building walls until we reached the end and finished the entire side wall. We then laid down another layer of 2x6s across the top of the entire span (making sure full boards covered the seems between the walls) for added support for the framing and, of course, we tacked the walls together too.
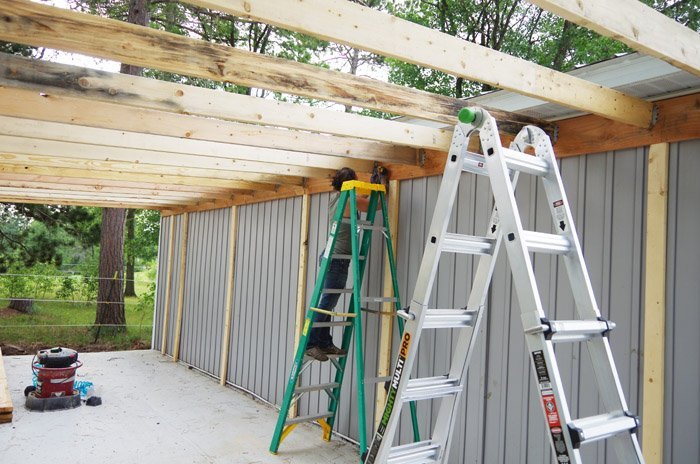
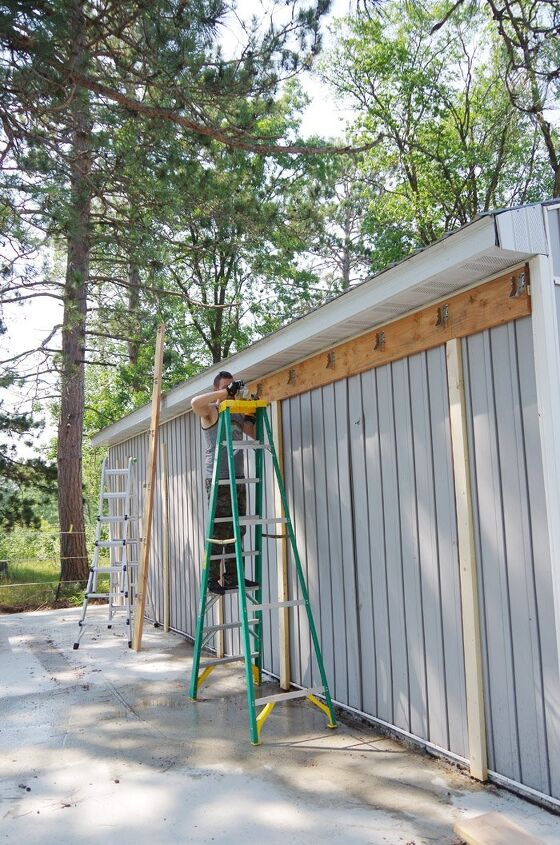
Because our incline is only 8ft to 7ft over a 11 1/2 foot span we didn’t need to cut an angle off of our rafters to settle them into our joist hangers. Lodi put each rafter into place and I attached them through the joist hangers with screws…
70 screws later and me up and down the ladder what felt like a thousand times…
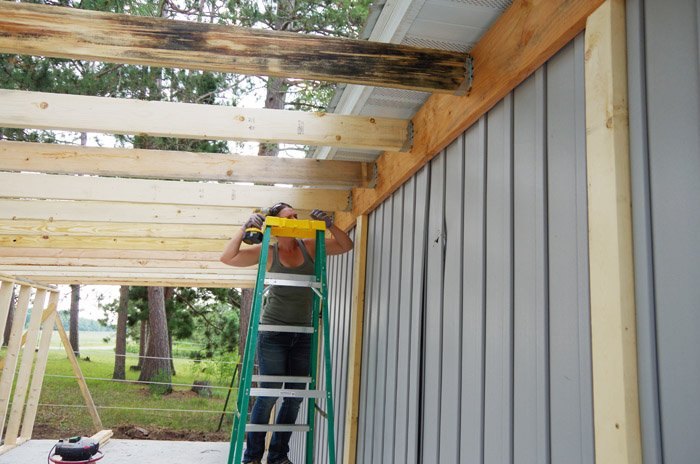
We then moved over to the joists on top of the framing. I double checked myself with every. single. one of them. It is vital those rafters are 24 inches on center (and as square as possible) for adding plywood later.
With Lodi with a hand injury it was me up and down the ladder again what felt like another thousand times.
He handed up the nail gun to me and I toe nailed the rafters down, at an angle, to the top of our framing. (So nice to not have to haul the gun up there with me every trip – those nailers are really heavy!)
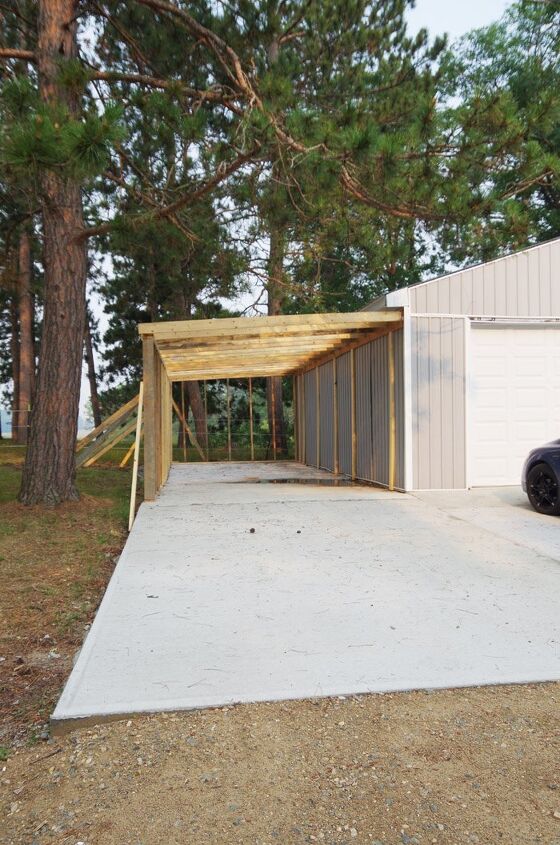
Finally, I did an inventory and realized we had JUST enough materials left over to also build out the back wall completely.
With the insane cost of building materials I did not order a single extra board and every single 2×6 in this framing we had already used three times for the framing of our concrete slabs. We had also had to cut a few 2x6s for the slabs so I honestly thought we wouldn’t have enough full boards to do the back wall.
By some kind of miracle we had exactly the amount of 2x6s we needed lol It was a little stressful knowing if I made one wrong cut than we couldn’t finish that night!
With that built I could finally return the nail gun and stage one was complete!
Next stage we’re moving on to plywood!
The last thing to do will be electrical and the front wall because the majority of the front wall is just the garage door so I’m going to wait before we do that framing.


Frequently asked questions
Have a question about this project?
Wood now is extremely expensive where did you buy yours.