


DIY Boa Pouf Dupe: How to Make a Cute Donut Chair

Sabine Marcelis is one of my favorite designers, but her donut-shaped boa pouf costs $3,600! I’ve been trying to think of a way to make a DIY boa pouf for a long time. Then, I saw an old tire on the street and came up with an idea…
You’ve seen me make a couch out of cardboard and you’ve watched me make a couch out of pool noodles. Now, let’s make a DIY donut chair out of an old tire!
Tools and materials:
- Old tire
- Cleaning equipment
- Foam rolls 2m x 1m (6.5 x 3.3 feet)
- Staple gun
- Batting
- Spray glue
- Fabric
- Sewing needle and thread

This is the Sabine Marcelis boa pouf that I’ll be recreating.
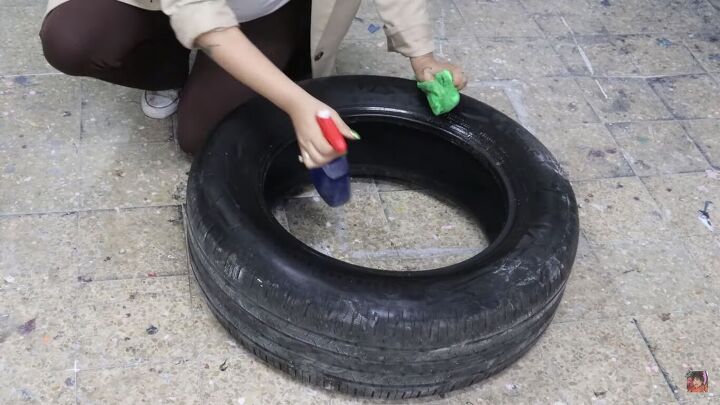
1. Clean the tire
First thing first, clean the tire. You’ve no idea where it’s been!
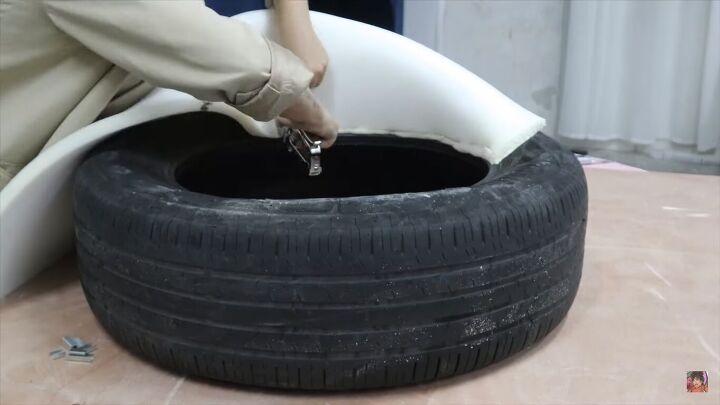
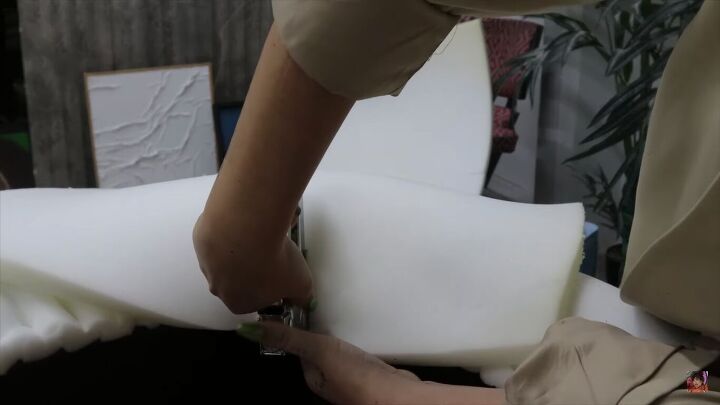
2. Staple the foam
Staple the foam rolls to the inside of the tire, as shown.
I found that the best technique was to cut these large pieces into smaller ones, measuring around 40-50cm (15-20 inches) in width.
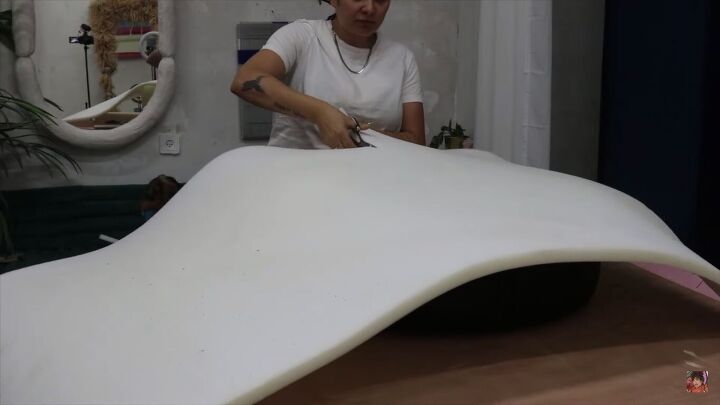
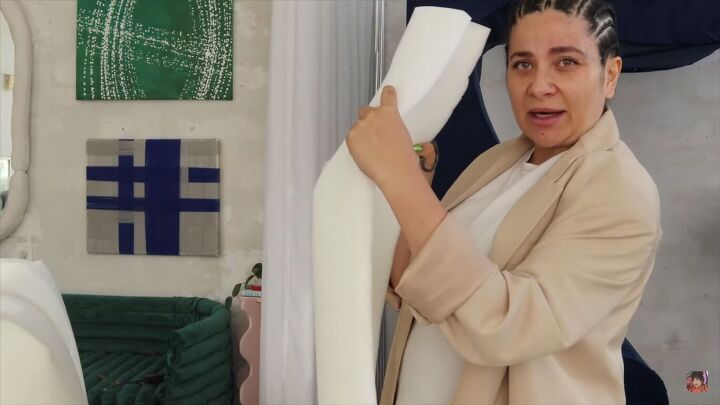
3. Add more layers
Just keep adding more layers of foam. We’re aiming for a thickness of around 35cm (13¾ inches) for the boa pouf to be comfy enough to sit on.
As the inside of the tire is smaller than the outside, there may be a gap when you do one layer. Just cover it with the layer on top.
Also, as the thickness builds up, you won’t be able to staple the layers on top of each other, so you will need to staple each layer further inside the tire. Make sure you leave enough room for that.
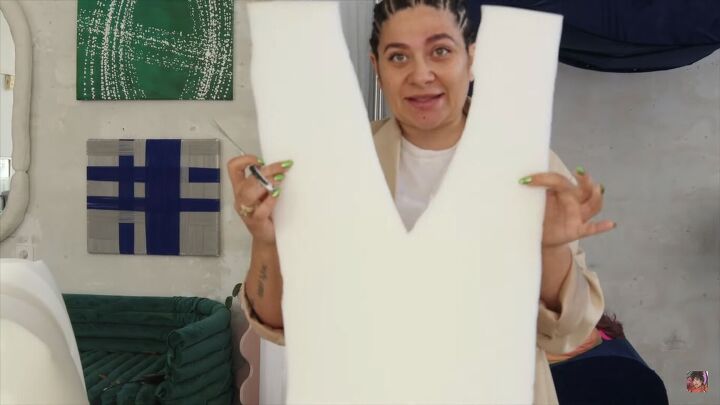
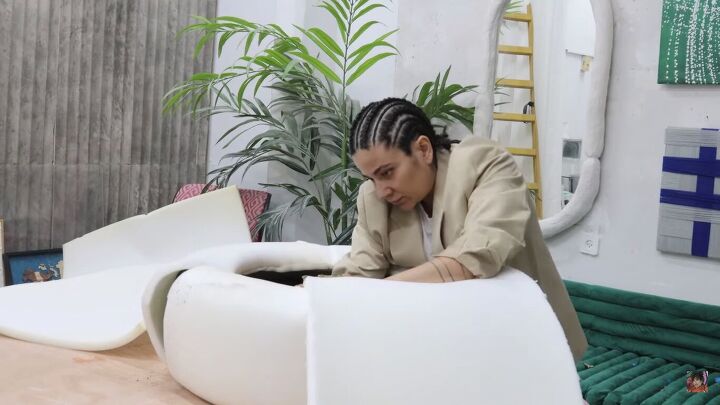
Of course, now that I’m halfway through the project, I figure out an easier way to do it. Cut a triangle in the middle of the foam, as shown above.
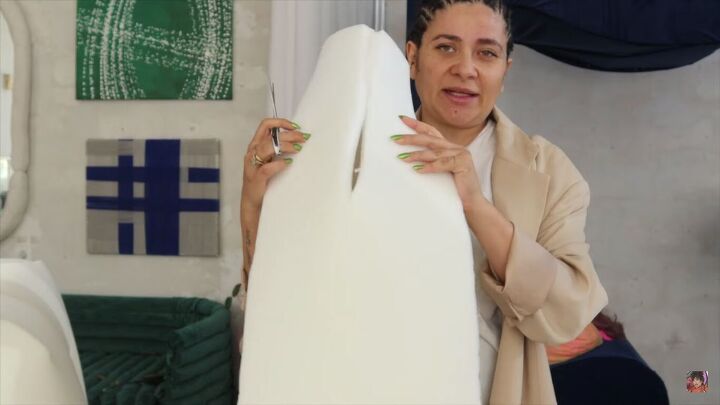
When you close the gap…
…it creates a curve.
So, staple one side of the triangle to the inside of the tire, then staple the other side next to it to get the right shape.
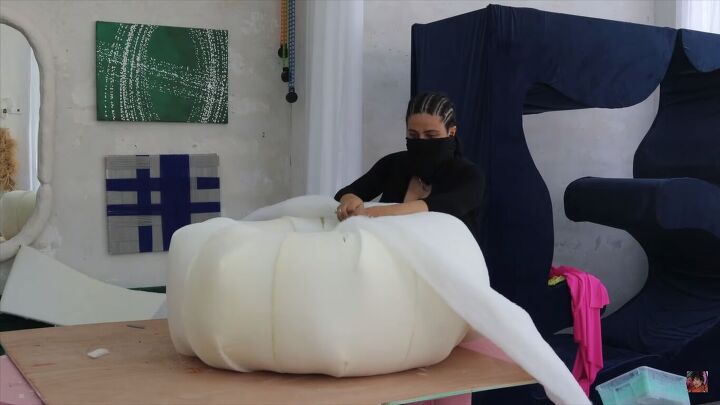
4. Add a layer of batting
When making my own furniture, I often skip this step because I’m lazy, but this time, I don’t want the uneven lines from the foam rolls to show through the fabric. So, I’m adding an extra layer of batting.
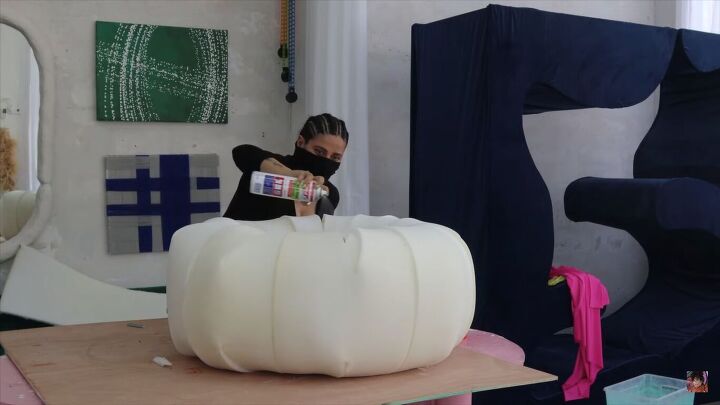
Spray the donut chair with a generous layer of spray glue, then wait 30 seconds.
Adhere the layer of batting to the donut chair. Go all around the donut, then cut off the excess.
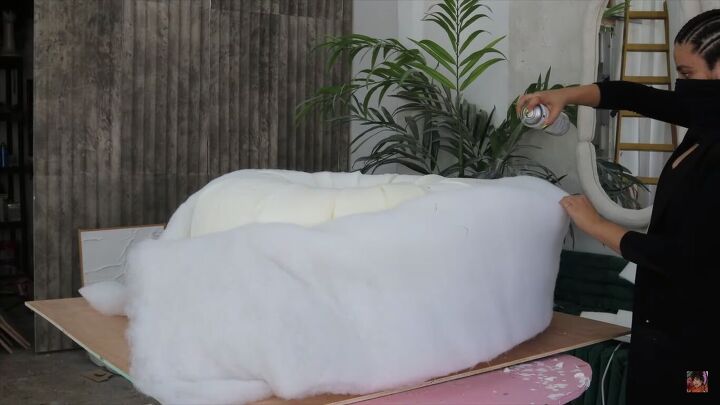
Flip the donut chair, then do the same on the other side.
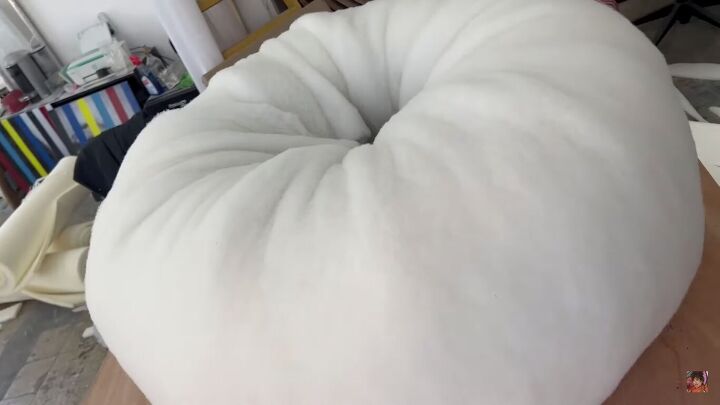
This is what your boa pouf should look like so far!
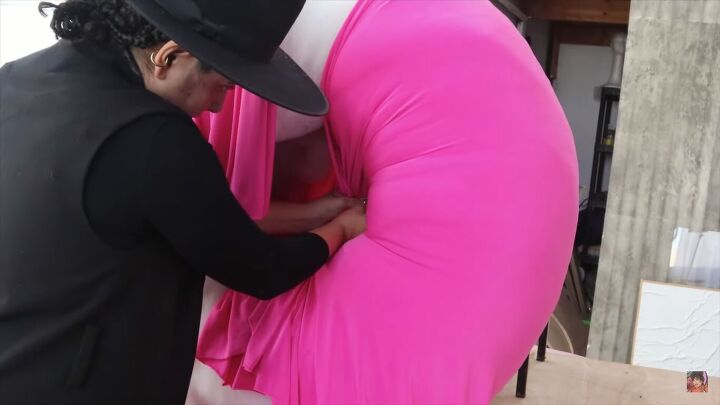
5. Sew the fabric cover in place
Ok, now for the part I like the least. I’m horrible at sewing, so I’m going to do this the easiet way possible. Wrap the fabric around the donut and hand-sew it in place. Even if your sewing is as bad as mine, it will be hidden in the middle of the donut!
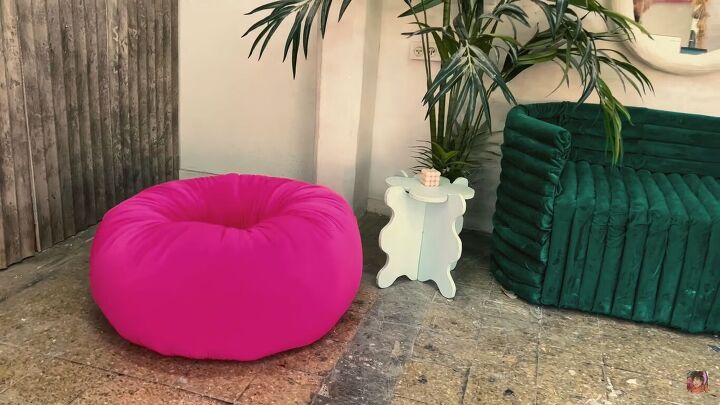
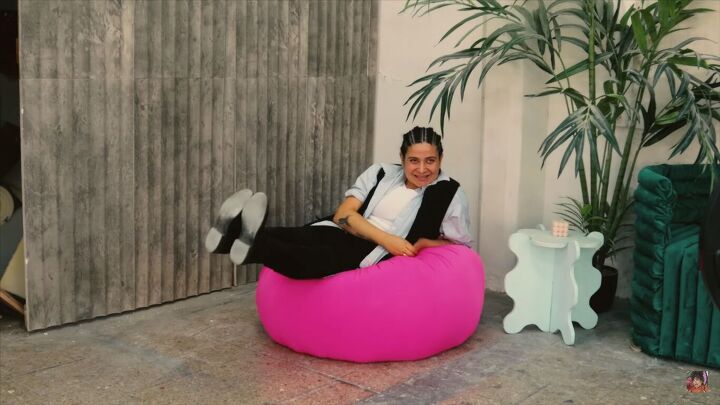
DIY boa pouf dupe
This is honestly the comfiest thing I’ve ever sat on! I made this DIY boa pouf, inspired by the great Sabine Marcelis, for only $100, which is a saving of $3,500!
What do you think of this cute donut chair? Let me know your thoughts and feedback in the comments below.
Resources for this project:
See all materials


Comments
Join the conversation
-
Super idea!!
-
Such a fun project! Using an old tire for a DIY donut chair is super clever. If you're looking for budget-friendly materials, check out sites like vidaXL for things like upholstery foam or fabric, I've seen some good deals there. I came across some vidaXL reviews while hunting for affordable decor, and people seem pretty happy with the quality for the price. You could wrap foam around the tire for cushioning, then cover it with soft fabric in a color you love.


Frequently asked questions
Have a question about this project?