


Dining Table

A modern/farmhouse table! A simple way to update your dining area!!
Saw
drill
screws 1.5”for table and 2.5” for legs
4 • 2”x10”x 8”
8-9 • 2”x4”x8”
4-5 • 1”x4x8
white paint
rag
sealer
tape measure
4 • 2”x6” = 28 1/4” with a 10 degree angle on both ends
2 • 2”x6” = 34 1/4” with a 10 degree angle both ends
4 • 2”x10 = 72”
9 • 1”x4” = 30”
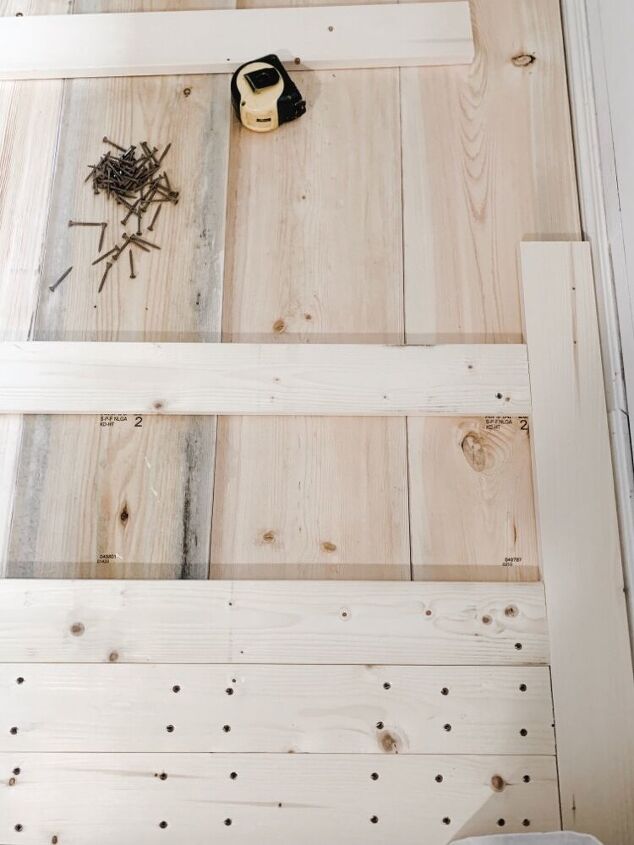
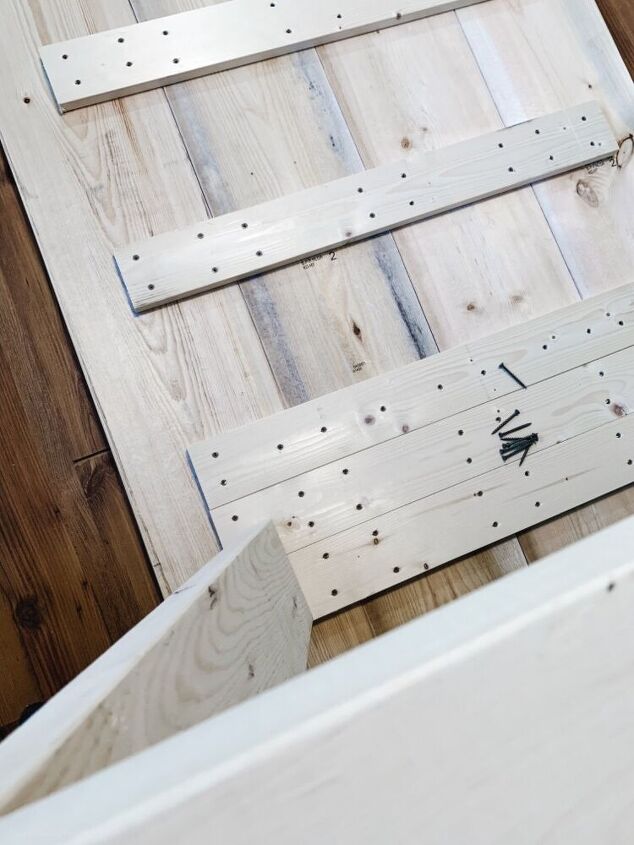
Lay your top boards face down(the top of your boards to the floor) and measure out your frame spaces to get a straight frame for under the table.
3 of the 1”x 4” together at each end of the table 4” in from the ends and 3.5” in from the sides
from there 7.5” in for the next board 8.5 inches in to the middle 8.5” and 7.5” same 3.5” from the side of the table from either side!
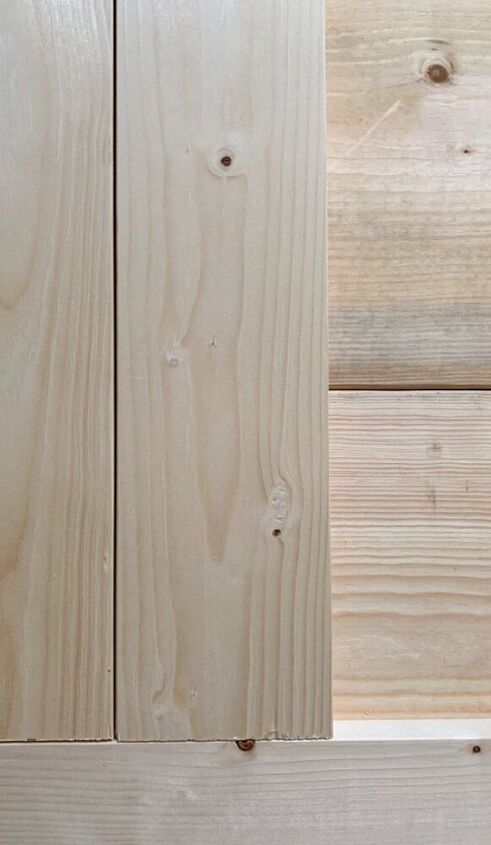
Make sure you have the top boards tight together or there will be to much spacing inbetween the boards and use as many screws as you see fit! We used approximately 16 in each board
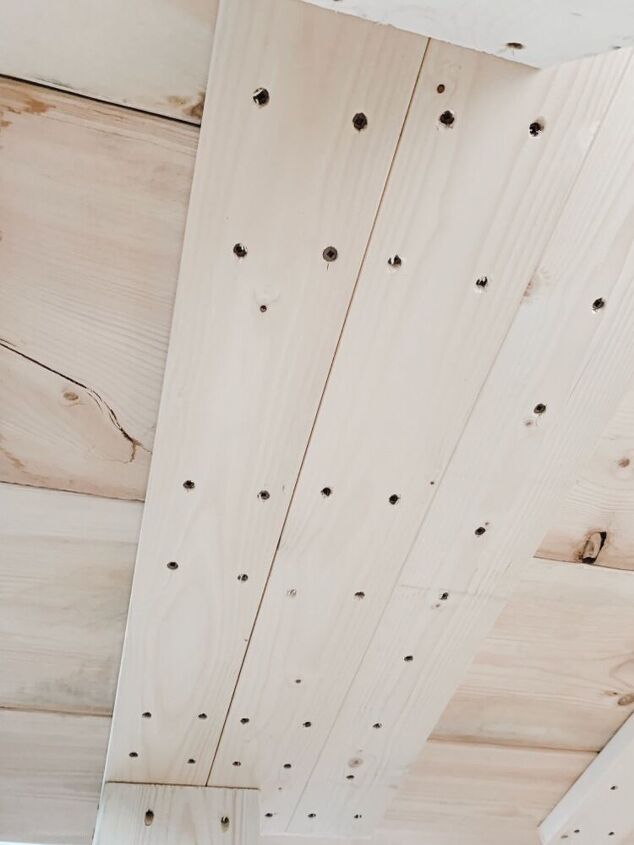
This is what it will look like on both ends of the table...these are also your brace pieces for the legs to go onto.

Now for the table legs, meet up your angled cuts and screw them together from the outside of the legs, make two of these
Attach your legs at 1.5” in from your brace boards from the side and up against the ends of it from the end of the table! Do this for both sets of legs
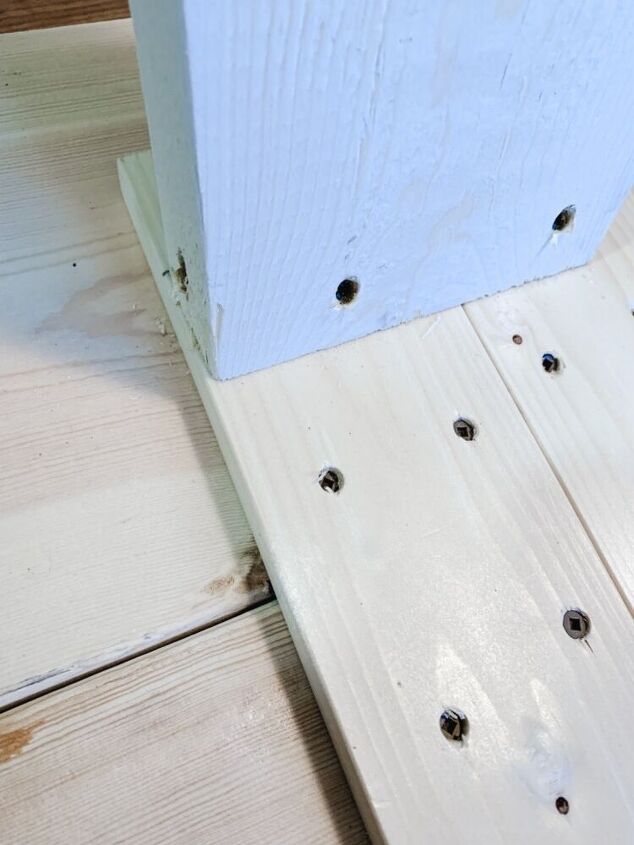
This is what it will look like. Make sure you angle your screw in when you drill it other wise it won’t attach properly 😊
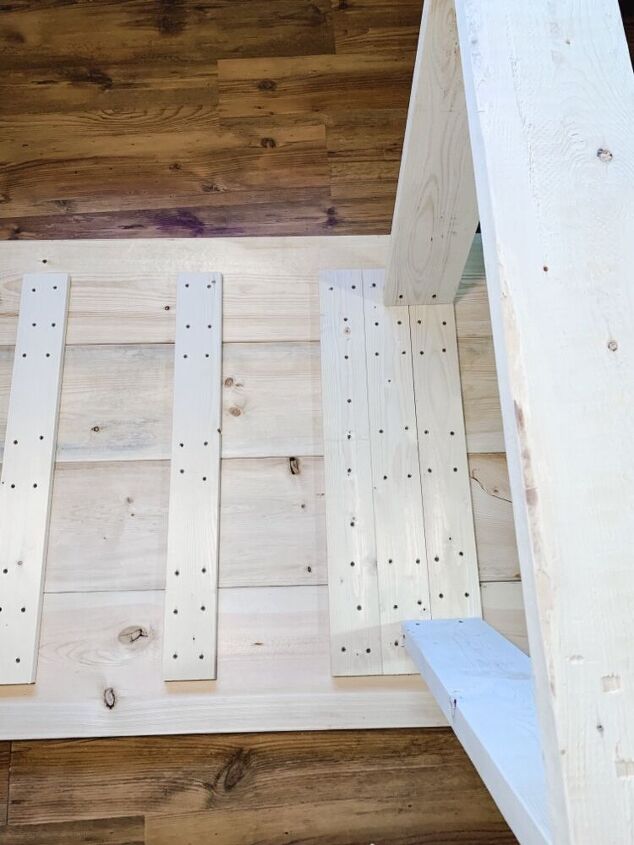
This will be what the bottom should like look once your legs and all the screws are in place
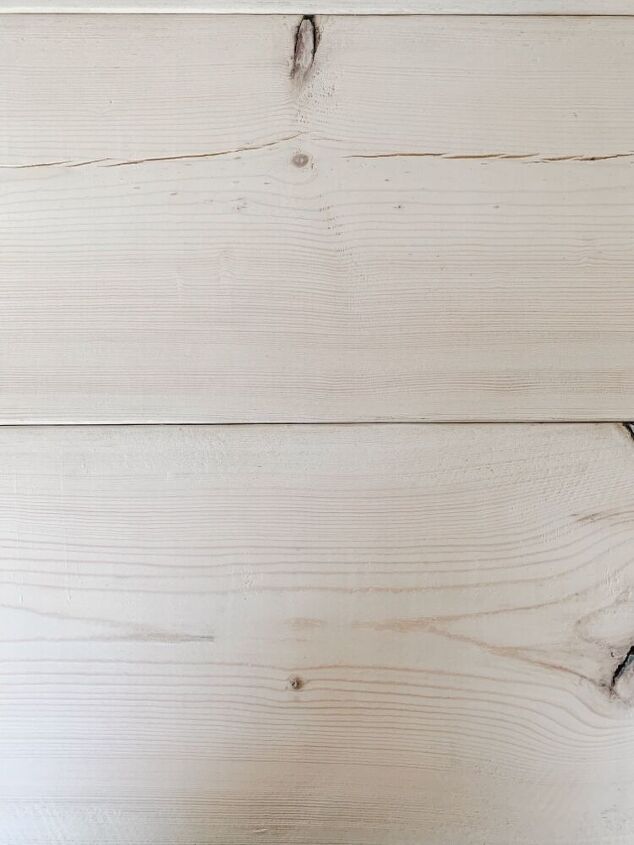
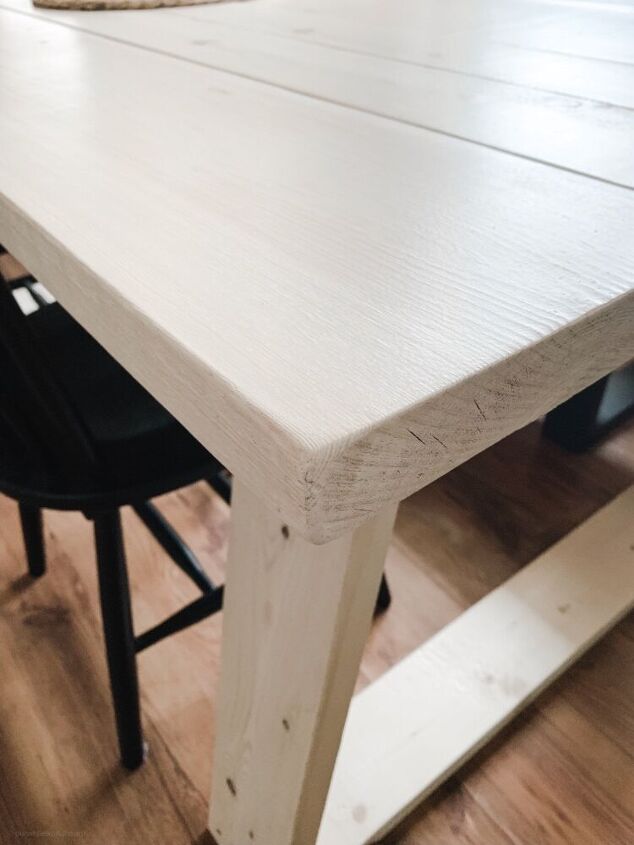
Now you’ll need to mix water and white paint together, a soft white is better and if you would rather keep just the natural color of the boards than I would just seal it with a poly acrylic sealer!
once you have your watery white paint, you want to apply it with a clean rag the same way you’d apply stain in thin coats until you have the desired color your wanting. Remember the more coats you add the lighter the wood tone will be! Let this cure for 4-6 hours and apply your sealer.. I applied 4 coats, a new coat every 2-4 hours and than let it cure for 24 hours after your last coat before using!
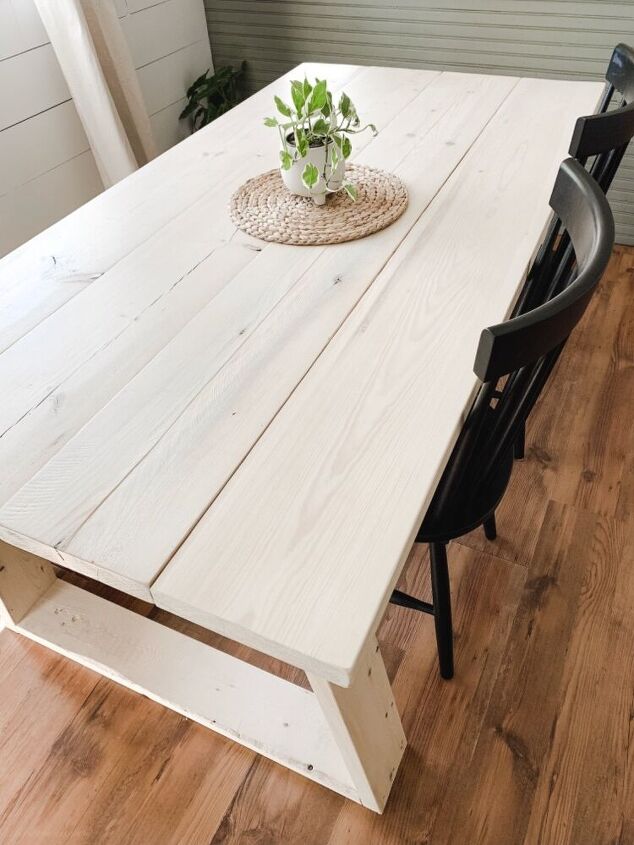
And now it’s ready to use! Enjoy your new table!!


Comments
Join the conversation
-
The construction of the top of this table is spot on. I would consider alternative design for the leg/supports. Things to consider:
- they don’t need to so near the end and sides of the table. If set in further they will be less likely to interfere with chair placement.
- I have had good luck using “trestles” as supports, rather than legs. Search some examples on the internet or on HomeTalk.com
- I will call you supports “a box” and describe a trestle as “an H shape”. The two trestles can be connect with stretcher or a shelf that will prevent the table from wobbling
i hope this makes sense.


Frequently asked questions
Have a question about this project?
Can you explore me why the 10% angle cut? I'd love to make this but must get all straight cuts due to not having a saw,, my pieces must be cut at Lowe's. Do you think it would matter if I just had plain, straight cuts?? I love the look of this so much. I'd make it smaller to fit in my kitchen. Thanks for you feed back, I really want to try this table and the white wash.
If only I had a dining room area big enough for a table like this I would be out there now making this ....I love it ....But wouldn't it have been better to attach the legs with Pocket Screws?.....That way you wouldn't have to try and screw them in at an angle .....Just a thought here .....You did a great job on this table ....