


DIY Dining Room Table Build

Until last week, my dining room table was very stuck in the 90s - curved legs and an orange-y, high gloss finish. While browsing Instagram, I found the perfect table to update my dining room, only to find out it's no longer sold! I kept coming back to this one sold-out table and after studying the minimal look and clean lines that this table had, I decided to make it myself!
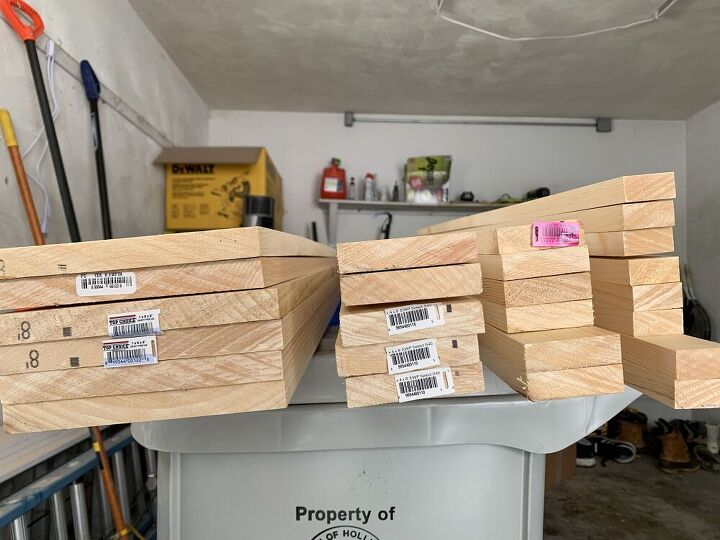
Here is the lumber I used:
Six 1x8x8
Five 1x4x8
Four 1x3x6
Three 1x2x8
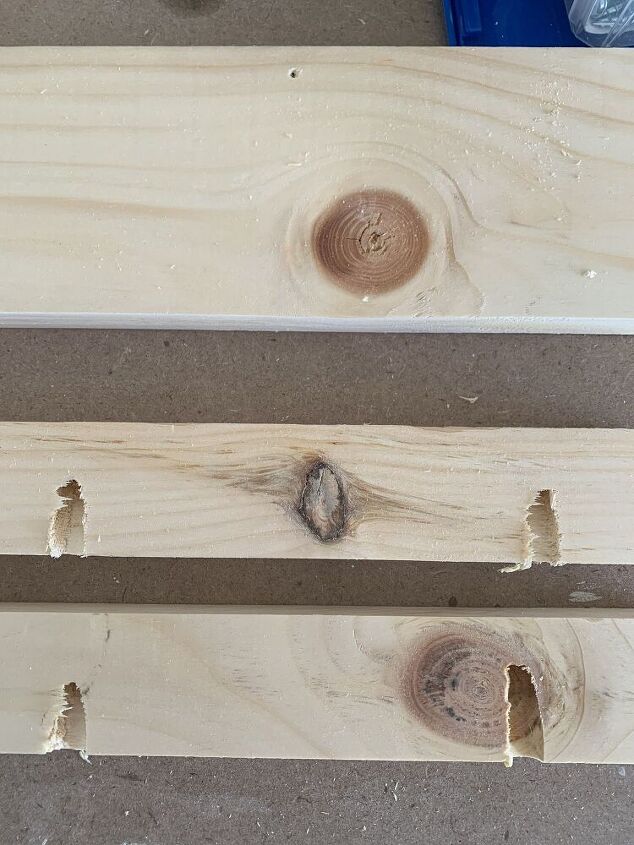
My measurements were a little dependent on what the hardware store had available! My table is 6ft long so no pieces of wood actually need to be longer than that (which helps if you can't fit 8ft pieces in your car). I used 8ft pieces to buy less and to leave myself some room for mistake when cutting.
In addition to the lumber, I used my miter saw, Kreg pocket hole jig, 1.25" pocket hole screws, wood glue, 1" wood screws, 2" wood screws, a drill, and a finish nailer (with 1.5" nails). The image below shows a few more pieces than what I actually needed - better safe than sorry!
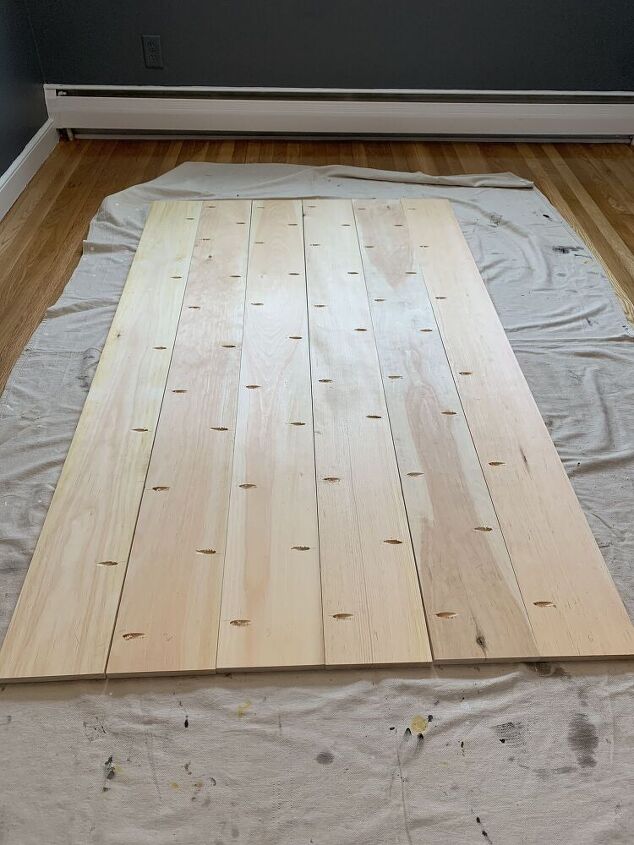
I started by cutting my 1x8x8 boards to 6ft in length. Then, I used my pocket hole jig to drill pocket holes along the edges of each 1x8 in order to join them together.

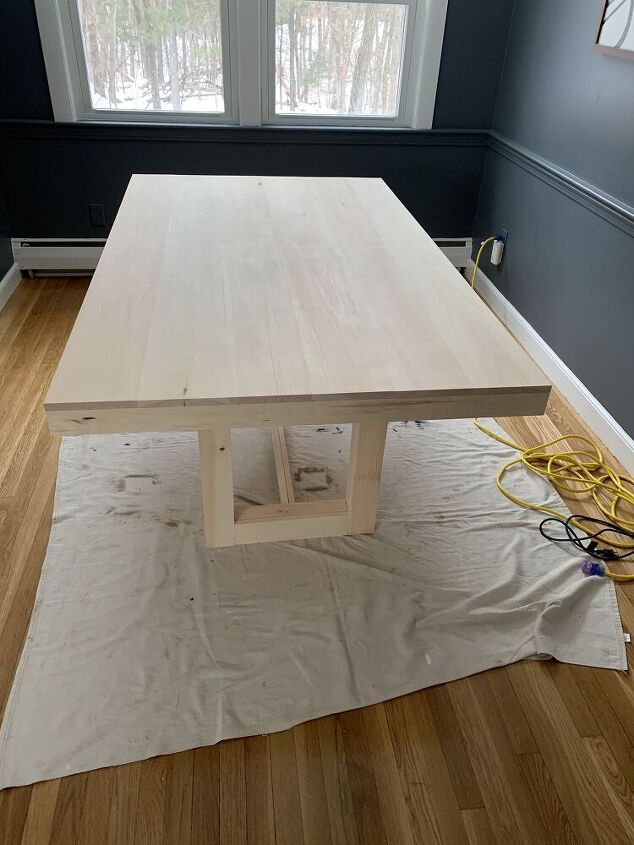
After attaching the six boards with 1.25" pocket holes screws, they looked like this! My table is 72" long (which is why I cut these 8ft boards to 6ft) and 45" wide.
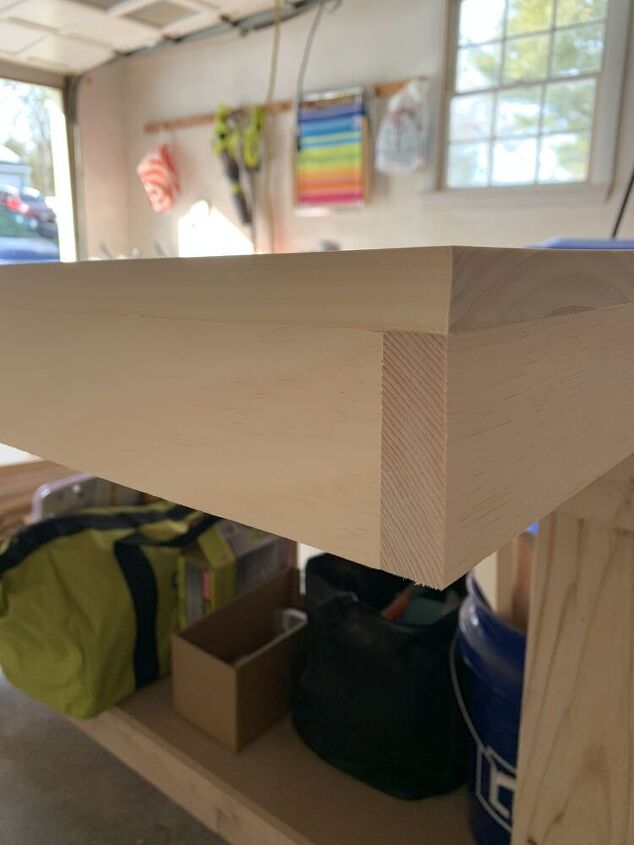
Next, I added skirting around the table. I cut my 1x4x8s down to the correct length (two 45" pieces for the short side of the table and two 70.5" pieces for the long side of the table). Then, I used wood glue and 1.25" pocket holes to frame the perimeter of the table. This is what the table looks like with these four new pieces attached (one on each side).
Then the table top was done and I needed four legs! To create the legs, I used 1x4x8s and 1x2x8s both cut to length. For each leg you will need two 28" 1x4s and two 28" 1x2s (making the total table height 29.5"). First, I drilled pocket holes in the 1x2s.
Then I used 1.25" pocket hole screws to attach both 1x2s to one of the 1x4s like so.
Then I put wood glue along the top edges of both 1x2s.
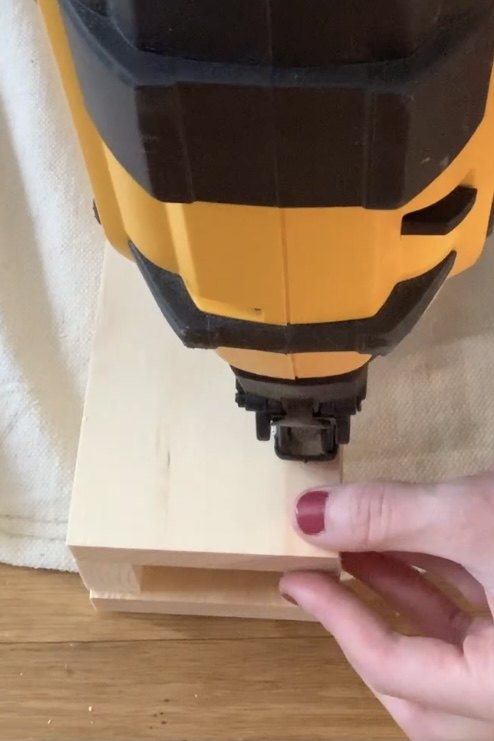
Finally, I placed my second 1x4 on top and use the finish nailer to attach.
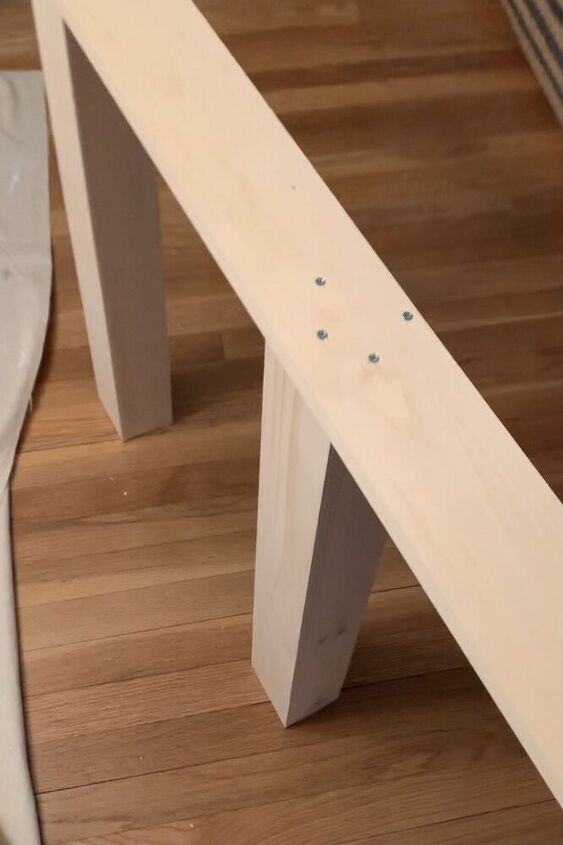
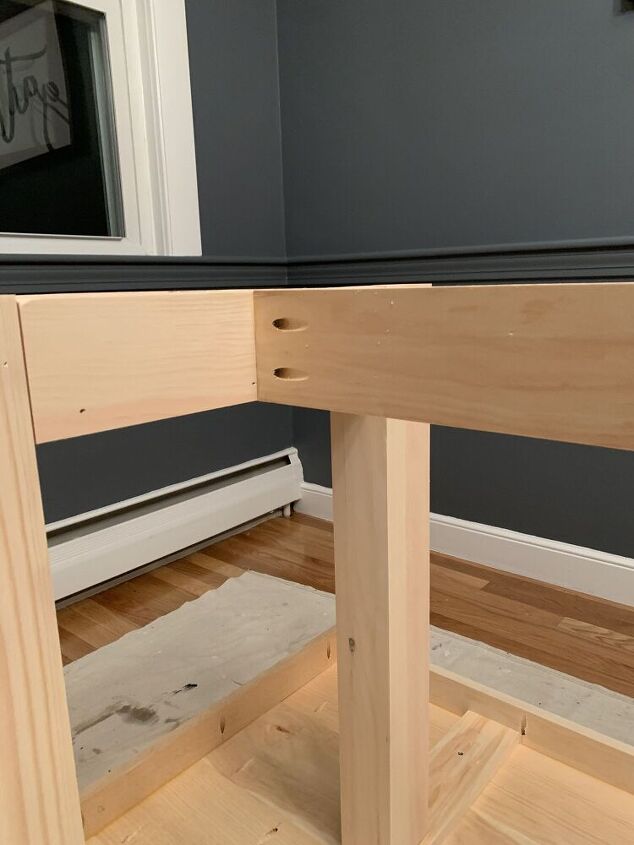
After I completed two legs, I used 2" screws to attach them to a 1x4 cut to 43.5". I chose to have both of my legs 11" in from the side of the table so that there is room for someone to sit. Consider this when attaching to the 1x4 (I made sure to attach each leg 10.25" from the ends of the board - this accounts for the skirting being .75" thick).
This 1x4 spans the length of the table and helped me attach the legs to the table top. I used 1" screws to attach this 1x4 (with the legs on it) to the bottom of the table top. I chose to have the legs be 12" from the short end of the table so I made sure to measure 11.25" in before attaching the 1x4. Repeat these five steps to create your second set of legs.

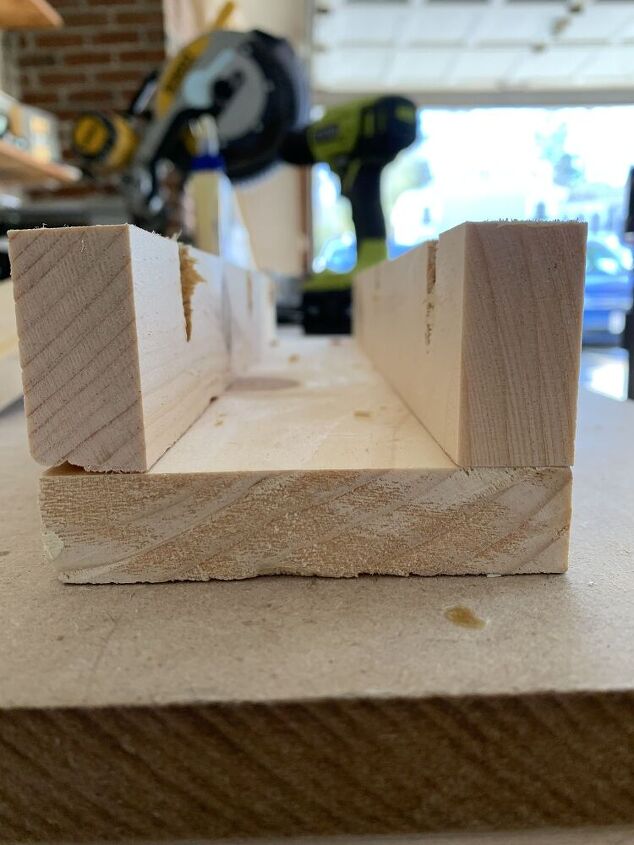
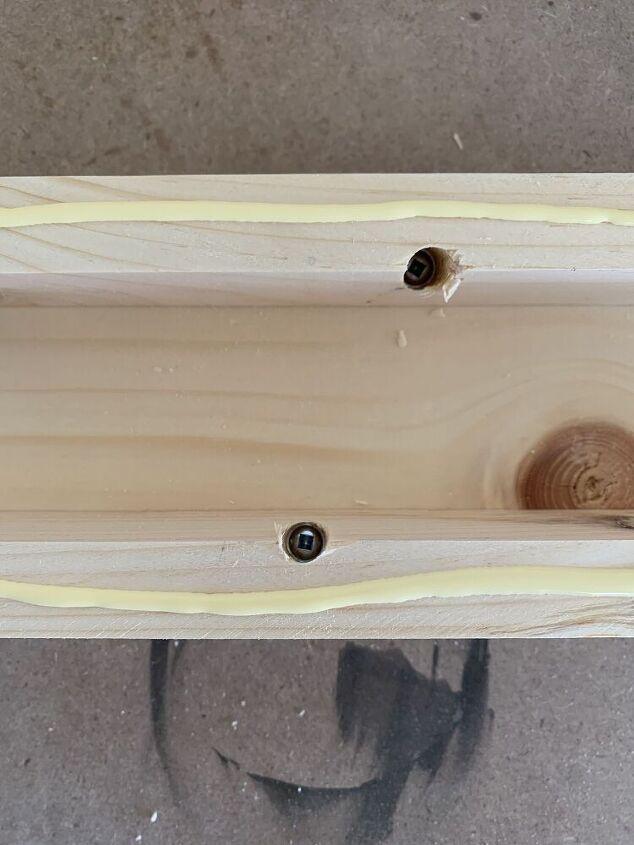
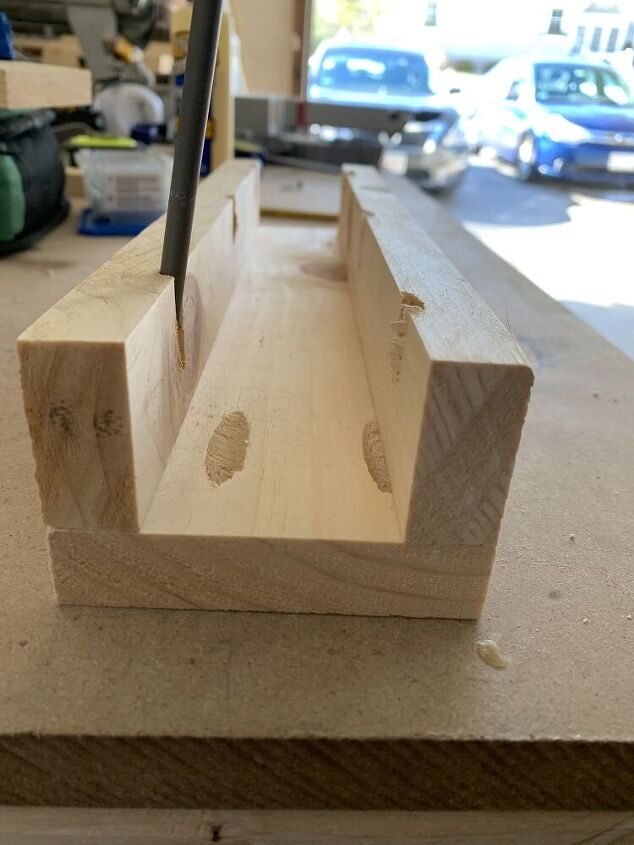
In the same way that I created the boxes for each table leg, I created two boxes to connect each leg where they will meet the floor. Measure the distance between each leg and cut two 1x4s and two 1x2s to this length. Then attach the two 1x2s to a 1x4 like you did to create a leg. The only difference between these support pieces and the legs is that you will need to drill pocket holes into the short ends of one of your 1x4s before attaching the 1x2s. See the image for what this should look like. Pay attention to the placement of your pocket holes on the 1x4 - I accidentally covered one of my holes with a 1x2!
Use pocket holes to attach this 3-side box to the bottom (top when the table is upside down) of each leg before using wood glue and the finish nailer to add the fourth side (a 1x4).
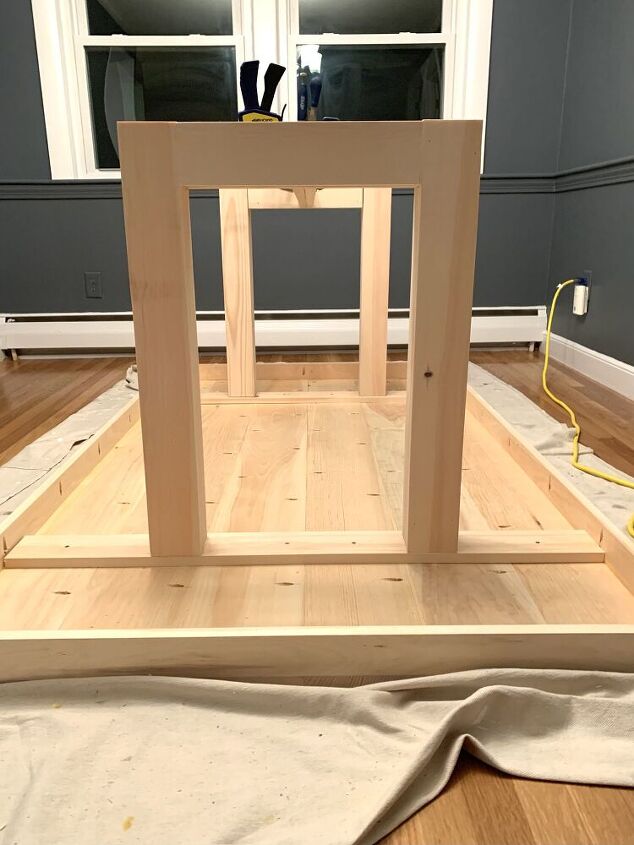
Lastly, I cut a 1x4 to 41" (the distance between the supports I just added between the legs). Use pocket holes to attach this 1x4 to the leg supports. Use can choose to use pocket hole plugs to cover these holes or attach another 1x4 with wood glue (this will make your middle piece twice as thick).
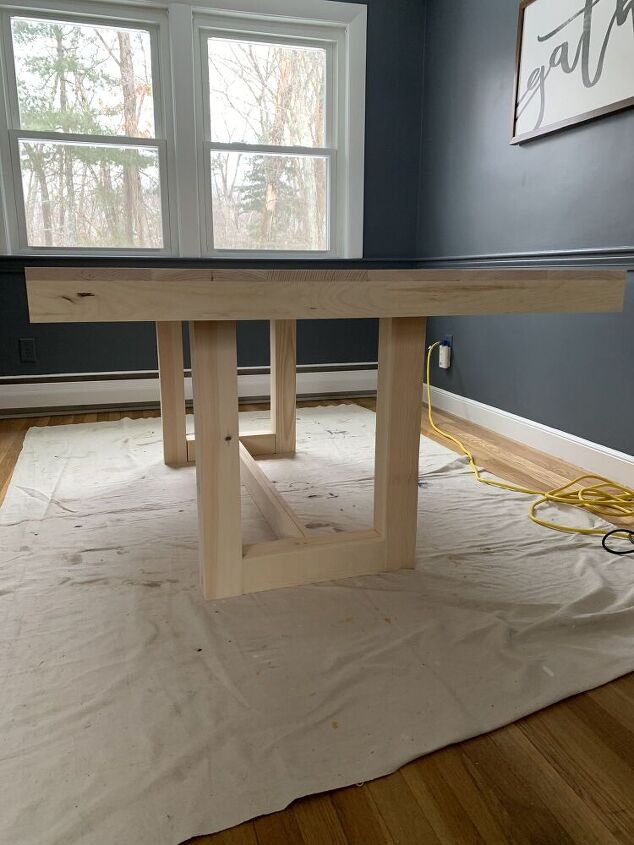
Here is what the finished table should look like! You can sand when you're finished or sand as you go, which I prefer, and then stain or paint it!
Follow along on my Instagram page @casscreateshome as I stain the table next! I'll update this post once the table is stained! Happy building!


Frequently asked questions
Have a question about this project?