


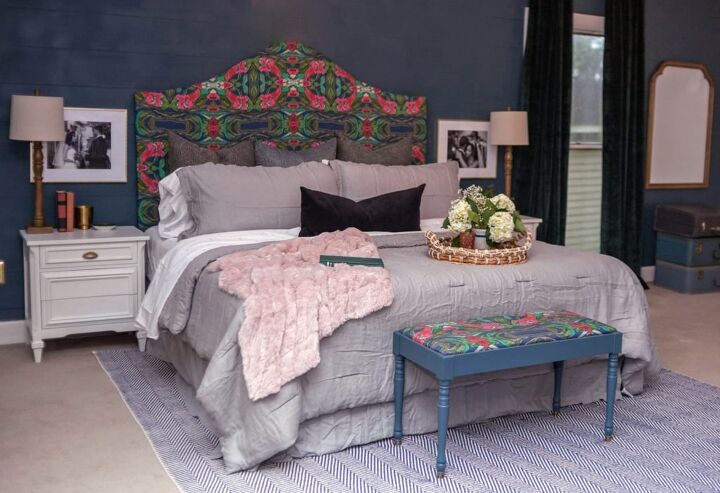
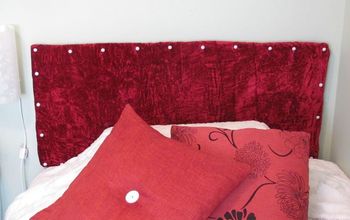
DIY: Luxury Upholstered Headboard
This post contains affiliate links and I may receive a small commission if you purchase with my links. Affiliate links support my creative content.
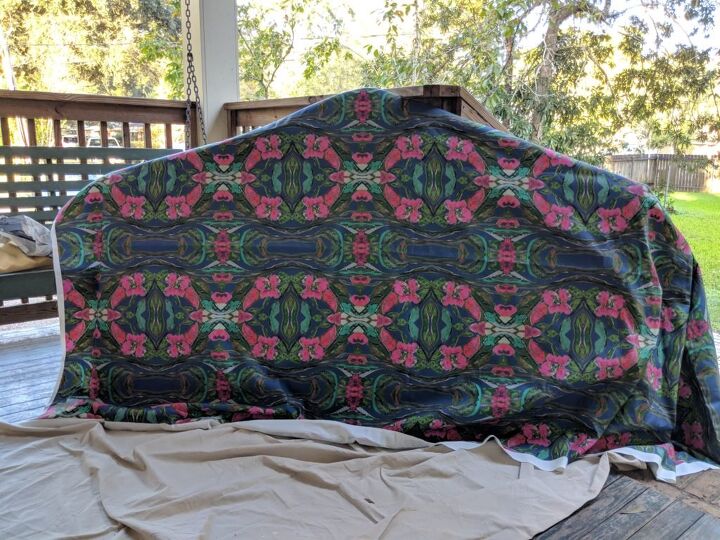
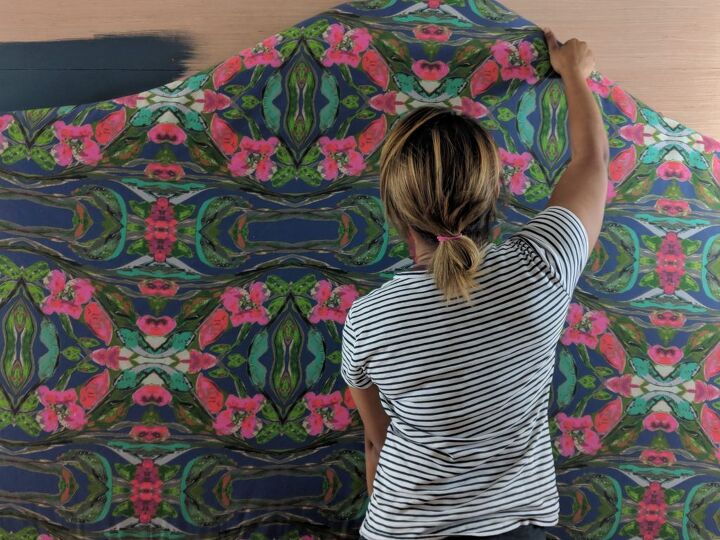
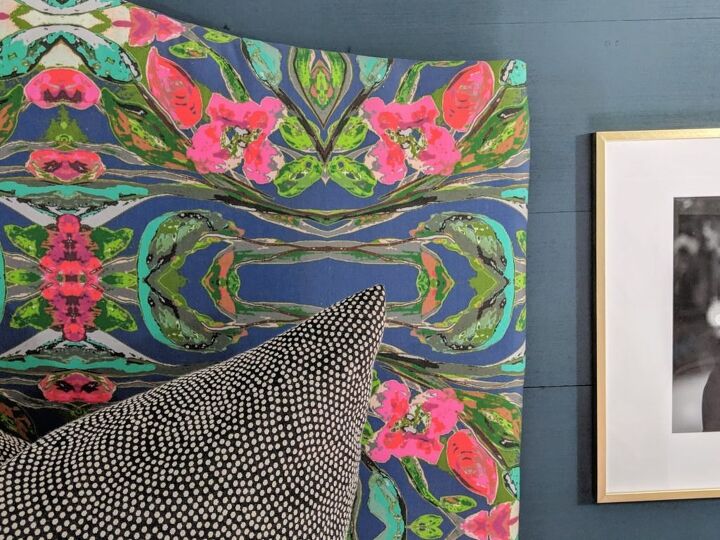
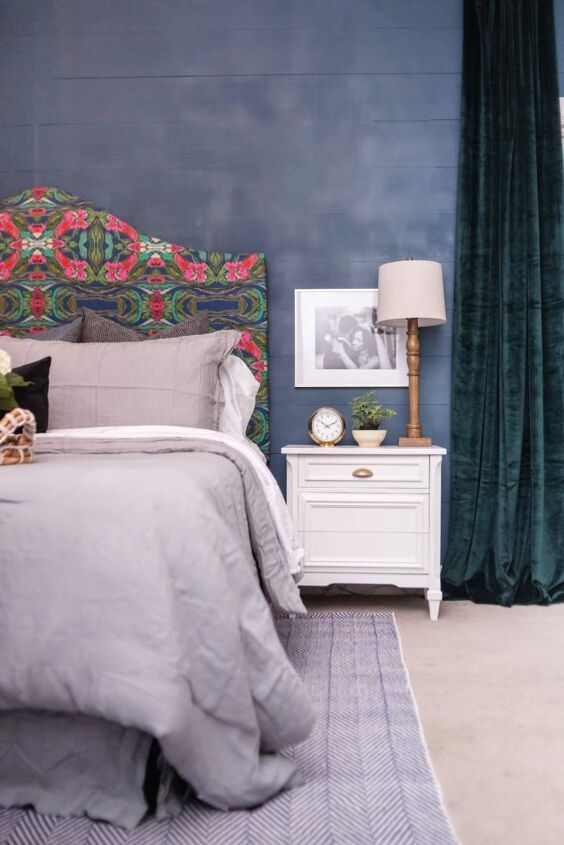
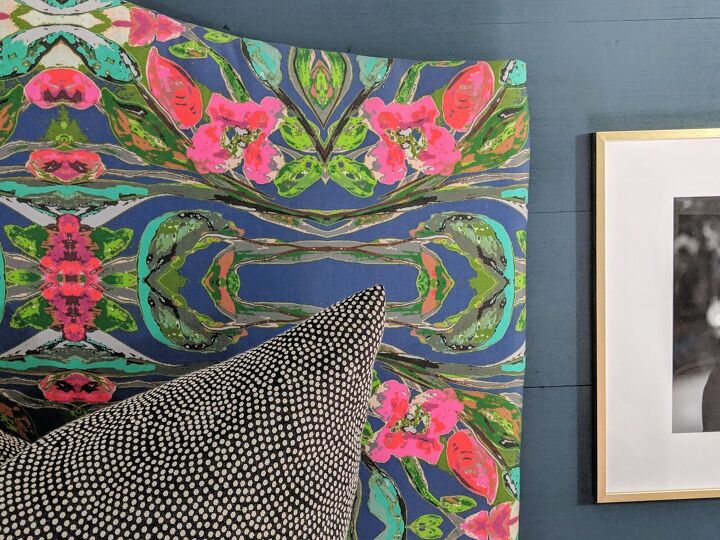
Once we embarked on making over our bedroom, I fell in love with this Ashely Lasseigne’s fabric. Ashley’s fabric and wallpaper is very well-designed and it’s all inspiring. Very quickly, I decided the fabric would make an awesome upholstered headboard. So I reached out to Ashley and she also agreed with my idea. The project actually didn’t take very long to complete and I’m so happy I took this DIY project on. Sometimes DIY can be a total fail and others it can be so worth the time and effort. This project was definitely the latter. I can say it was truly worth the work. Here’s how I made my very own upholstered headboard, using Ashley’s originally-designed fabric.
Materials List:
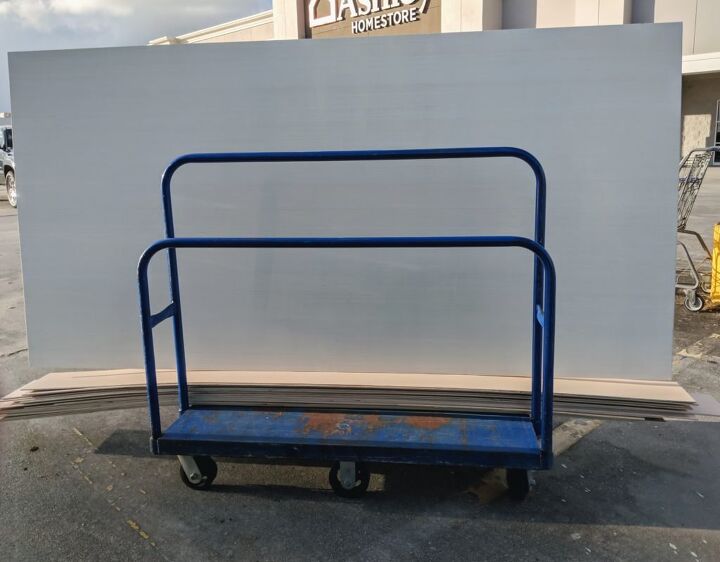
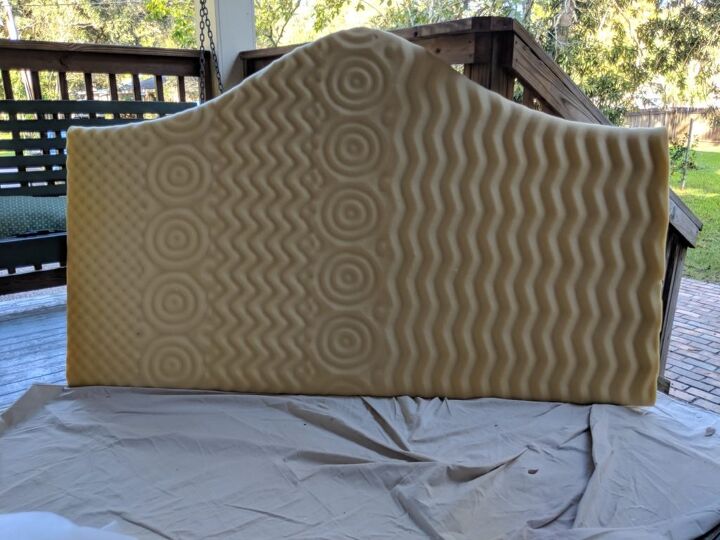
- 3/4 Inch Plywood
- Egg Crate Foam Topping
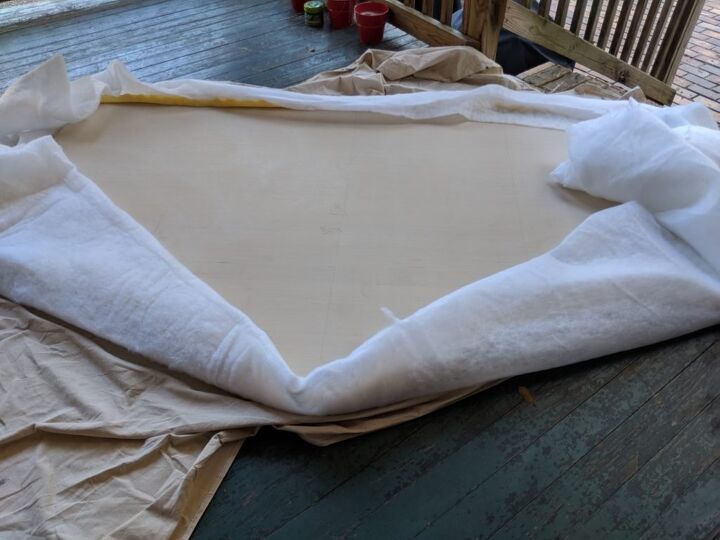
- Quilt Batting
- Jigsaw for Headboard shape
- Upholstery Scissors
- Staple Gun
- 5 Feet of Custom Fabric (for King Size Headboard)
Instructions:
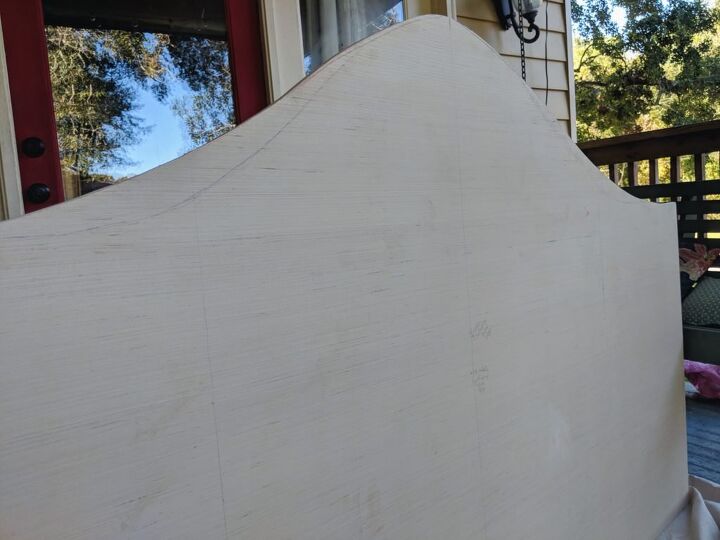
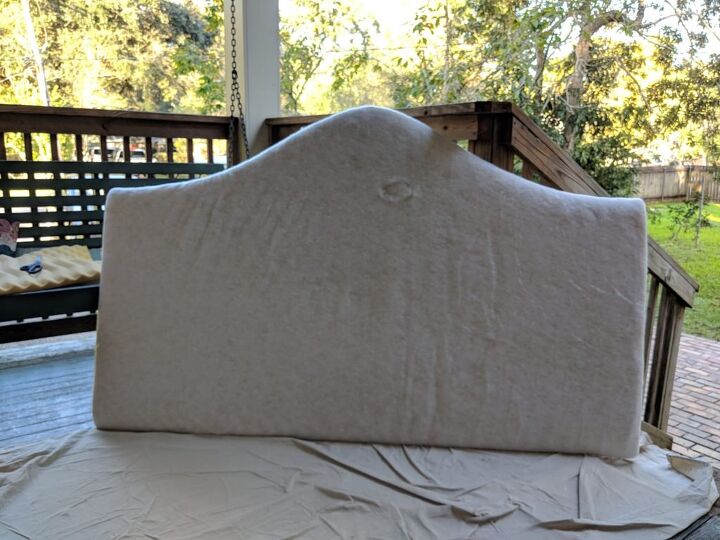
1. Purchase plywood to make a headboard template. The plywood I purchased was 3/4 inch thick.
2. Sketch/draw a template onto the plywood. Cut and sand until preferred shape is reached. I went with a camelback shape. My neighbor, Ron, took my rough sketch and made a perfect cut.
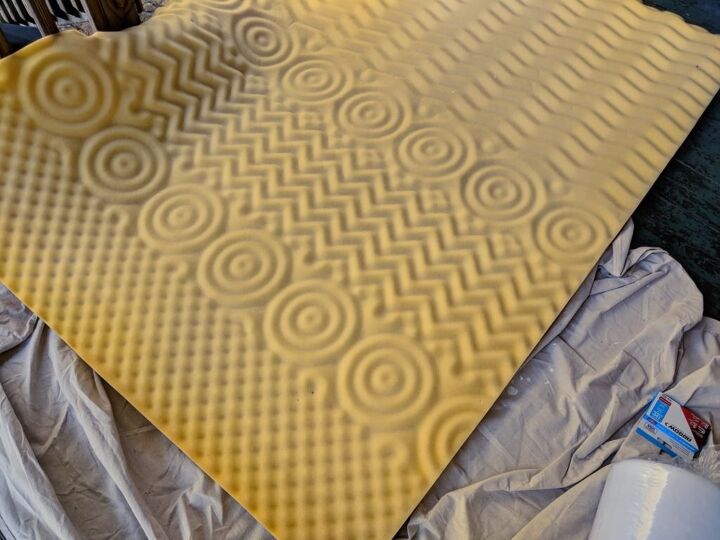
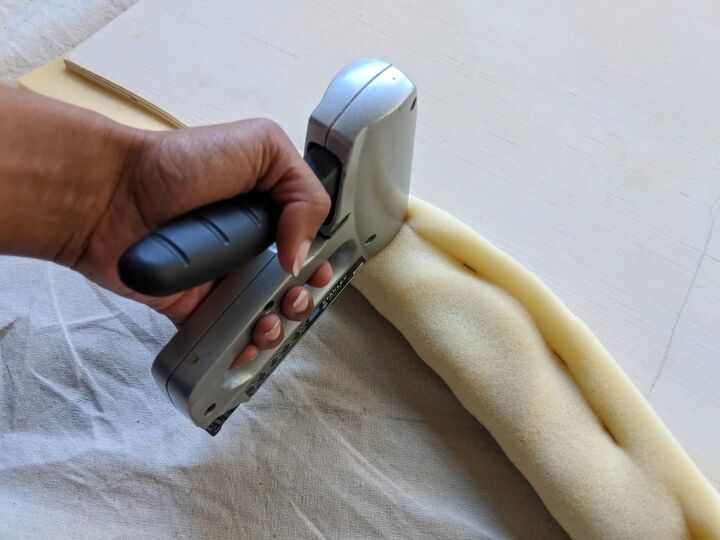
4. Repeat the above process for the quilt batting and chosen fabric. Make a template, cut, staple with margin in place, and trim.
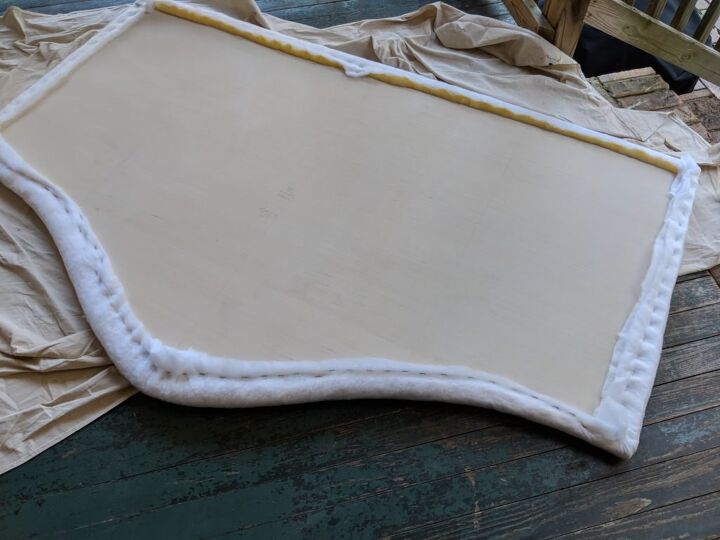
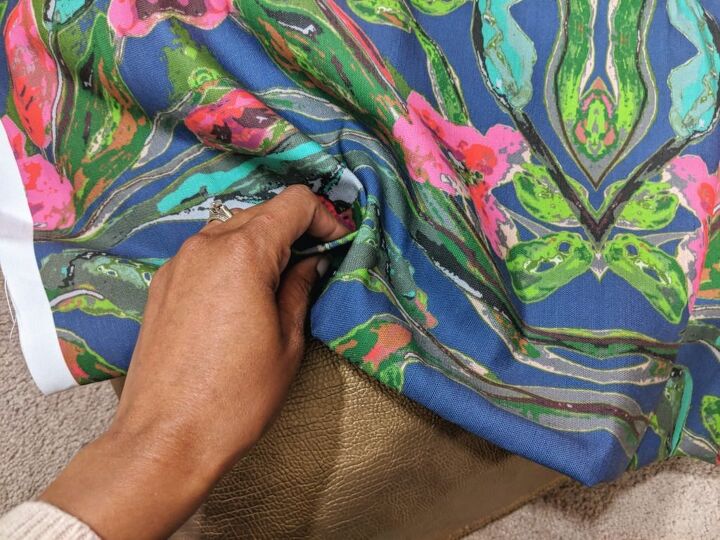
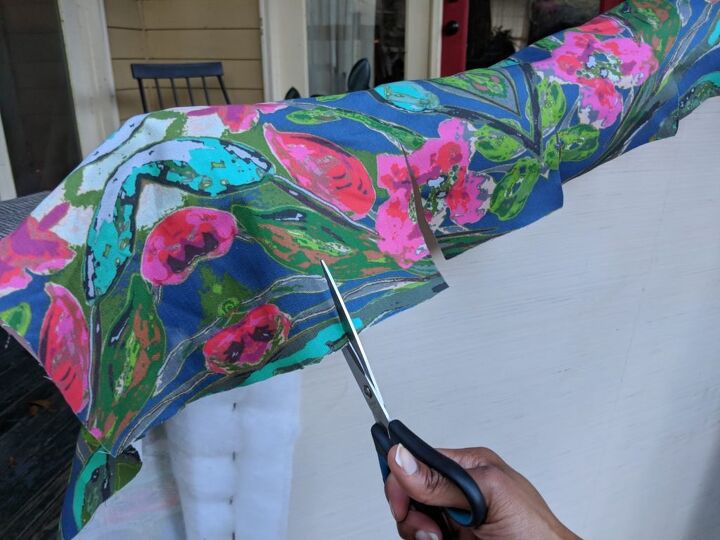
5. For the corners, you will need to pull and tug to get a proper fabric fitting. Add slits into the back of the cut fabric (the opposite side of the headboard) to help release some tension in the fabric. Staple the fabric as tightly as possible.
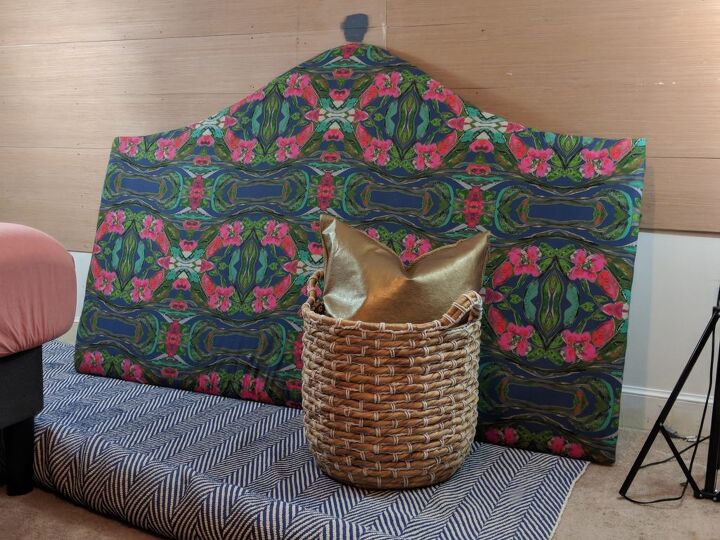
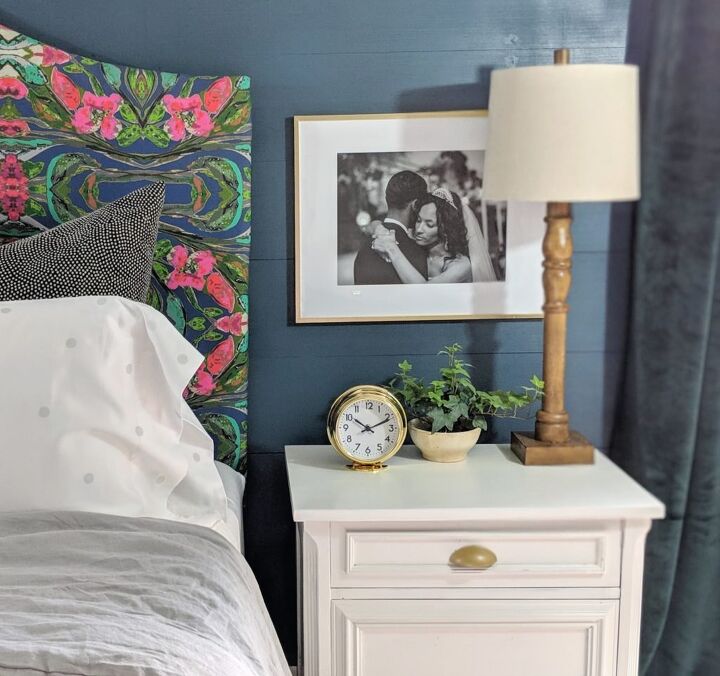
6. Hang the headboard on the wall. We used a picture hanging kit that could hold up to 200 pounds. We may update that hardware soon depending on how this one holds up.
Frye Imaging
Frye Imaging
Frye Imaging
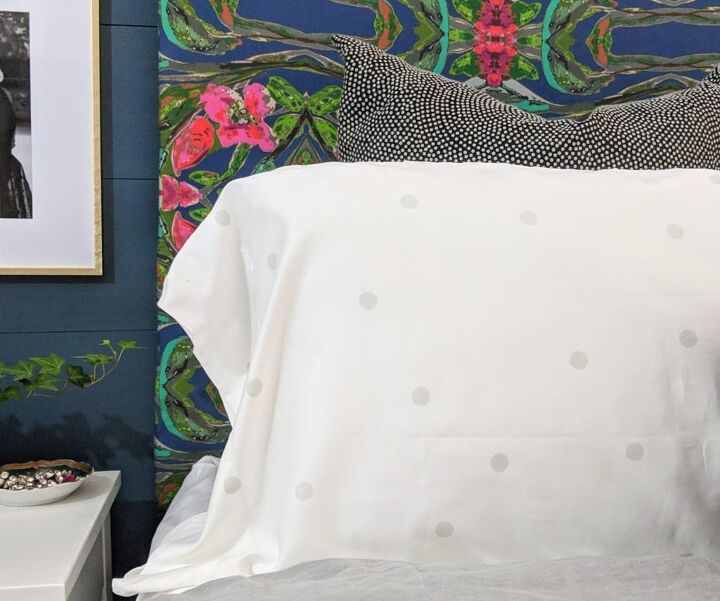
This project was so worth the time and energy. I would definitely do it again! The headboard looks so great thanks to the beautiful fabric. I knew if I would tackle this project I wanted it to look very nice. That’s easier said than done when it comes to DIY projects. However, with Ashley Lasseigne’s luxury fabric, I pulled off a custom look for an unbelievable price. My headboard costs came in right around $170. You can’t beat that for a king size upholstered headboard!
Please be sure to check out Ashley’s original designs. She also uses her designs for original art, custom shawls, clutches, and even scarves. You can tell she loves what she does and I’m so happy I could include some of her work in my space. I will definitely be ordering from her again. You should too!

Comments
Join the conversation
-
Absolute beautiful! Perfect shape choice. Fabric is so luxurious. No one would ever think that this cost under $200. I’m really inspired to give it a try. Thank you


Frequently asked questions
Have a question about this project?