


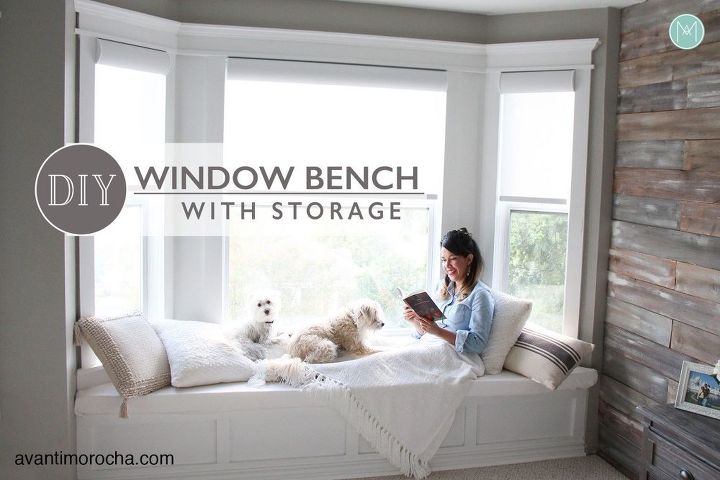
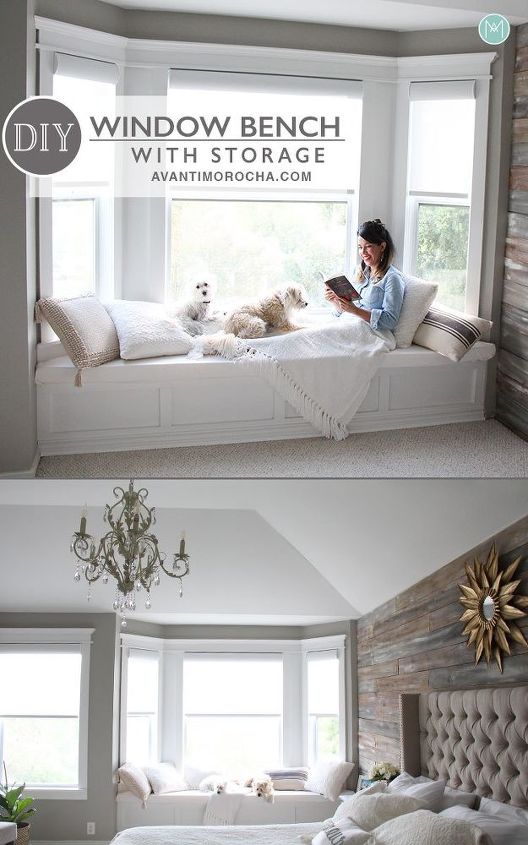
DIY Window Bench With Storage

Today I’m going to show you how my husband built a window bench with storage for our master bedroom.
I’ve had this project burning in the back of my mind for a long time. Initially, I really wanted a window bench with drawers, but we had an incident, you can read more about it on my blog (https://avantimorocha.com) so I decided to ditch the drawers and simply make a bench with a trunk instead.
WATCH THE STEP BY STEP VIDEO to learn how my husband an I built our window bench with storage. You could always just follow this step-by-step guide too.
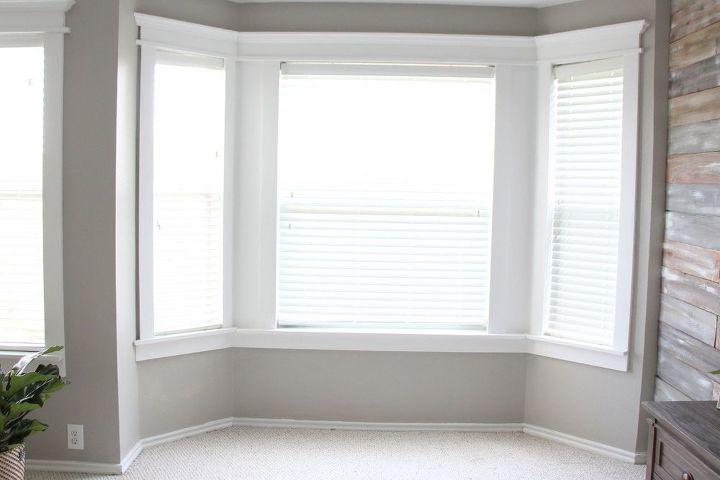
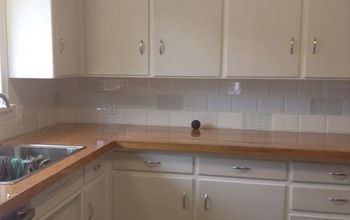
This is the space where we're building the window bench. It may be a little hard to tell however the window bay is large, it's roughly 100" wide, and 19" deep.
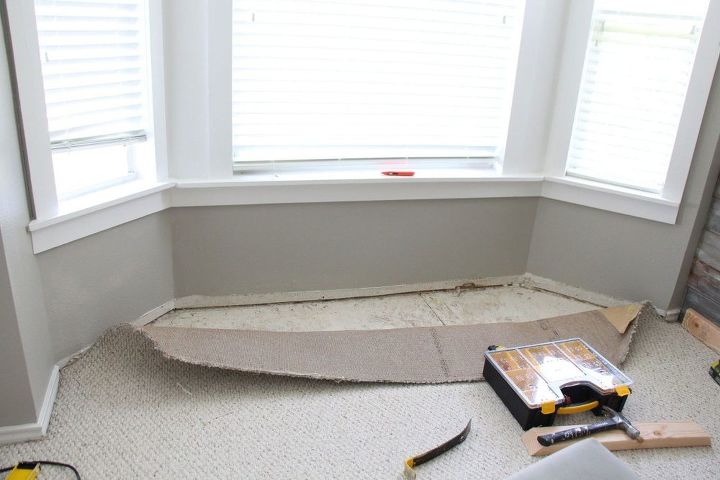
Once we had a rough idea of what we were building, and where, we pulled back the carpet.
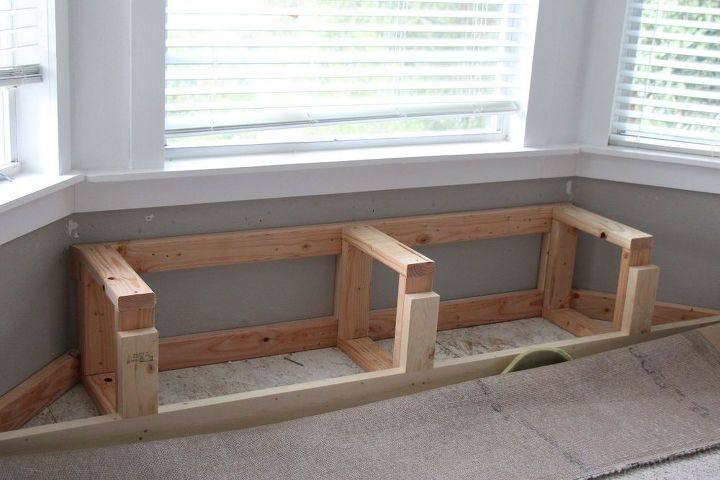
With the carpet pulled back we began framing. Start with the base, then the back, add the supports, and finally finish the face of the frame.
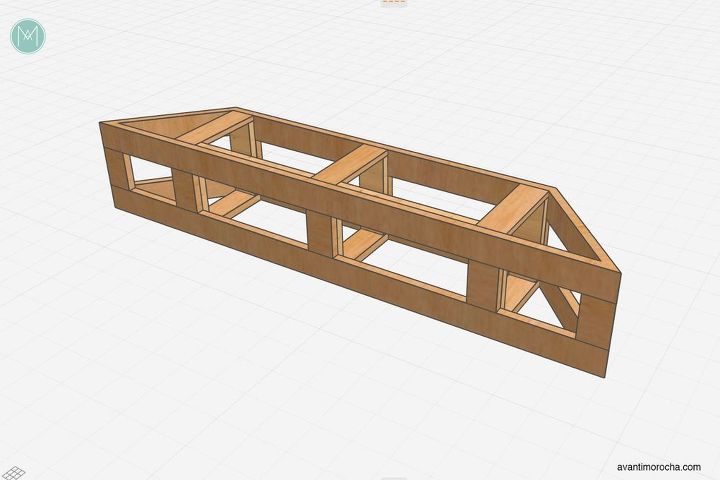
This is a diagram of the frame we built for our bench. You'll notice the frame is a little overkill. My husband over engineers just about everything however the I can't fault him on the structural integrity or the build quality.
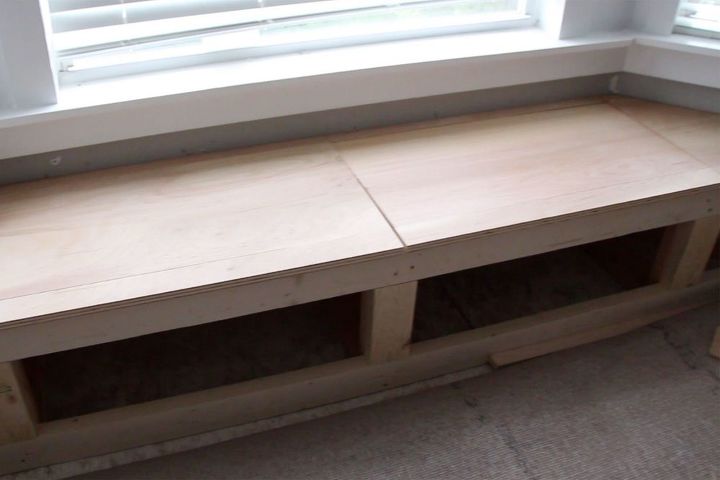
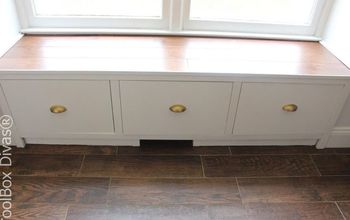
Once the framing is complete, cut the top. For us, the top was made from 3/4" Birch plywood, however, any smooth surface plywood would work just fine. At 100" log the top consisted of two pieces.
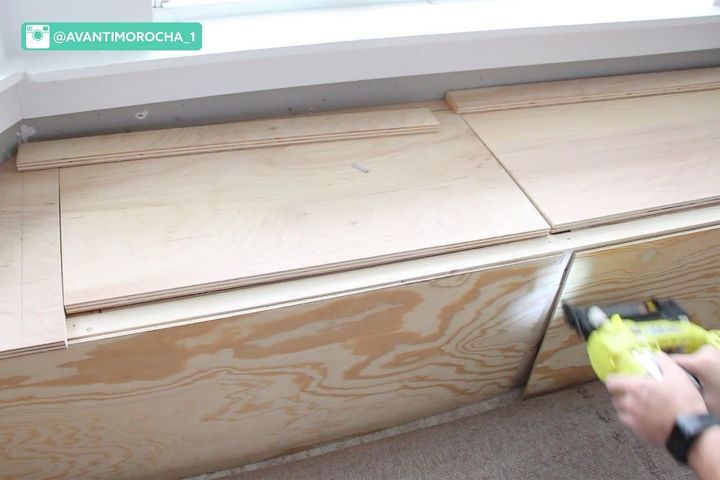
The two-piece top was carved up giving us separate pieces for the sides, back, front, and the doors. This gave us the freedom to situate the pieces as we needed. Most of the cuts for the top were made using a table saw however a steady hand and a circular saw would work just fine too. To nail everything down we used a brad nailer (finishing nailer) and 1,1/4" brads. After the pieces were set, we caulked everything using white Dap Alex flex.
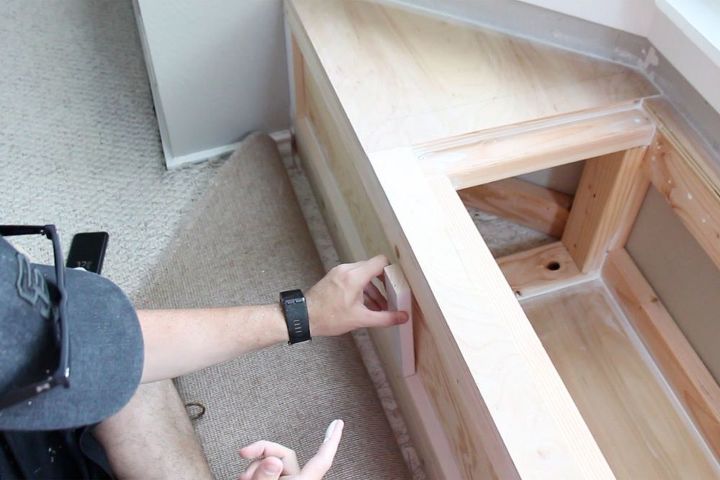
We then set the trim pieces. Most of the trim pieces were nailed in using brads however a couple of them needed to be .
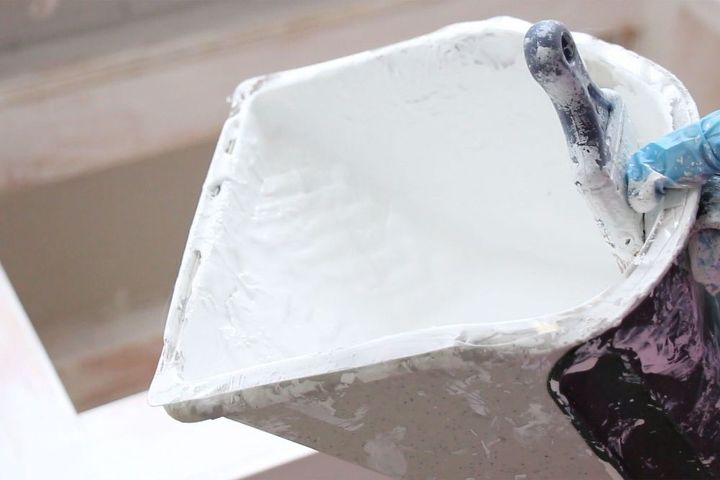
The bench was primed with Zinsser® B-I-N® Shellac-Base (White) then painted with two coats of semigloss white paint.
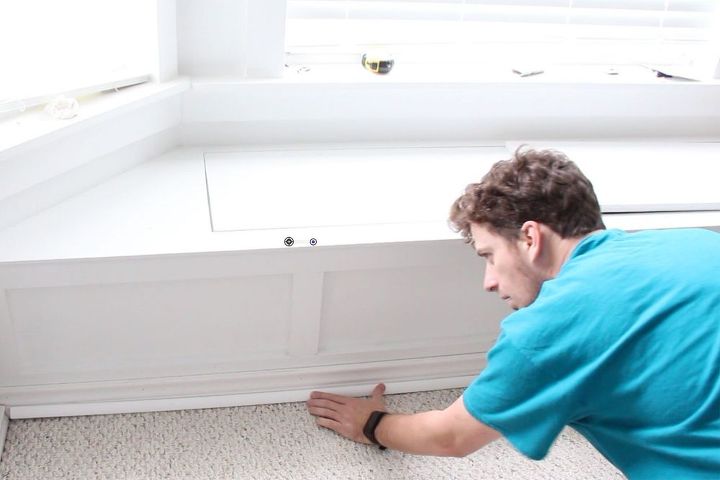
Next, we attached the baseboard and quarter round to the face of the bench. The baseboard and quarter round give the bench a finished look while also covering the cut carpet.
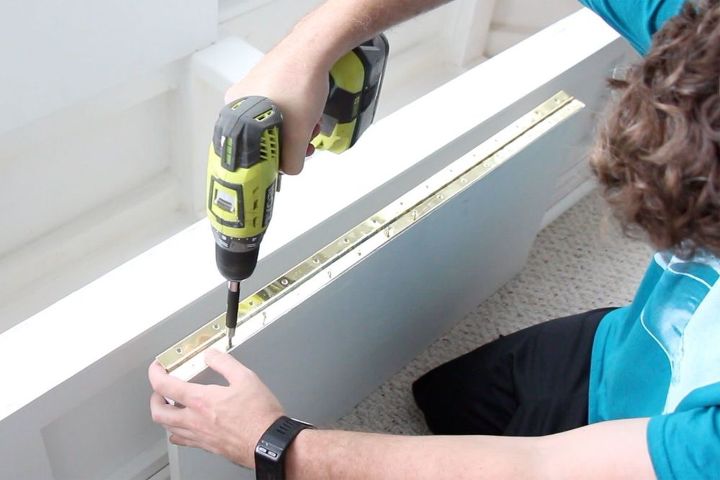
At this point the bench construction was almost complete. To set the doors we used a piano hinge.
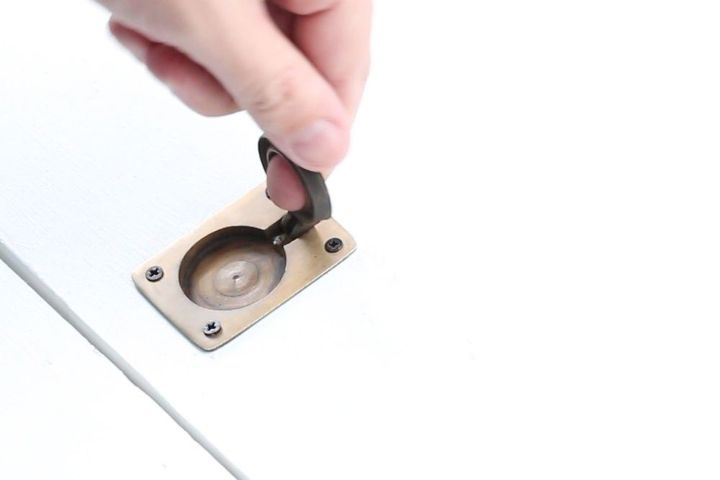
Next, we installed recessed handles (Flush Pull handles) into the doors.
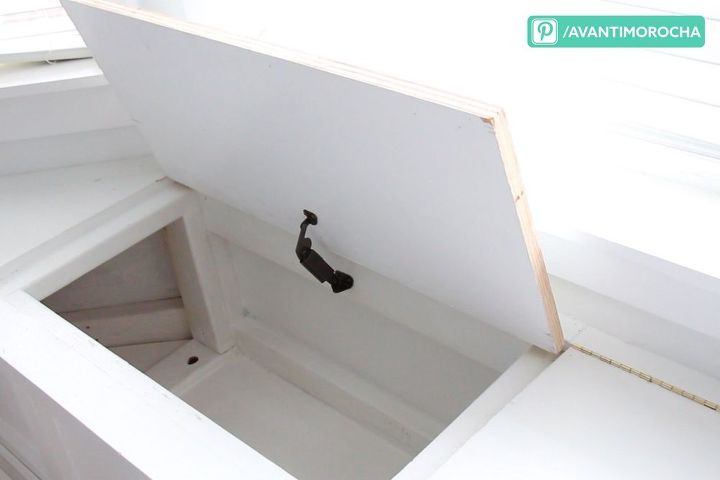
Finally we installed safety hinges on the trunk doors. This is a great feature which ensures the doors do not slam shut. This is especially ideal if you have little ones in the house.
Don't forget to visit my blog https://avantimorocha.com/ and follow me on my social media.
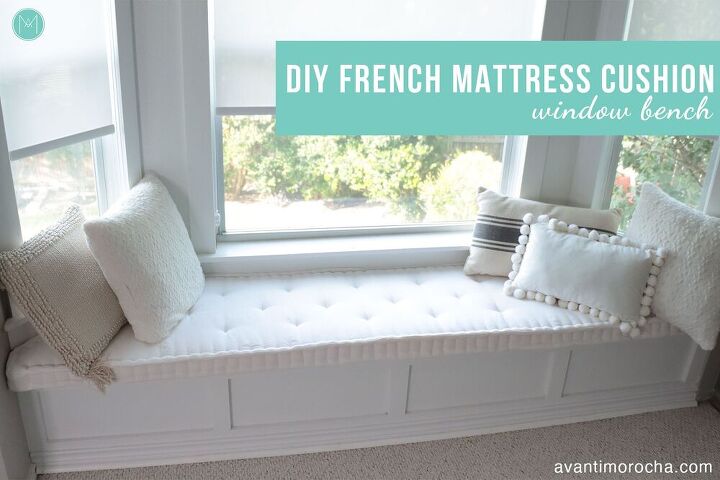
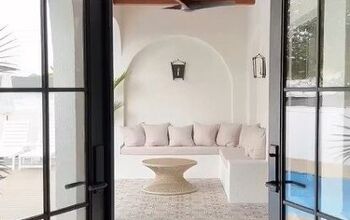
If you want to learn how I made the French Mattress cushion check this post or visit my blog
Resources for this project:
See all materials


Comments
Join the conversation
-
i would have no qualms sitting on something your husband made. very sturdy and beautiful. you guys did a wonderful job.

-
Nice job husband! Looks amazing! What took you so long?


Frequently asked questions
Have a question about this project?
How did you get the angle for the end pieces?
Where do you get the pad for the bench? I wished there was a pic of it in the making of it.
Is your bench attached to the wall