


How to Make a Simple Rolling Overbed Table

Sometimes it’s nice to just stay in bed and work...or have someone bring you breakfast. Trays are ok but aren’t stable if you move around.

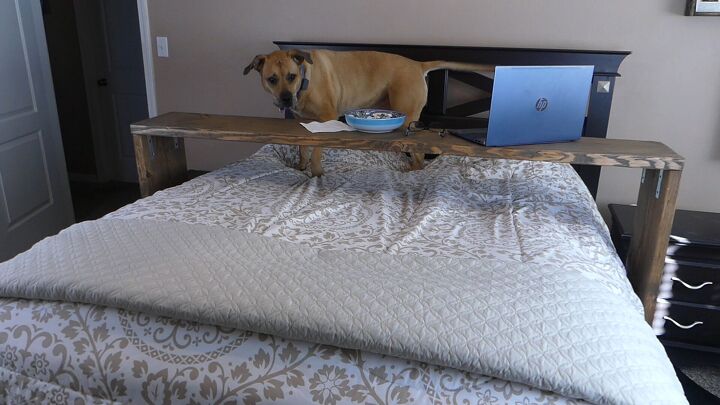
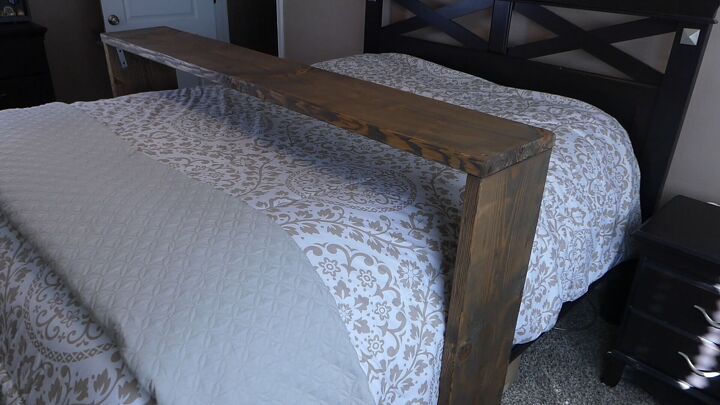
This Simple Overbed Table will roll up to wherever you need it, will provide stability for the items on top, and can roll back to the end of the bed when not in use.
You’ll need: (affiliate links on my blog generate proceeds which are donated to no-kill animal shelters and rescue organizations. Shop Amazon through these links to help raise monthly donations):
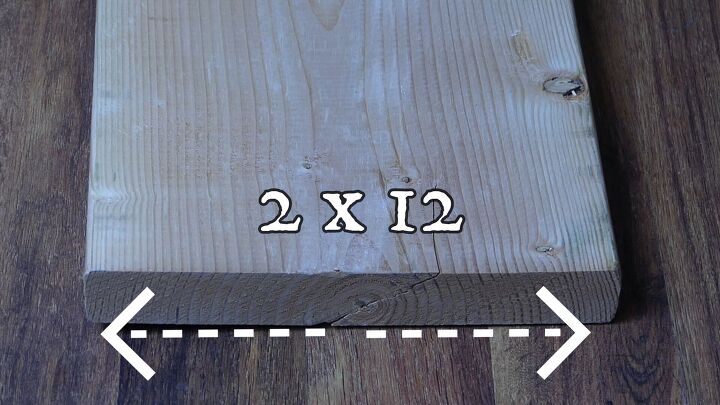
2x12s – two inch thick lumber makes for a strong, stable piece of furniture while the 12 inch width provides plenty of table top space.
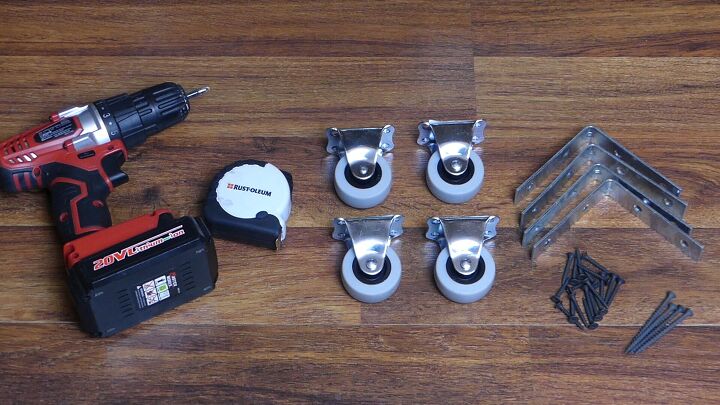
A drill, measuring tape, four 2-inch rigid caster wheels, four four-inch L brackets, 1 and a quarter inch screws, and four 2 and a half inch screws.
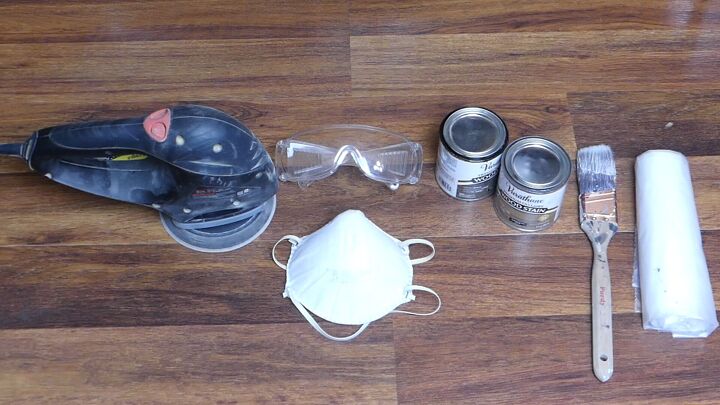
A sander, safety glasses, a mask, stain, a brush and a drop cloth.
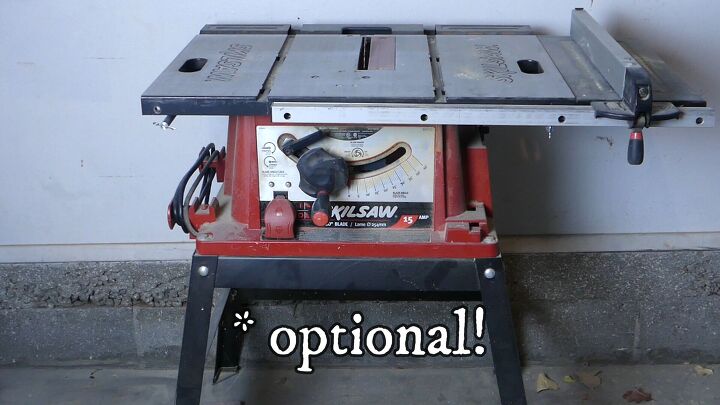
A table saw is optional - If you don’t have one, wait to purchase the lumber until after you have your measurements. Many large home improvement stores will rough cut your lumber to size. I highly recommend this for these heavy pieces.
First, measure your bed to get the sizes for your lumber.
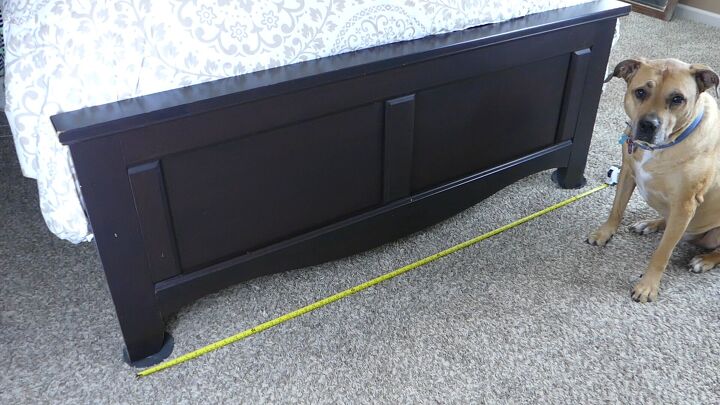
My queen size bed and frame measures 65 inches in length. Add three inches to accommodate the table’s sides and another a few inches to accommodate bedding bulk and so it’s not a squeeze to move the table back and forth. With these measurements and additions, my table will be 72 inches – an even 6 feet long.

Measure the height next. Do this by sitting in the bed and placing one end of the measuring tape on the floor.
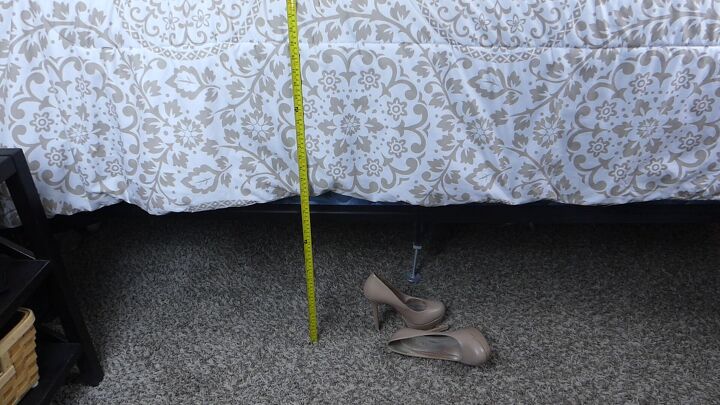
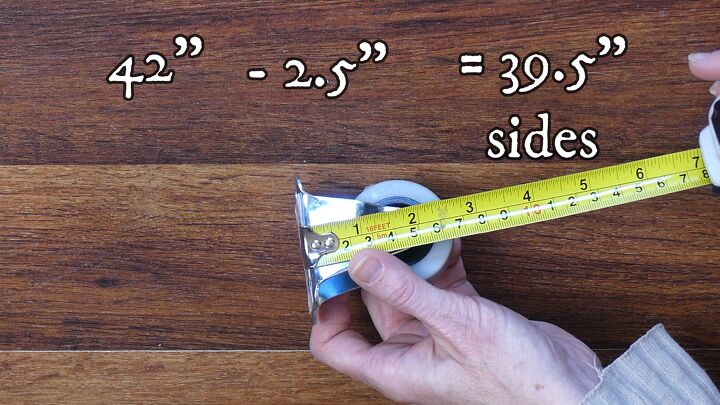
Measure up to a height that hits above your lap with some extra room for the bedding and will allow for movement. For my bed and lap allowance, my table height will be 42 inches. Take that measurement and subtract the caster wheel height (mine are 2 and a half inches) to get the adjusted height of the table’s sides. My adjusted height is 39 and a half inches.
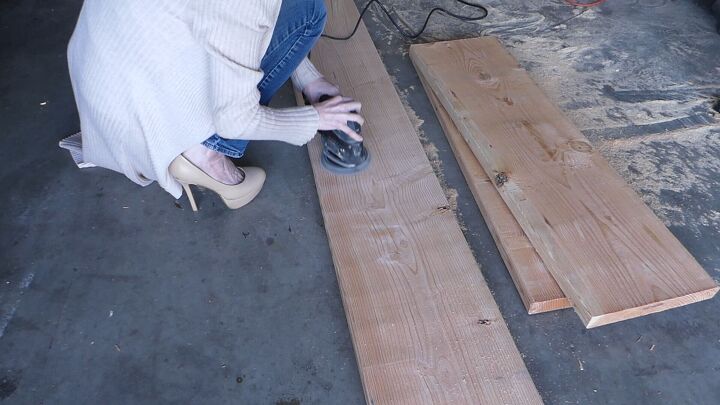
Once you’ve purchased your lumber and either had the store cut it or used your table saw, sand over the entire surface of the lumber until smooth.
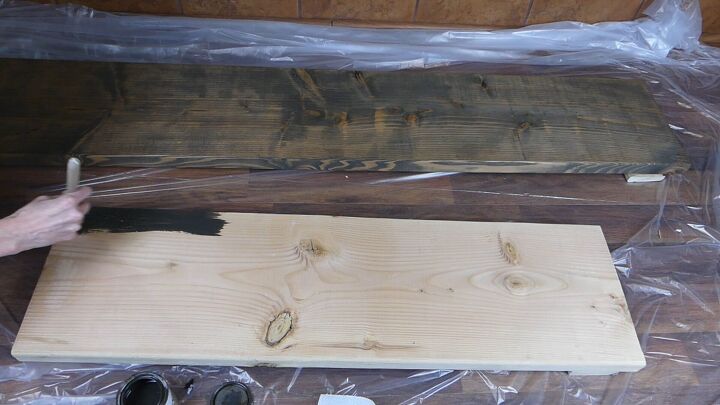
Wipe down the lumber to remove any sawdust and stain it over a drop cloth. Allow to fully dry.
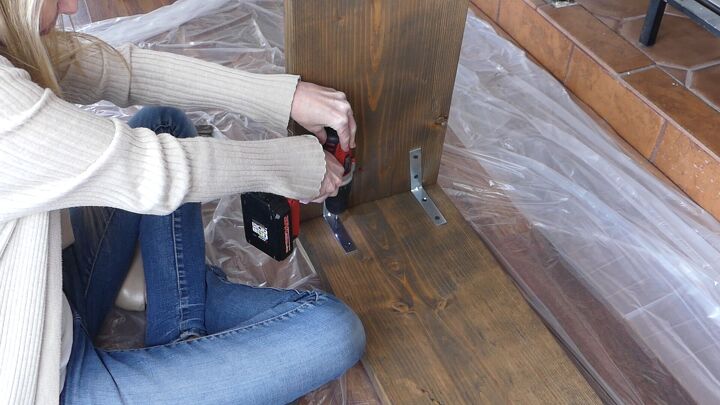
Once the stain has fully dried, assemble the table upside down. Add two brackets to attach the table’s top to one side. Do this on the other side as well.
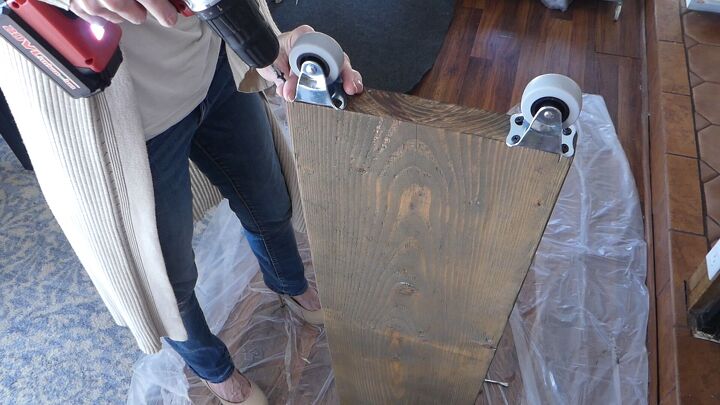
Attach two caster wheels on to the bottoms of each of the table sides.
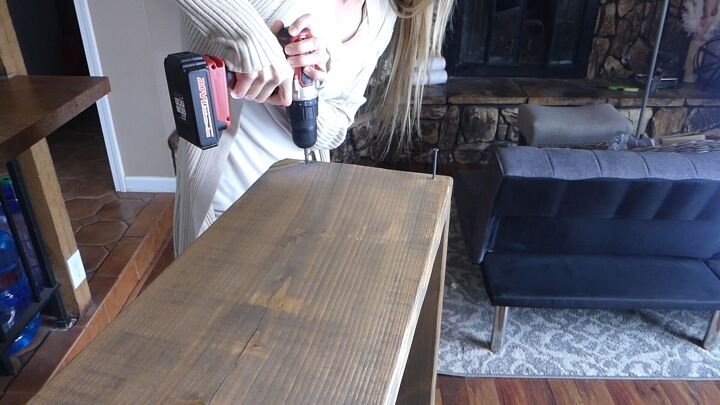
Flip the table upright and run two two-and-a-half-inch screws through the top and down into the sides. There should be two screws at each end.
That's it! Place the Simple Rolling Overbed Table at the end of your bed and roll it up when needed.
Watch the easy-to-follow, step-by-step video tutorial below. Proceeds from the video and the channel are also donated to no-kill shelters and rescue organizations ❤


Comments
Join the conversation
-
All I saw was the pooch and high-heels! Cutest thing I've seen today...THANK YOU!
-
Breakfast in bed for the pup!! LOL This is a great project, thanks for sharing!


Frequently asked questions
Have a question about this project?
I was wondering if its possible some how to make a bed rail ot something just for one side of the bed because I start out in the bed and manage to slide off the bed leaving my feet and legs -thepain is worst can you help me with so