


Livingroom End Tables

I had an idea that I wanted to stem off of in order to make end tables for my Livingroom. My project ended just as I had envisioned it and it's gorgeous! Total time frame for this took up 21 hours so I was able to start on a Friday night and had them in my Livingroom by Sunday afternoon but keep in mind that 3/4 of these hours were drying time. This is my first time posting so I apologize if I didn't take more pictures along the way. I hope this will encourage others to show us your masterpieces!
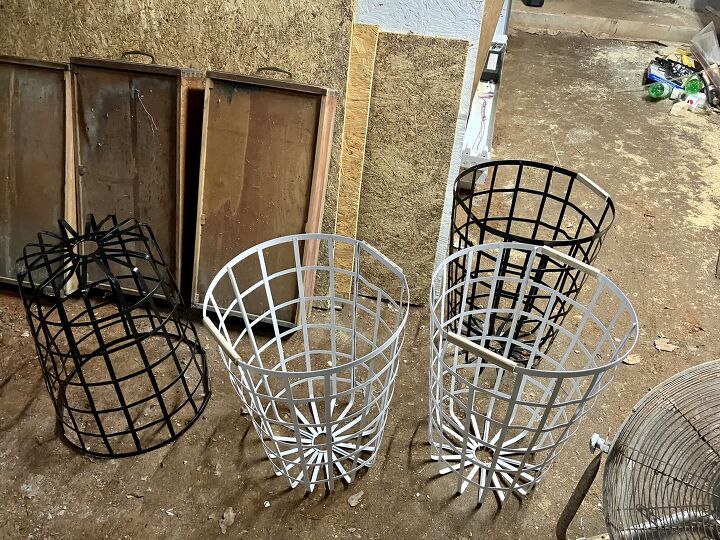
I ended up finding some metal laundry baskets from my local dollar general (the last 4!). I did end up having to spray paint 2 of them matte black.
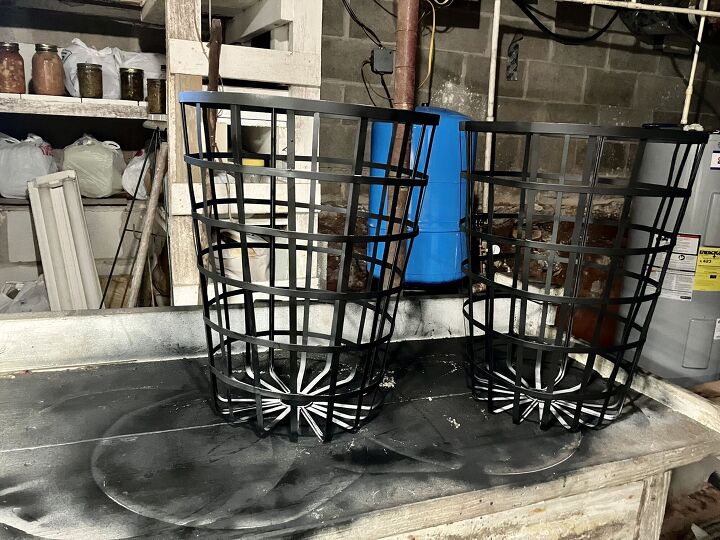
After spray painting these, I didn't have to worry about the bottom section because I planned on turning these upside down to achieve my vision. However because these are see through, painting did take some time so I could make sure to get every angle. Painting took about 5 hours in between all the coats I had to achieve and waiting in between.
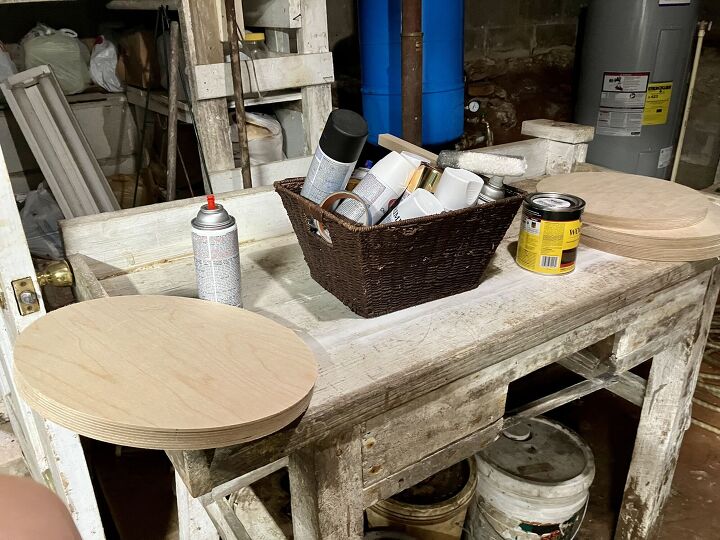
My husband hobbies in audio so I stole some scrap pieces of wood he cut out (can you believe we was going to trash these beauties?!). The style of wood he uses is 1" Birchwood so I couldn't live with myself to let these go to waste but these cutouts is what gave the idea in the first place and I built the project from that.
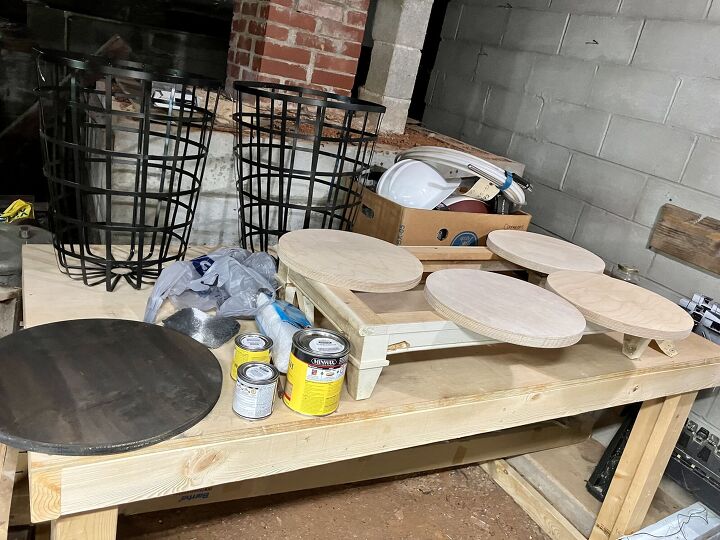
I've got a deep love for "farmhouse" style décor so I chose a "silvered gray" wood stain for my table top because I wanted a uplifting vibe. I purchased my wood stain from Lowe's along with fast drying polyurethane. I sanded my wood and its edges and I did 2 thin coats of the stain, 1 coat of polyurethane, waited 3 hours and did some light sanding and then did 1 more coat of polyurethane. At this point my timeframe on sanding/staining took 4 hours but by the time I put on the 2nd coat of polyurethane I went to bed and gave it a total of 12 hours before I handled them.
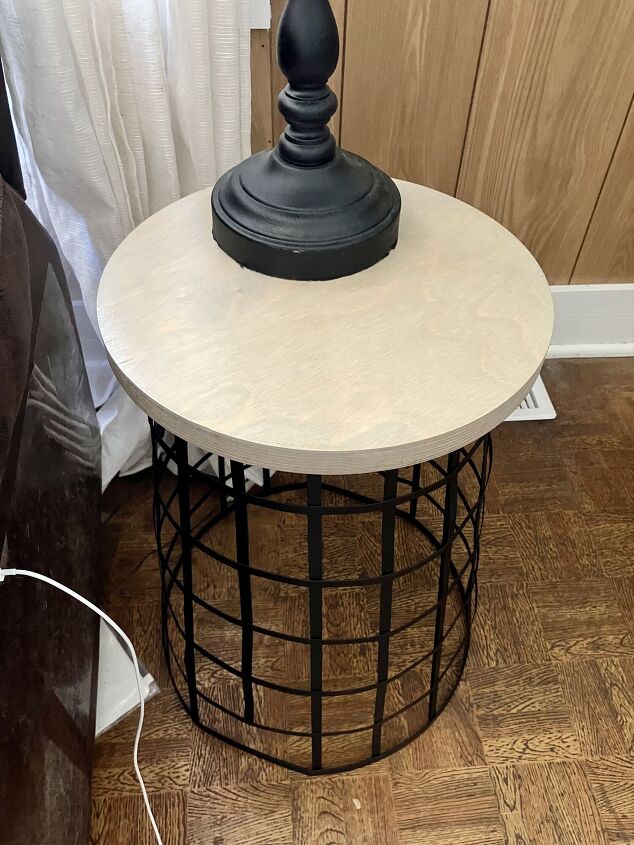
I turned by baskets upside down and used E5000 glue to attach the wood top to the bottom of the basket and allowed it to set for about 2 hours before I handled the whole thing and brought them inside.
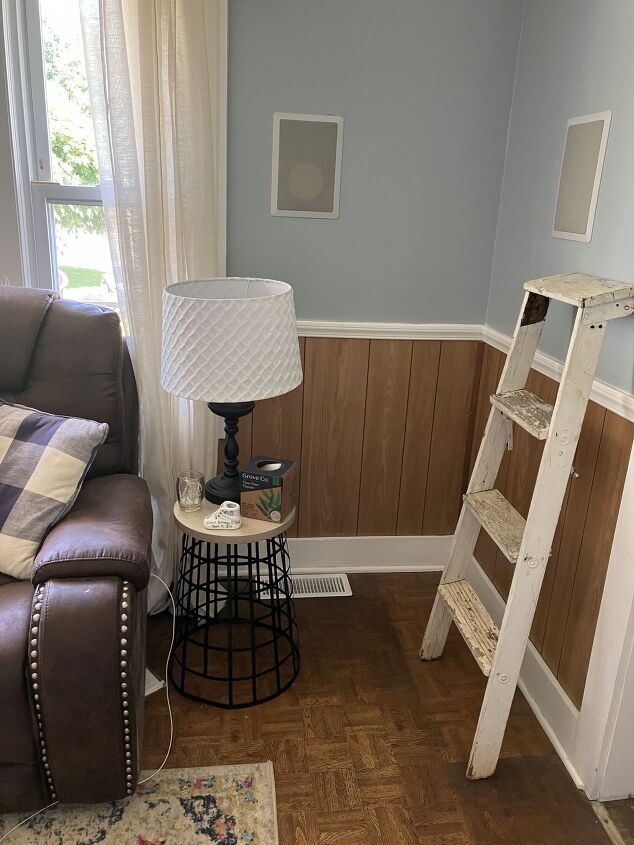
The product is exactly how I envisioned it and I couldn't be anymore pleased with it OR myself. FYI, if you are curious as to why there is a VERY distressed 1/2 piece of ladder in this picture, I found it and it wasn't sturdy for someone to actually stand on so I decided to make it into a blanket holder for my Livingroom. 

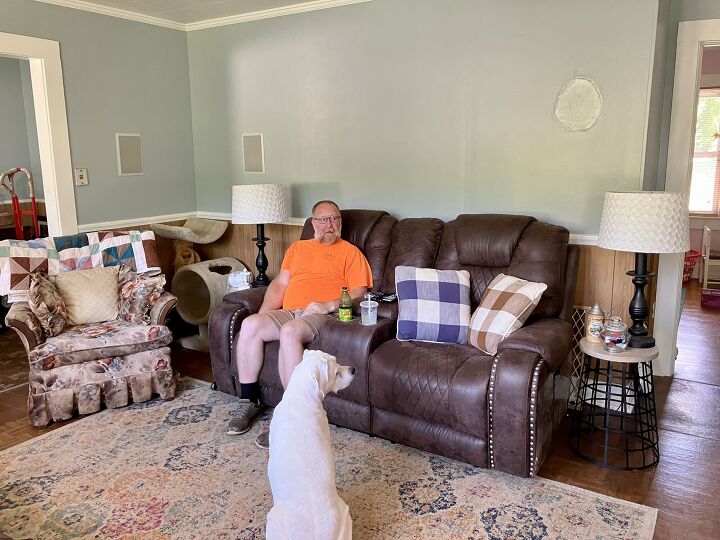
BEFORE (moved in 6 months ago and never been satisfied with my Livingroom layout in order to put up pictures on the wall....but now that's about to change!)
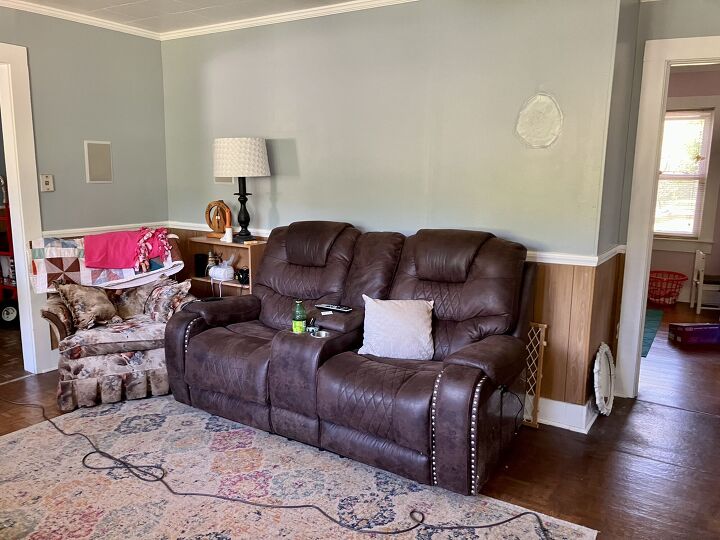
BEFORE
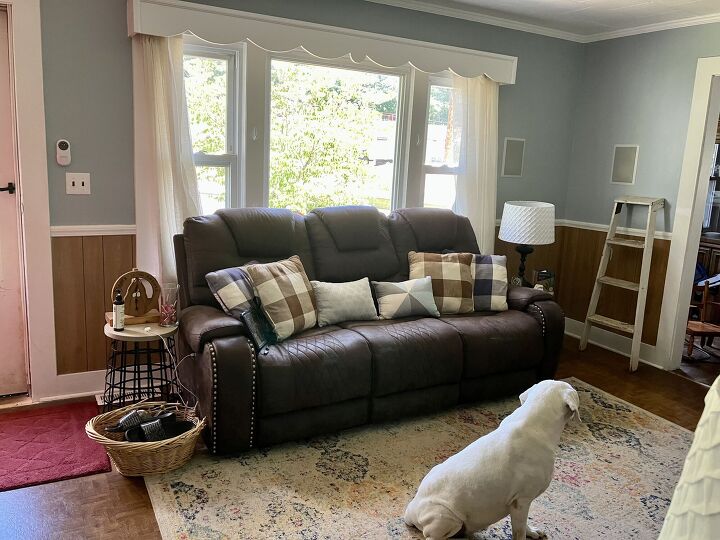
AFTER
AFTER
Resources for this project:
See all materials


Comments
Join the conversation
-
You did an amazing job! Keep your projects coming! Andddddd I absolutely love the blanket ladder! ❤️
-
Thank you so much Karra!


Frequently asked questions
Have a question about this project?
Very cute!! But metal? From Dollar General? I wish ours had those! I’ll start looking!