


Making a Farmhouse Table From Oak and Pine Boards

by
Making Stuff
8 Materials
$75
3 Days
Medium
Here is how I made an oak top farmhouse table from some old oak boards and 2x4 pine boards. If you are the type that likes to watch videos, then here is a video of the complete process.
{
"id": "5051617",
"alt": "",
"title": "",
"video_link": "https://www.youtube.com/embed/H2ZxUZOkk-I",
"youtube_video_id": "H2ZxUZOkk-I"
}
{
"width": 634,
"height": 357,
"showRelated": true
}
If you are the type that likes to watch videos instead of reading, then here is a video of the complete process.

Plane boards to same thickness.
First step is to plane the oak boards so that they are all the same thickness. A thickness planer works great for this step. If you don't have a thickness planer, you can purchase the boards already planed and kiln dried.
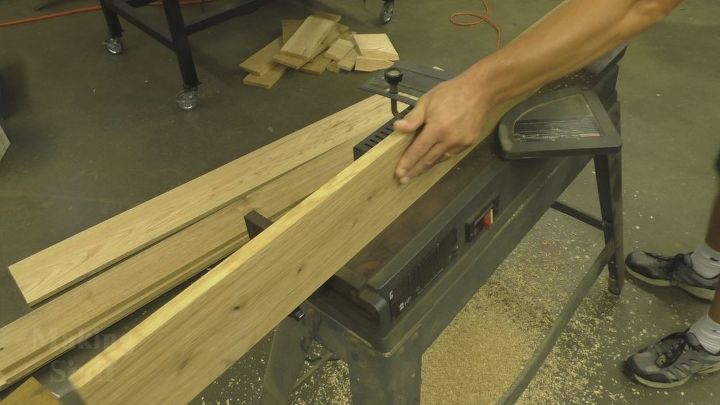
Smooth one side in jointer.
Next, smooth one side of the boards in a jointer.
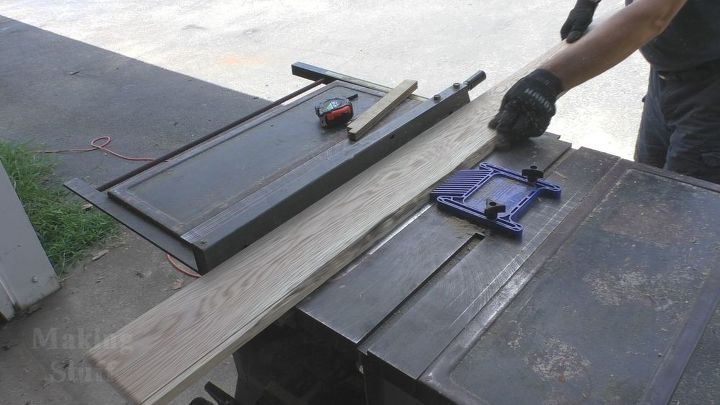
Trim opposite side on table saw.
Trim the opposite side of the board on the table saw to remove live edges and square up the board. Be sure to run jointed side of board against the saw fence.
Next, use a plate joiner and insert biscuits or dowels. I used #10 biscuits in my boards. The biscuits or dowels will help keep the boards aligned while being clamped and glued.

Clamp and glue boards.
Clamp and glue the boards together. Be sure to alternate the clamps from top to bottom so that the table top does not warp. Wait at least 24 hours for glue to dry.
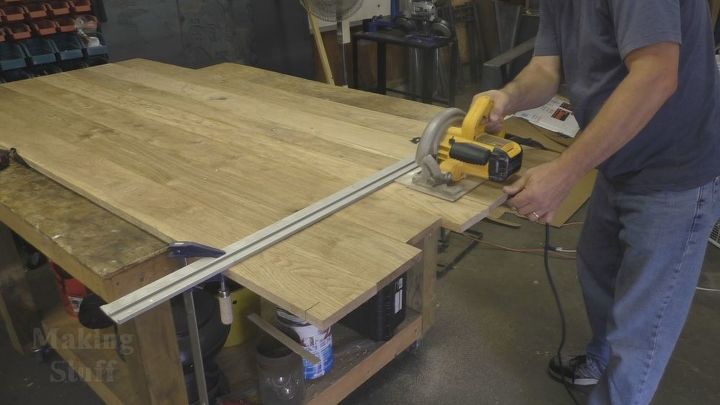
Trim edges.
Once the glue dries, remove the clamps and trim the edges to length.
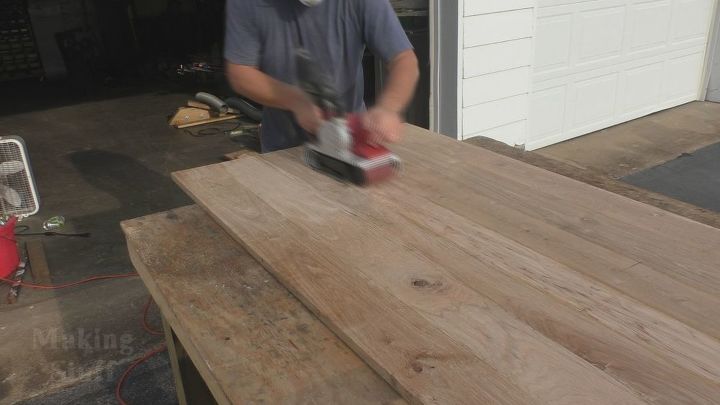
Sand table tope.
Sand the table top using 100, 150, 220 grit sand paper. Start with 100 grit and work your way up to 220 grit.
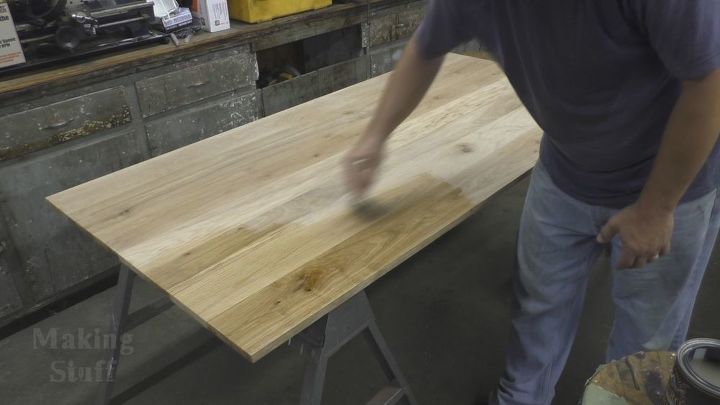
Apply top coat.
Next apply any stain and top coat. I prefer no stain and a high quality top coat such as Enduro.
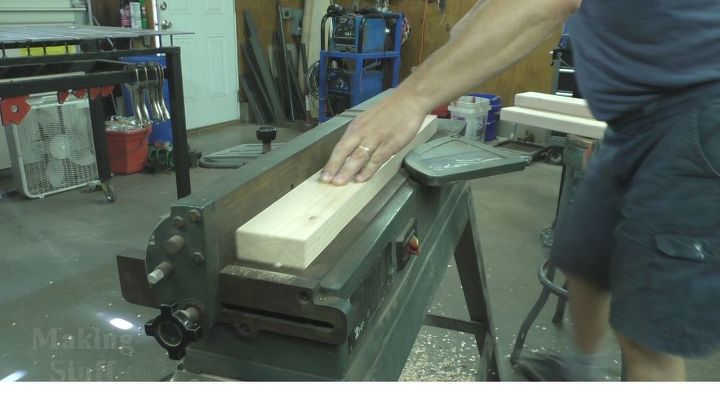
Prepare 2x4 boards for legs.
Now it's time to start on the table legs. Cut the 2x4s to 30 inches. I like to run the 2x4s through the jointer to get rid of the rounded edges of the 2x4s. It also cleans the boards and makes them very smooth. Most 2x4s are construction grade, but they are cheap. So cleaning the up like this will pay off.
I am going to glue 2 boards together to make the legs thicker. Running the boards through the jointer also helps the gluing process.
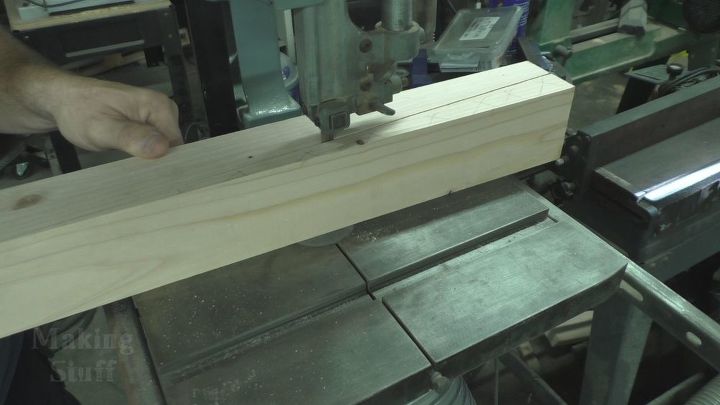
Cut taper in legs.
Next cut a taper on 2 sides of each leg. If you prefer to have legs with equal side, skip this step.

Glue 1/2 strips to base.
Next, cut the boards for your base. Length and width will depend on how long and wide you made the table top. Glue the strips to the edge of the base boards. Use some 16ga nails or screws to hold them in place while the glue dries.
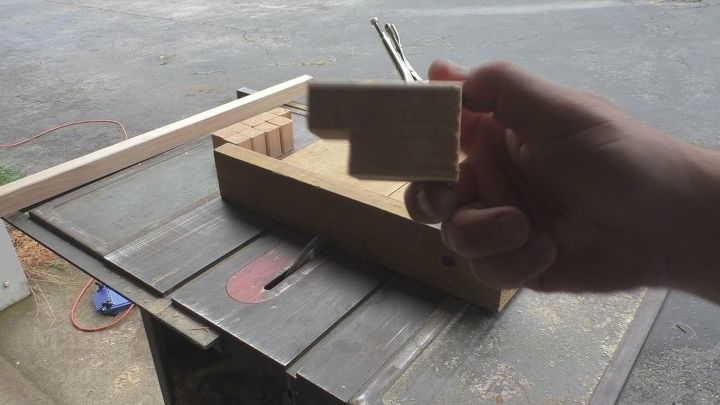
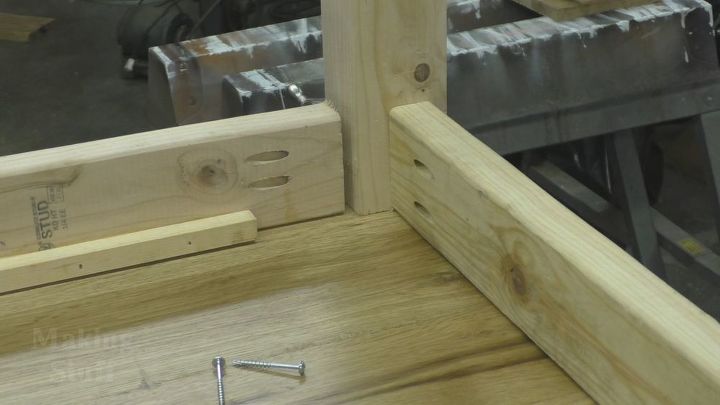
Cut notches to hold top and base together.
Next cut 12 notches on table saw or miter saw. These will be used to hold the table top to the base. It will also allow the top the expand and contract without splitting.
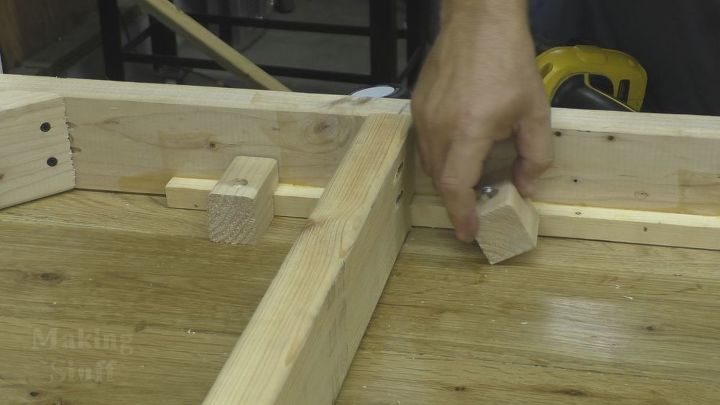
Use pocket screws to attach base to legs.
Use glue and pocket screws to attach the legs to the base boards. Be sure to put the 1/2 strip against the table top. You can add a small piece of 2x4 cut at 45 degree angles to help add support to the table legs.
Screw notches to table top.
Screw the notches to the table top. The friction from the notch should hold it in place. Be sure not to screw all the way trough the table top. Also, horizontal supports can be added for extra support in the middle of the table top. You will have to cut a notch in them as well and use pocket holes to secure it to the base.
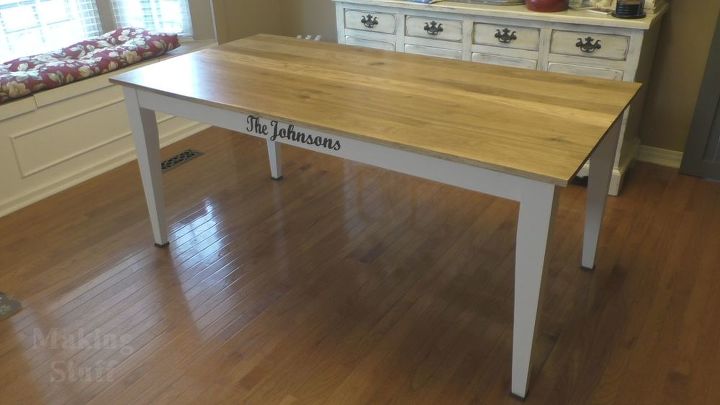
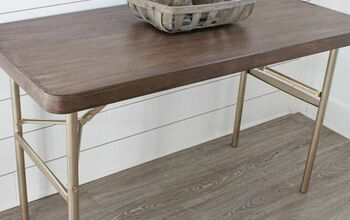
The finished table.
Resources for this project:
See all materials


Any price and availability information displayed on [relevant Amazon Site(s), as applicable] at the time of purchase will apply to the purchase of this product.
Hometalk may collect a small share of sales from the links on this page.More info
Comments
Join the conversation
2 of 18 comments
-
Nice project. Simple but effective.
-
Really.. like this


Frequently asked questions
Have a question about this project?
I have a table that I love the frame and legs but the top is phoney paper to make it look like it's made of several boards. It expands but I never use the extra leaf. Do you think I could remove the top and do your top in place of it. Your table is so beautiful.