


How to Craft a Rustic Pool Noodle Ottoman: Easy DIY Project

Hi there Hometalkers!
I have another quick, practical, and stylish project for you today.
I am going to show you how to create a rustic pool noodle ottoman using just a few materials and simple techniques.
This post was transcribed by a member of the Hometalk editorial team from the original HometalkTV episode.
Best rope ottoman!
Tools and Materials:
- Pool noodles
- Duct tape
- Serrated knife
- Hot glue gun and glue sticks
- Rope
Hometalk may receive a small affiliate commission from purchases made via Amazon links in this article but at no cost to you.
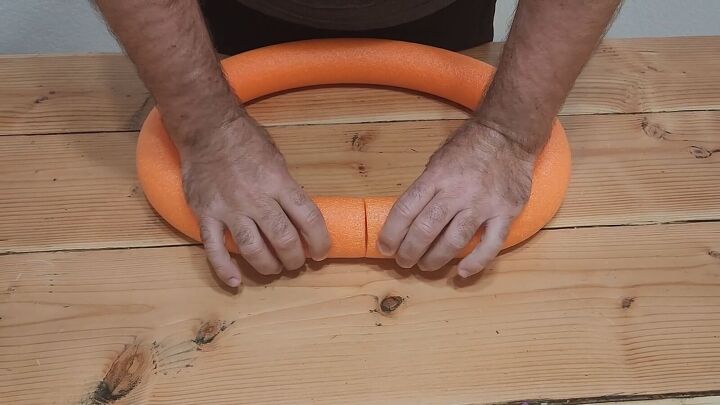
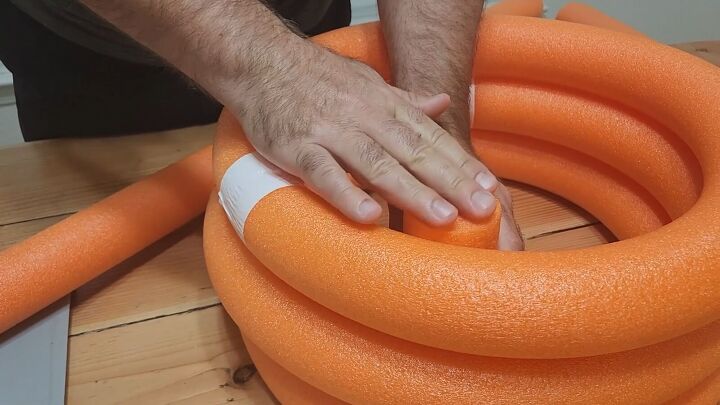
1. Stack and Secure the Pool Noodles
Let's kick off this project by bringing those pool noodles together.
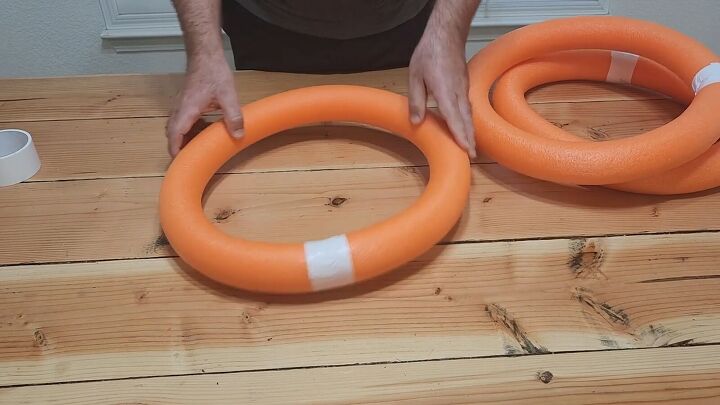
Grab your dollar store pool noodles and use duct tape to hold the ends together, forming rings.
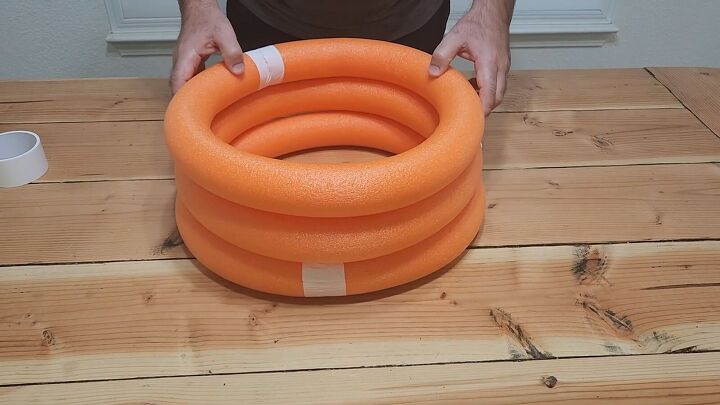
Stack these rings to your desired height; three rings worked perfectly for me, but feel free to adjust based on your preferences.
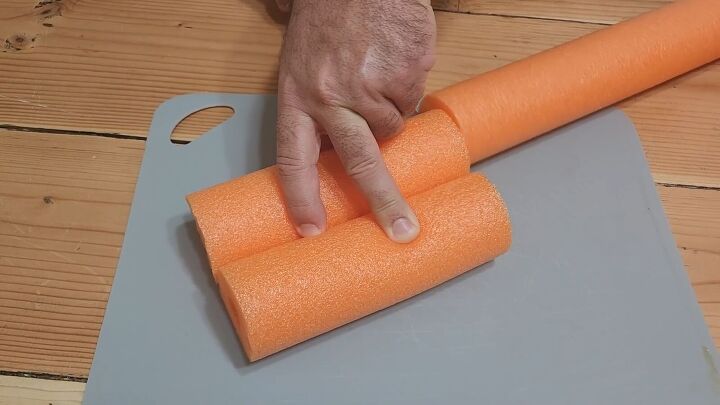
2. Cut and Stack Additional Noodles
Next up, it's time to cut additional pool noodles to fit snugly inside the stacked rings.
You want them to be level with the top.
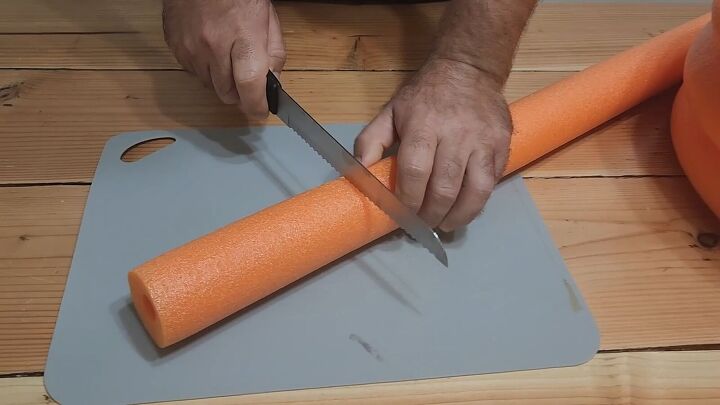
Pro tip: a serrated knife makes cutting through pool noodles a breeze – it's like cutting through butter!
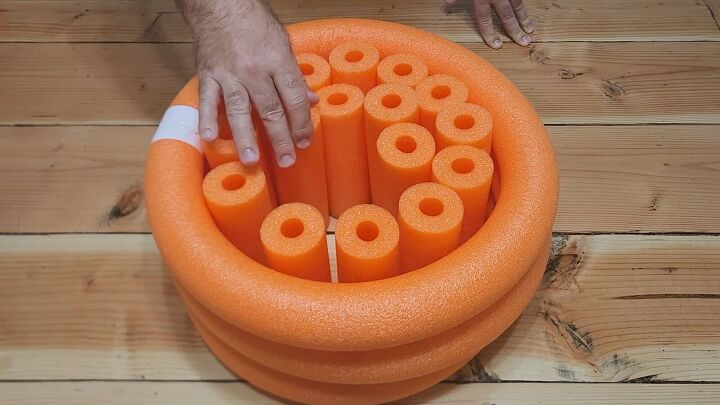
Stack these cut noodles inside the rings, starting from the outside and working your way in.
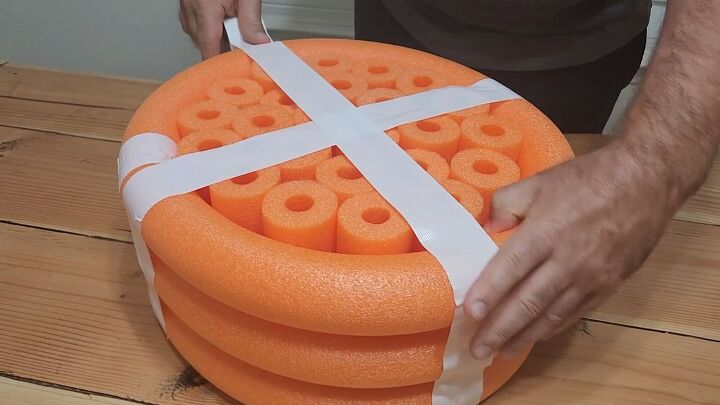
3. Secure with Duct Tape and Hot Glue
Once all the pool noodles are snugly in place, use duct tape to cover the entire structure, ensuring everything stays put.
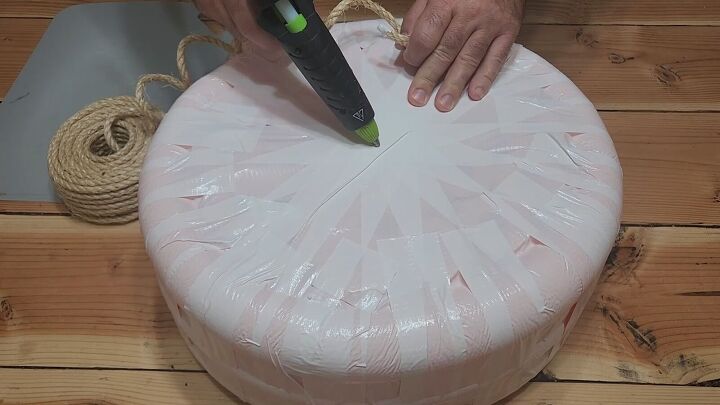
Then, add a dab of hot glue in the center and start wrapping the rope around the ottoman.
Take your time with this step – it's a bit slow at the beginning, but it picks up pace as you go.
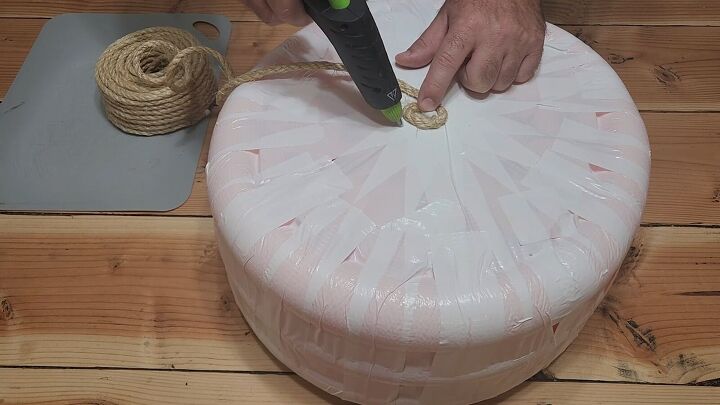
4. Complete the Wrapping Process
Continue wrapping the rope around the ottoman, covering the entire structure.
Don't worry about any seams where the ropes meet; they add character to your creation!

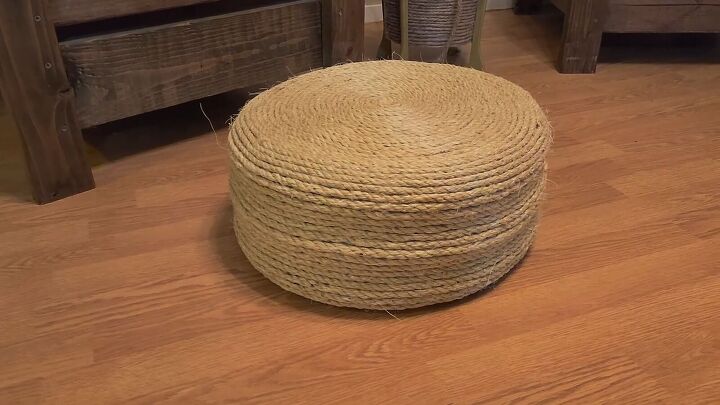
Once you've covered the ottoman completely, trim any excess rope and secure the end with hot glue.
Looking for more ways to get creative with pool noodles?
Pool Noodle Hacks: DIY Ottoman
And there you have it – your very own pool noodle ottoman! Strong, stylish, and oh-so-easy to make.
Feel free to experiment with different heights and designs, or even add a splash of color with patterned duct tape. The possibilities are endless!
I hope this tutorial has inspired you to embark on your own pool noodle crafting adventure. Give it a try and let your creativity flow!
Comments
Join the conversation
-
This would be great for a kid's room... I do have a concern about using only hot glue to hold the rope/twine... I would use the hot glue to start the coil on the top but would use a brush and apply a good quality craft glue like Aleene's Tacky Glue to permanently hold the rope or twine to the duct tape surface.... hot glue can peel away after a length of time... I would only apply enough glue (at one time) for 3 or 4 circuits of the rope/twine and add more glue as you proceed... so the glue does not dry out too soon.
- See 1 previous
-
Wow! That's a great idea, and I like it with craft furniture.


Frequently asked questions
Have a question about this project?