


How to Build Cornhole Boards For a Fun Garden Game
Want to learn how to build cornhole boards? Cornhole is a classic game that adds a touch of fun to any occasion. The best part is, that you can personalize it by repainting the boards to match any theme or pattern you like.
In this step-by-step tutorial, I'll guide you through the process of creating your own DIY cornhole game. Get ready for hours of entertainment with family and friends!
Tools and materials
- 1/2" x 4ft x 8ft Plywood (2 sheets)
- 4 pieces of 2x4x8 lumber
- 6” hole saw
- 4 pieces of 3/8” Carriage Bolts
- 4 pieces of 3/8” Wing Nuts
- Wood glue
- Pocket hole jig
- Sandpaper
- Drill
- Saw
- Paint and brushes (for personalizing your boards)
Steps
Step 1: Prepare the Plywood
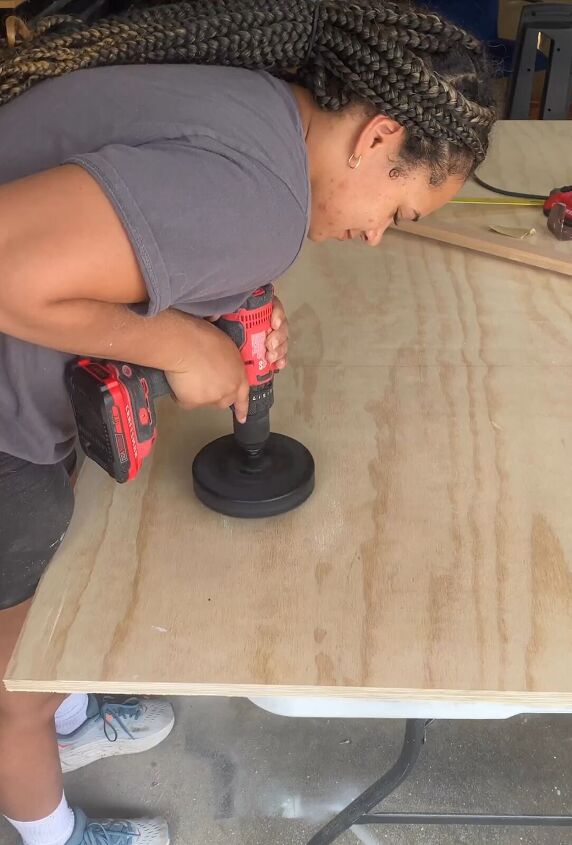
Begin by measuring and marking a piece of plywood to 4 feet in height and 2 feet in width. Locate the center width of the board (at 12 inches) and measure down 9 inches from there.
Using this mark, position a 6-inch hole saw and drill through the plywood to create the holes for the game. This hole should be centered and 9 inches from the top of the board.
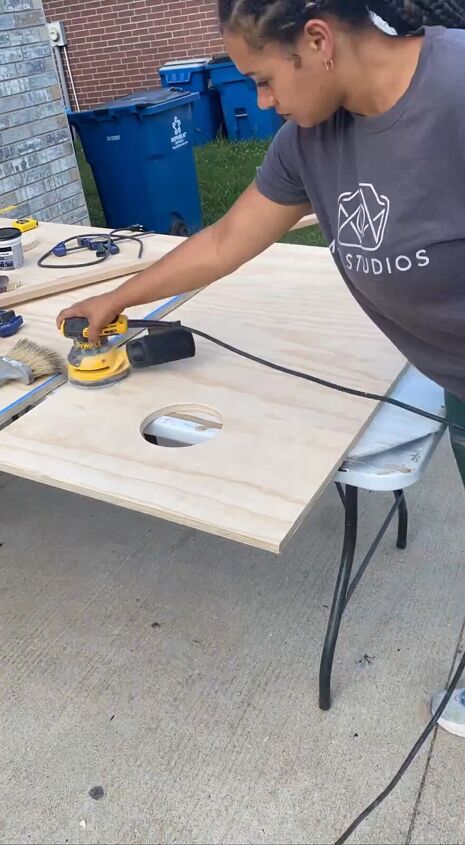
Step 2: Cut and Sand
Cut along the 2-foot width you initially measured using a saw. After cutting, sand the edges and surface of the plywood to ensure a smooth finish.
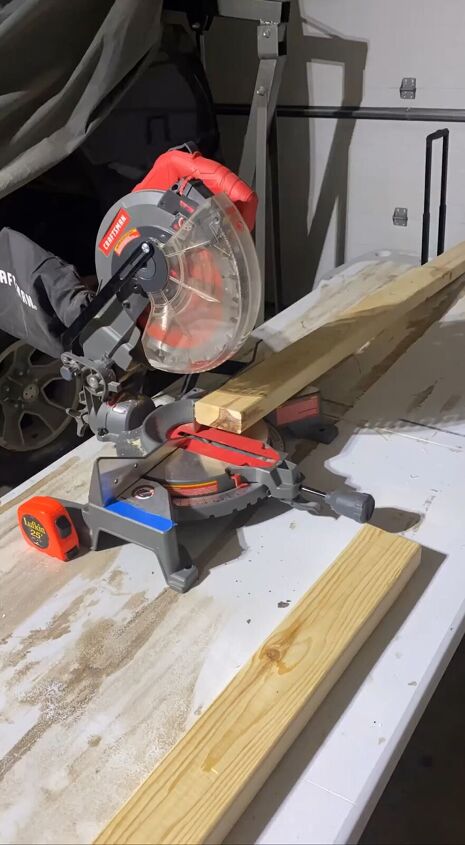
Step 3: Prepare the Frame
Cut the 2x4 lumber into the following pieces:
- 4 pieces at 24 inches
- 4 pieces at 44 inches
- 4 pieces at 11.75 inches
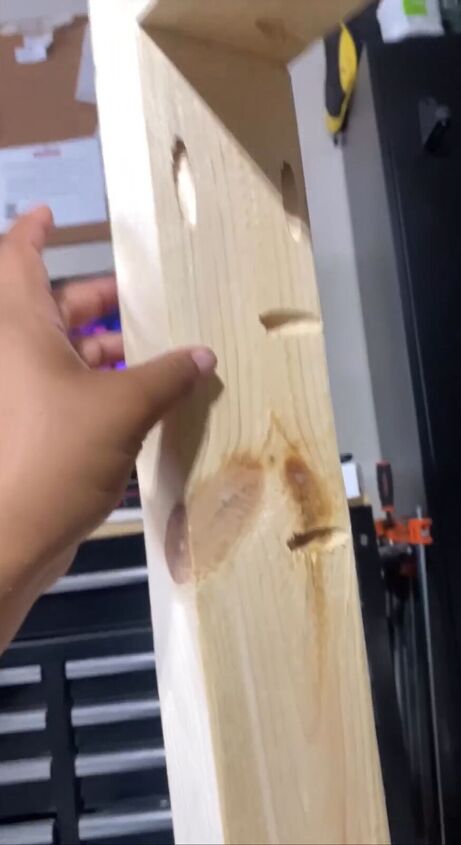
Using a pocket hole jig, add pocket holes to the top, bottom, and sides of these boards. This will allow you to securely join them together.

Step 4: Assemble the Base
Apply wood glue to the edges of the plywood and join the 24-inch and 44-inch boards to create a rectangular base. Use pocket screws to attach the pieces together firmly.
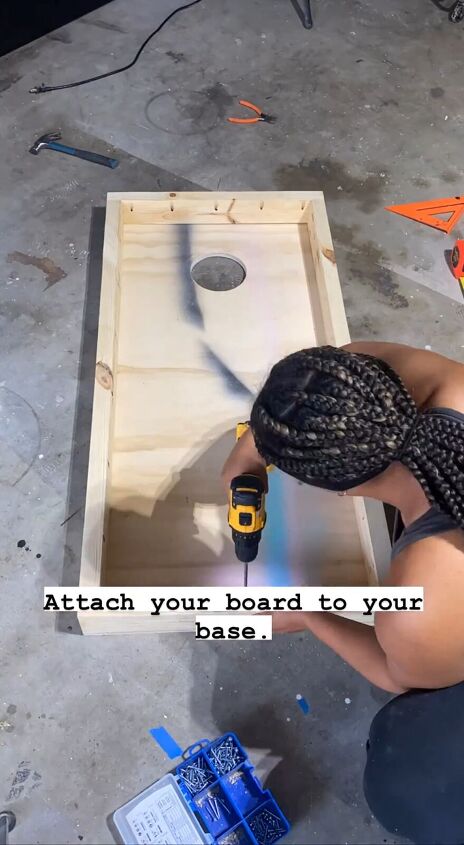
Step 5: Attach the Game Board
Align the hole on the plywood with the hole in the frame. Secure the plywood to the frame using wood screws, ensuring a snug fit between the two.
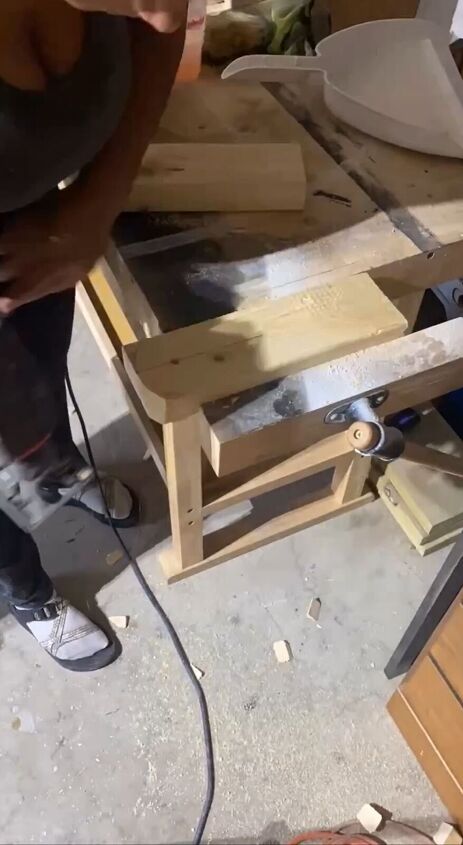
Step 6: Add Legs
Mark the center of each leg and drill a 3/8-inch pilot hole at this point. Round the tops of the legs slightly to make them adjustable. Attach the legs to the base using 3/8-inch carriage bolts and wing nuts. This allows you to fold the legs for easy storage and transport.
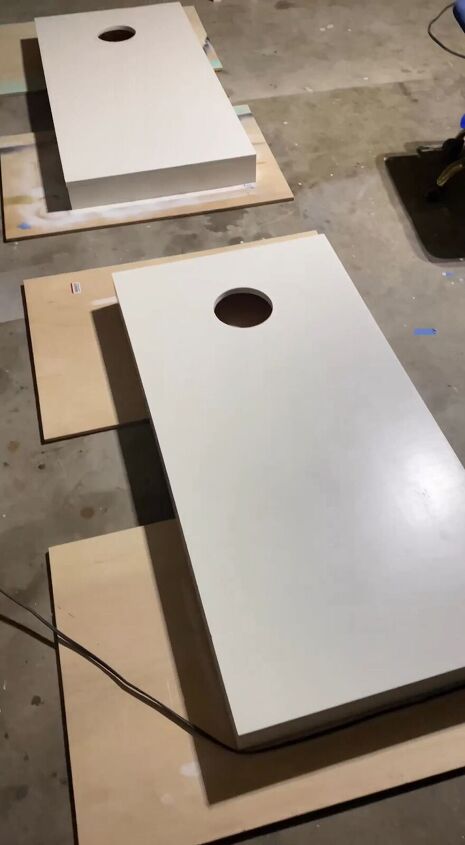
Step 7: Paint and Personalize
Before or after assembling the game, you can get creative by painting the boards with your desired patterns or themes. Let your imagination run wild!
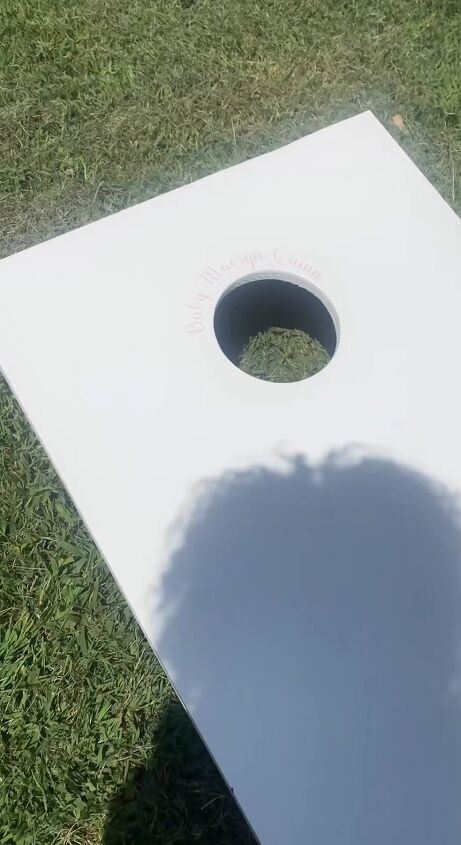
Once your DIY cornhole game is complete, you're ready to enjoy countless hours of entertainment with your customized creation. Set up the game at your next gathering and watch everyone have a blast!
DIY cornhole game
Creating your own DIY cornhole game is not only a fun project but also a great way to enhance your outdoor entertainment options.
By following these step-by-step instructions and utilizing the provided supplies list, you'll have a unique and personalized game that's sure to be a hit at any event. Get ready to toss those bags and have a blast with your handcrafted cornhole game!
Follow @flippedbyfaith_ on Instagram for more DIY ideas.


Frequently asked questions
Have a question about this project?