


How to Make a DIY Reed Diffuser in a Few Simple Steps
Did you know you can make your own DIY reed diffuser refill using essential oils, carrier oil, reed sticks, and a few household items? Reed diffusers are a wonderful way to add a pleasant aroma to your home, but purchasing refills can be quite expensive.
This step-by-step tutorial will guide you through the process, so you can enjoy your favorite scents without breaking the bank.
Tools and materials
- Empty glass or plastic bottle with a narrow neck (around 4-8 ounces)
- Distilled or boiled and cooled water
- Essential oils of your choice
- Carrier oil (e.g., sweet almond oil, grapeseed oil)
- Vodka or rubbing alcohol
- Reed sticks or bamboo skewers
- A small funnel (optional)
- A measuring spoon
- A glass or bowl for mixing
How to make a reed diffuser
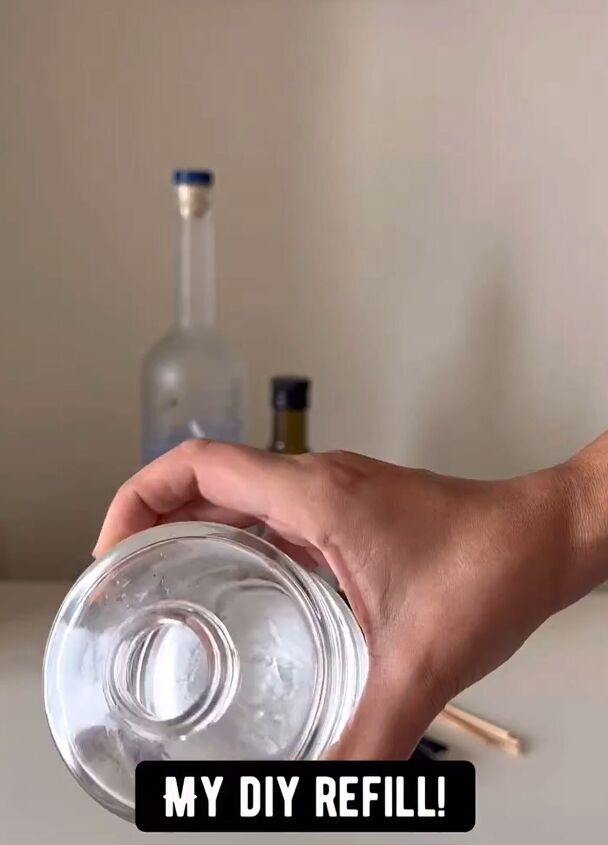
Step 1: Prepare Your Bottle
Start by selecting an empty glass or plastic bottle with a narrow neck. The size of the bottle will depend on your preference, but a 4-8 ounce bottle is ideal. Make sure it's clean and dry.

Step 2: Fill the Bottle with Water
Pour distilled or boiled and cooled water into your chosen bottle. Leave some space at the top to allow for the other ingredients. If you have a small funnel, it can make pouring easier.
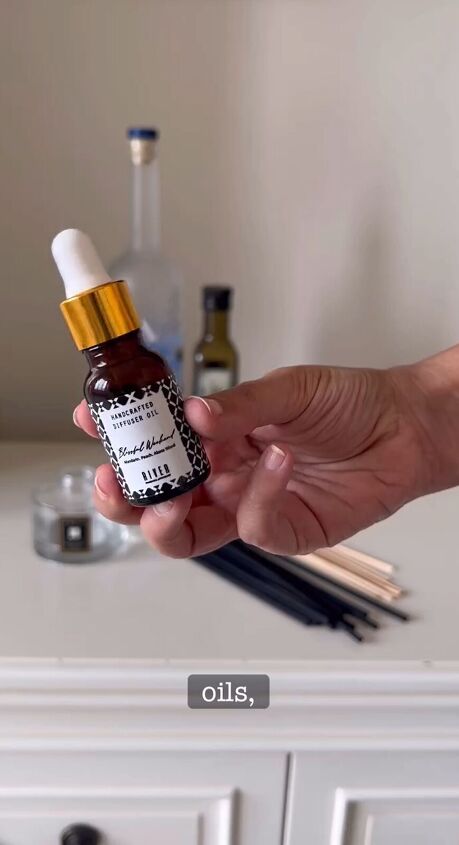
Step 3: Add Essential Oils
Add your chosen essential oils to the water in the bottle. You can be generous with the essential oils to create a stronger scent. The number of drops will depend on your personal preference, but start with around 20-25 drops for a 4-ounce bottle. You can adjust the ratio to create your desired fragrance intensity.
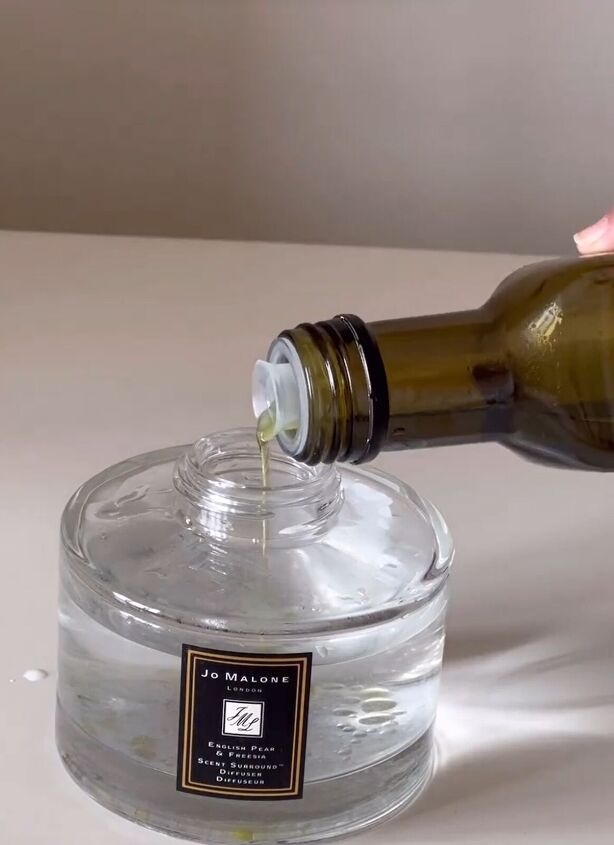
Step 4: Introduce the Carrier Oil
Add half a teaspoon of carrier oil to the bottle. Carrier oils help to disperse the essential oils in the water and provide a longer-lasting scent. Use a measuring spoon to ensure you add the right amount.
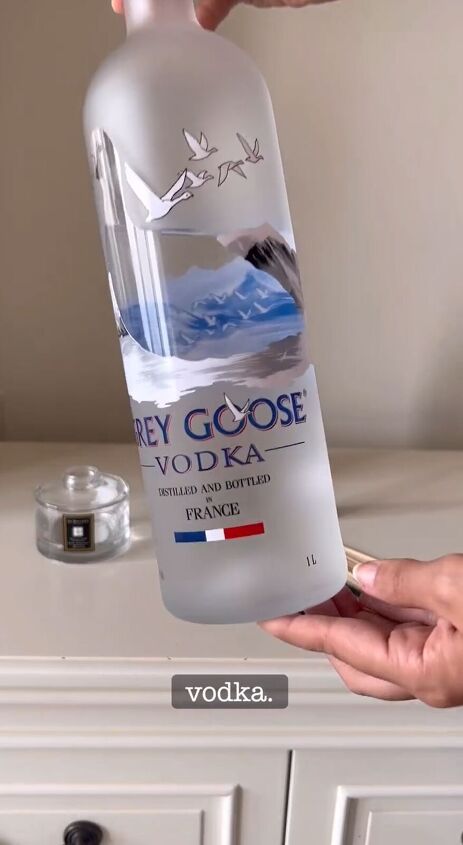
Step 5: Include Vodka or Rubbing Alcohol
To help the oils mix with the water and enhance the diffusing process, add a spoonful of vodka or rubbing alcohol to the bottle. This will also prevent mold growth. Stir or shake the bottle gently to combine the ingredients.

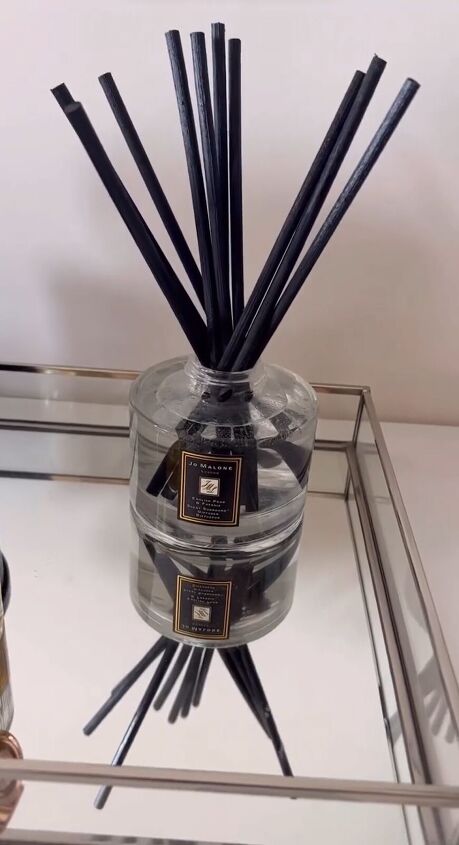
Step 6: Insert Reed Sticks
Take your reed sticks or bamboo skewers and place them into the bottle. Make sure the reeds are fully submerged in the liquid. The reeds will soak up the scented mixture and release the fragrance into the air.

Step 7: Flip the Sticks
To ensure a consistent and long-lasting fragrance, remember to flip the reed sticks at least once a day. This allows the liquid to travel up the sticks and disperse the scent effectively.
Step 8: Enjoy Your Homemade Reed Diffuser
Let your DIY reed diffuser sit in a well-ventilated area, and over time, you'll notice your space filled with your favorite fragrance. Be patient, as it may take a little while for the reeds to fully saturate and start diffusing the scent. Once they do, you'll enjoy a wonderful, cost-effective, and personalized reed diffuser.
DIY reed diffuser
Creating your own reed diffuser refill is not only a fun and creative project, but it also saves you money while allowing you to customize your favorite scents. Give it a try, and you'll be delighted with the results! Leave me a comment and let me know how yours comes out.
Follow @rohina on Instagram for more DIY ideas.


Frequently asked questions
Have a question about this project?