


How to Update Hardware With Rub N Buff

by
Jenni Ingram
1 Material
$20
10 Minutes
Easy
Have you ever come across the perfect pieces of hardware that's completely the wrong color?? I'm going to show you something today that will blow your mind if you haven't seen it before! It's an easy way to update knobs, pulls, door knobs, pretty much anything you want a fresh metallic finish on.
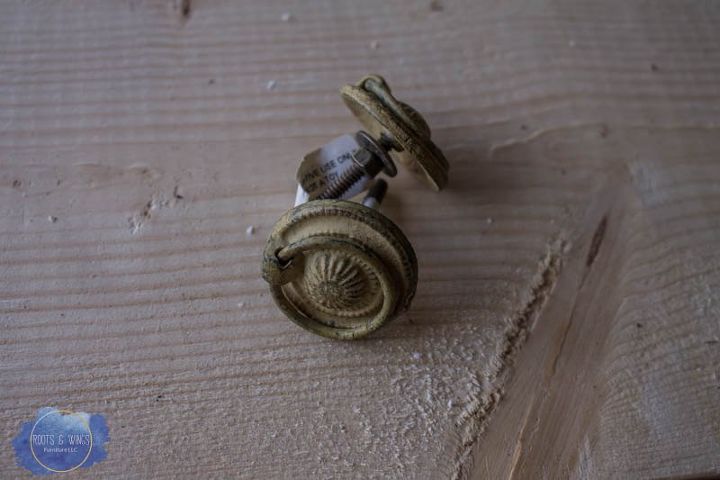
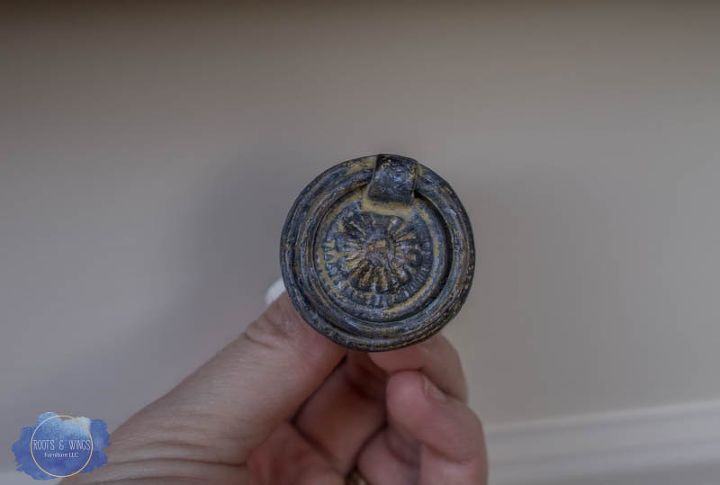
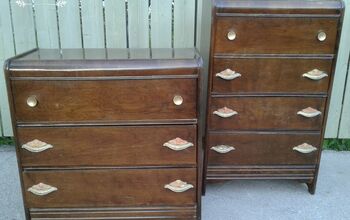
So I'm working on this pair of end tables (more on that in my next blog post - click the link at the end to follow along), they desperately needed some new hardware. I searched my stash and came up with these round ring pulls. They have lots of character and texture already, but were also this odd yellowish color that would NOT go with my white tables. Enter Rub N Buff.
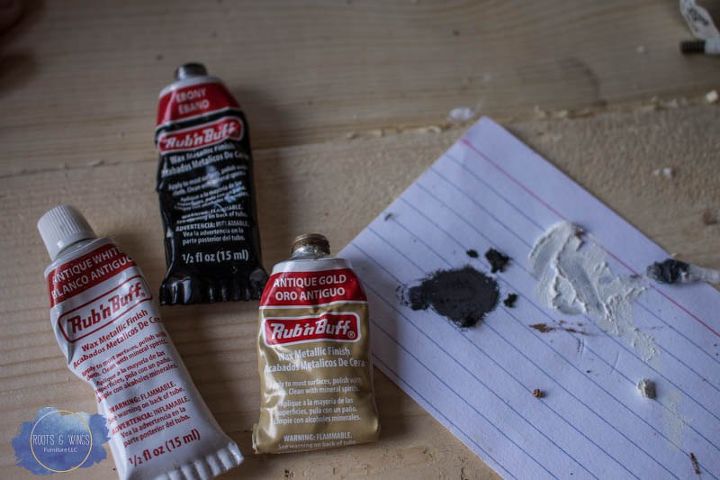
Rub n Buff is a wax metallic finish that comes in several colors - all you do is literally RUB it on, and BUFF it off. It dries really quickly and is easy to work with. I chose to layer three different colors for these pulls and I just kept adding layers until I achieved the color I wanted.
Check out my full blog post for more information about the specific colors I used.
Wait until you see how well it matches the tables!
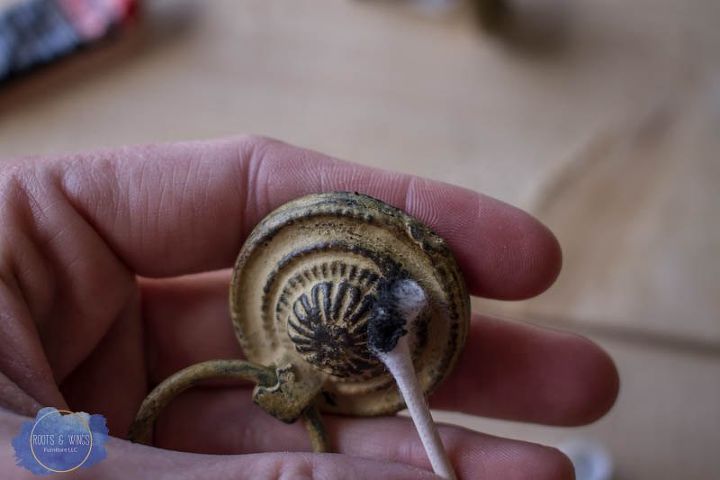
My favorite way to apply Rub n Buff is with a q-tip. I just squirt a little wax on a scrap piece of paper, dip the q-tip into it and rub it on my surface.
Note: if you prefer to use your fingers, wear gloves - this stuff is hard to get off!! The saying "wax sticks to everything, but nothing sticks to wax" is true in this case.
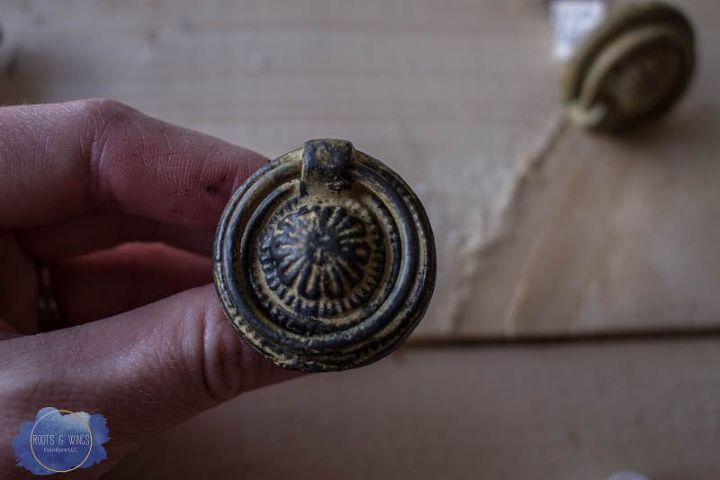
These pulls had a lot of texture and detail already so I just highlighted it even more by going over it with the Rub n Buff. See what a difference it makes already? This was about 15 seconds worth of work.
The wax dries very quickly so work fast, but also so you can layer color after color immediately. If you ever get too much Rub n Buff - or get it somewhere you don't want it - it comes off with Mineral Spirits.
Once you are happy with your look just buff the hardware with a rag to remove any excess and shine them up!
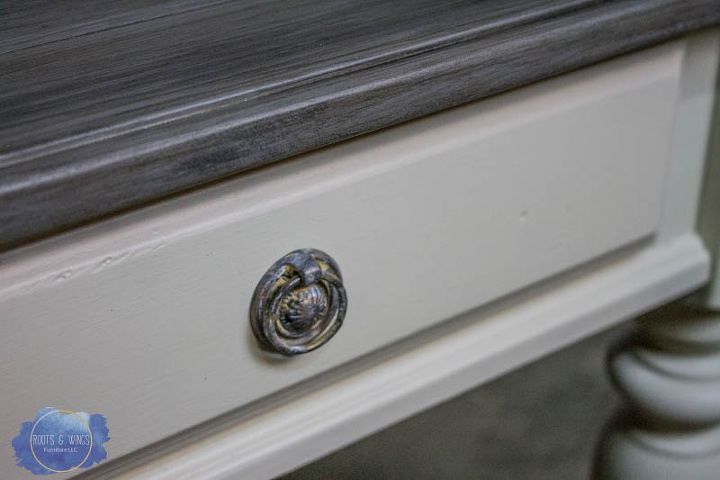
Now, check out these tables - doesn't the hardware go perfectly??
If you wanted to use this method on a surface that will get lots of action (kitchen hardware, door knobs, etc.) I'd recommend sealing the wax with a coat of spray on clear poly acrylic. That will just give an extra layer of protection for your beautiful new finish.
Subscribe to my blog directly here and get DIY projects sent directly to your email so you don't miss out - to include following along with my end table refinishing!!
Please find me on Facebook @rootsandwingsfurniture to see more of my diy projects. Plus, I regularly share design inspiration, furniture makeovers, and painting tips .... and film Facebook Lives!
Also, click on the blog link below to see more photos of this project ...
Thanks for stopping by!
Want more details about this and other DIY projects? Check out my blog post!


Frequently asked questions
Have a question about this project?