


Purrr-fectly Upcycled Craft Room Storage
Create some easy craft room storage with upcycled cat food boxes. This is a purrr-fect way to repurpose something that would normally end up in your recycle bin.
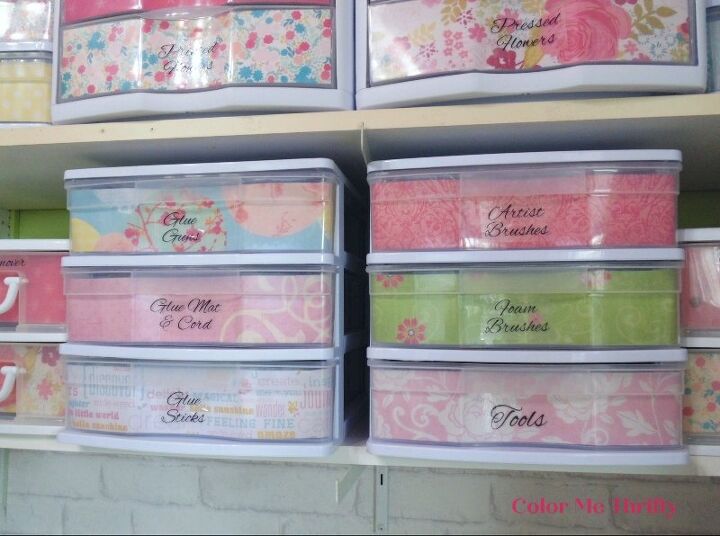
A few weeks ago I shared a makeover for some plastic storage drawers, and I continued and did even more drawers in my craft room.
Some of the drawers hold smaller items that I would like to keep separated. So I created some storage partitions for one of them by upcycling some recycling.
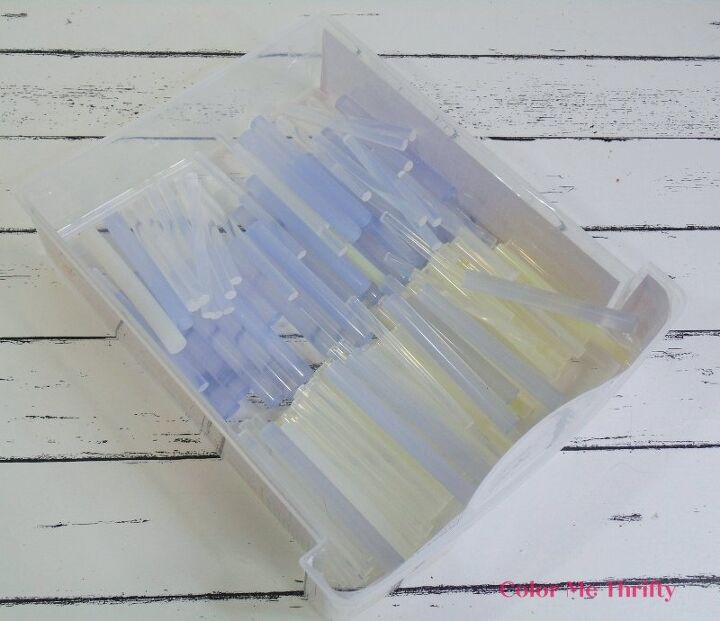
Here’s a perfect example of a drawer that needs dividers. After opening and closing, and sometimes even removing, my glue sticks drawer they tend to get a little messed up.
This wouldn’t be a problem except I like to be able to open the drawer and reach in and grab the proper glue stick without having to remove the drawer to see what I’m reaching for.
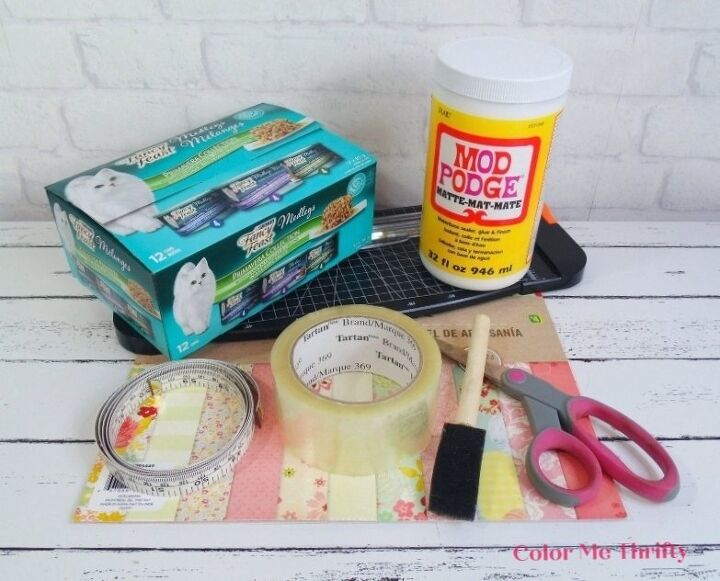
Here are the supplies that I needed to create my glue stick storage.
Supplies needed for Upcycled Cat Food Boxes
- Fancy Feast cat food boxes
- scrapbook paper
- paper cutter (optional)
- scissors
- packing tape
- Mod Podge
- foam brush
- measuring tape/ruler
When I decided to do this project, I went into my kitchen cupboards to see what I could find that would suit my repurpose.
I don’t think I really realized how many food items come in cardboard. There are so many cardboard boxes in all shapes and sizes that could be reused/repurposed/upcycled instead of putting them into the recycle bin.
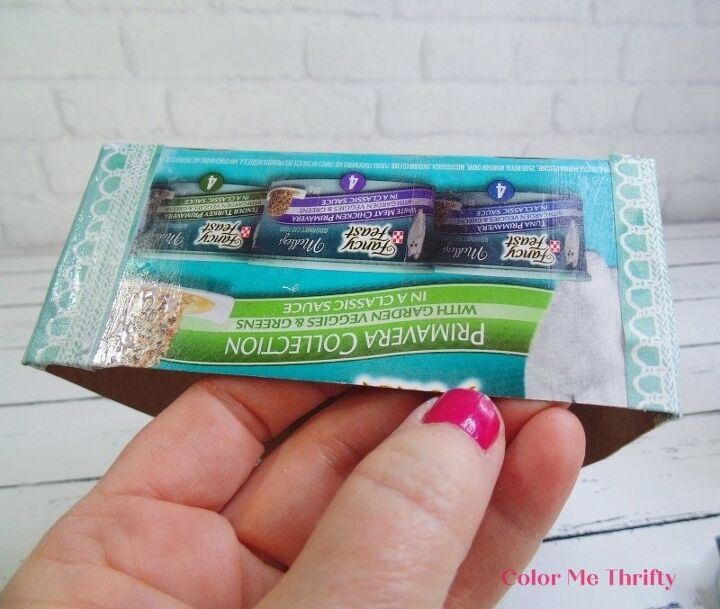
After measuring the inside of my drawer I discovered that two Fancy Feast cat food boxes would fit inside perfectly.
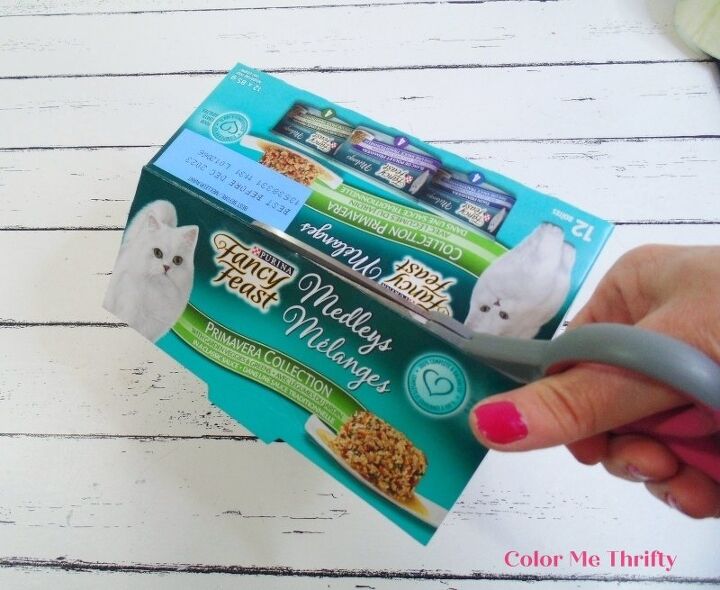
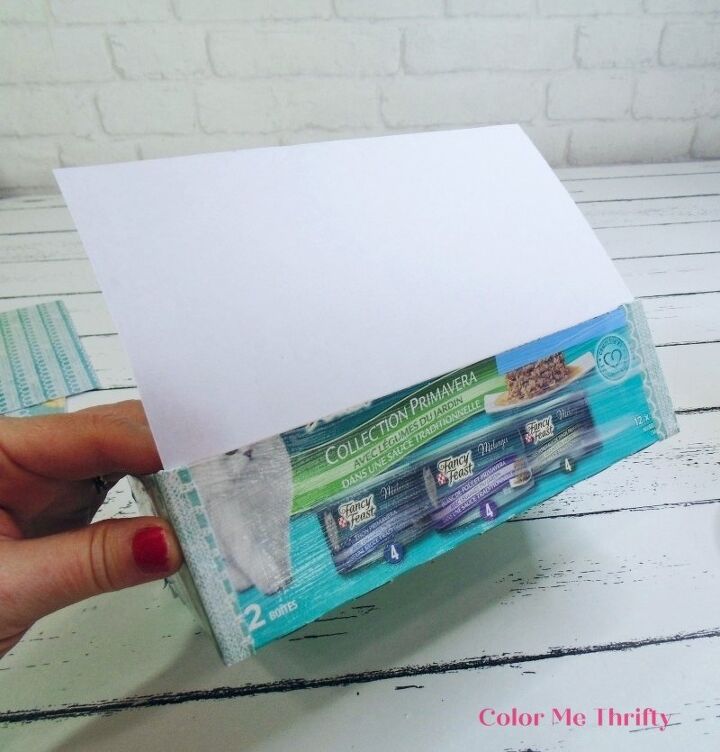
STEP ONE: Cut the top flaps off the box.
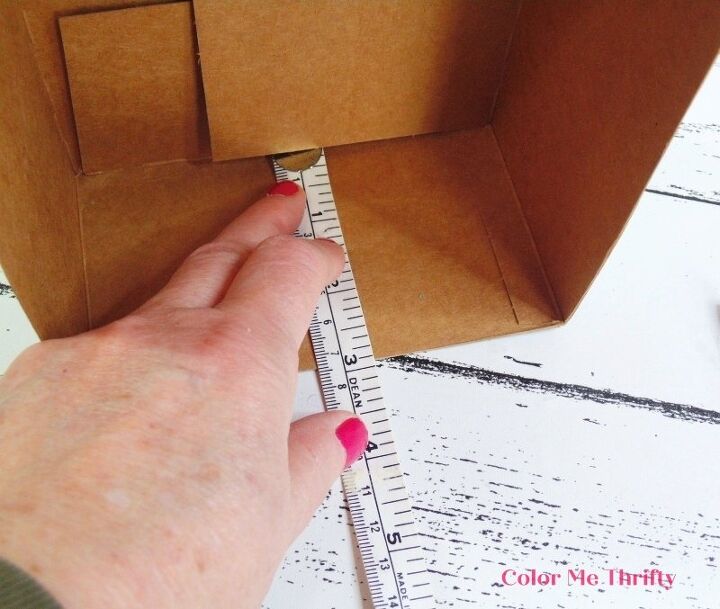
STEP TWO: Measure the height of the cat food box, and the height of the inside of the plastic drawer. The box height was 3 inches, and my drawer height was 2 1/2 inches.
So I decided to cut the box to a height of 2 1/4 inches.
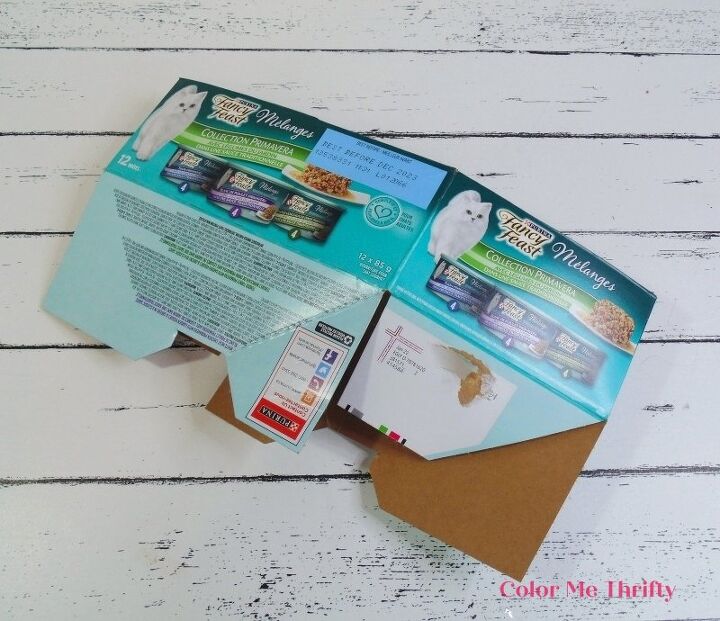
STEP THREE: Carefully open the bottom of the box. The bottom flaps are held together with two small dabs of glue.
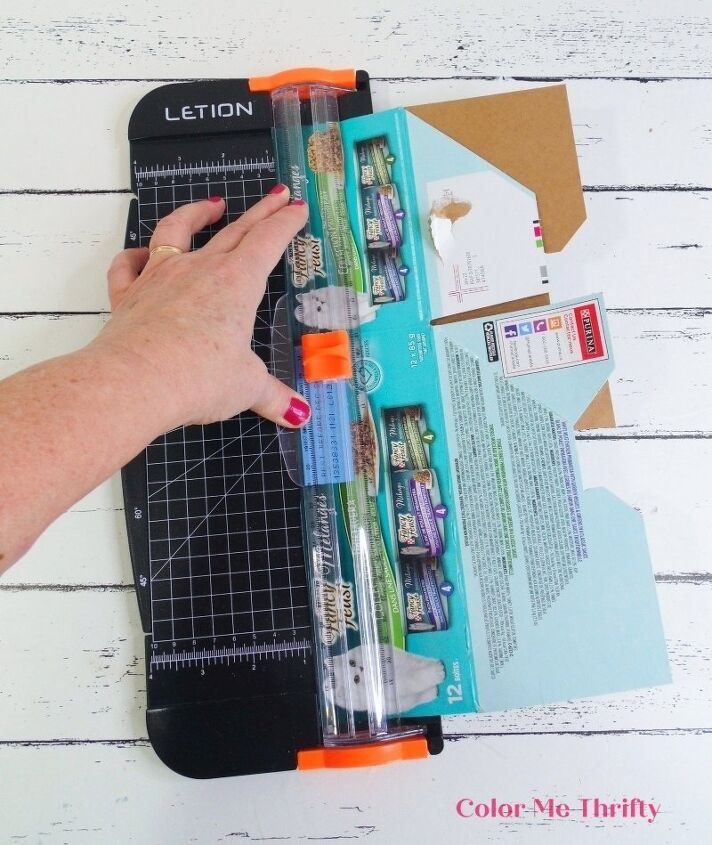
STEP FOUR: Cut your box to the correct height with either a cutter like this, or you can measure and mark and cut with scissors.
Honestly, I’m finding this cutter to be pretty invaluable these days. It saves a ton of time and makes nice straight cuts.
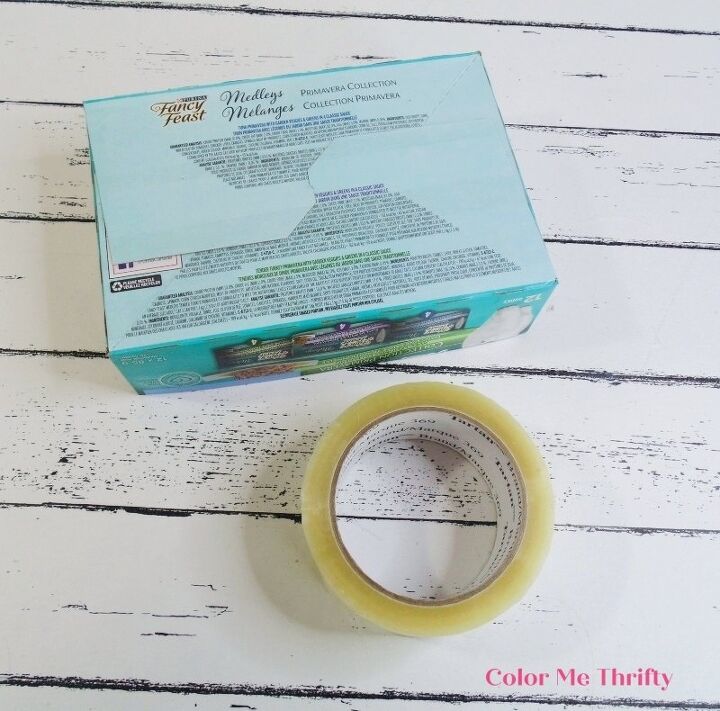
STEP FIVE: Put the box back together using packing tape. The packing tape is nice and thin and won’t be noticeable beneath the scrapbook paper.
Don’t forget to do the inside as well. This gives the box extra stability.
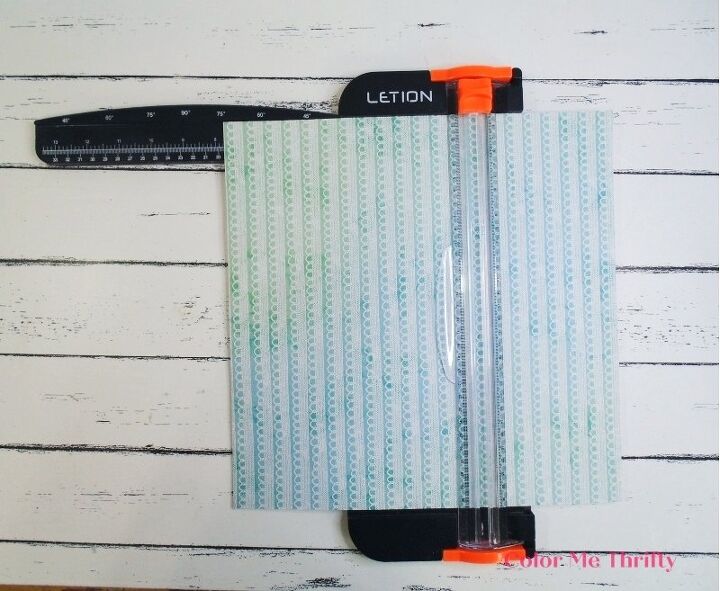
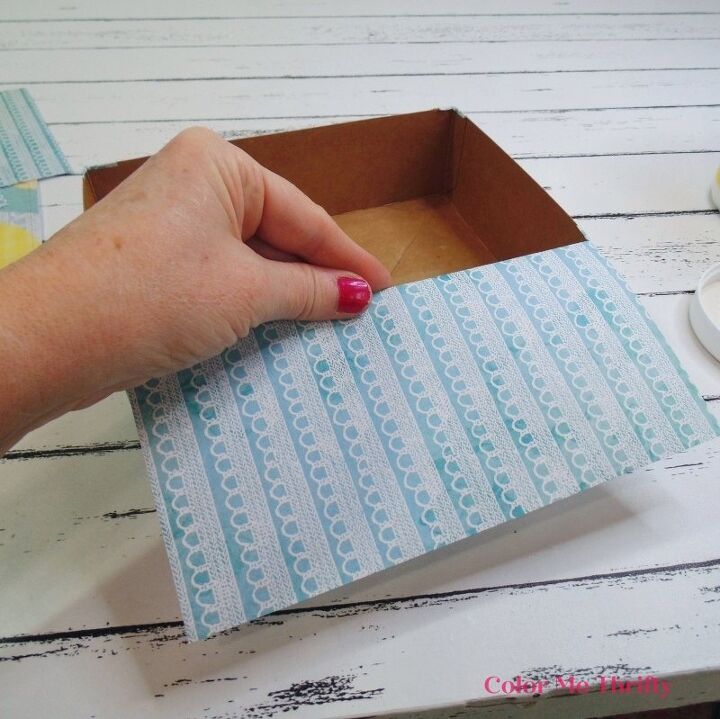
STEP SIX: Measure the size of your box and cut your scrapbook paper pieces accordingly. The Fancy Feast boxes are 7 3/4 inches long by 5 1/4 inches wide, and I’m making them 6 inches deep.
STEP SEVEN: Before covering my box with scrapbook paper, I cut small pieces and decoupaged them to the outside corners. This is to hide any gaps that might be seen after.
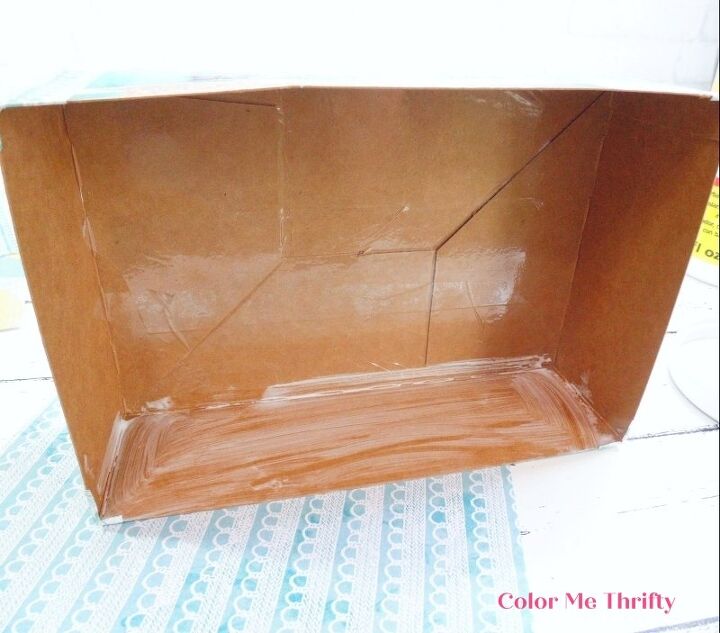
STEP EIGHT: Apply Mod Podge to the inside of the box.
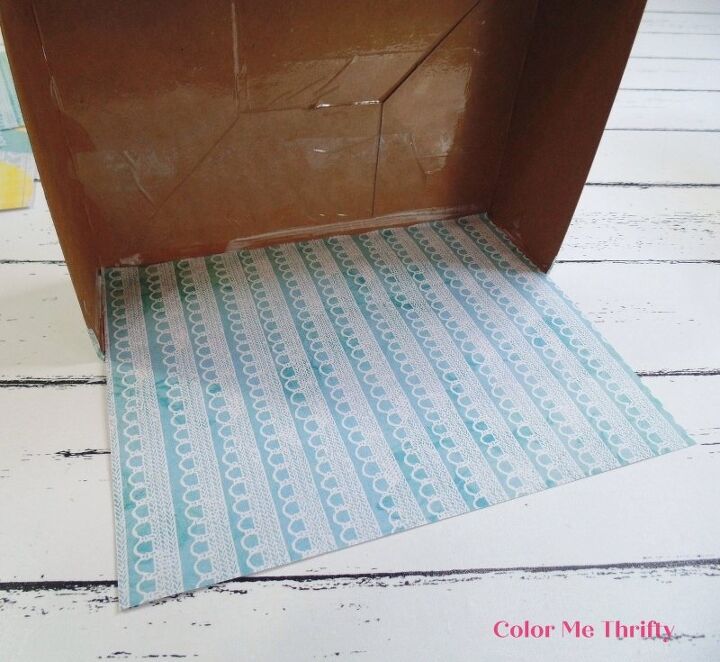
STEP NINE: Put your piece of scrapbook paper in place and press it down with your fingers.
STEP TEN: Apply Mod Podge to the outside of the box.
STEP ELEVEN: Fold the scrapbook paper over and gently press in place.

STEP TWELVE: Press the inside of the box to smooth out the scrapbook paper on the outside.
Then add a little MP to the bottom of the box, and fold the rest of the paper over. Then do the same with the other three sides.
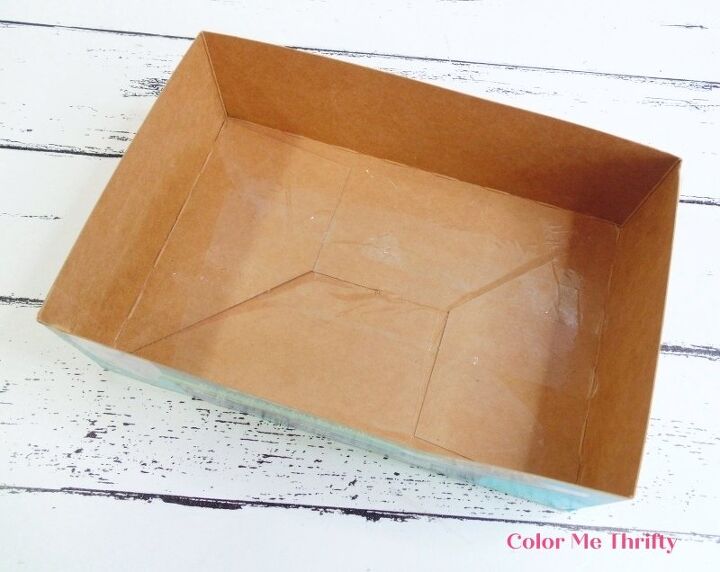
Here’s what the bottom looks like when it’s all done.
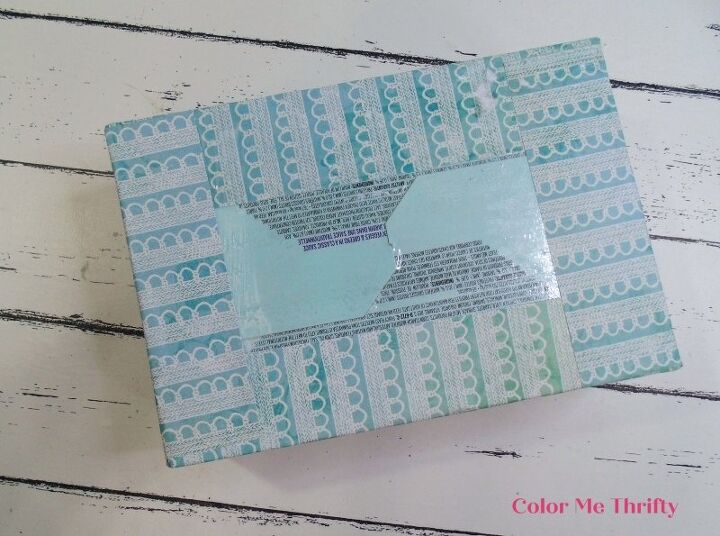
And here’s what the box looks like with all four sides done.
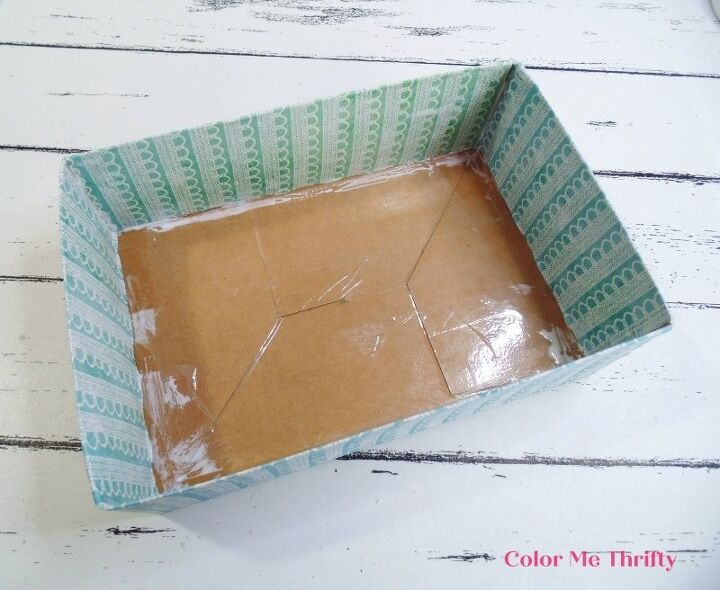
Now I needed to add something to the inside bottom.
STEP ONE: The Fancy Feast boxes come with a cardboard insert that separates the two layers of cans, but they’re too small to cover the bottom completely. So I cut a piece of miscellaneous cardboard to size, and covered one side with MP.
You could of course just MP a piece of scrapbook paper on its own, but the cardboard piece does add an extra layer of stability to the box.
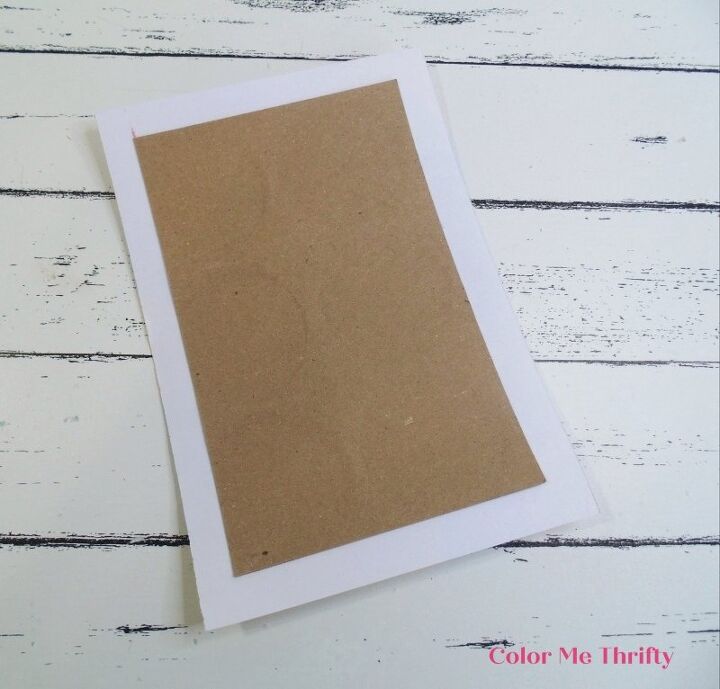
STEP TWO: Once you have your piece of cardboard, place it down on a piece of scrapbook paper and press it in place.
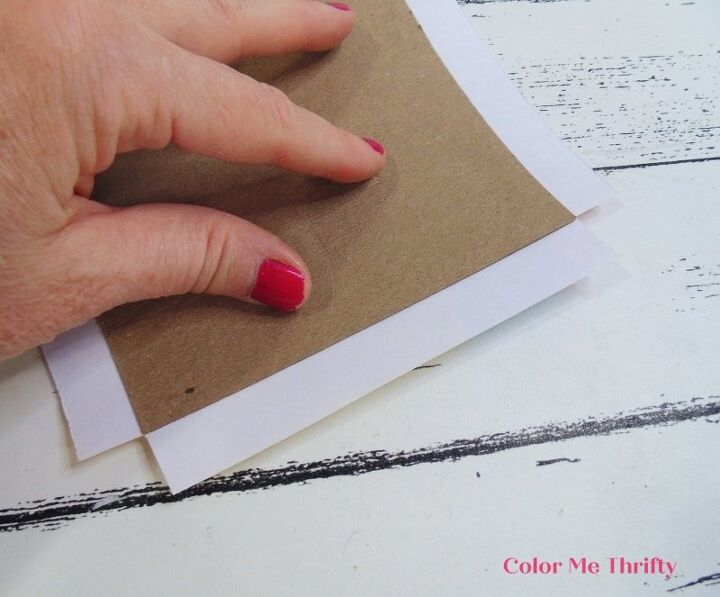
STEP THREE: Cut the corners to make it easier to fold the paper over.

STEP FOUR: Apply some MP to the bottom of the box.
After you’ve folded the paper ends over the cardboard insert, it might curl a little while it’s waiting to be put in place. That’s perfectly ok. It’ll straighten out once it’s in place.
STEP FIVE: Put the bottom insert in place, pressing it down firmly all over. Then let it dry for about 30 minutes. Once the top of your insert feels dry to the touch, put some weight on it to hold the insert down for a couple of hours while it adheres underneath.
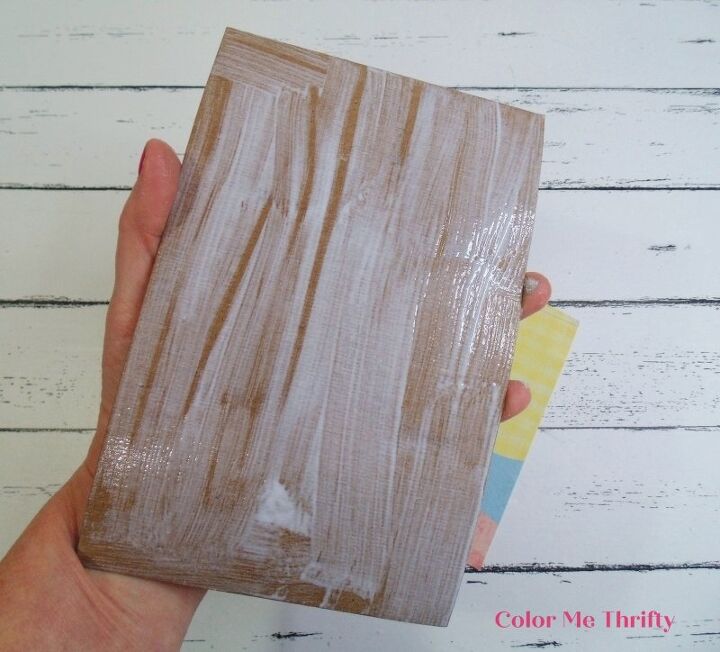
Then add a top coat all over your boxes and place to dry. I sat my boxes on the pieces that I cut away.
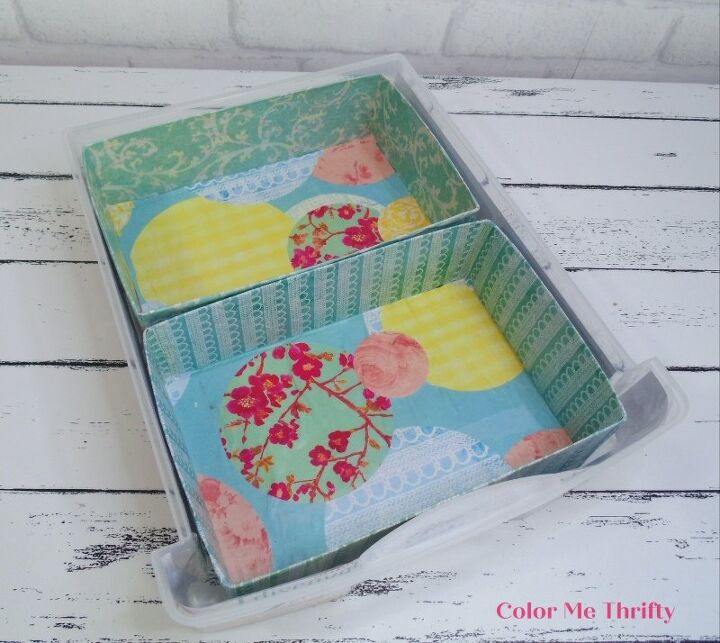
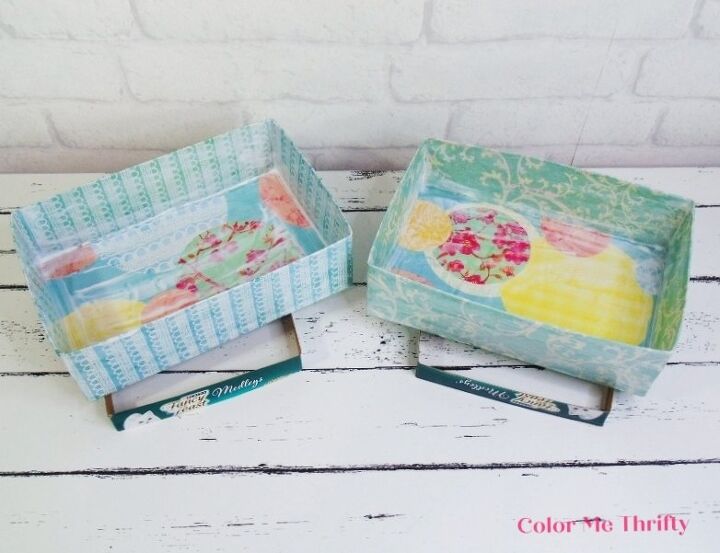
And here are my upcycled cat food boxes in place in my plastic storage drawer.
They are just the perfect size, and they look pretty too.

So here’s the before of my messed up glue stick drawer again.
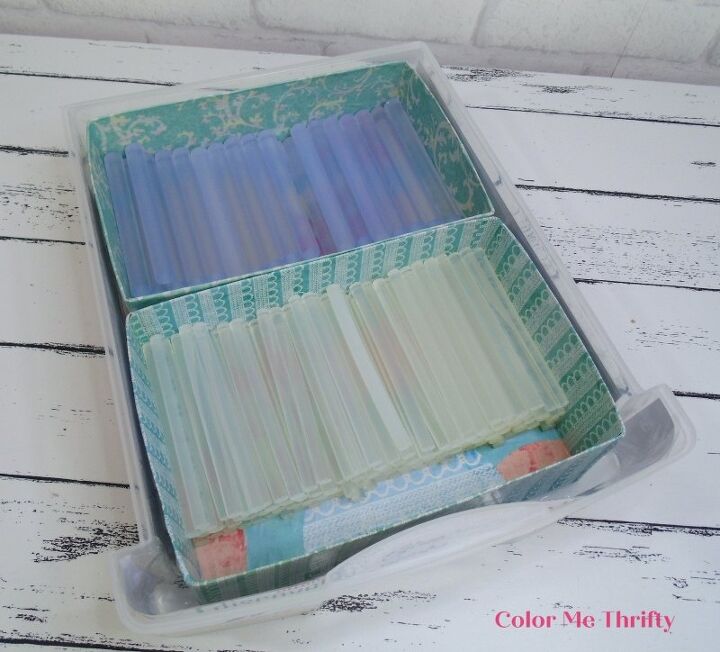
And the new and improved after. Now my glue sticks are so nicely and neatly in place. No more getting mixed up with each other.
I tend to use my low temp mini glue gun most of the time, so I put the mini glue sticks in the front.
These plastic storage drawers are right above my desk. So when I need a glue stick I just open the drawer and reach in and grab one without even having to look. And more importantly, not having to remove the drawer.
This was such a fun project and even though there are quite a few steps, it was super easy. And I used just 3 1/2 scrapbook pages from my $4 dollar store 50 sheet scrapbook paper pad. So this project cost me about 30 cents.
Now I’ve started collecting things from my recycle bin for future projects. There are just so many possibilities. Upcycling our recycling is such a big win win.
You can find more DIY storage projects on my blog here.


Frequently asked questions
Have a question about this project?