


How To Make French Placemats
You won't believe what I used to make these beautiful French Placemats.

Today I am sharing my French Placemat project. It does take a little time but is so worth it.
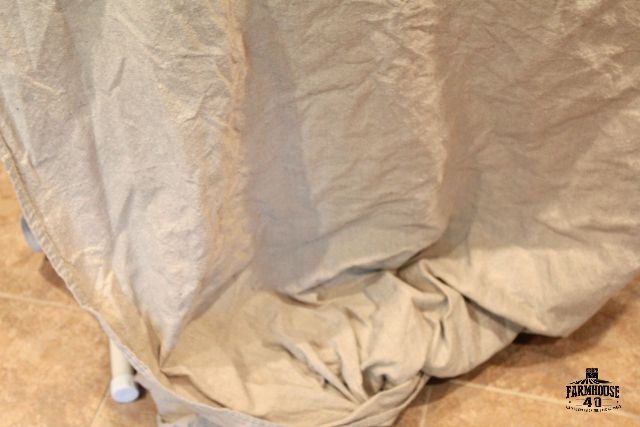
You do have to prepare the drop cloth before you start the project. Check out my drop cloth post on the blog.
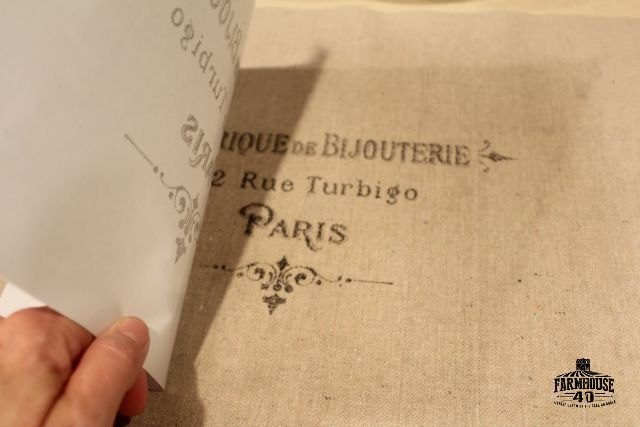
I used this Free Paris graphic I found at Graphic Fairy. Check out her site, there are so many awesome graphics for download. I used the transfer method of wax paper. You can find that method on Graphic Fairy also.
After transferring my graphic onto each placemat I now wanted to paint side stripes to give it a more finished look.
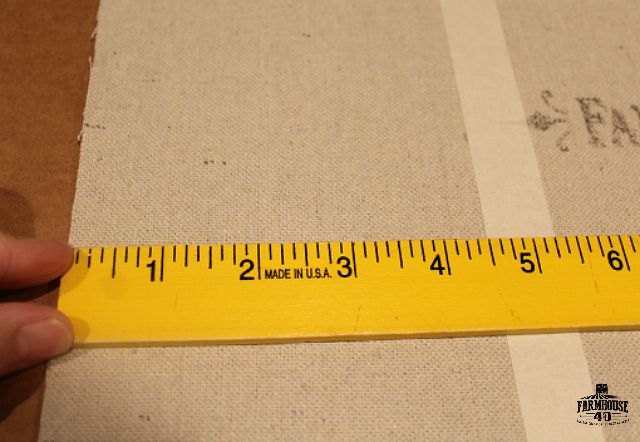
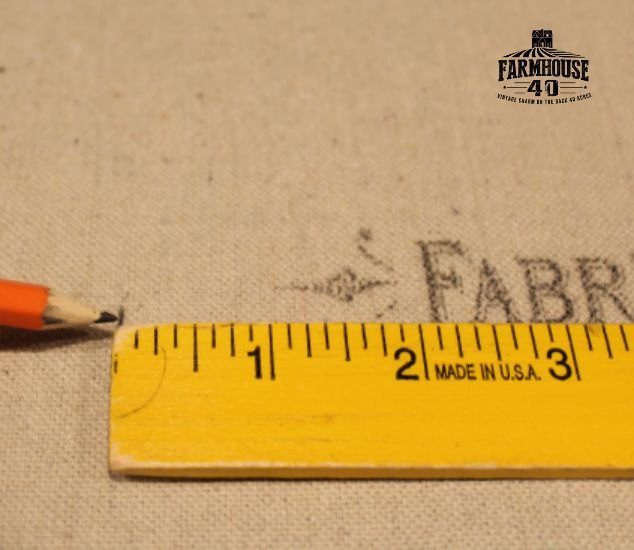
Place your painters/masking tape in a straight line for that first stripe. Measure from the outer edge towards your tape to make sure your sides are going to be even. It looked like there were right so I continues on.
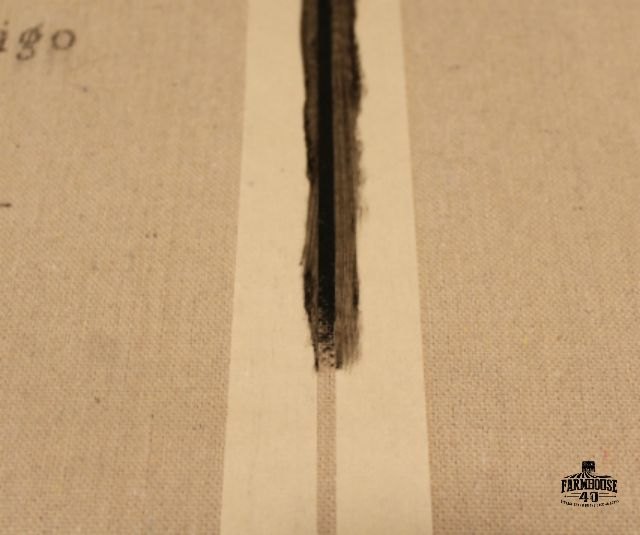
Started painting my first thin line. I wanted three lines total with the middle line being the widest.

To start the middle line I cover the thin line just over to where I want the middle line to start. I didn’t want to much space between the thin line and the middle. You will repeat this spacing for the second thin line as well.
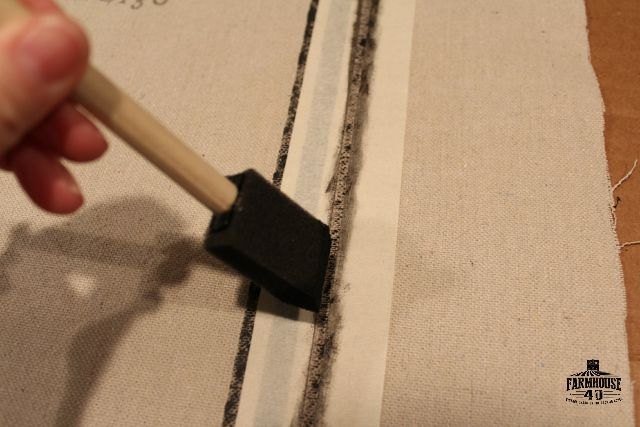
Your paint brush should be rather dry, because this is more a stenciling project. To wet a brush and your paint may spread outside your lines.
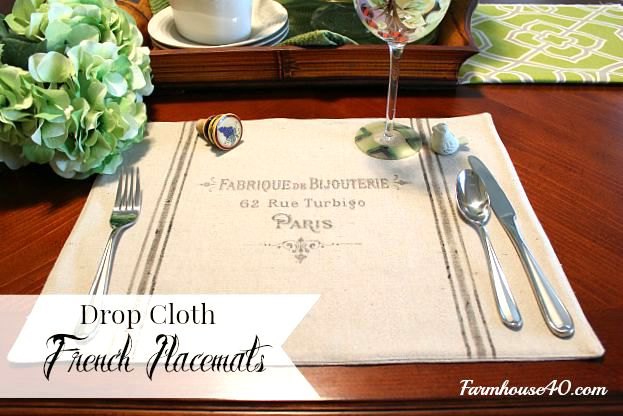
I made placemats for a setting of four. I did wash one set to see how it would do and it did not fade much at all. So I would suggest washing at a minimum because some fading will occur.

Want more details about this and other DIY projects? Check out my blog post!
Comments
Join the conversation
3 of 5 comments
-
They're perfect!
-
thank you for sharing. ive been looking for placemats for a long time at thrift stores. ive only found two sets of 8 placemats. i had given up. now, with your idea i can make my own with two old dropcloths that ive used for years as tablecloths for precisely the reason they are called dropcloths! now, time for a new tablecloth!!! thanks again for sharing such beautiful work!


Frequently asked questions
Have a question about this project?