


DIY Halloween Garland Using Cardstock Tags and Rubber Stamps

Halloween is a great time to get creative! From elaborate costumes to simple craft projects; the possibilities are endless! I'm going to show you an easy and simple way to create a fun halloween garland using cardstock tags and rubber stamps!
I had all items on hand; so the cost will vary based on supply purchases.
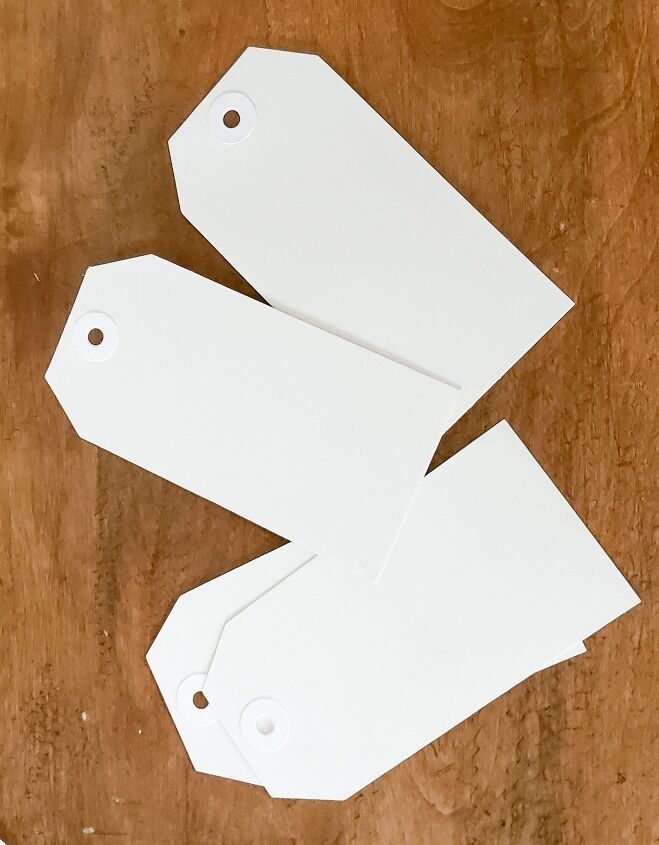
I have quite a few of these cardstock tags stashed away in my craft box; and thought they would be great for this project.
These tags can be found at Joann's craft store.
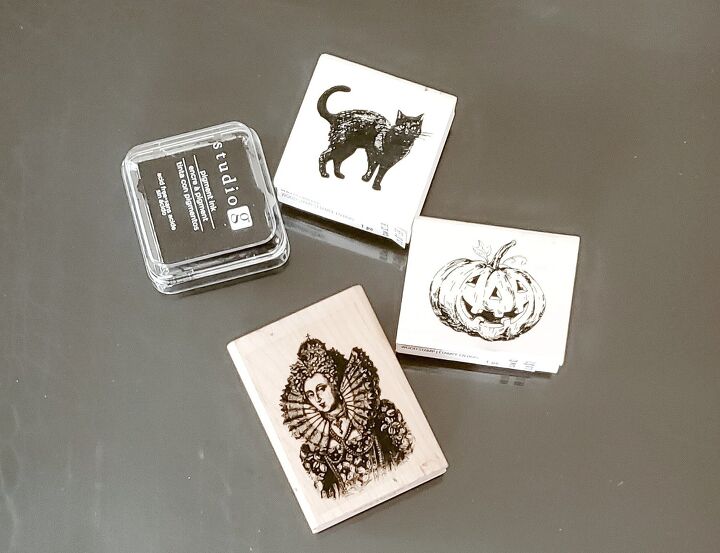
I had these rubber stamps on hand as well. They were perfect for a vintage halloween vibe; which is what I had in mind.
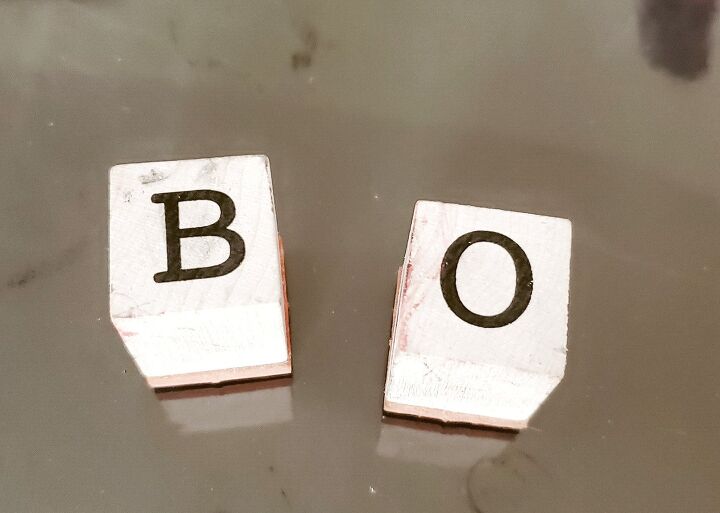
I decided to go with a simple Halloween word, "BOO," which only required these two letters. You could definitely hand write the letters as well.
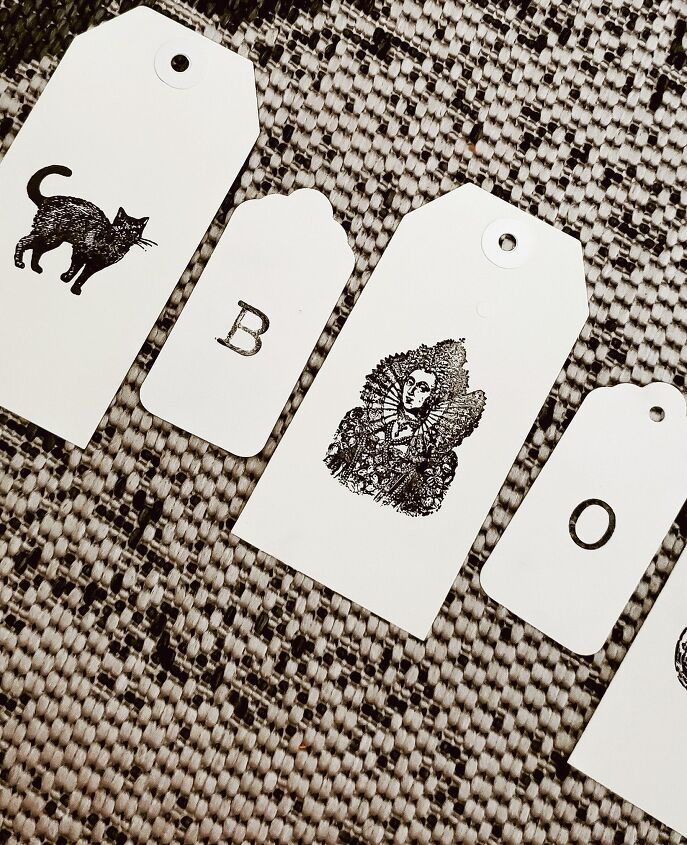
I chose to use smaller tags for the lettering and larger ones for the character stamps.
After I stamped the tags, I laid them out in the order of how I wanted them on the garland.
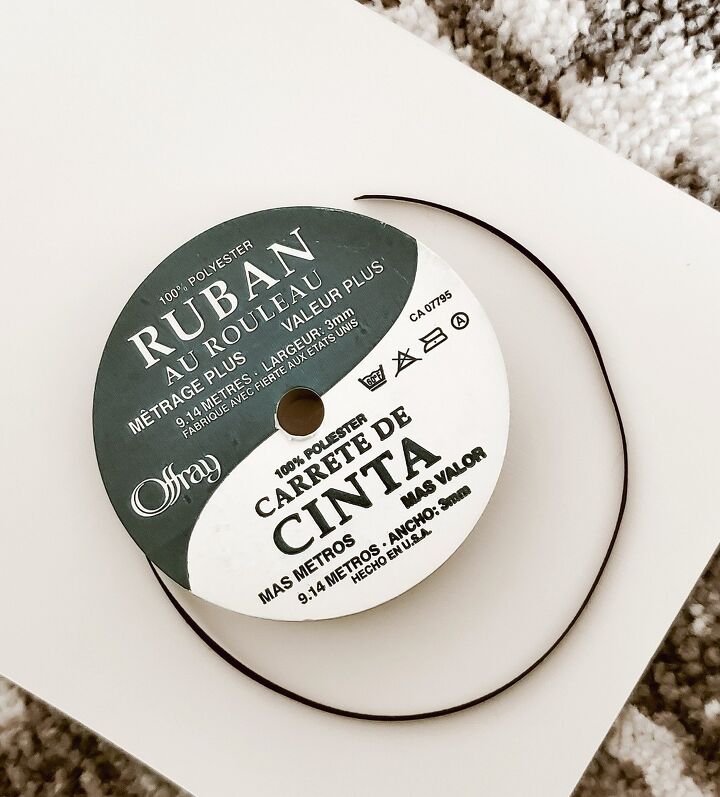
I always have ribbon on hand; and this black ribbon was perfect for this project! You could really use any type of ribbon or twine you choose!

I strung the tags onto the ribbon; and then added a very small amount of glue under the ribbon and attached to the tag. This helped keep the tag from sliding down the ribbon.
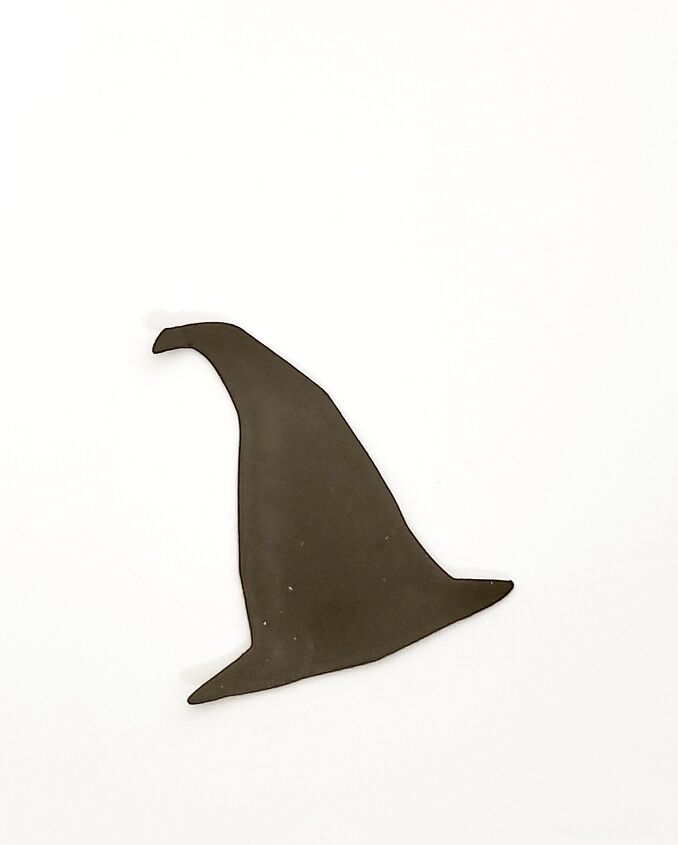
I decided to add a couple little witch hats onto a couple of the stamped characters for a fun touch!
I used my Silhouette Cameo machine to create these; but you could easily trace a witch hat pattern onto cardstock and cut them out.
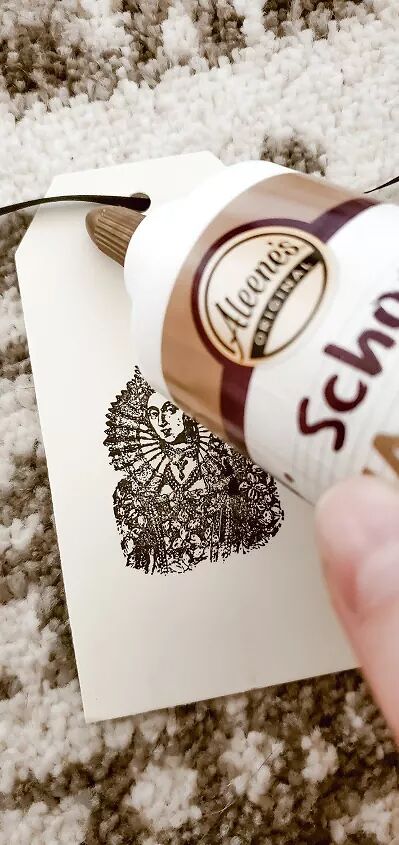
I then used tacky glue to attach the hats on the tags.
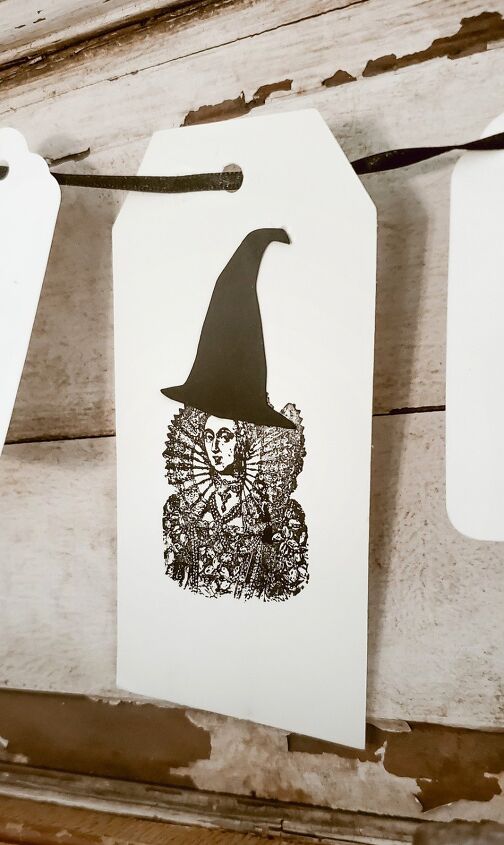
She looks so regal!
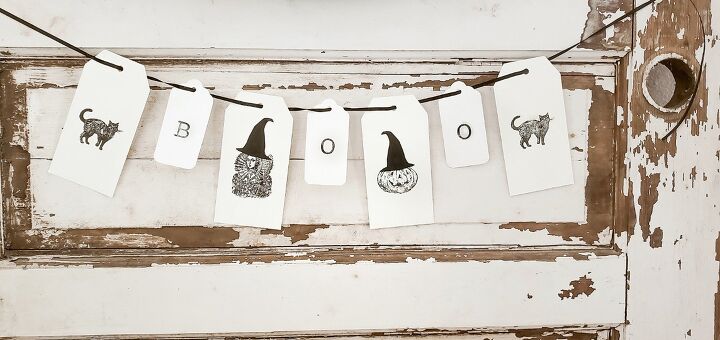
I like the simplicity and the vintage spooky vibes this garland adds to my decor!


Frequently asked questions
Have a question about this project?