


Easter Egg Arrangement
Easter is fast approaching, and you know what that means – Easter crafts can't be far behind! Now, I know what you're thinking: perfect time to build some kind of candy-holding Easter jar adorned in pastel eggs and greenery, right? Well, not necessarily. Confession: I don't love sweets (but we did do one of those last year and you can find it here!).
But that doesn't mean I can't sneak a few festive Easter Eggs into a pretty arrangement. Read on for a tutorial on how to make an egg-cellent spring craft!
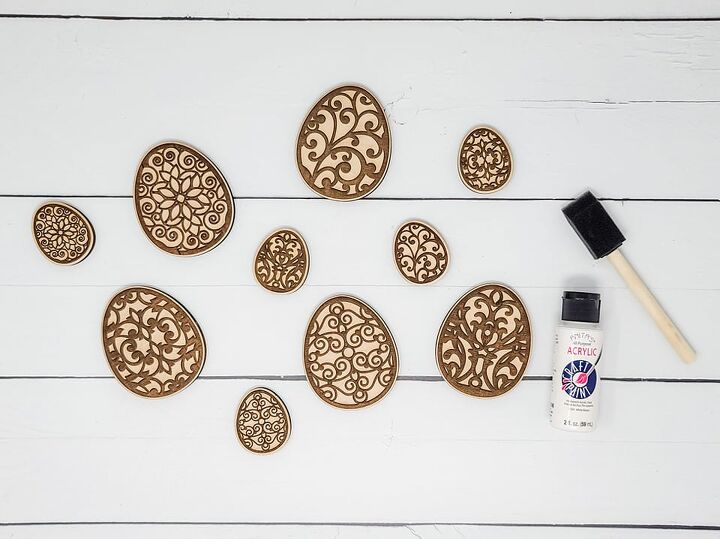
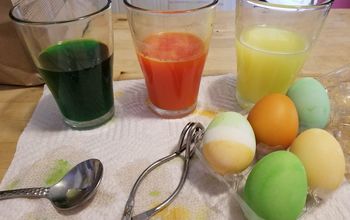
When we created these wood decorative eggs and added them to the shop, I just knew I had to use them for an Easter arrangement! There were so many options to paint them but I decided to do a whitewash* (using watered down white paint and a foam brush to apply).
*Spoiler alert - I did end up dry foam brushing on a light gold paint to make them pop! The whitewash would work really well if you are using darker greenery and/or darker/brighter flowers though.

Once the eggs were dry, it was time to figure out how to attach them to floral wire! I went with a cardboard backing but you can use felt, heavy cardstock paper (which might be fun for patterns/colors on the back of the egg!) or you can even glue two eggs together so there are patterns on both sides.
Trace the egg onto cardboard and cut the shape out slightly smaller than the egg itself. Add hot glue to the back of the wood egg, place a floral wire in the glue (16 or 18 gauge are best to ensure the wire doesn't bend) and add the cardboard backing. You'll want to press down on it while the glue dries to make sure everything stays in place.
Once the wire is sandwiched in between the wood and the backing, you can paint the cardboard to match or contrast the patterned wood egg!
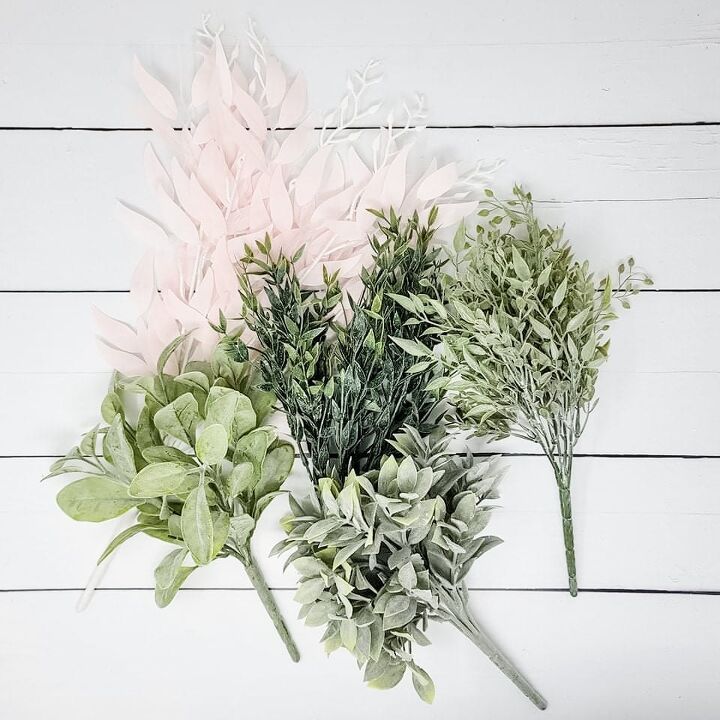
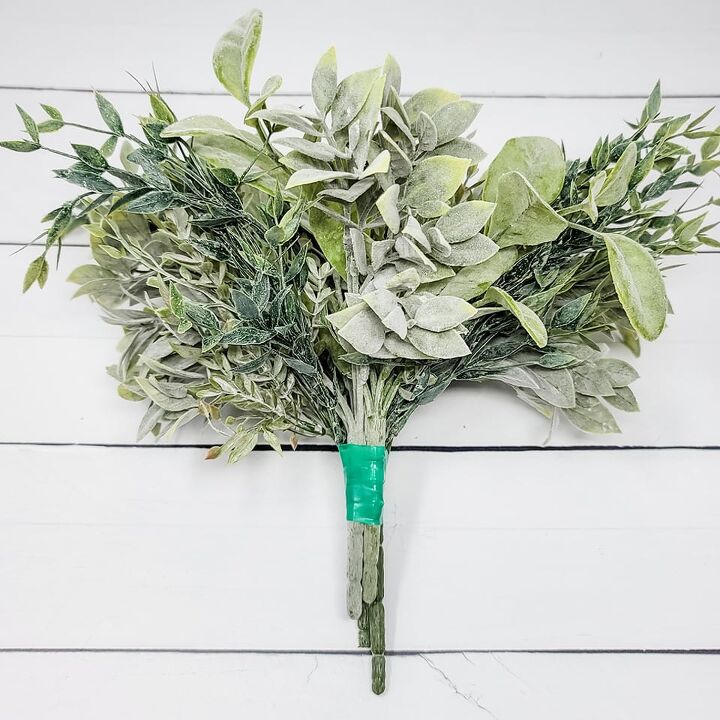
To save yourself some time when building the greenery base, you can add the shorter bunches together, as-is (which means less greenery prep!). I used green vinyl tape to hold them in place.
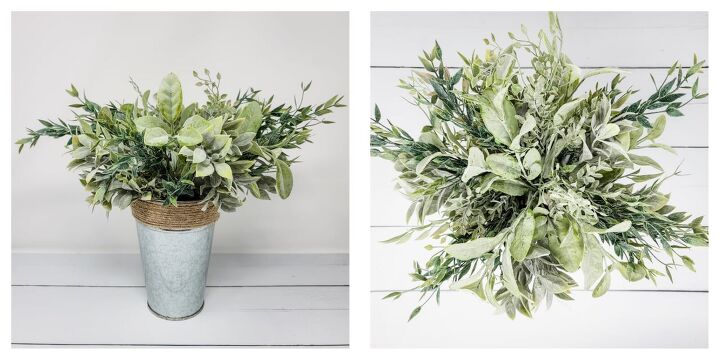
Once you have the greenery together, you want to spread the branches out. This will not only help give your bouquet/arrangement a larger diameter, it will also help incorporate the different greeneries with each other. That way, it doesn't look like sections of just one greenery type.
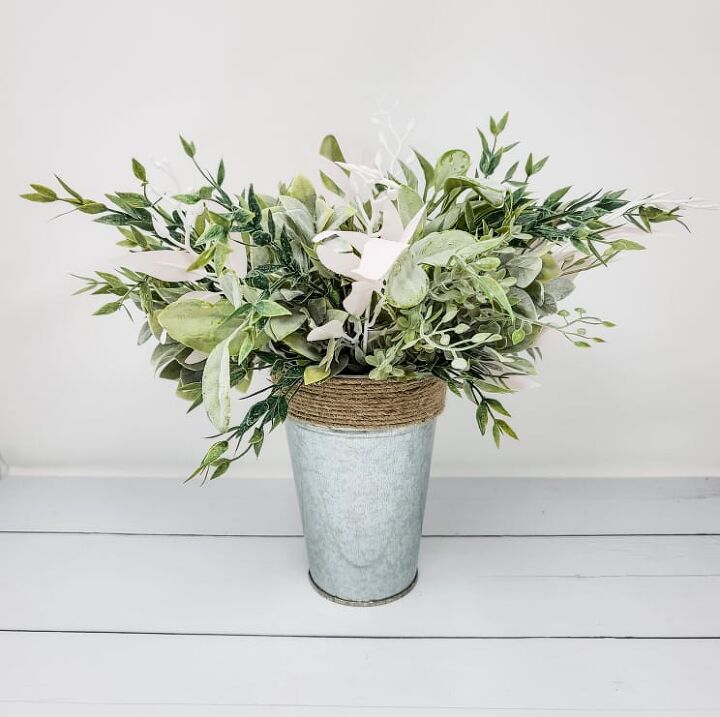
The light pink seeded Italian ruscus has a much longer stem than the others. For that one, you do want to cut the individual branches off near the base of the stem (where they all come together). Additionally, since this filler is a high contrast color, you want to keep it more towards the outer part of the bouquet. This allows it to show through and shine, even when the flowers and eggs are added to the center of the arrangement.
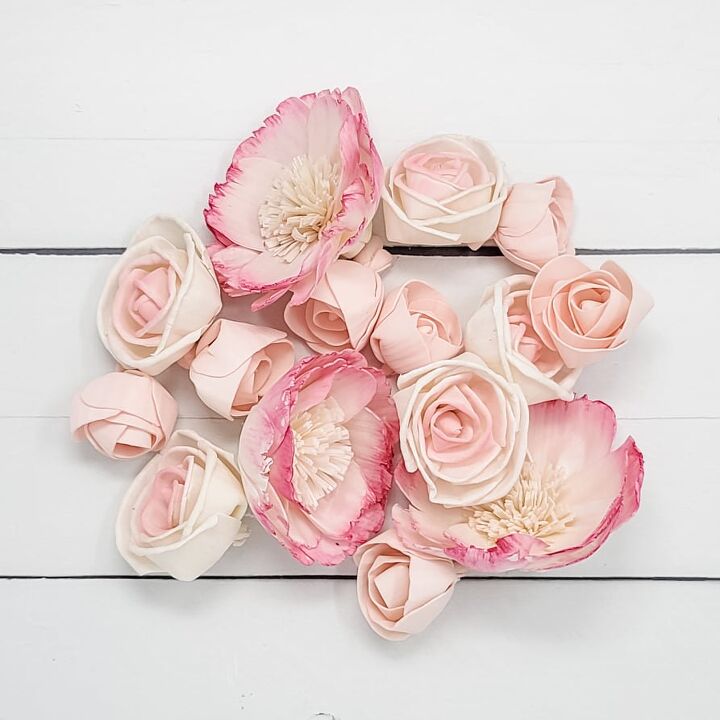
Once you have chosen your color story, have fun experimenting with painting the flowers! These are a combination of dip dyed, airbrushed and hand painted (and were part of our February subscription box so I didn't actually have to do any work!).
When your flowers are dry and you have them stemmed, it is time to add them to your greenery base. Start with your largest flowers first (Charmers), then move to 2.5" Paris and finally the 1.5" Lovelies. With each flower type, add them in triangles to help with spacing and including them in each section of the bouquet.
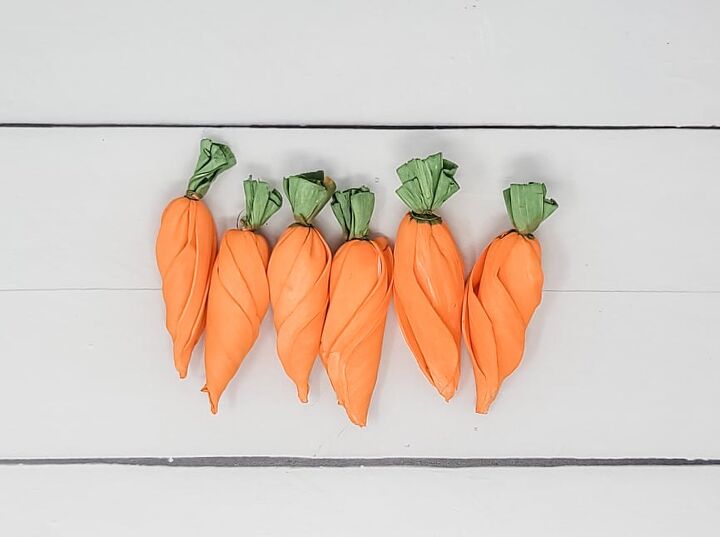
Y'all. When my brain realized that you could turn a flower bud into a little sola carrot...might be one of my proudest floral achievements to date! All joking aside, they are perfect for the job and are very easy to make. Dip the flower part into your favorite carrot orange paint/water mixture and when that is dry, dip the end piece into green!
I wanted the green tops to be visible in the arrangement so to stem them, I placed a little glue in the fold of the flower near the tip. The way these flowers are made allows you to then press the edge of the fold down so you are basically trapping the stem in place!
Since the carrots are a bright orange, the biggest thing to think about when adding them into your arrangement is that they are evenly spaced.

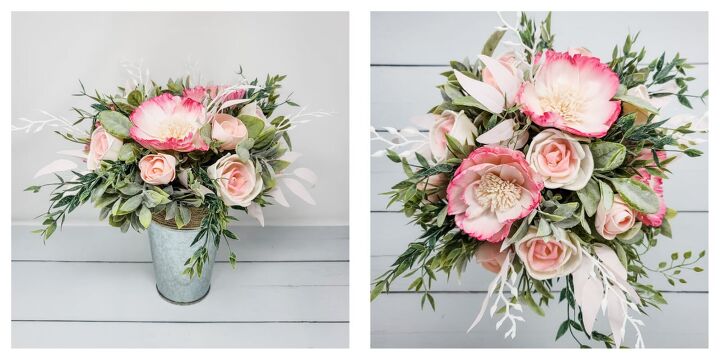
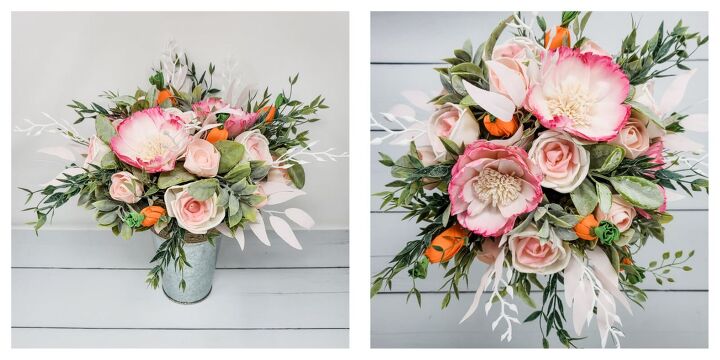
As I mentioned earlier, the whitewash on the eggs wasn't helping the eggs to stand out so I dry brushed a light gold on them and look at how cute! Similarly to how we add anything to an arrangement, I looked for any gaps/spaces that needed to be filled first and then made sure they were spread evenly throughout the piece.
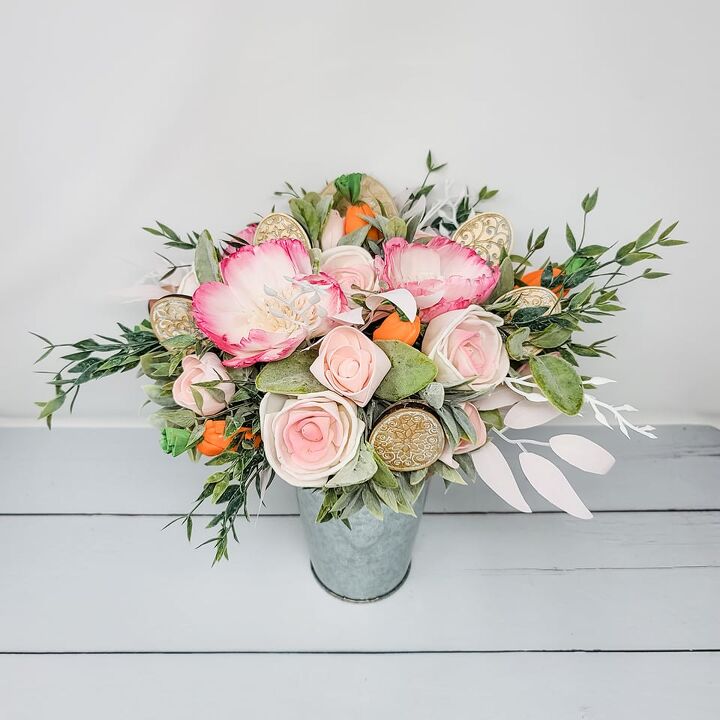
Et voila! Unlike real Easter eggs, there will be no hiding these. This arrangement will be out on full display!
Here's hoping your Easter crafts turn out beautifully. Get hopping, and happy crafting!


Frequently asked questions
Have a question about this project?