


Halloween Brooms

I found these cute little brooms at my local Goodwill & decided these would be great for my Halloween display. They were only $1 each, so with some supplies I already had on hand, they became super cute in no time.
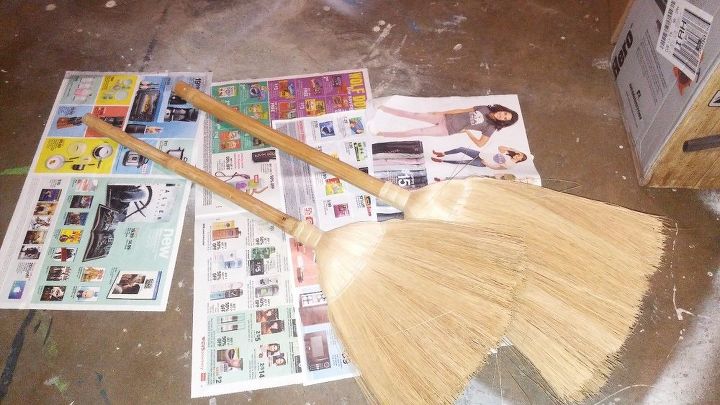
Here are my 2 unfinished brooms, all ready to do something fun with.
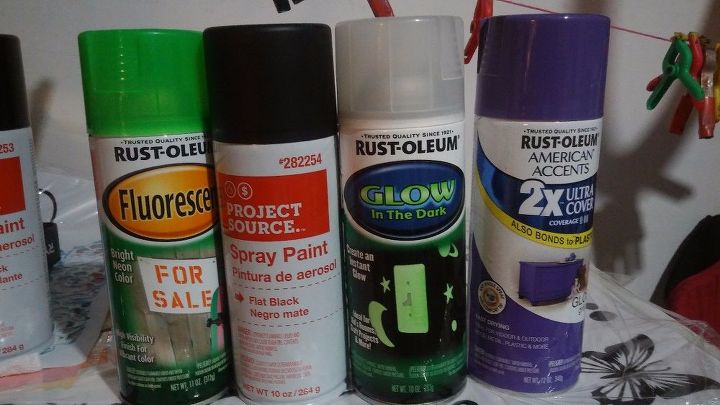
All the paint i'll need for this project- neon green, black, bright purple, glow in the dark to go over everything.
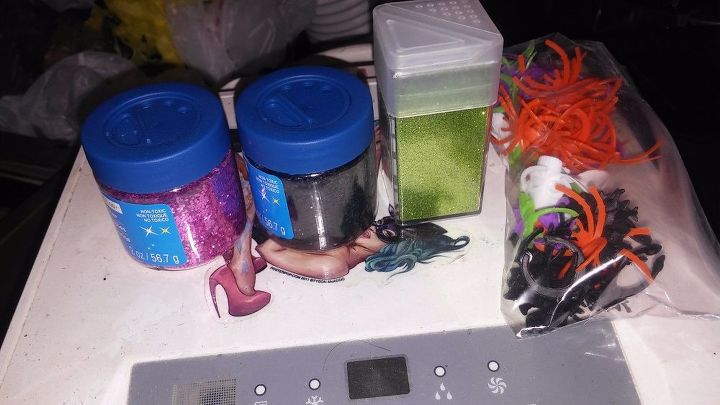
Purple, black & neon glitter, as well as some plastic spiders, skulls & bats, leftover from my Halloween chalk bottle project. They will be perfect to stick into the broom as the paint is drying.
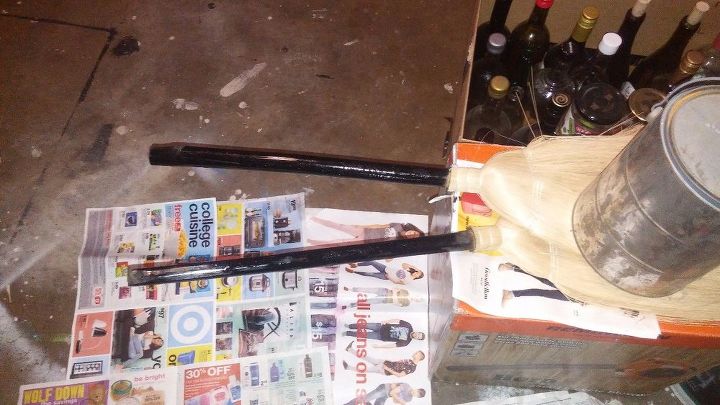
First paint the handles black on all sides & immediately cover in glitter, before it dries. As you see I have mine balanced off of a box, with a weighted object holding the broom sweep. They were a little bent when I got them, so this helped flatten them as well- so it served a dual purpose!
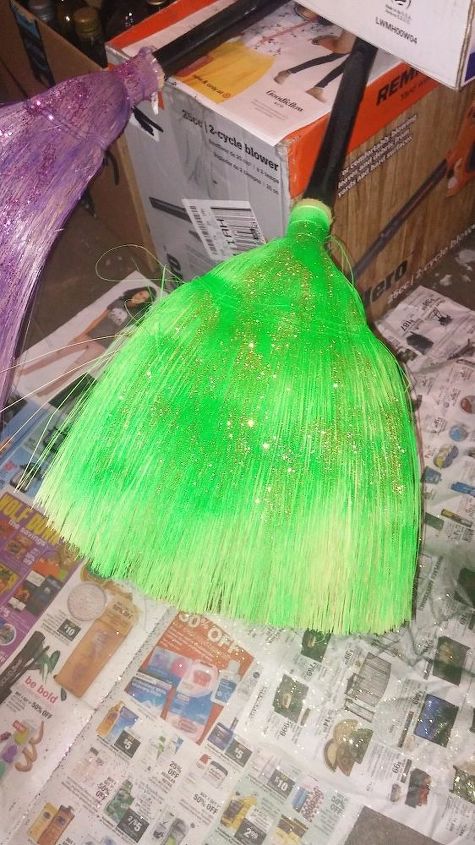
Next I did my 2 colors- first my neon green & glitter coating, balancing the broom stick with a heavy object.
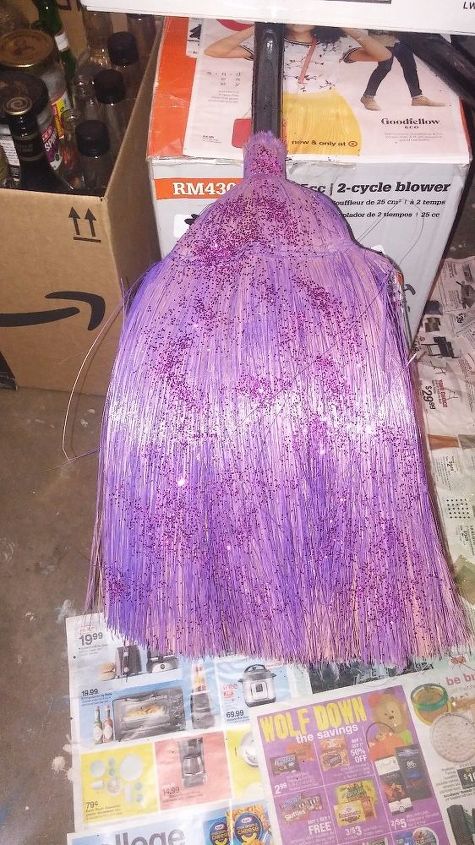
Then I did my other broom in purple, also coating with purple glitter. Once dry, shake off any excess glitter & spray with the glow in the dark spray paint.
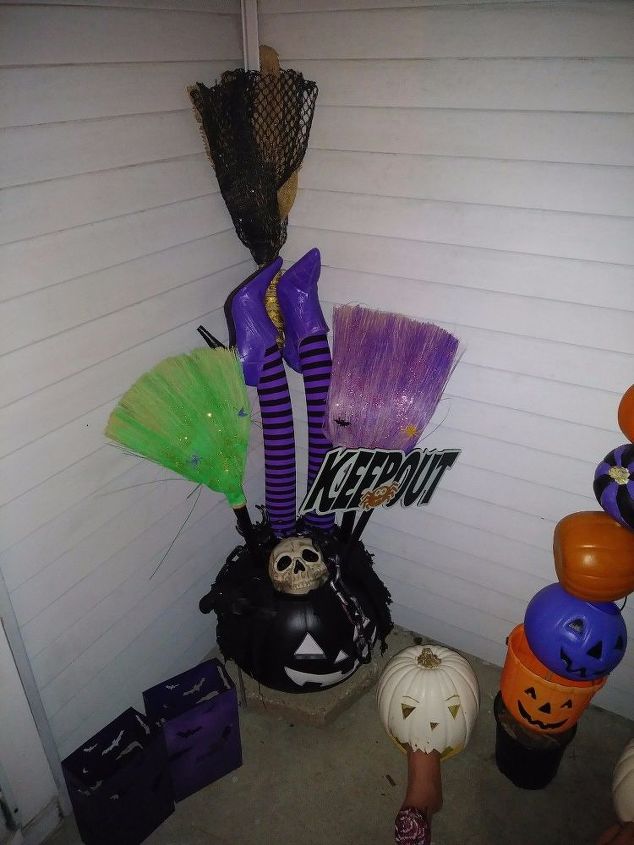
The 2 brooms in my outdoor display. I added my spiders, skulls & bats, once they were in the display.
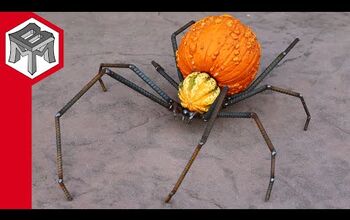
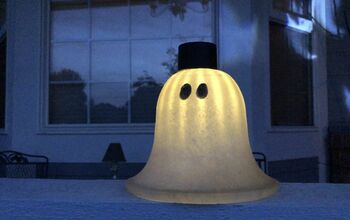
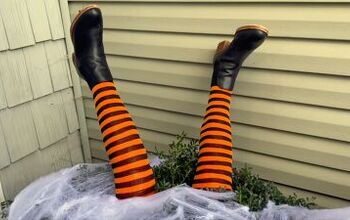
Looking for more Halloween inspiration?
Comments
Join the conversation
-
Thank you! That's only one tiny portion of the outdoor display. My entire house is decked out every year. I live for Halloween!
-
This is so creative, cute and fun! thank you so so much for sharing!


Frequently asked questions
Have a question about this project?