


How to Reupholster a Dated Settee - Restoration Hardware Style!

7 Materials
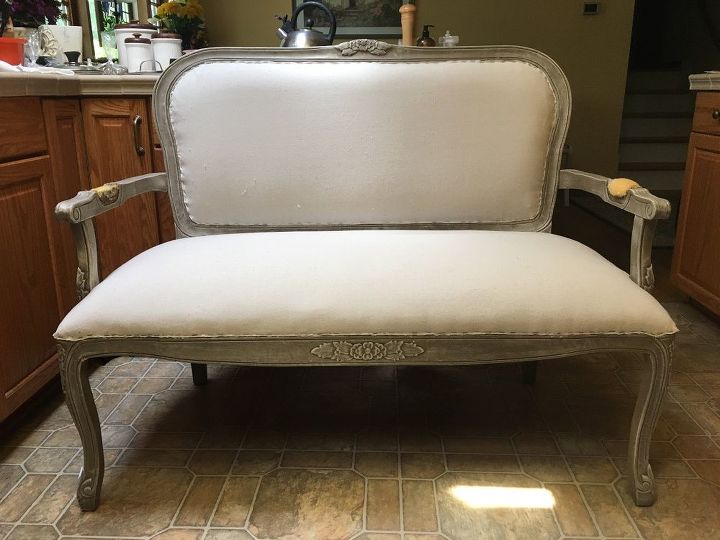
This settee was part of a three-piece grouping I purchased about a year ago. I had a customer who wanted two Bergere style chairs custom painted and upholstered and this was left over. It is not antique; my guess is that it's a reproduction made in China sometime in the 80's :) Never the less, it still had pretty lines and was reasonably well-constructed.
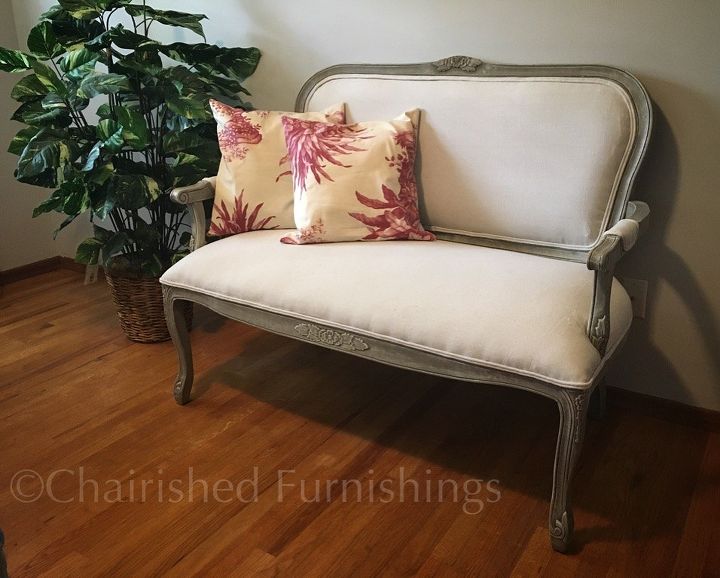
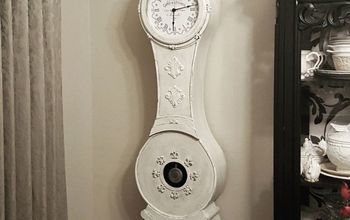
Here she is - completed and staged for sale.
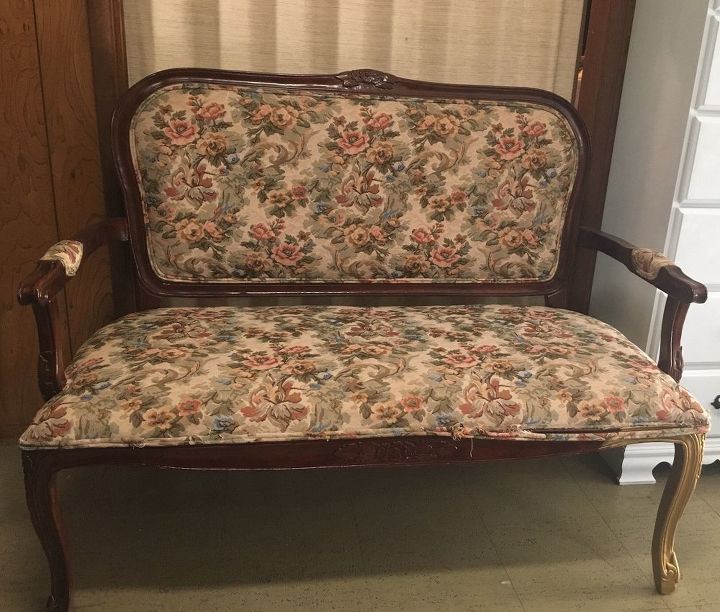
Settee as purchased from Craigslist
The first thing I did was remove ALL the staples. Every last one of them. This (for me) is something best done over a few sessions, as it's tedious and not very fun.
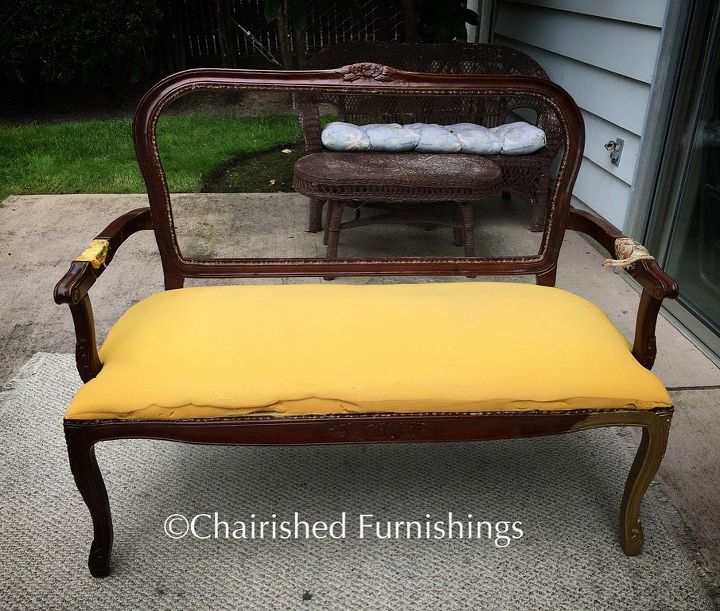
Bare frame after stripping all upholstery
After the frame was completely stripped of all upholstery, I wiped it down with Liquid Sandpaper (deglosser). This will help the paint grab hold of the existing finish.
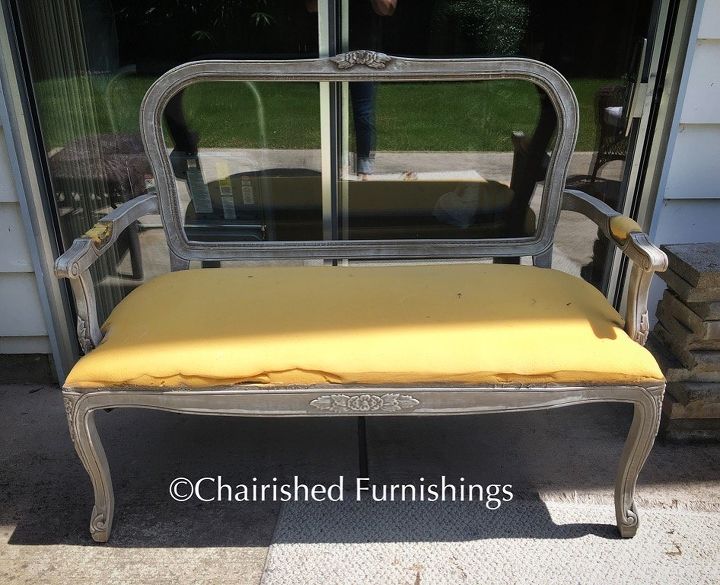
After applying two coats as the base, I dry-brushed the entire frame with Miller Paints Rudimentary Beige (also made into chalk paint). To dry-brush, gently dip your brush into the paint and wipe 90% of the paint off with a towel or paper towel so there is very little paint remaining on your paintbrush. Lightly drag your brush over the base coat, leaving just barely a hint of your second paint color. I use a cheaper quality brush for this step because sometimes, I can be a little rough with brush strokes, moving in circles. It always depends on the piece and what you want to bring out. I suggest practicing on a scrap first until you get the hang of it. Everyone's touch is different.
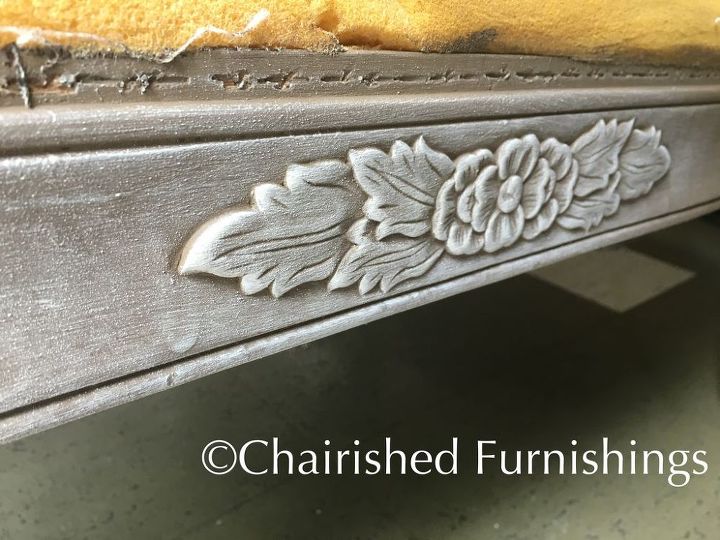
Closeup of the front frame edge
Continue dry brushing until the entire furniture piece is uniform in coverage
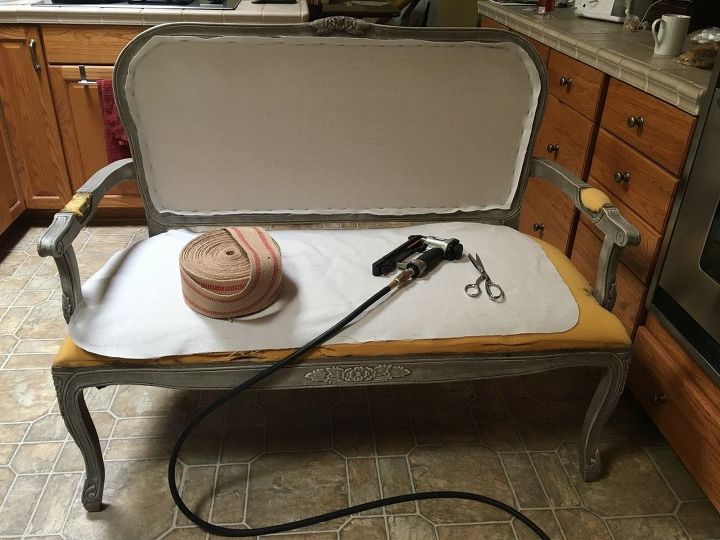
Although not necessary, I reinforced the back by adding jute webbing. I use a webbing stretcher (sorry - no photo) to pull each strap taut, then staple into place. As you can see, the straps are woven into a basket weave.
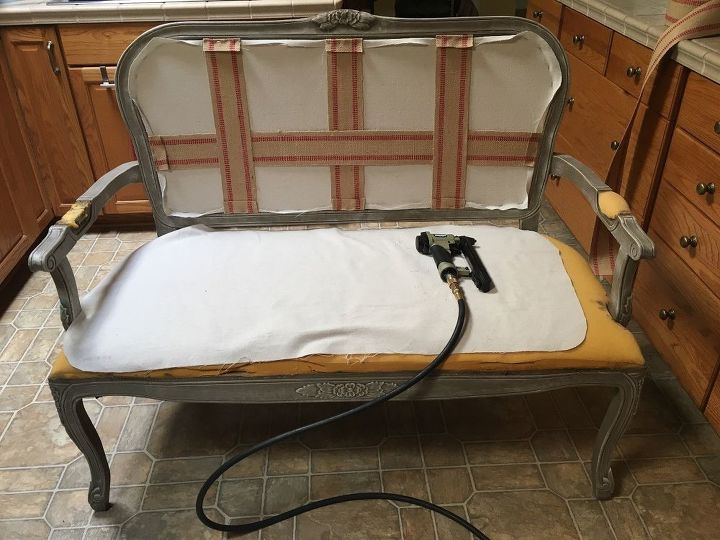
I sprayed the back side of the original foam back with spray adhesive and placed it against the straps in the back. I then laid another piece of drop cloth over the foam and stapled into the back in the same manner as the back facing piece was done. I turned under the edges of my fabric to provide extra reinforcement.
Here's a step that many people would skip over but I have found it makes a HUGE difference in comfort. I take scraps of my cotton batting and 'pick' it apart, then scrunch together into a nest-like pile. I work this out all the way to the edges of the seat.
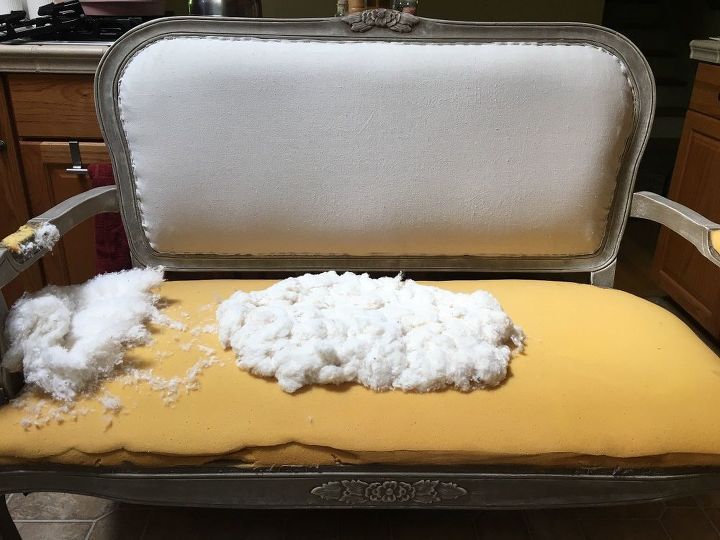
After the 'nest' is completely filled out to the edges, I tear off a section of cotton batting that will cover my seat, plus a couple of inches overhang on all sides.
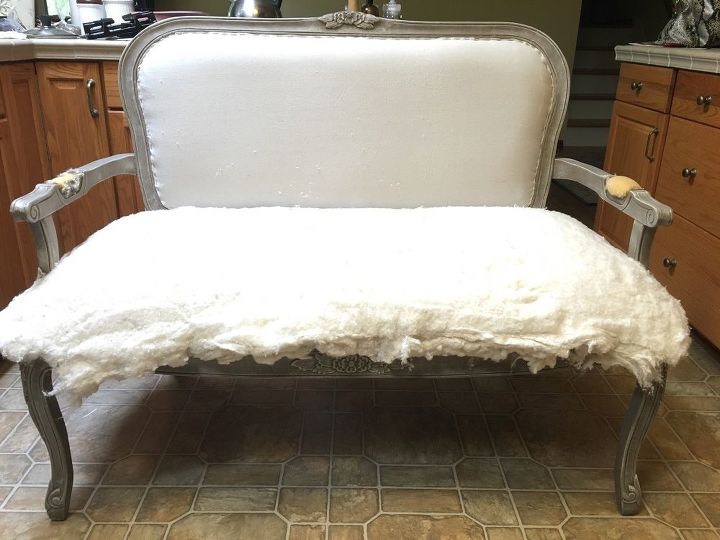
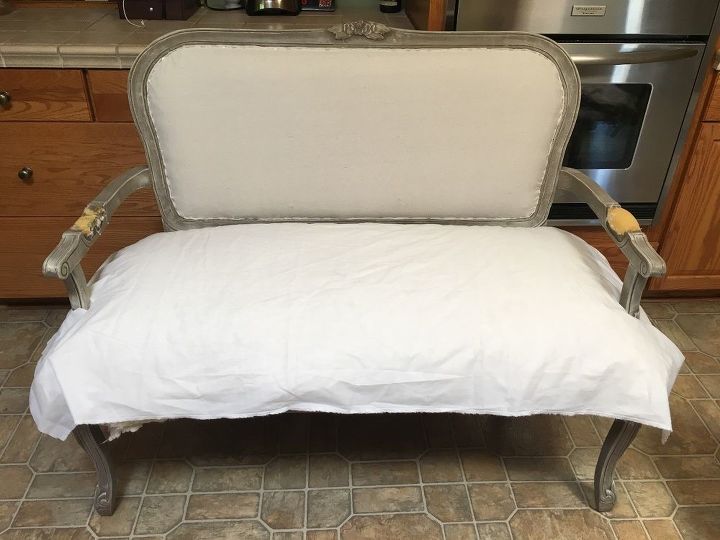
I cover all the cotton batting with a piece of ordinary cotton sheeting (muslin) and cut in at the arms to fit it into place.

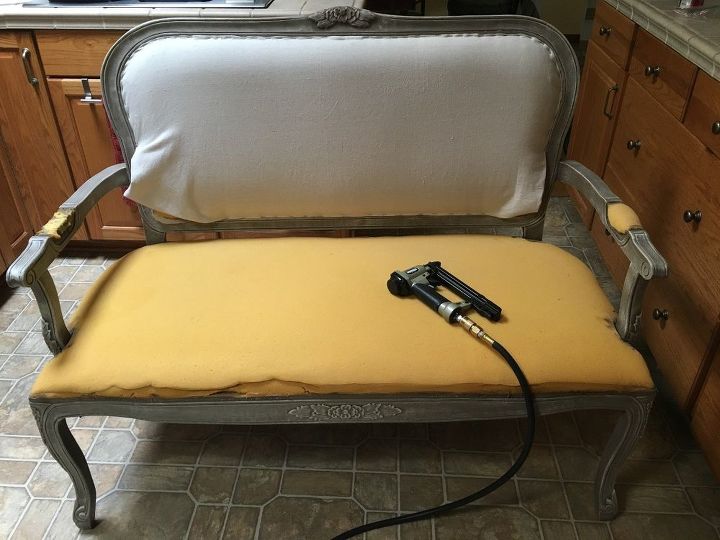
Using the muslin allows me to do all my sculpting to get the seat uniform and crowned evenly. I staple it into place around the ledge of the chair frame and trim close to the staples when it's completely stapled all around.
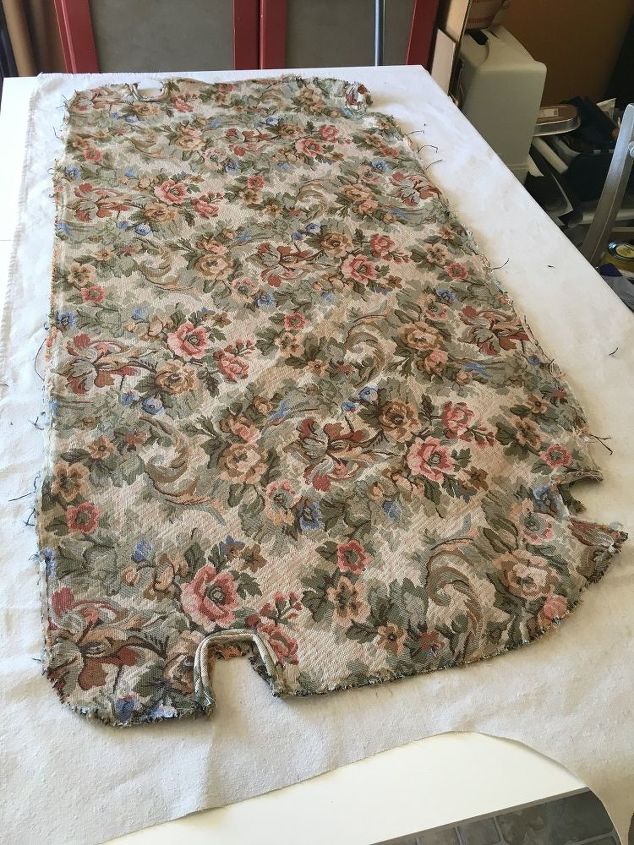
Using the original seat fabric as a pattern
I saved the seat from the original settee to use as a guide for cutting out my new upholstery. I added about three inches all the way around and used the leg and arm cut-ins as my guide for pre-cutting for my fitting. Once I began stapling the new upholstery into place, I had to do a few snips here and there to adjust the fitting to my chair frame.
Seat and back installed
Now the seat and back have been completed. All that's left is to cut out new foam for the arms and cover them, then add welted trim around all the exposed staples. I made my own welt with a special sewing machine foot and used laundry cording. Check it out - it's far more affordable than what's sold in the upholstery section at the fabric store. I bought 100 feet for just $6.99 vs. $2.99/yd of the stuff (that looks and feels exactly the same) in the upholstery section
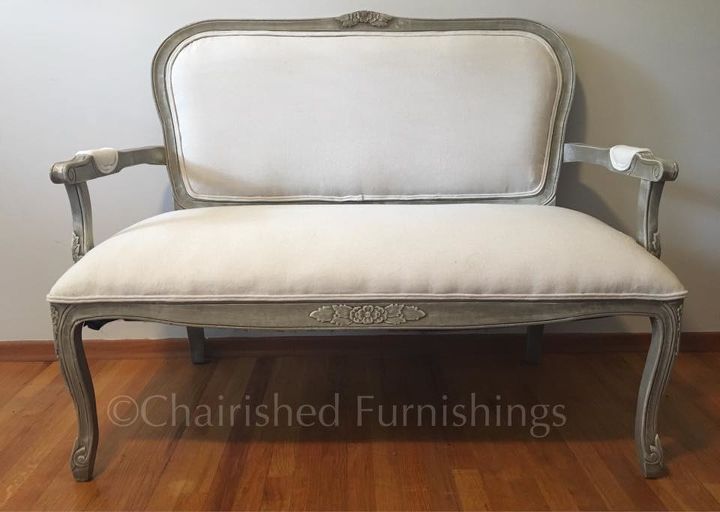
Finished Settee
Comments
Join the conversation
3 of 46 comments
-
Oops..the even crown on your seat, I know how hard this can be to get even with no puckers.
-
You explained this so clearly! Thank you so much! I have an old settee/sofa that I now don't have such a fear of redoing.... yours turned out beautifully!


Frequently asked questions
Have a question about this project?
I love this settee project, I am about to tackle something similar. How did you attached the cording to the settee? I may use nailheads but have not decided yet.