


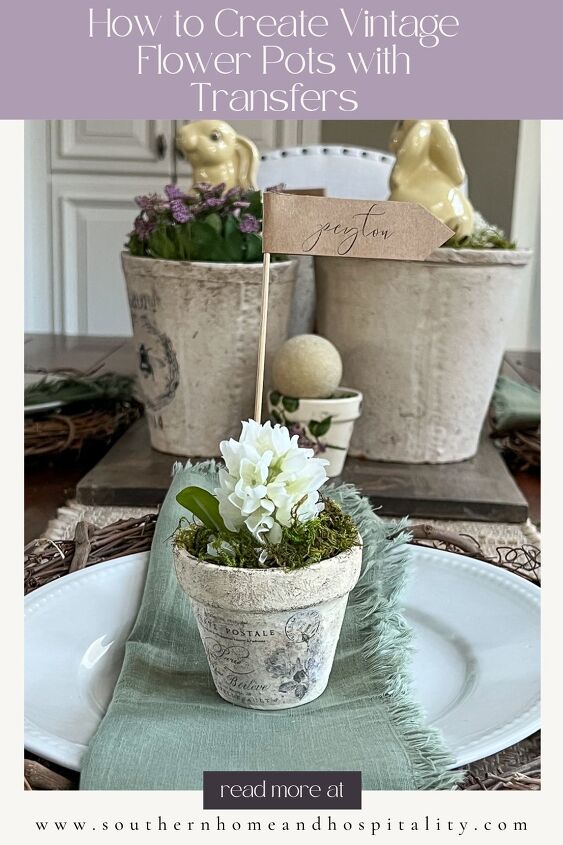
How to Create Vintage Spring Flower Pots With Transfers
Looking for a special touch for the Easter dining table? This cute little vintage garden pot craft doubles as a place card and an Easter gift! ⟹
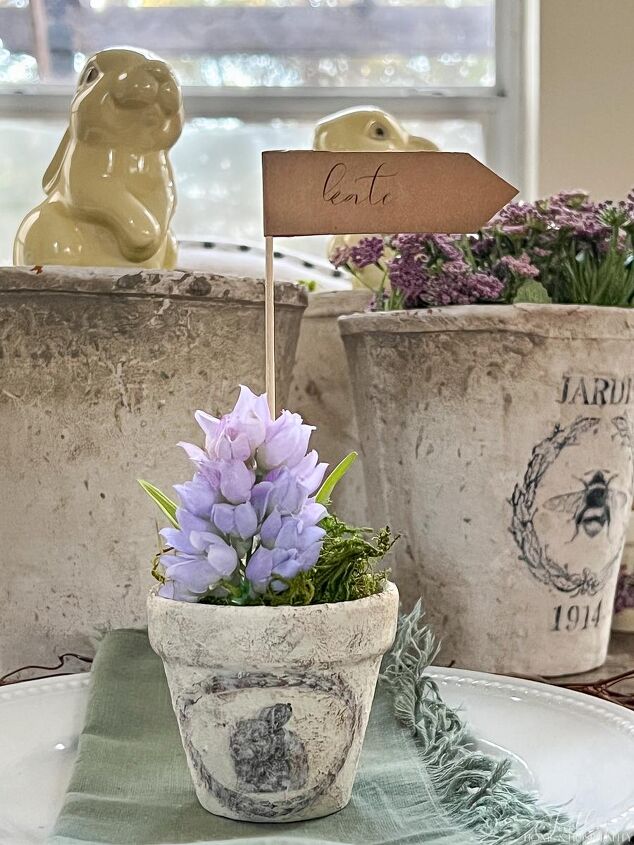
These darling DIY terra cotta flower pots were inspired by my spring garden Easter tablescape and were so simple to make! In my early spring kitchen decor, I included a garden inspired centerpiece on the breakfast table, and for Easter I decided to build on the garden idea. And instead of the traditional place card, I added to the theme by creating these adorable mini vintage garden pots! They are “aged” to match the pots in the centerpiece and each one has a different vintage rabbit design on one side and a french postcard print on the other.
This post contains Amazon and other affiliate links for your convenience. As an Amazon Associate I earn from qualifying purchases. If you purchase something through any link, I may receive a small commission, at no extra charge to you. I only recommend products that I love or would purchase for myself. See my full disclosure here.

- Terra cotta pot
- Craft paints in antique white, tan, gray, and black (optional)
- Antique wax
- Baking soda
- Small brushes
- Printer
- Matte Mod Podge
- Wet paper towel or spray bottle
I’ve shared this transfer technique before for these vintage French garden pots that sit on my dining room sideboard. In aging those pots, I started with a glossy blue stoneware pot. For these cute place setting decorations, I used inexpensive mini terra cotta pots. These 3 inch clay pots came in a set of six at the craft store.
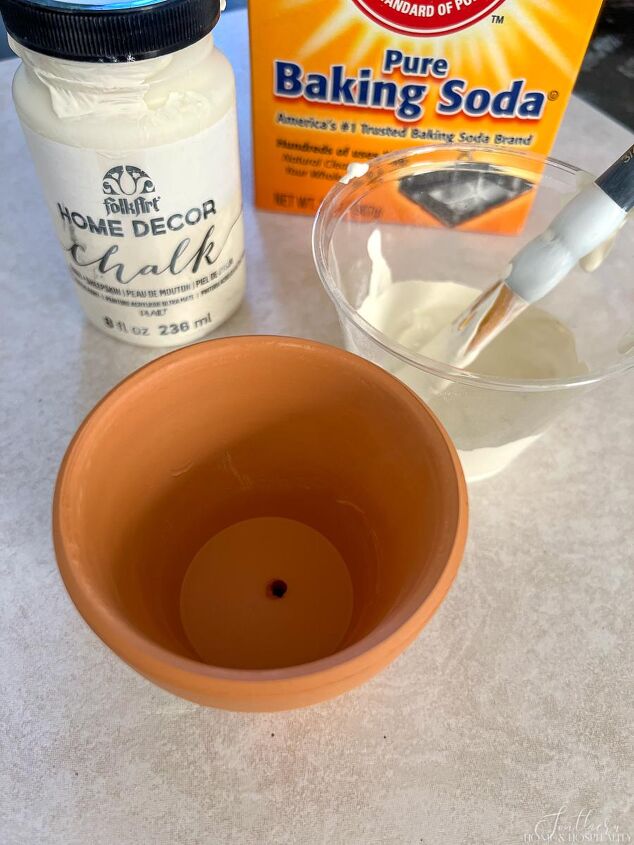
To make the plain orange pots look like they’ve been holding beautiful blooms for years just took some craft paint and baking soda!
Step One.First, I mixed antique white craft chalk paint with baking soda in a disposable cup to form a paste consistency.
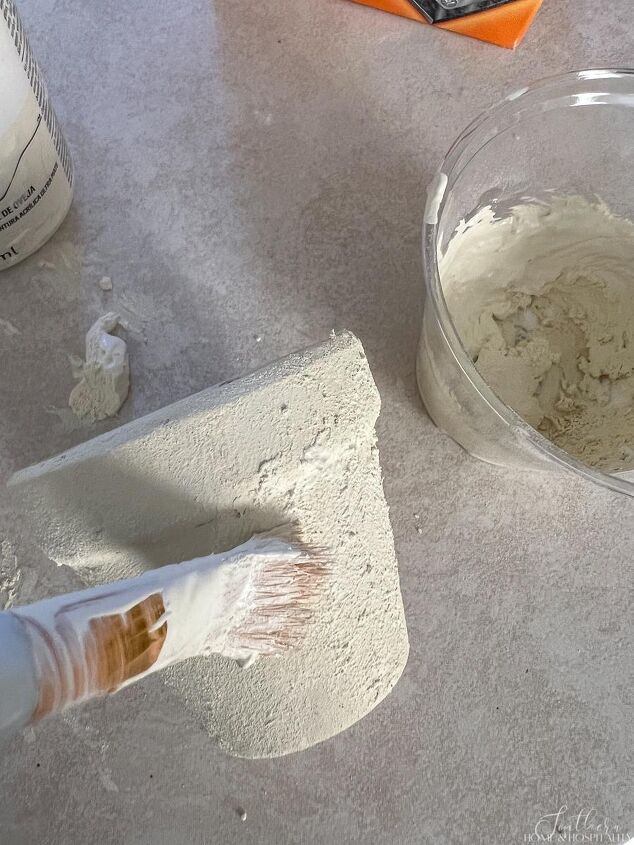
Then I painted and dabbed a couple of coats onto the pot. I played around with the ratio of the paint and baking soda between coats. I made my first coat a little heavier on the paint and added more baking soda to the mixture for the second layer to give more texture. There’s no science to this and you can’t mess it up. You’ll know when you like the way it looks!
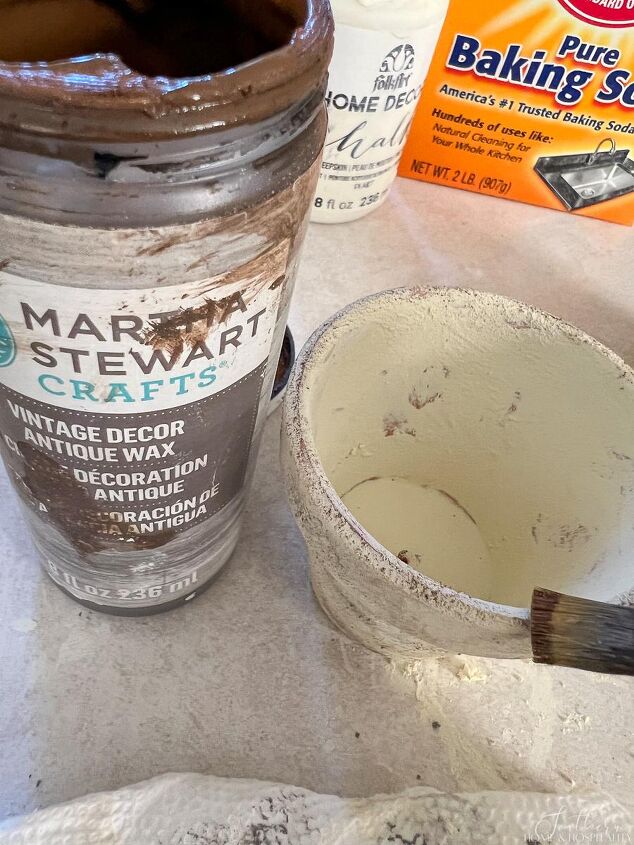
Step Two.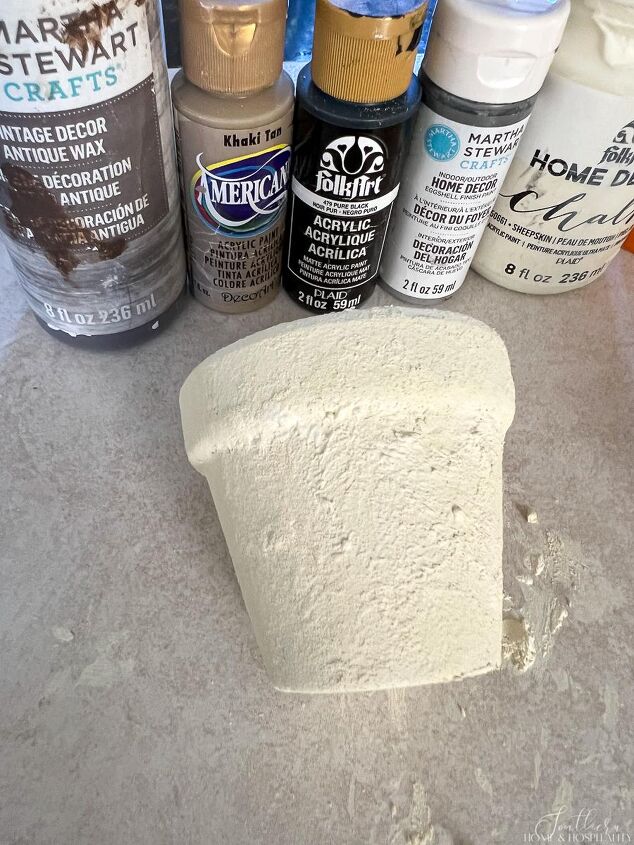
Then I rounded up more craft paint in tan, gray, and black along with some brown antique wax.
I dipped a brush into the tan paint first, then wiped it off really well onto a paper towel. This is super important…make sure you clean it almost all of the way off. The texture on the pot will grab some paint left behind on the brush, I promise. Then I lightly rubbed the brush over different parts of the pot.
Next, I followed the same steps for the gray paint. (I know I should probably wear gloves but sometimes I just can’t be bothered with that, lol.) After the gray, I dabbed on a few very light dots with the black paint, but I’m not sure this added much to the look, so feel free to skip this color. If any of the paint went on too heavy, I found it helped to immediately smear it with my finger to soften it.
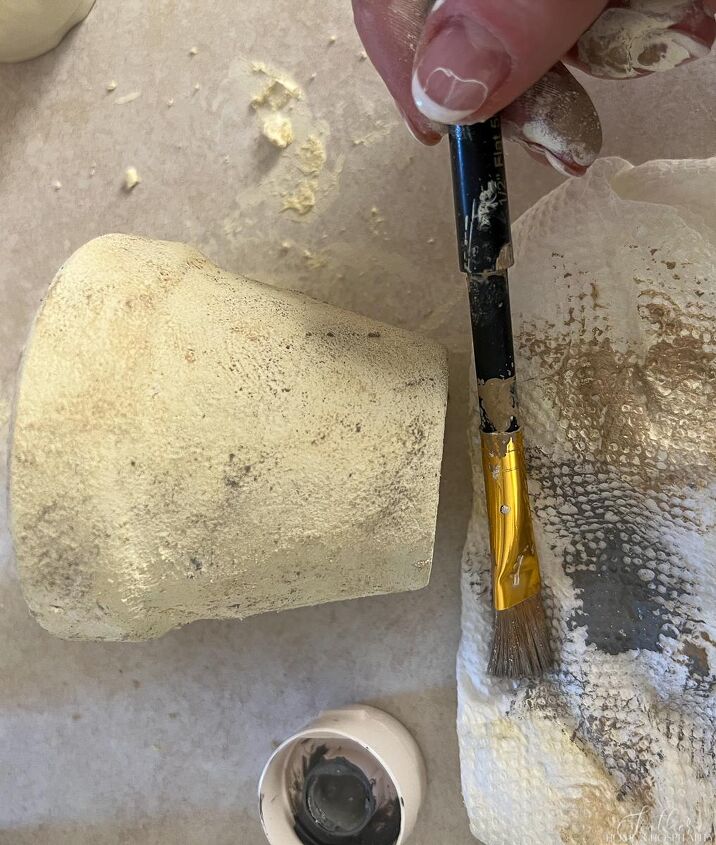
Step Three.
I finished with some brown antique wax, again wiping the brush off until it was almost clean and dry. I very lightly rubbed the brush on the edges and a bit all over the pot. At this point the “aging” was done and the pots could have been used for any purpose. But I wanted to add some Easter and French flair, so I continued on with adding vintage look transfers.
Step One.
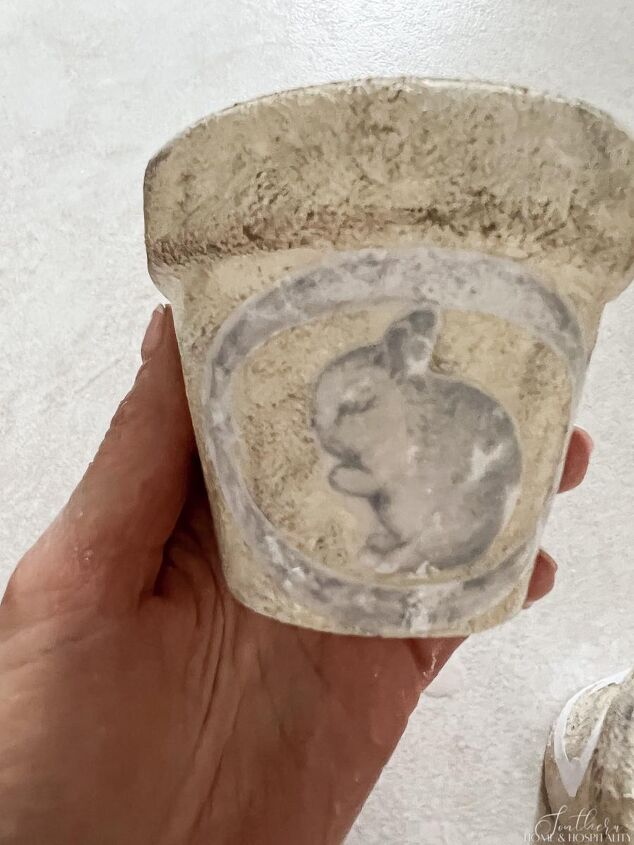
Since these were for an Easter tablescape, I wanted to include some cute vintage bunny illustrations. I googled “free vintage black and white rabbit graphics” and found just what I had in mind. They are for personal use only so I can’t share the graphic but the ones I used can be found here. Etsy also has great inexpensive clip art choices.
I also chose a border for the bunnies and a French postcard graphic for the other side. I found them on The Graphics Fairy. If you’ve never been to her site, she has the most beautiful vintage transfer art, all free!
Step Two.
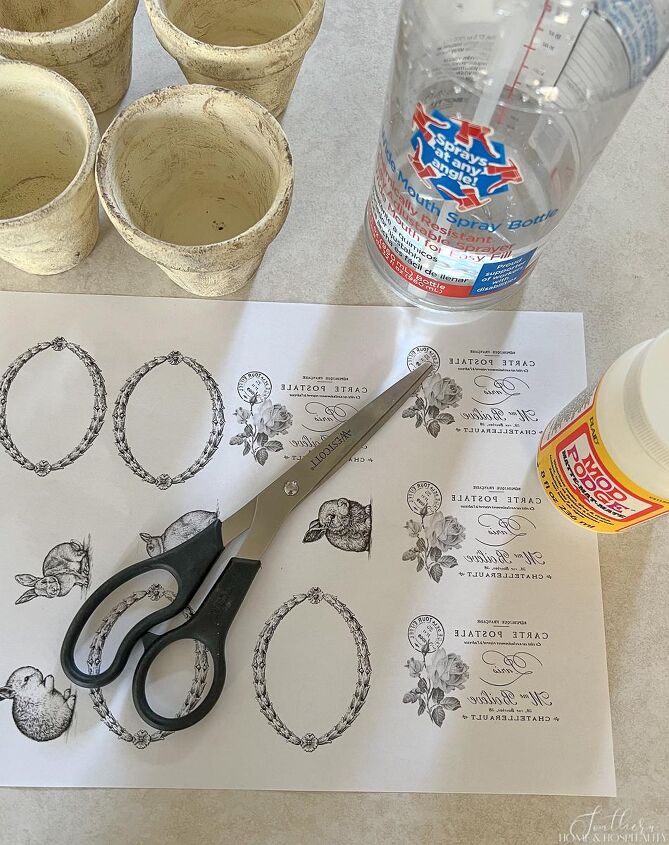
I pasted all of the graphics into a one page Word document to print. The French postcard art was already reversed on the Graphics Fairy site, but you can also reverse art in a Word document if needed. None of the other art contained writing, so it didn’t matter to me which direction it came out. I recommend a light colored pot for this method since some of the white paper will remain.

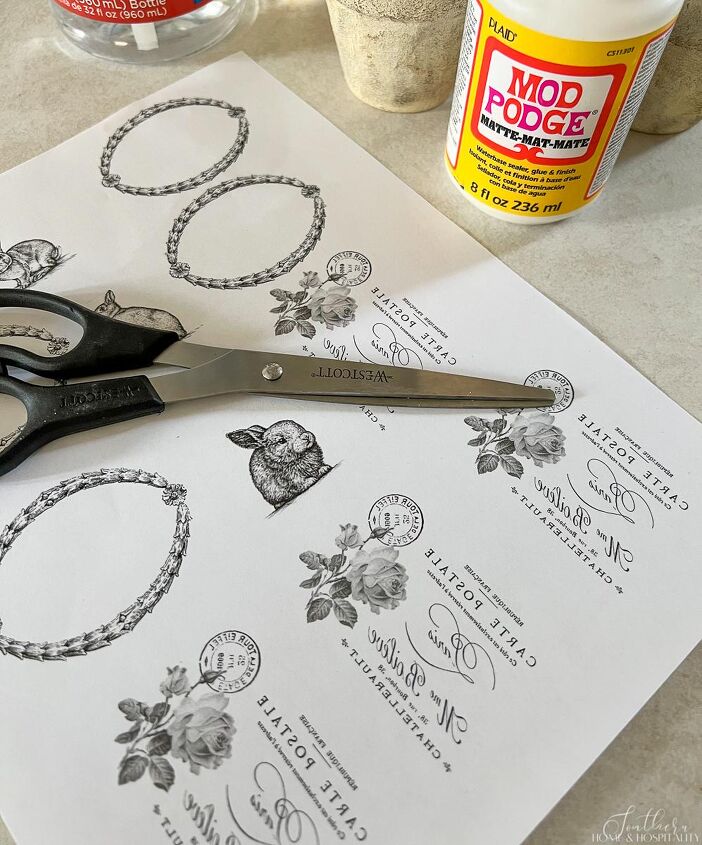
I cut out each graphic closely. I had never used this technique before with graphics this small and I learned from experience on this project that small graphics like these are much harder to work with than larger transfers (like the postcard graphic on the back) so keep that in mind when choosing your images!
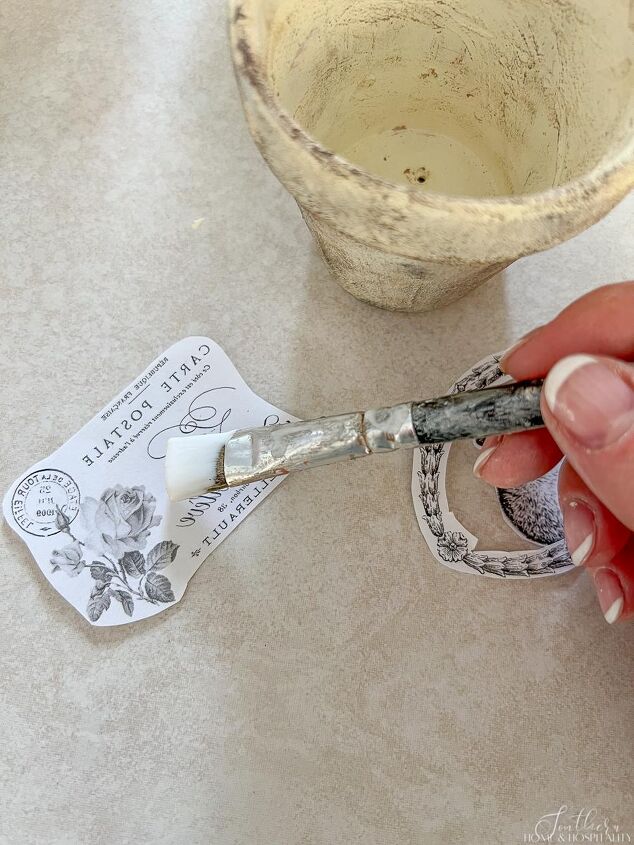
Step Three.
Next, I put a generous coat of matte Mod Podge on the printed side of the graphic.
Then I pressed each graphic really well into place on the pots.
I let them dry overnight. Don’t be tempted to rush this…it really does need this drying time!
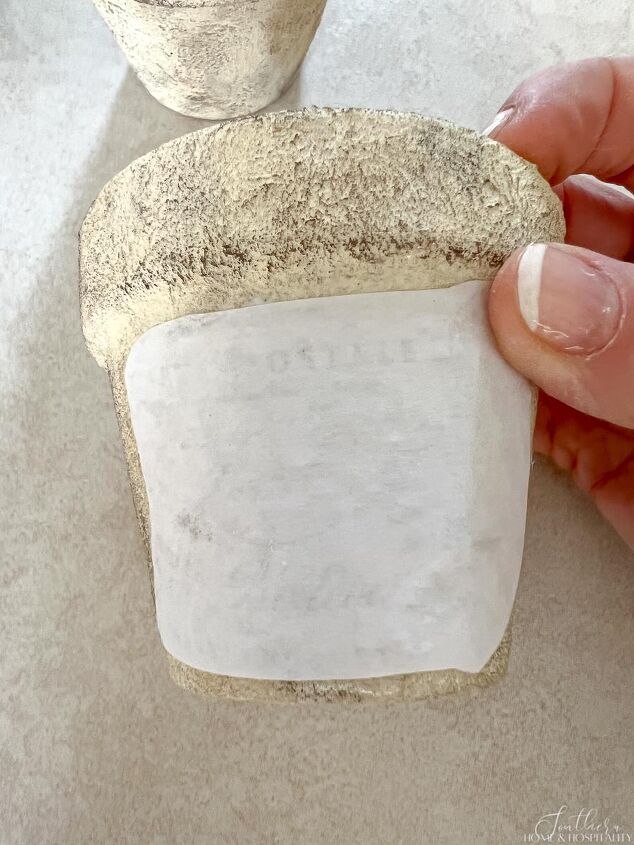
Step Four.
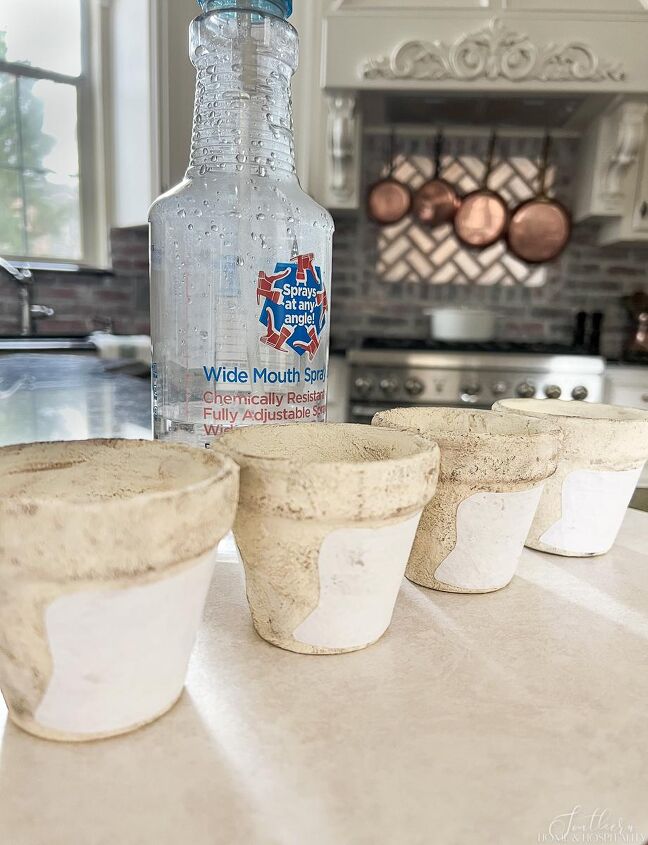
The next day, I started the process of rubbing off layers of the paper. I sprayed the paper with water until I could see the design darken through the paper:
I let it sit for a minute and then began carefully rubbing the top layer of the paper off with my fingers.
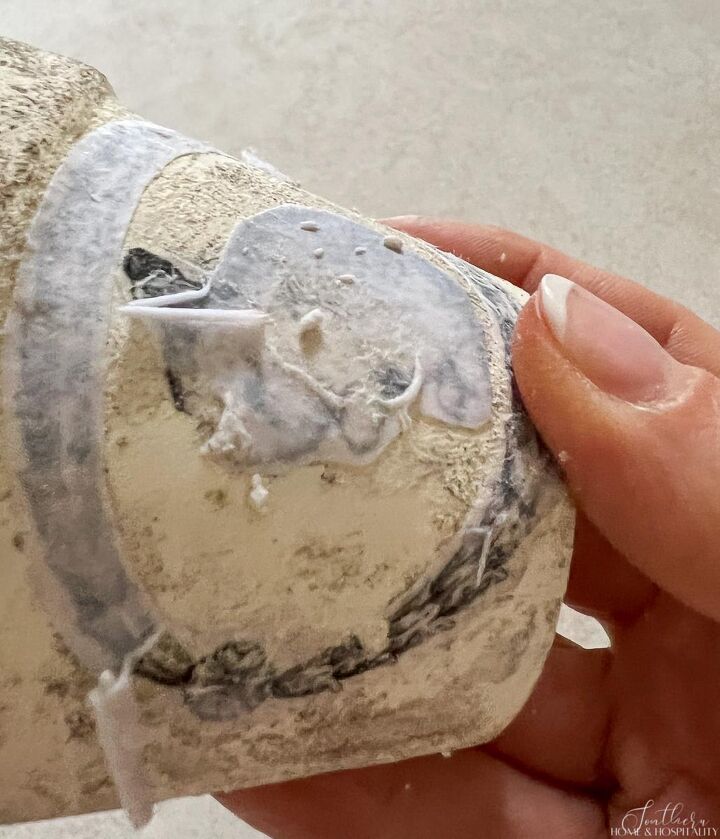
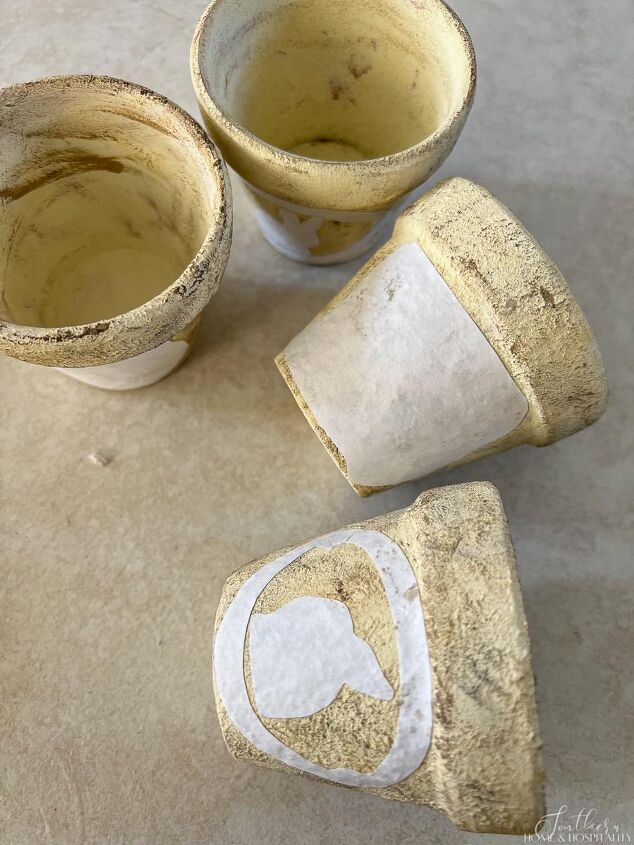
While it is wet, the image looks darker and the paper is more transparent. Rub off a little and let the paper dry. Usually you will need to repeat this step a few times because when the paper is wet it looks done, but when it dries you see more paper again. Some pieces of the design will come off and little is ok because the look is supposed to be worn. As I mentioned earlier, this is where I ran into some issues with the small transfers because some of the parts that rubbed away were integral to the design. To be honest, I had to dot the side of a bunny’s face in with a fine tip black pen and blur it with my finger while the design was wet.
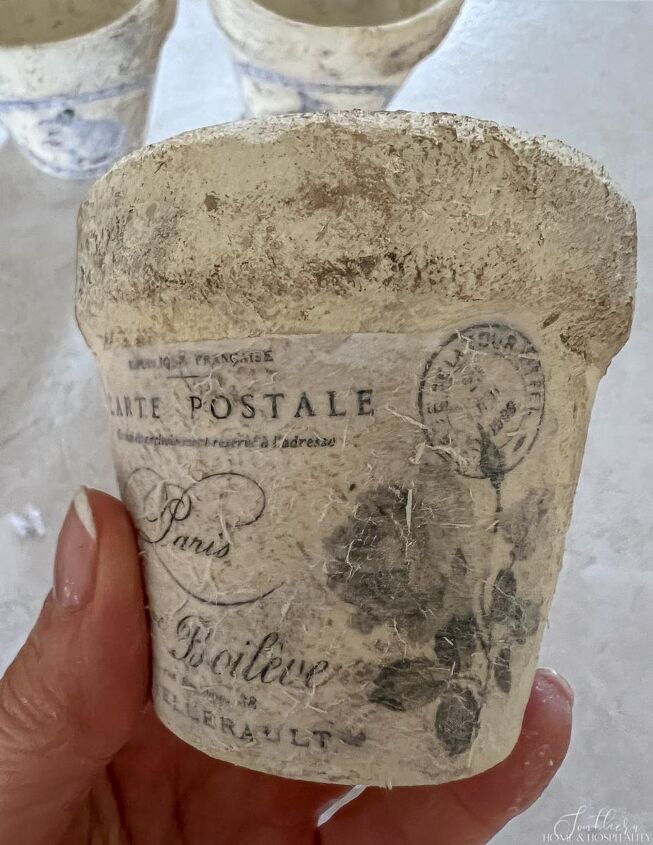
When rubbing off the paper, be careful to rub just the paper and not the pot because the baking soda and paint mixture will rub off. Again, with the small transfers this was more of a problem, but I don’t think it is super noticeable. In a couple of spots I dabbed the faintest hint of antique wax where the texture had come off.
Also keep in mind that the finished pots are not waterproof on the outside when using them for plants. I would keep them indoors or on a covered patio and don’t get the outside wet when watering. I’ve always used faux plants in ones that I made so I’ve never tried to seal them. If you try this technique and seal the baking soda/paint treatment, let me know how it went!
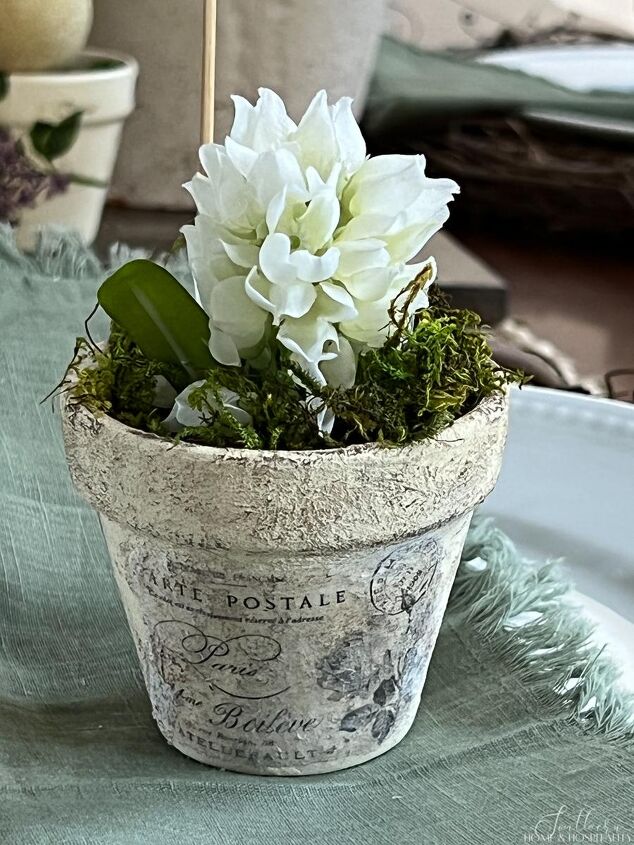
And that was it! To make them into place card substitutes, I added a name card to each flower pot that looked like a plant marker using some cardstock and a wood skewer. Then I popped in a faux lilac and preserved moss and it also became a cute little Easter gift!
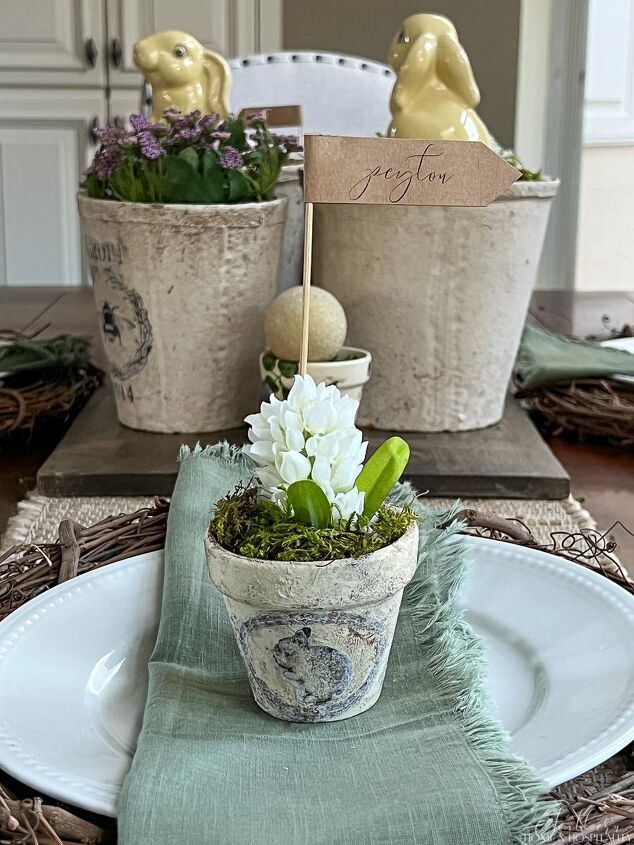
It’s hard to believe these started as plain orange clay pots and that they became these with just craft paint, baking soda, Mod Podge, and a printer (all of which I already had)! They add such a special touch to my spring dining table for very little cost!!

As always, I appreciate your visit, comments, and shares here! And don’t forget to subscribe for updates to keep in touch and to follow along with me on Pinterest, Instagram, and Facebook!!
Pin this to refer to later:
Remember to pin this to your Pinterest spring and craft boards to refer to later. You can FOLLOW ME ON PINTEREST and see all of my pins plus lots of other inspiring ones that I’ve found and pinned!


Frequently asked questions
Have a question about this project?