


How to Make a Cornucopia or Horn of Plenty for Thanksgiving
Find the steps and supplies to create a cornucopia, or horn of plenty, for your Thanksgiving table. This centerpiece is easier to create than you might think and a festive way to celebrate harvest season.
A cornucopia, also known as a horn of plenty, symbolizes abundance and a bountiful harvest, associated with Thanksgiving. I’ve been looking for a cornucopia to use as a centerpiece for my Thanksgiving table.
I wanted a horn of plenty that was large enough hold an assortment of harvest elements and to use as an arrangement with flowers, fruits and / or veggies for a Thanksgiving table centerpiece.
As I couldn’t find the size I wanted, I decided to make one! My finished cornucopia is 20 inches long, from front to tail, with an 8 inch wide opening.
This cornucopia came together in a couple of hours. It wasn’t hard, it just took a little time figuring out the easiest way to do it. The best part is you can customize it to the size you desire with just a few supplies.
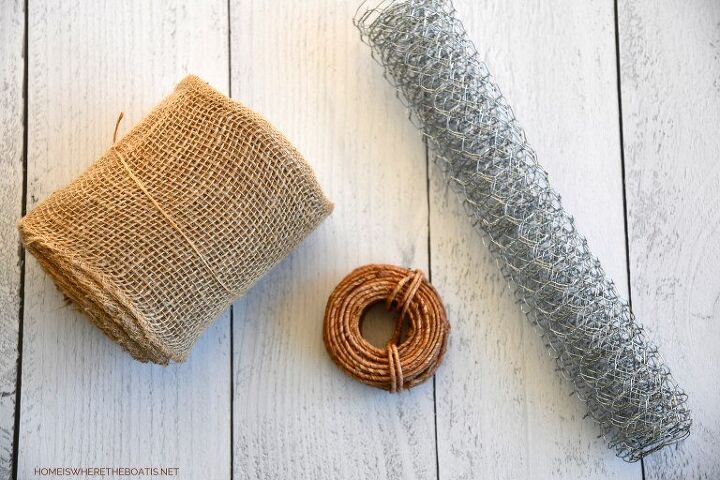
Here the materials I used:
- 1 foot x 4 foot roll of chicken wire (I used most of it)
- 45 foot roll of wired hemp or grapevine wire (I used 2 rolls)
- 5 inch x 10 yard burlap ribbon (I used less than 2 yards)
- Garden twine
- Side cutting pliers
- Optional: gloves for handling chicken wire
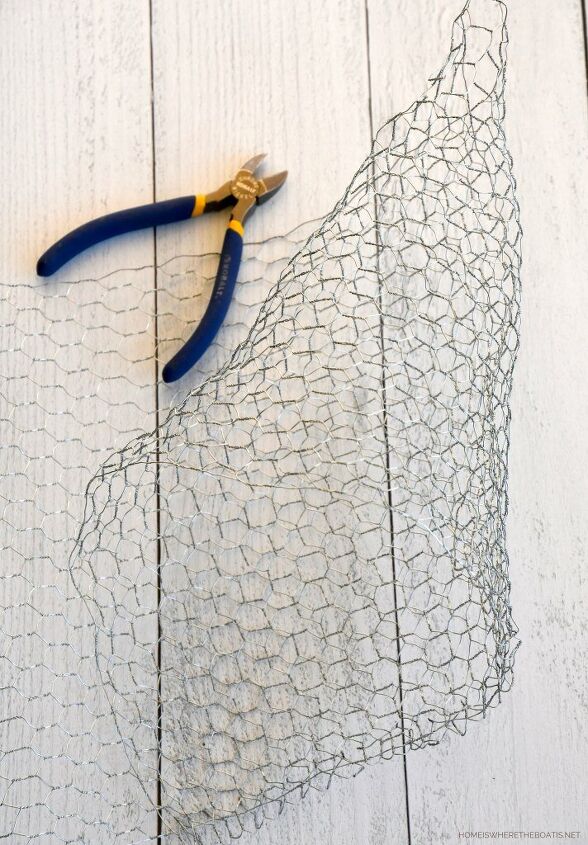
I rolled the chicken wire into a cone the approximate size I wanted my finished cornucopia to be. Cut the chicken wire with pliers or snips, bending the wire to attach edges. You may want to use gloves to protect your hands.
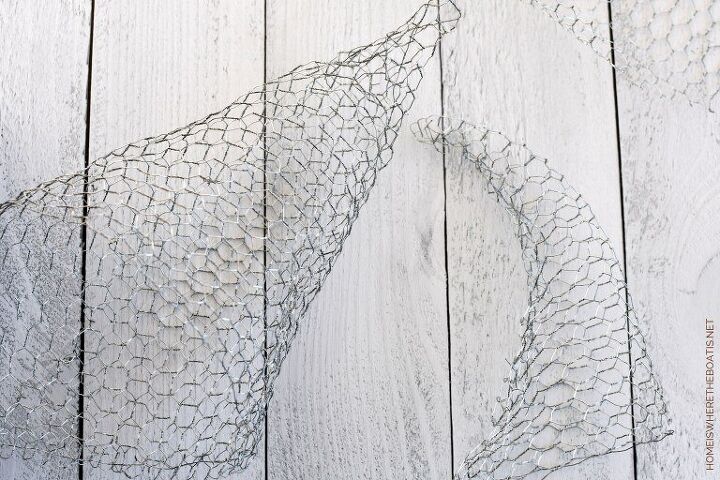
I cut a second smaller piece to form the horn of the cone, and placed the smaller cone over the tail of the larger cone, bending the tail up to give it a horn shape.
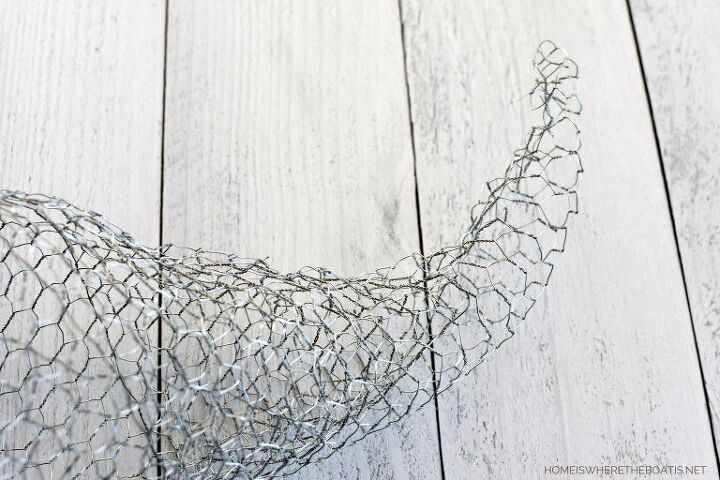
Press and mold the wire pieces together. The burlap ribbon you'll add next will hold them in place.

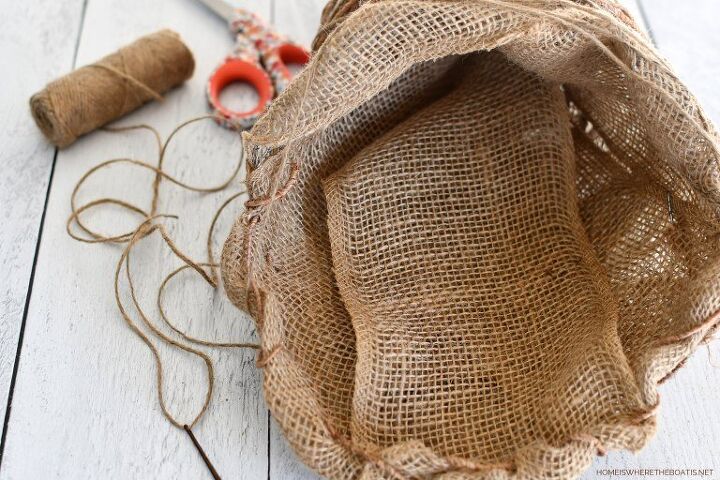
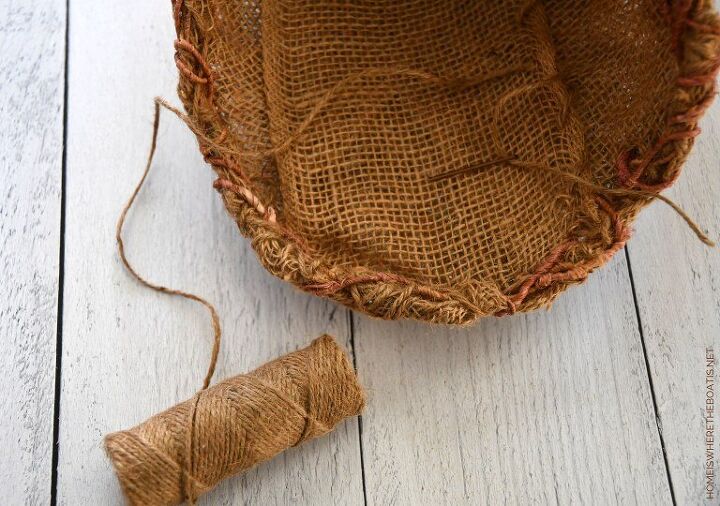
I wrapped the cone with burlap ribbon, starting at the horn end, overlapping as I went. When I got to the opening of the cone, I cut the ribbon, tucking a length inside along the bottom of the cone.
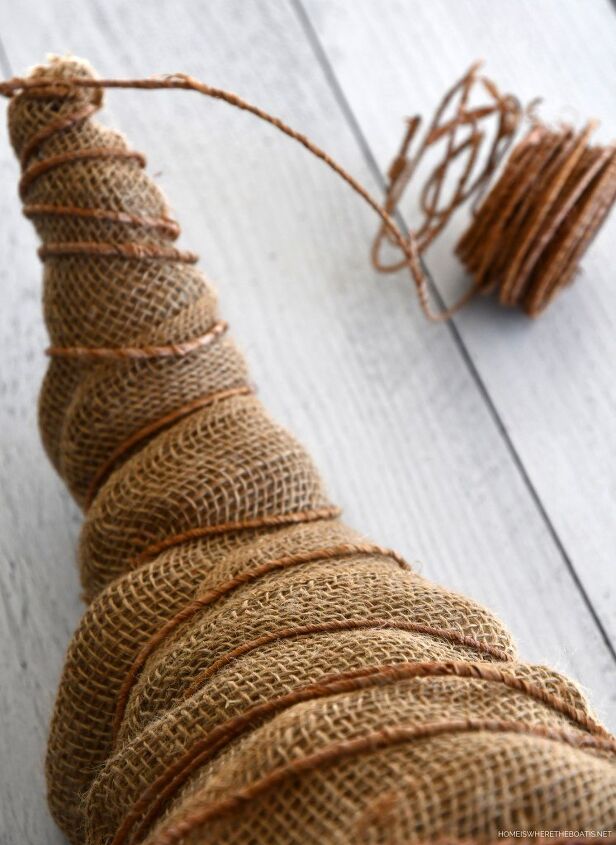
Starting again at the horn end, I wrapped the hemp wire around the cone. The hemp wire adds some basket-like texture, and holds the burlap in place. Repeat wrapping with wire until you achieve your desired texture.
When I got to the opening of the cornucopia, I used the wire to attach the ribbon to the chicken wire, weaving it in and out the holes along the edges. When I ran out of wire, I used some garden twine that I had as it blended with the burlap.
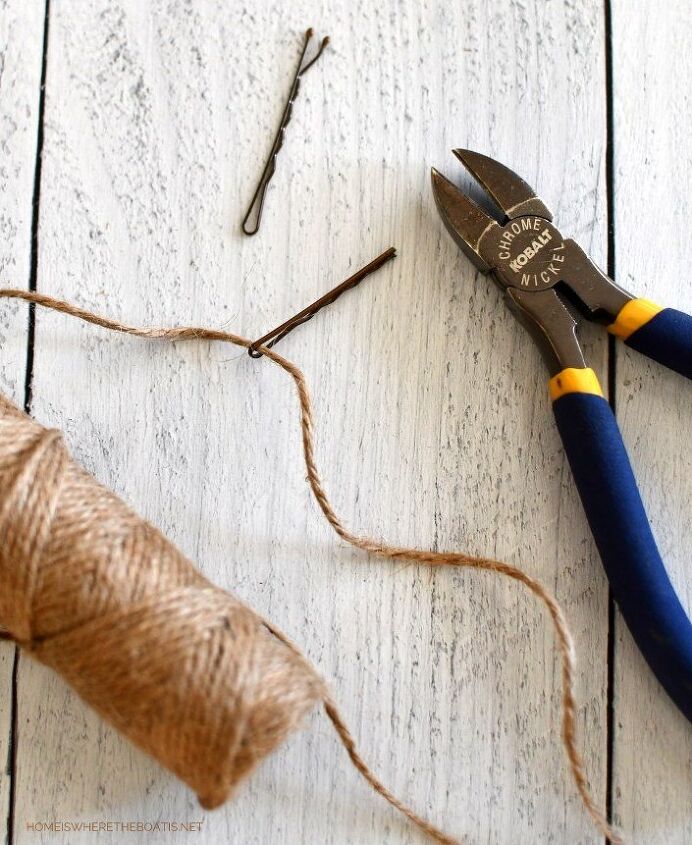
As I didn’t have a tapestry or darning needle, I snipped the ends off a bobby pin with pliers so I could run the twine through the holes of the burlap more easily.
I also used the twine to tack down the end of the ribbon inside the cone. Feel free to skip this step as the inside or the cornucopia will be concealed once filled.

I may add another roll of hemp wire to give the cornucopia more of a basket texture.
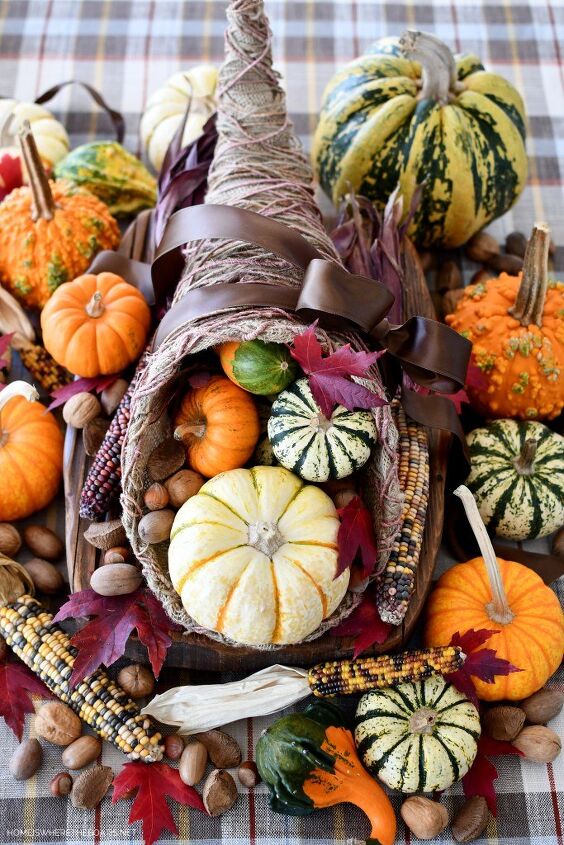
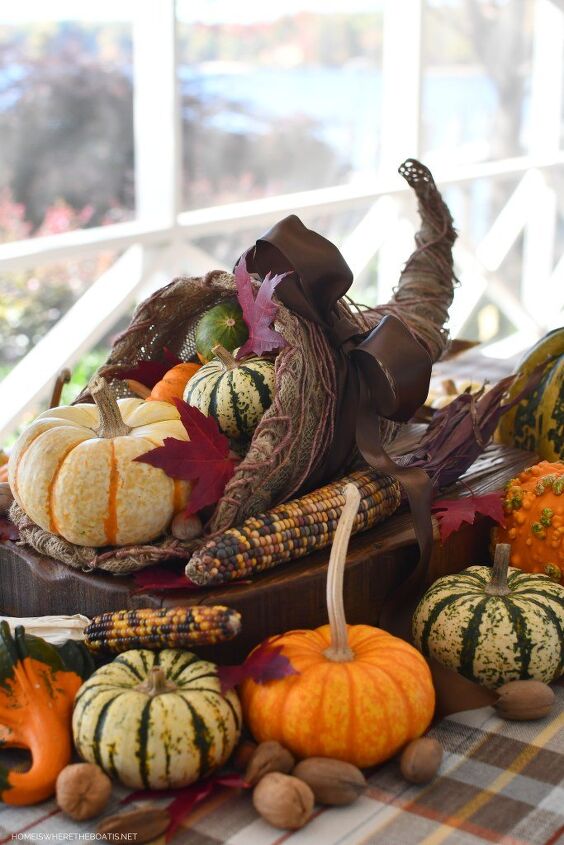
When finished, I tied a bow with some brown satin wire-edged ribbon to add some embellishment and filled my cornucopia with pumpkins, gourds, leaves and nuts. It’s placed on a board to elevate it as a centerpiece with more harvest elements around it, including Indian corn. More photos at the original blog post.
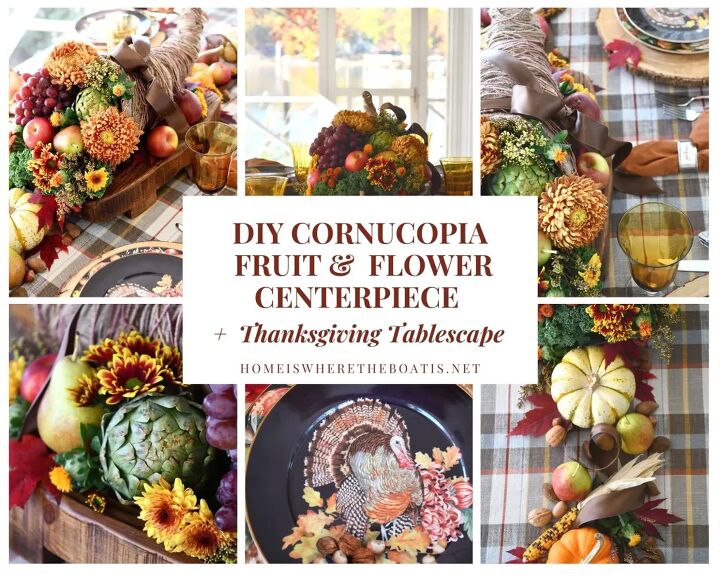
See this cornucopia used at my Thanksgiving table, HERE, filled with fruit and flowers.

If you’re looking for another idea for Thanksgiving or Friendsgiving, you might also like DIY Cone-ucopias.
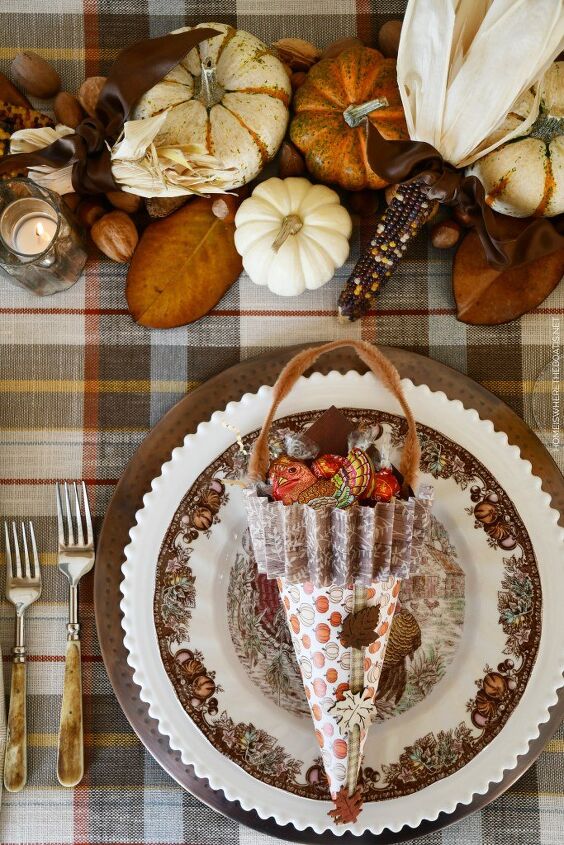
These cone-copias as fun to make as they are to receive! Affordable to make from scrapbook paper, these favors double as table decorations. See them at a Giving Thanks table, HERE.
Resources for this project:
See all materials


Comments
Join the conversation
-
Very smart
-
This was brilliant! I haven't been able to find one small enough for a wreath, but I can make this! Thank you for sharing!


Frequently asked questions
Have a question about this project?