


Painted Pumpkin Mason Jar Craft

Aren’t these little mason jar pumpkins adorable? In this tutorial we’ll teach you how to paint your very own sweet little jack-o-lantern mason jars to decorate your home for Hallowe’en!

If you’re anything like us, you probably love decorating for fall and Hallowe’en
Not only are these mason jar pumpkins quick and easy to make, they’re also inexpensive!
Supplies:
- All-in-One Decor Paint in the color, Sparklers
- All-in-One Decor Paint in the color, Liquorice
- Clear Bonding Primer
- A Painting Sponge
- Image Transfer Medium
- Black Glass Glitter
- Artist Brushes
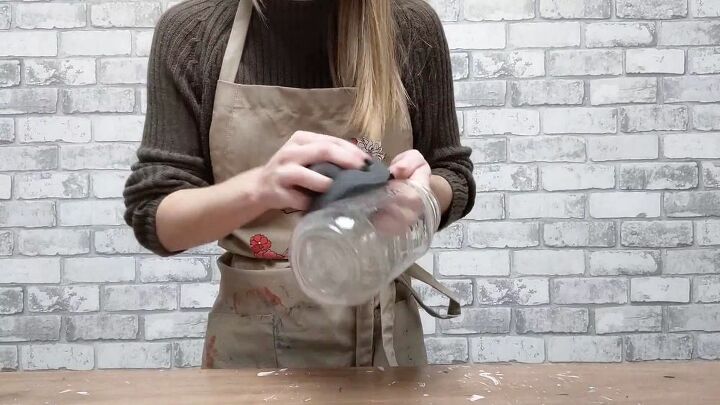
Step 1) Clean the jar
Add some white vinegar to a bowl of warm water and use the mixture to wipe down each of your jars to remove residue.
Step 2) Prime
Although our chalk-style All-in-One Decor Paint has amazing adhesive qualities, glass is non-porous and can be a very tricky surface for paint to adhere to.
That’s why we recommend applying a coat of Clear Bonding Primer to give the paint more to grip onto.
For smoothest, quickest results, apply the primer with a Painting Sponge.
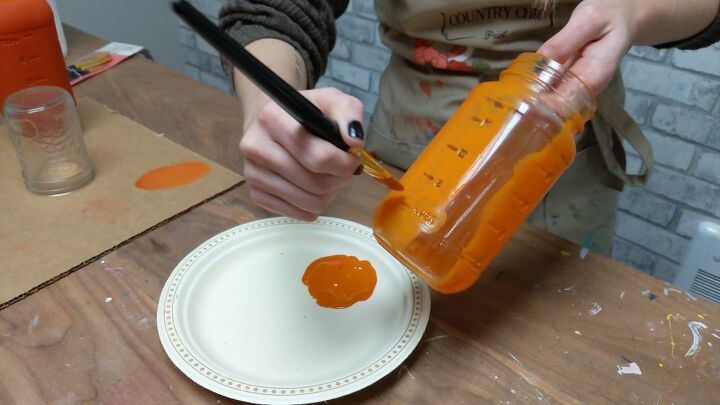
Step 3) Paint
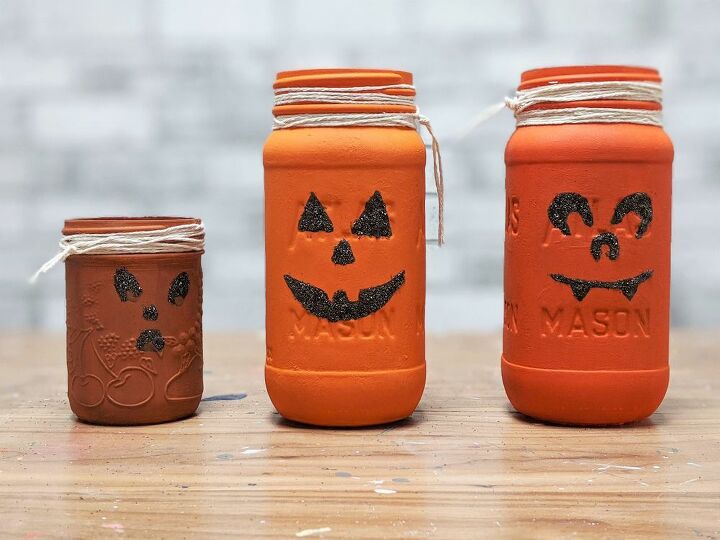
For a classic orange color, paint your mason jars with Sparklers. Two coats should be enough to get a fully opaque finish.
Let the paint dry completely before moving onto step 4.
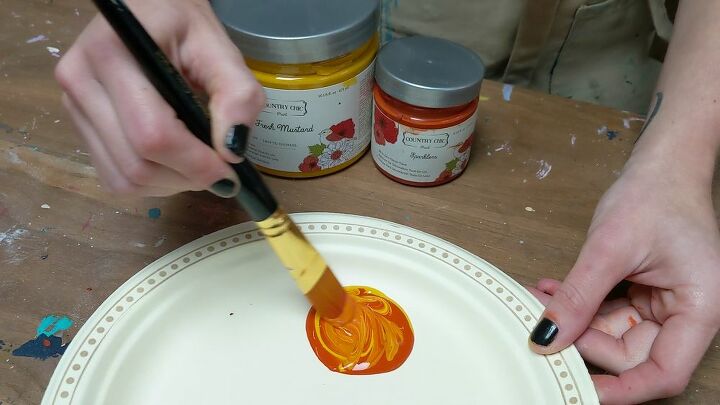
Optional: try mixing some paint colors to create your own custom orange!
For a lighter orange, mix Sparklers with Fresh Mustard.
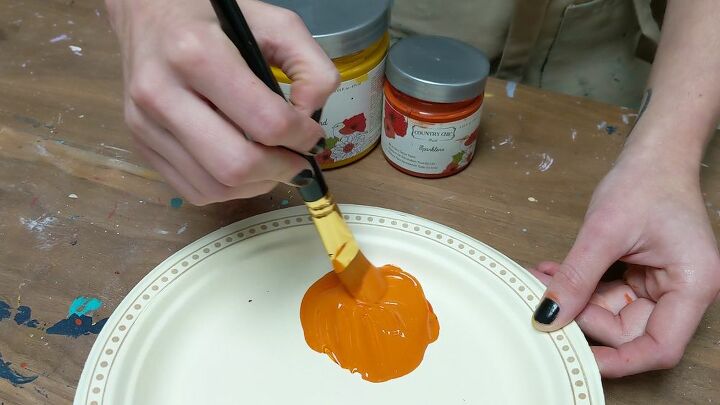
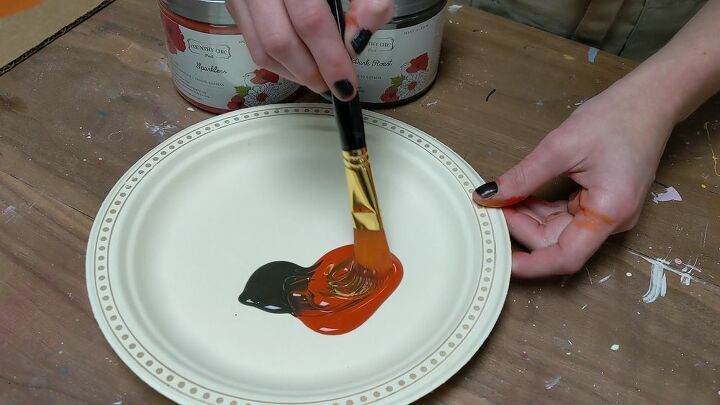
For a burnt orange, mix Sparklers with Dark Roast.
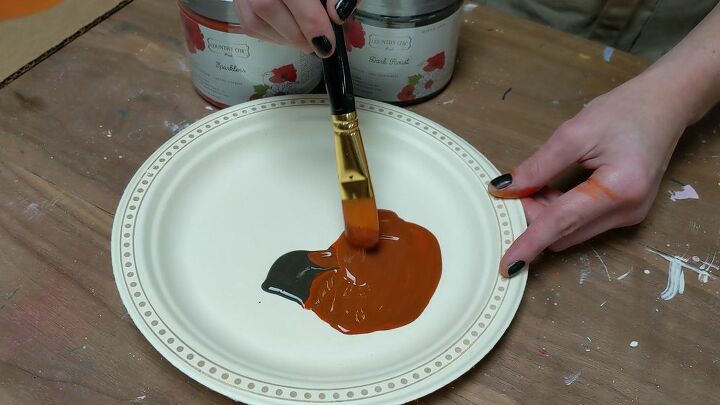
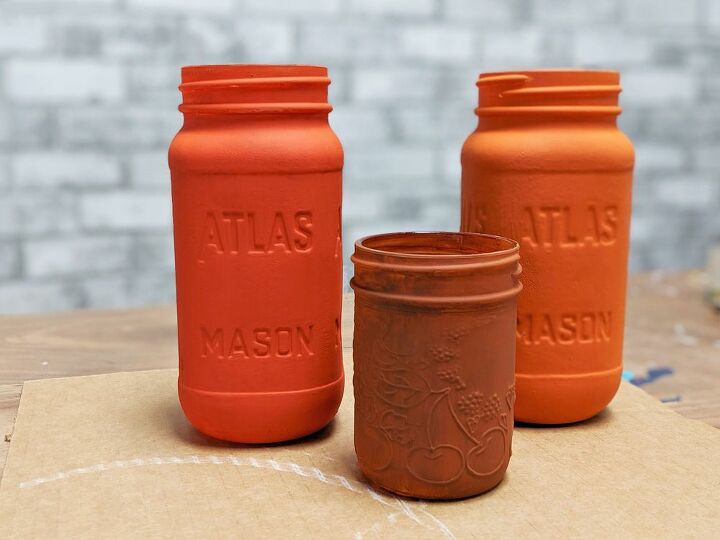
Here are some examples of the color variations you can create.
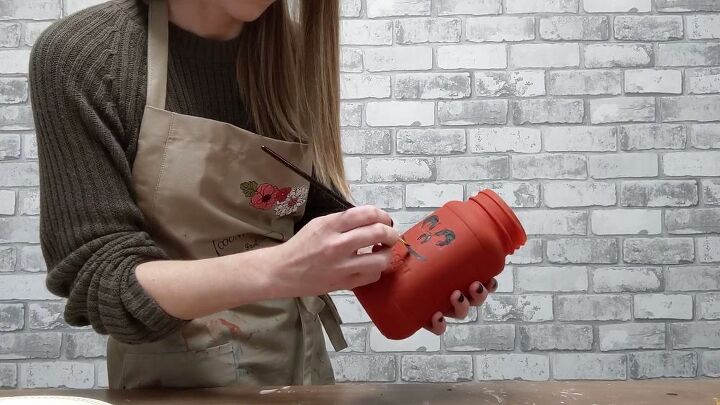
Step 4) Add the face
Using a small artist paint brush and some Liquorice paint, add a cute face to your mason jar.

Step 5) Apply Image Transfer Medium
After the face has dried, use another Artist Brush to paint Image Transfer Medium over all the facial features.
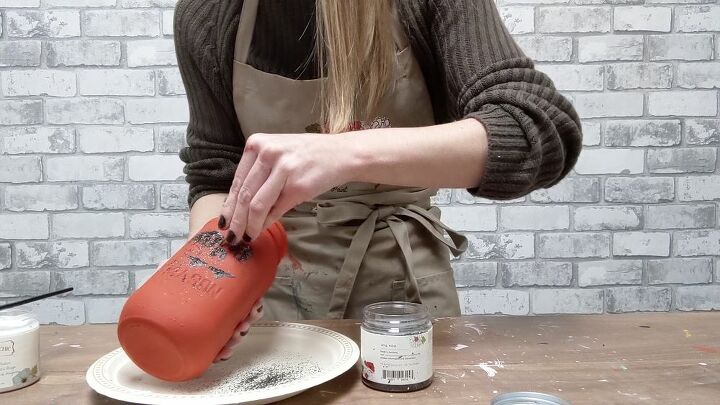
Step 6) Sprinkle with Glitter
Immediately sprinkle Black Glass Glitter over the face. You can use your fingers to gently press the glitter into the glue, then shake off the excess.
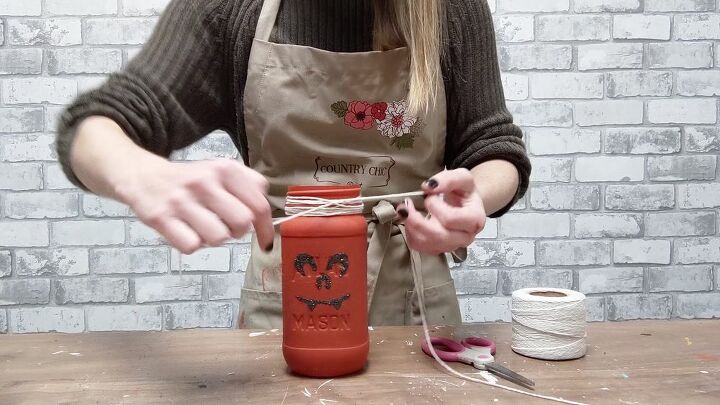
Step 7) Decorate with string
Last but not least, wrap some raffia or twine around the top of your jar.
And you’re done!
Comments
Join the conversation
-
These are adorable! After Halloween, can turn them around (with the faces to the rear) and incorporate into a FALL arrangement with gourds, pumpkins, dried flowers, etc.
-
love them


Frequently asked questions
Have a question about this project?