


Spider Web Mug Rug Tutorial
As the weather gets chillier, the cocoa starts coming out of the cupboard. In keeping with the season, make a spider web mug rug to add to the seasonal atmosphere. Make a set for your home, or give them as gifts to family and friends. From beginning to end, this mug rug took approximately 20 minutes to complete.
If you are making several, cut out the pieces and construct in an assembly line fashion for faster completion. I used a solid black fabric for this project so that the lines of the spider web would pop. You could also use other fabric and thread colors for added whimsy.
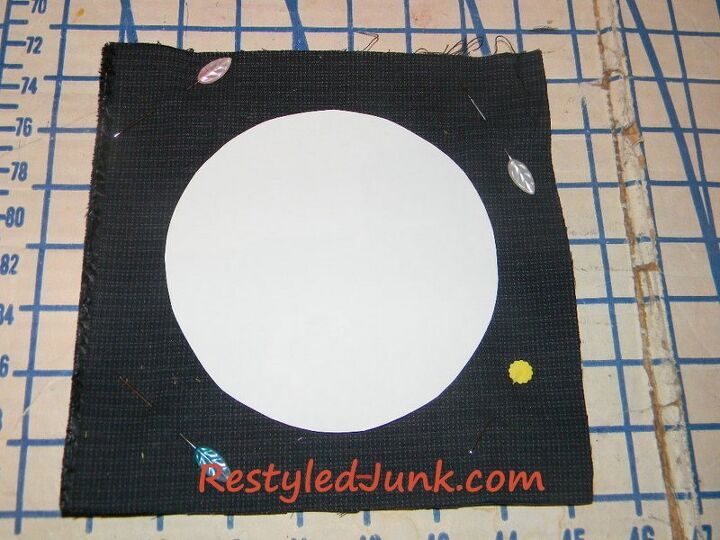
Trace a 5-inch circle on card stock using a compass. Cut out the circle.
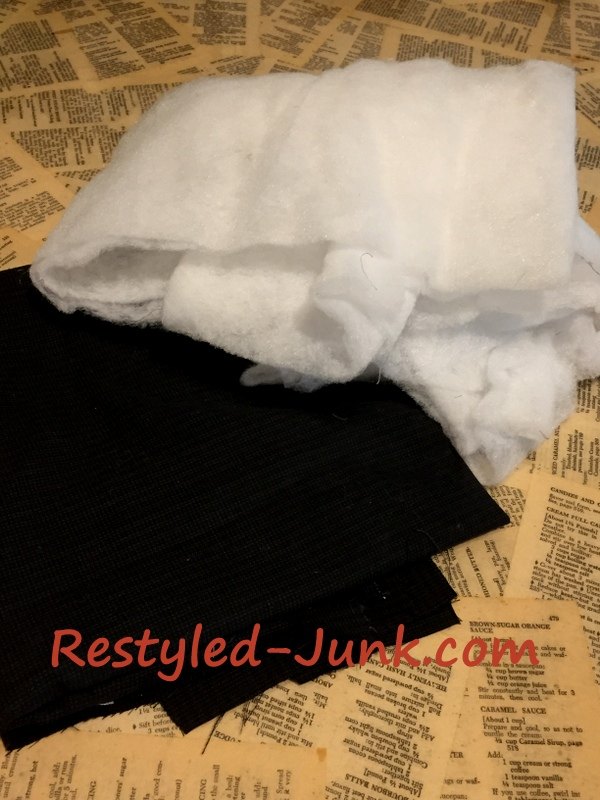
Measure and cut two 6-inch squares from black fabric and one 6-inch square from quilt batting. Lay the quilt batting square on your work surface. Place the black fabric squares together with the right sides facing. Stack the fabric squares on the batting square. Pin through all layers to secure.
Center the card stock circle on the top black square.
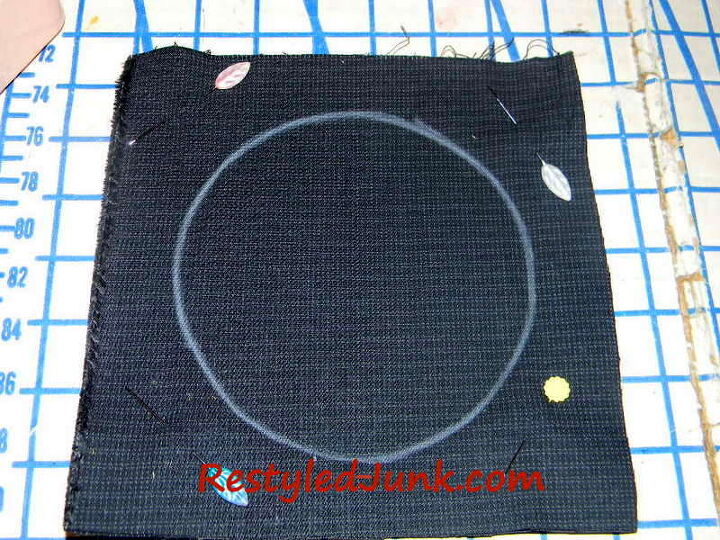
Trace around the circle using tailor's chalk.
Sew the circle, stitching on the chalk line. Leave a 2 inch opening for turning. Cut out the circle approximately 1/8 inch outside the stitch line. At the opening of the circle cut at least a 1/2 inch from the chalk line. Turn the circle right side out and press. Hand sew the opening closed.
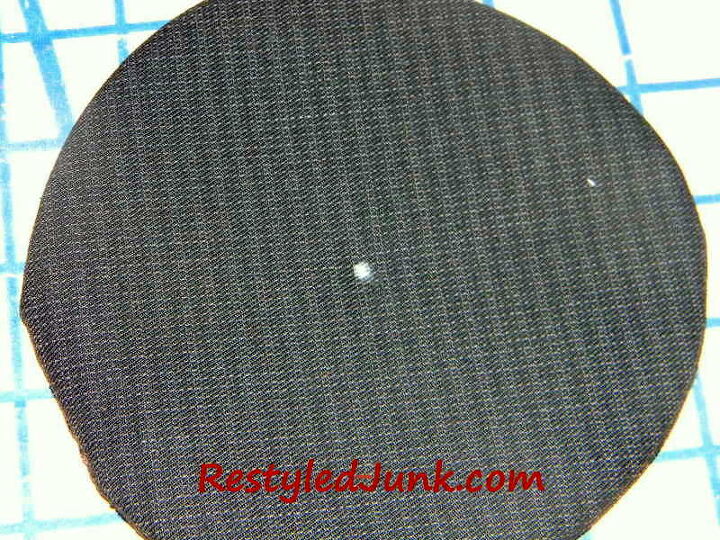
Mark a dot in the center of the coaster using tailor's chalk.
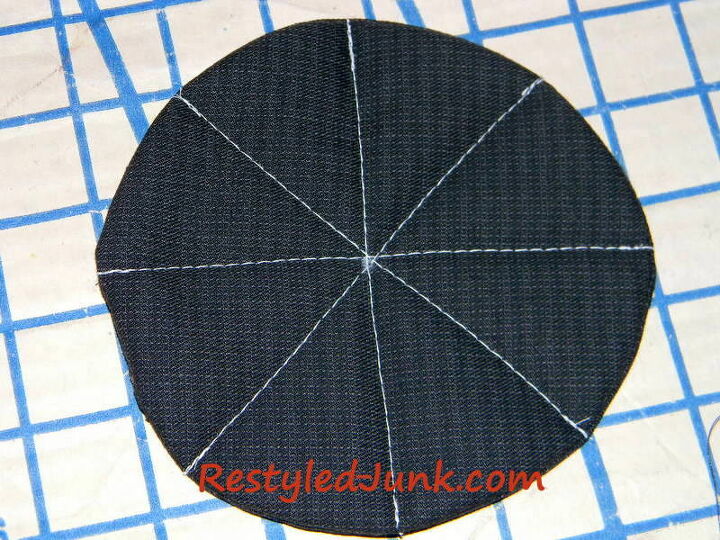
Starting on one edge of the coaster, top stitch across the center to the opposite edge using the white thread. This is across the diameter of the circle. Continue to top stitch across the coaster until you have a total of eight equal pie sections.
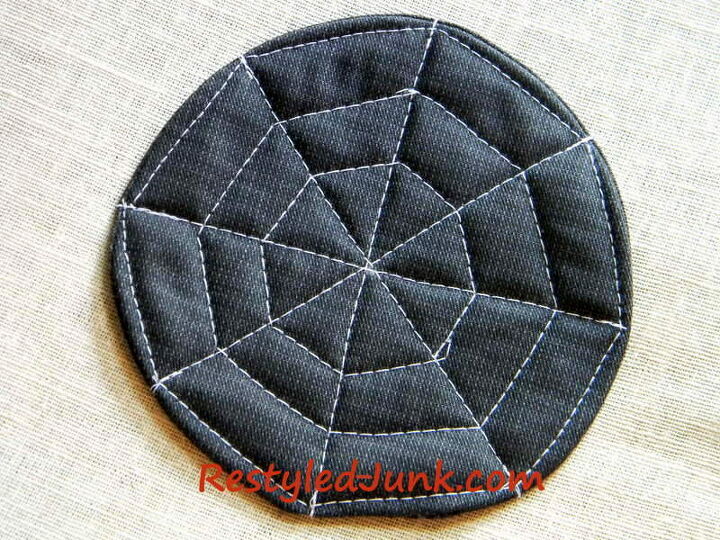
The lines from the center of the circle to the outer edge are the radius lines. Connect the radius lines across the pie sections. Start at the center of one radius line on a pie section. You do not need to measure this, eyeballing is sufficient. Stitch straight across the pie section to the next radius line. Continue stitching across the center of each pie section until you reach the beginning line once again. For the sake of clarity, I'll call the lines just made "horizontal" lines.
Center another round of horizontal lines halfway between the center of the circle and the first set of horizontal lines.
Sew a final round of horizontal lines just inside the circle's edge and the first set of horizontal lines. Use the photo to clarify.
Enjoy!


Frequently asked questions
Have a question about this project?