


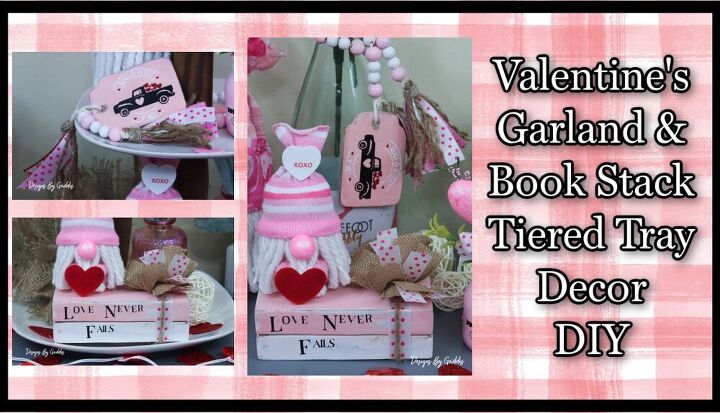
Valentines Day Garland and Wood Stacked Books Tiered Tray Decor DIY
Today I will show you a couple of tiered tray items I made for my Valentine's Day tiered tray.
I created a wood stacked book set that fits perfectly on my tiered tray and an adorable pink and white wood bead tassel garland that looks amazing on this bottle of wine.
The garland can also be draped on your Valentine's Day tiered tray.
Project Steps
Wood Stacked Books
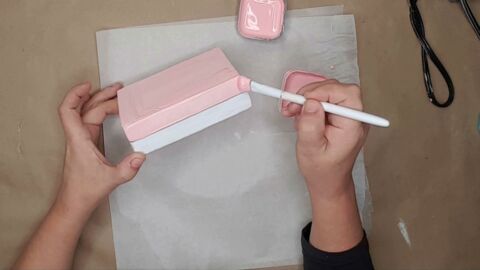
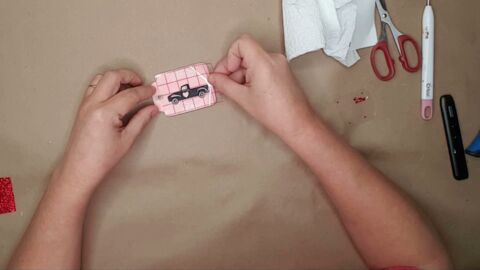
- Step 1 - After cutting and gluing the books together paint them with chalk paint the color of your choice.
- I used a wood book stack from Christmas, removed the vinyl, and painted only the top book.
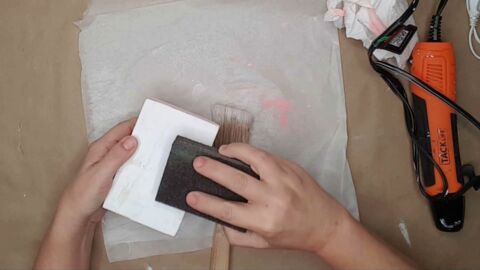
- Step 2 - After the paint has dried use sandpaper or a sanding block for a worn look.
- I used a sanding block from Dollar Tree.
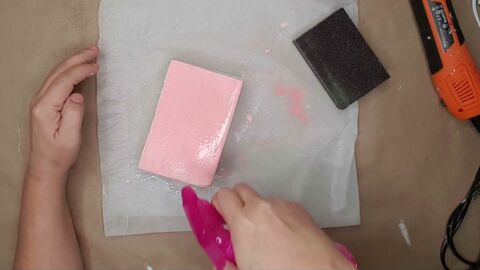
- Step 3 - Using rubbing alcohol to remove sand dust from wood.
- I have found that rubbing alcohol works better than water because it dries quicker.
- Step 4 - Apply vinyl or handwrite the saying on the book stack.
- I used my Cricut and created this cut file because my handwriting sucks!
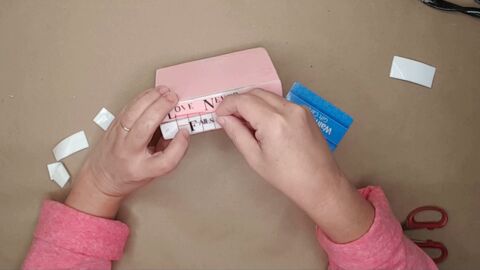
- Step 5 - Apply embellishments
- I used this ribbon I found at Dollar Tree in the Baby Shower section.
I Love How The Bookstack Turned Out. It looks rustic and worn just the look I was going for!

Valentine's Garland
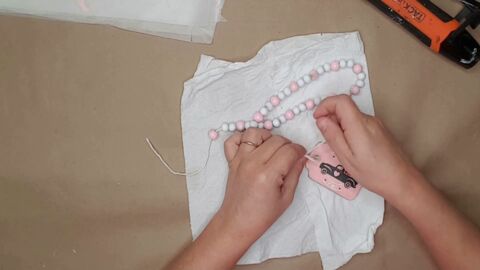
- Step 1 - I used a mason jar shaped tag and painted in with my handmade pink chalk paint.
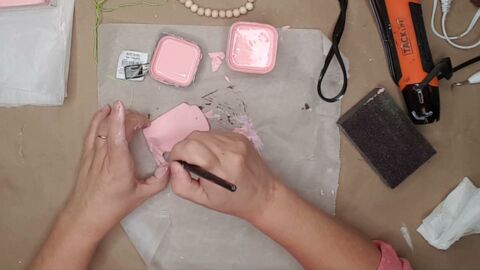
- Step 2 - Apply the vinyl decal to the tag.
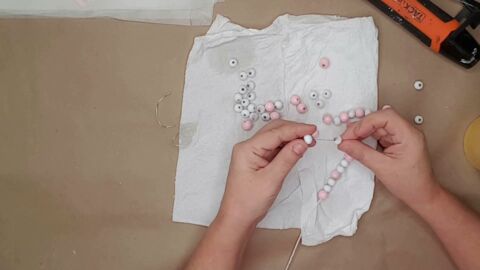
- Step 3 - Paint and string beads.
- I used 10 mm and 12 mm beads for my garland but you can choose to use smaller or larger beads depending on your taste.
- Step 4 - Connect the tag to the strung garland.
- I explain this step better in the video.
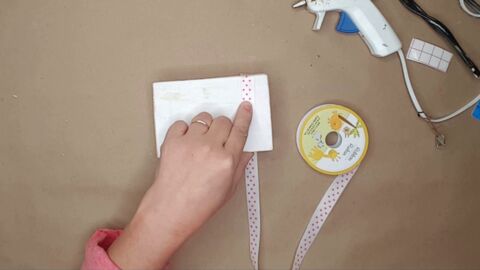
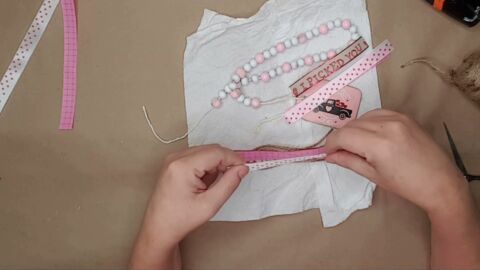
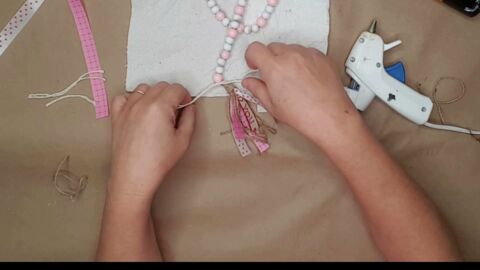
- Step 5 - Make tassels for both ends of the garland.
- I used ribbon and twine from Dollar Tree to create the tassels.
- I show step-by-step in the video tutorial.
- Step 6 - Attach the tassel to the tag end of the garland.
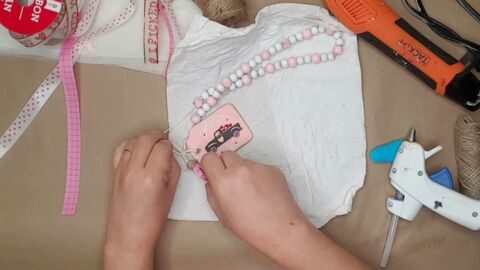
- Step 7 - Attach the tassel to the tag end of the garland.
The garland is amazing looking. And it wasn't that hard to create.
I love how it looks draped on the wine bottle but it also looks amazing draped on a tiered tray.

***Join Me On YouTube to See the Videos I refer to in this video
Dollar Tree Items Used:
- Ribbon
- Twine
- String
- Other Items Used:
- Scrap Wood
- Wood Beads
to get FREE Printables and Special Deals only for my subscribers:
My Disclaimer: All of the video footage, photos, and designs are created by me and are owned by Designs By Gaddis. You may only use the video footage, photos, and designs with my permission. My content is mine and it is protected. I am not sponsored or paid by any of the product companies or tools shown in these videos unless otherwise mentioned. I have full rights and control of the content.
Copyright @ Designs By Gaddis 2020. Any reproduction or illegal distribution of the content in any form will result in immediate action against the person concerned.


Frequently asked questions
Have a question about this project?