


DIY 3-D Emoji Notebook
5 Materials
$10
20 Minutes
Easy
Want to have the coolest notebook in class? Today, I’ll be sharing with you the tutorial of how I made a 3-Dimensional Emoji Notebook!
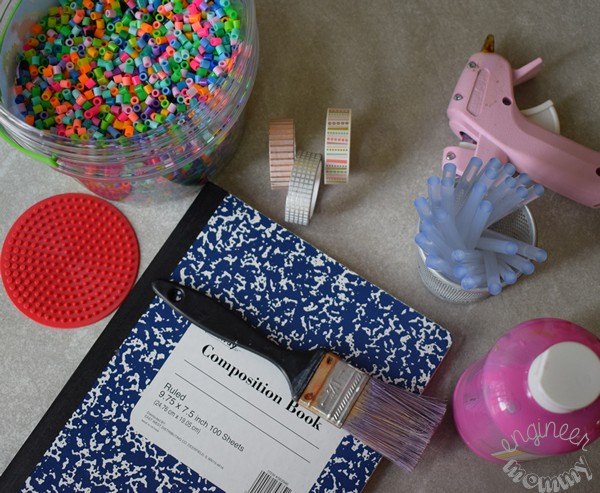
To make this notebook, first gather the supplies you’ll need for this project:iron-on beadsbead templatescomposition notebookpaint & paintbrushwashi tapeironhot glue & glue gun
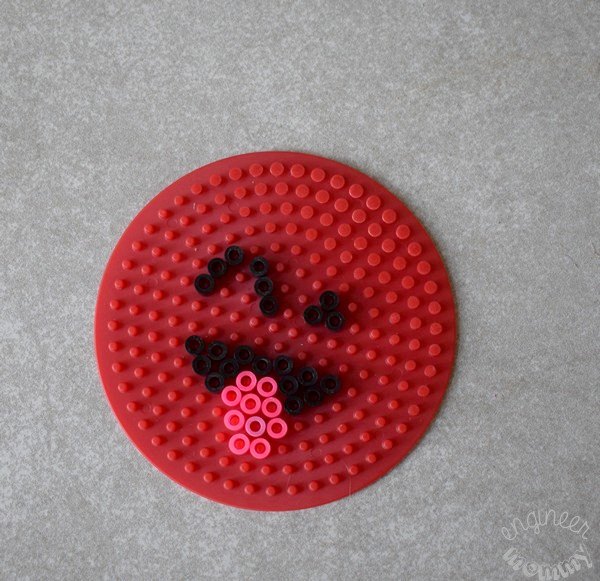
Start by adding some black beads to the template to form the eyes and mouth of the emoji face. To boost the cuteness factor, I made a cute, winking face with the emoji’s tongue sticking out!
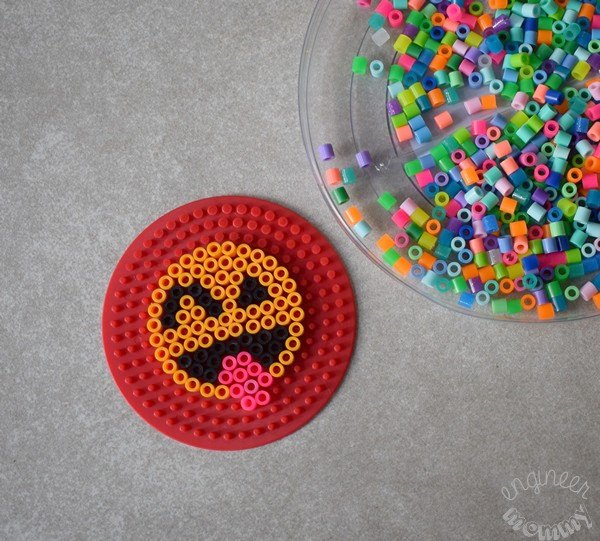
Next, add plenty of yellow beads all around, creating a circle for the face. Place the parchment paper on top of the beads and iron the second set of emoji eyes & tongue. Use some hot glue to attach the second set of eyes onto the original emoji, placing the second set of eyes directly over the original set of eyes. Follow the same procedure for the tongue. Notice the 3-dimensional effect that is created!
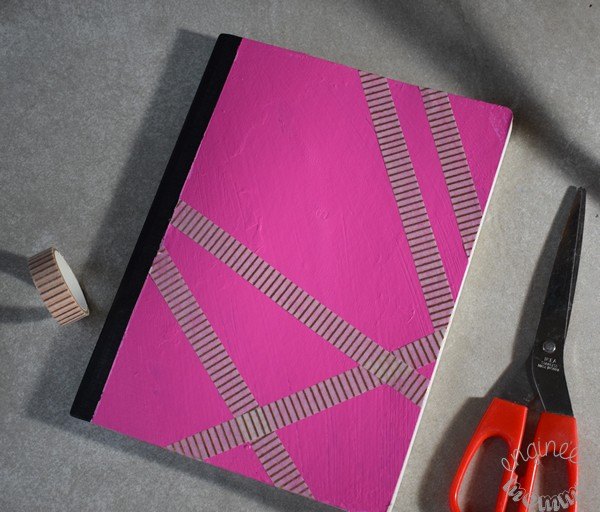
Paint the notebook in a fun, vibrant color. Then add some washi tape to the front cover in a fun, geometric pattern.
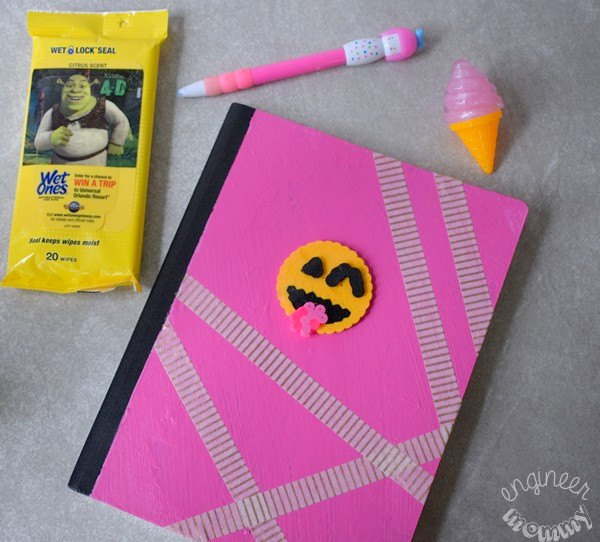
Use hot glue to secure the emoji to the front of the notebook. My daughter is definitely gearing up for first grade and excited for the new school year. For more tips and pictures, please visit the blog post below.

Want more details about this and other DIY projects? Check out my blog post!


Frequently asked questions
Have a question about this project?